


The guest toilet can sometimes be a forgotten place in your home. If you think of it, it may be the second most visited room by your guests! So why not give the guest toilet some TLC and the facelift it deserves.
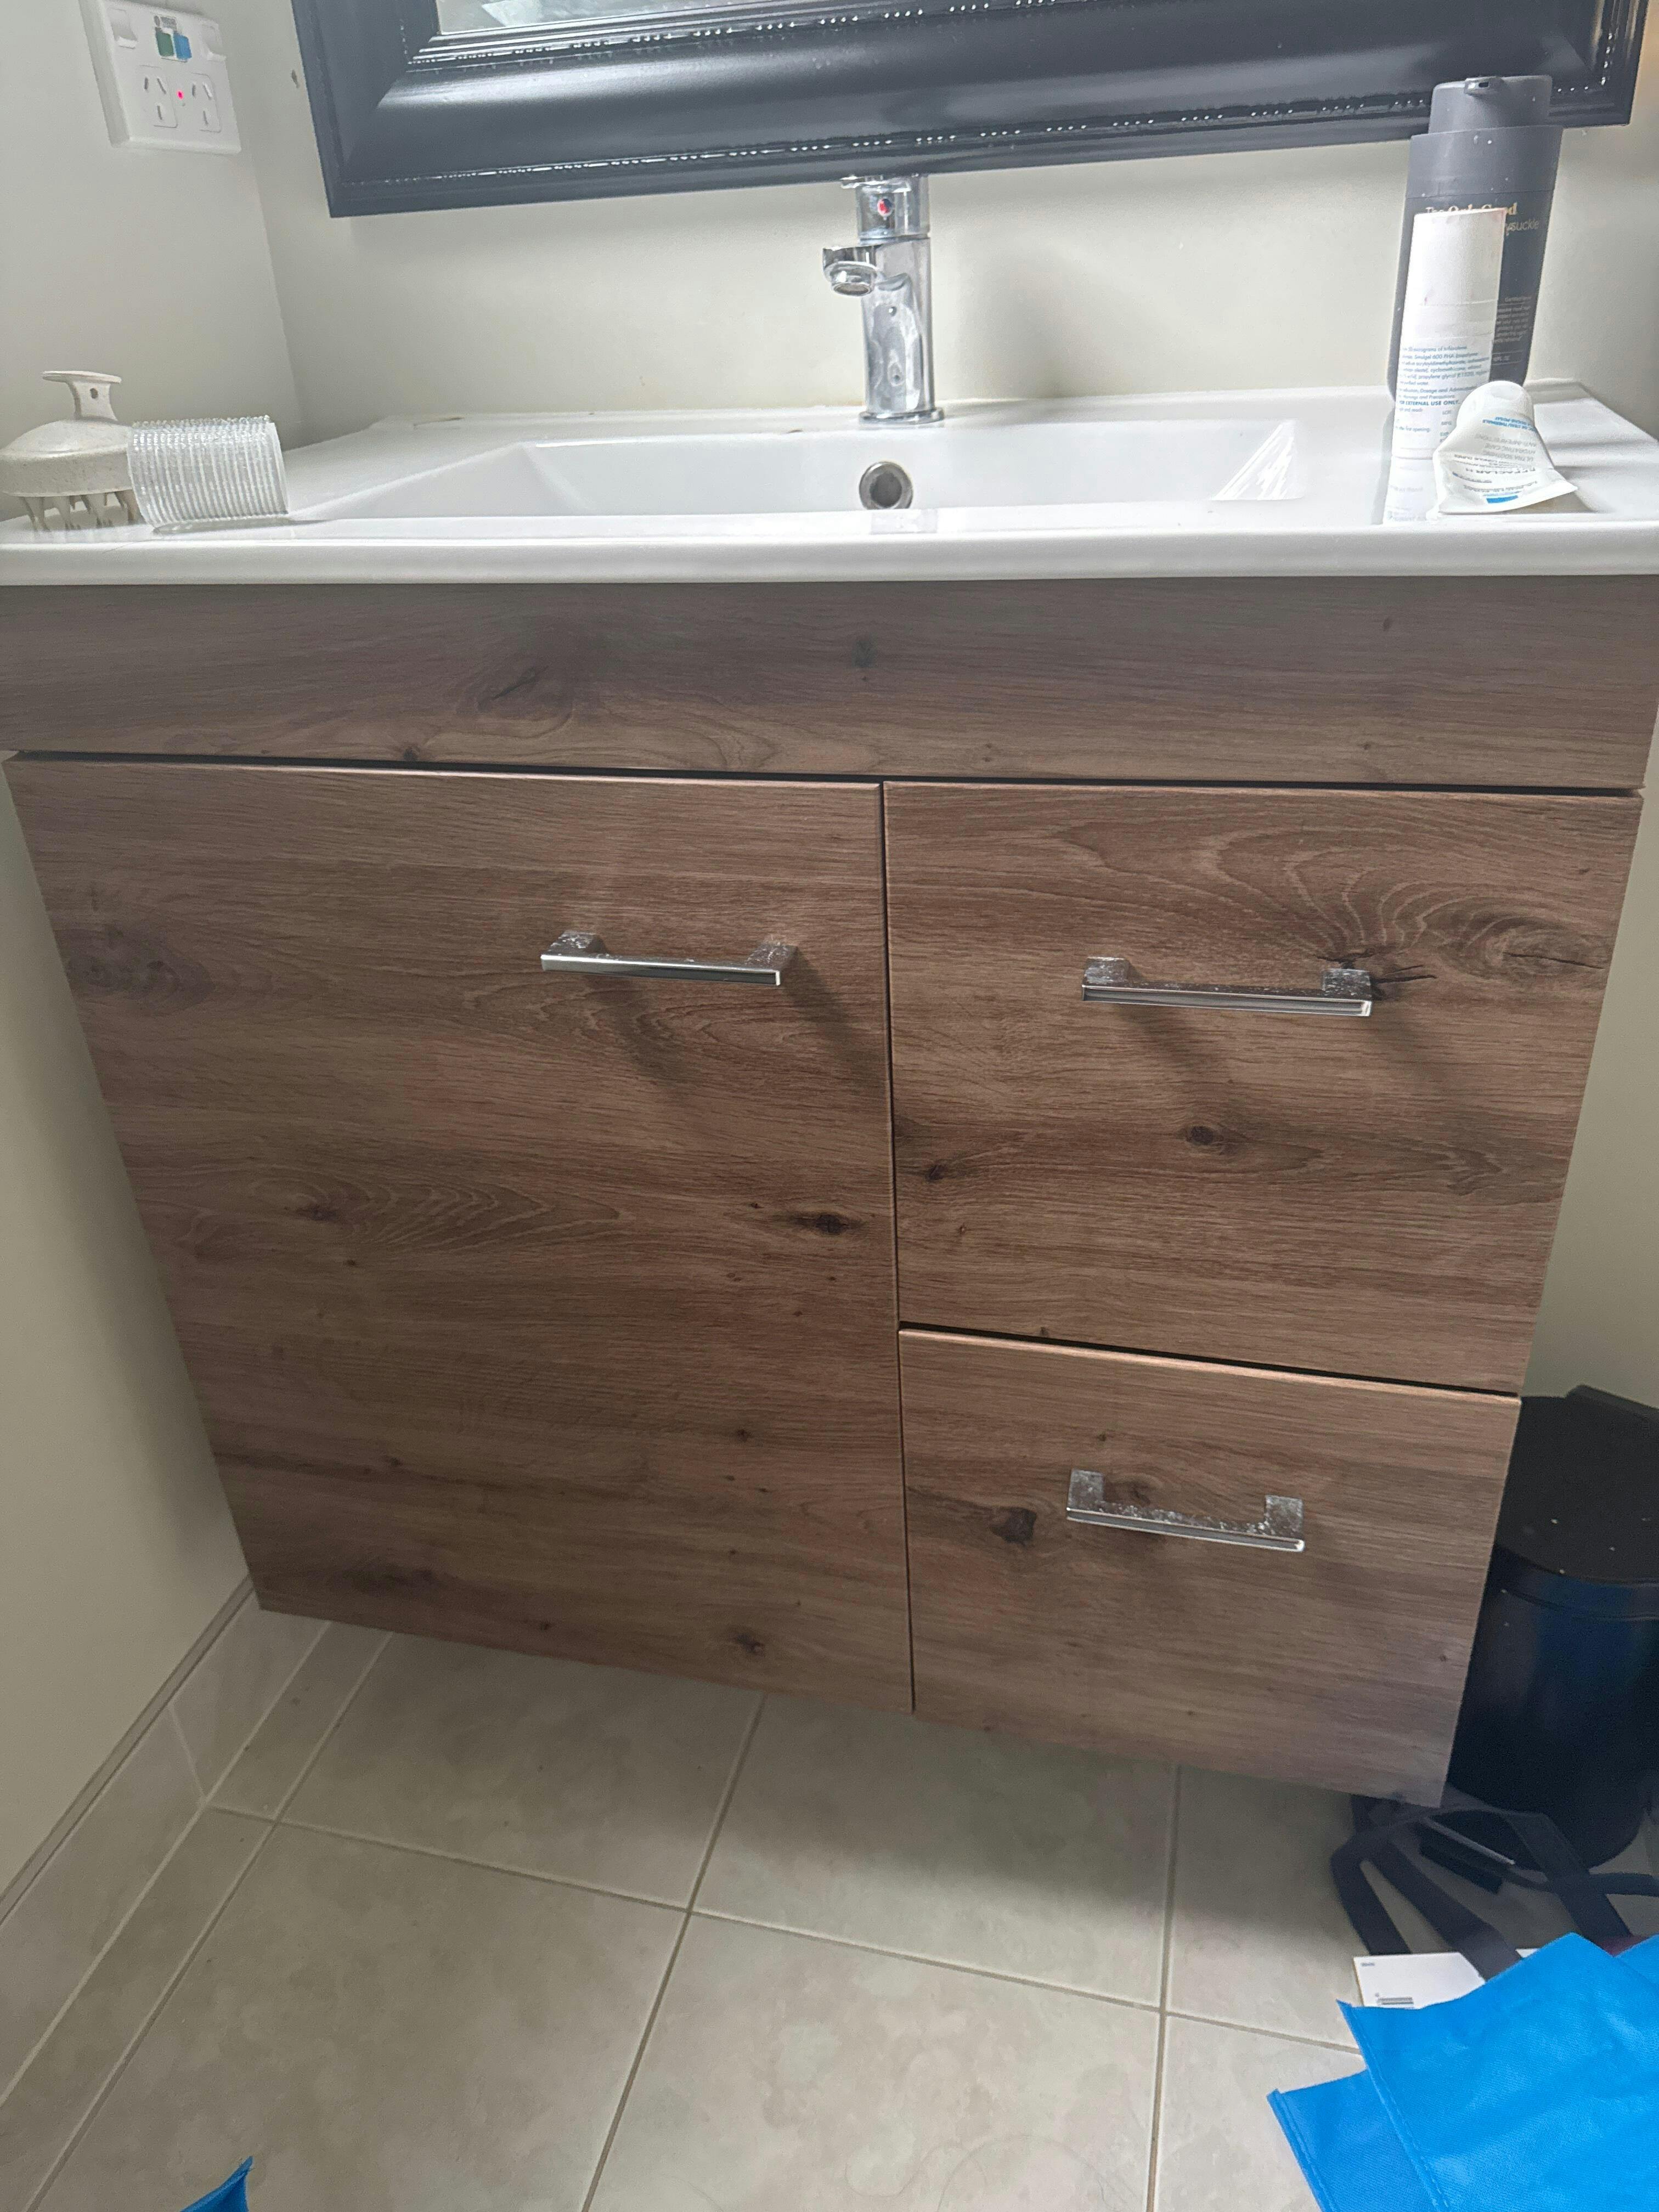
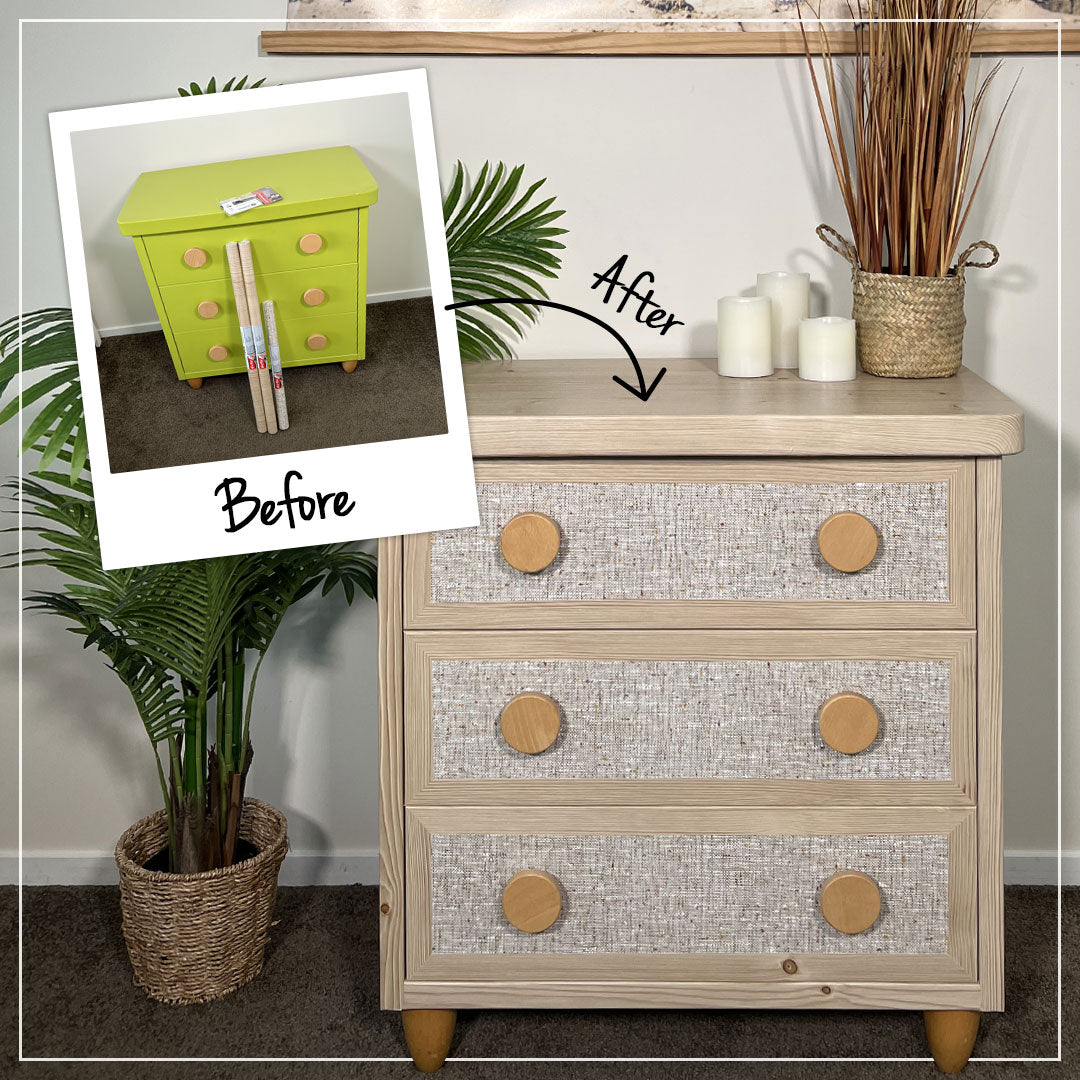
I've been asked by a client to give their guest toilet a fresh new look. They didn't like the fact that the cabinet looked dated and the colour scheme was bland. Most of the time the door stood slightly open down a busy corridor. This is what it looked like before.

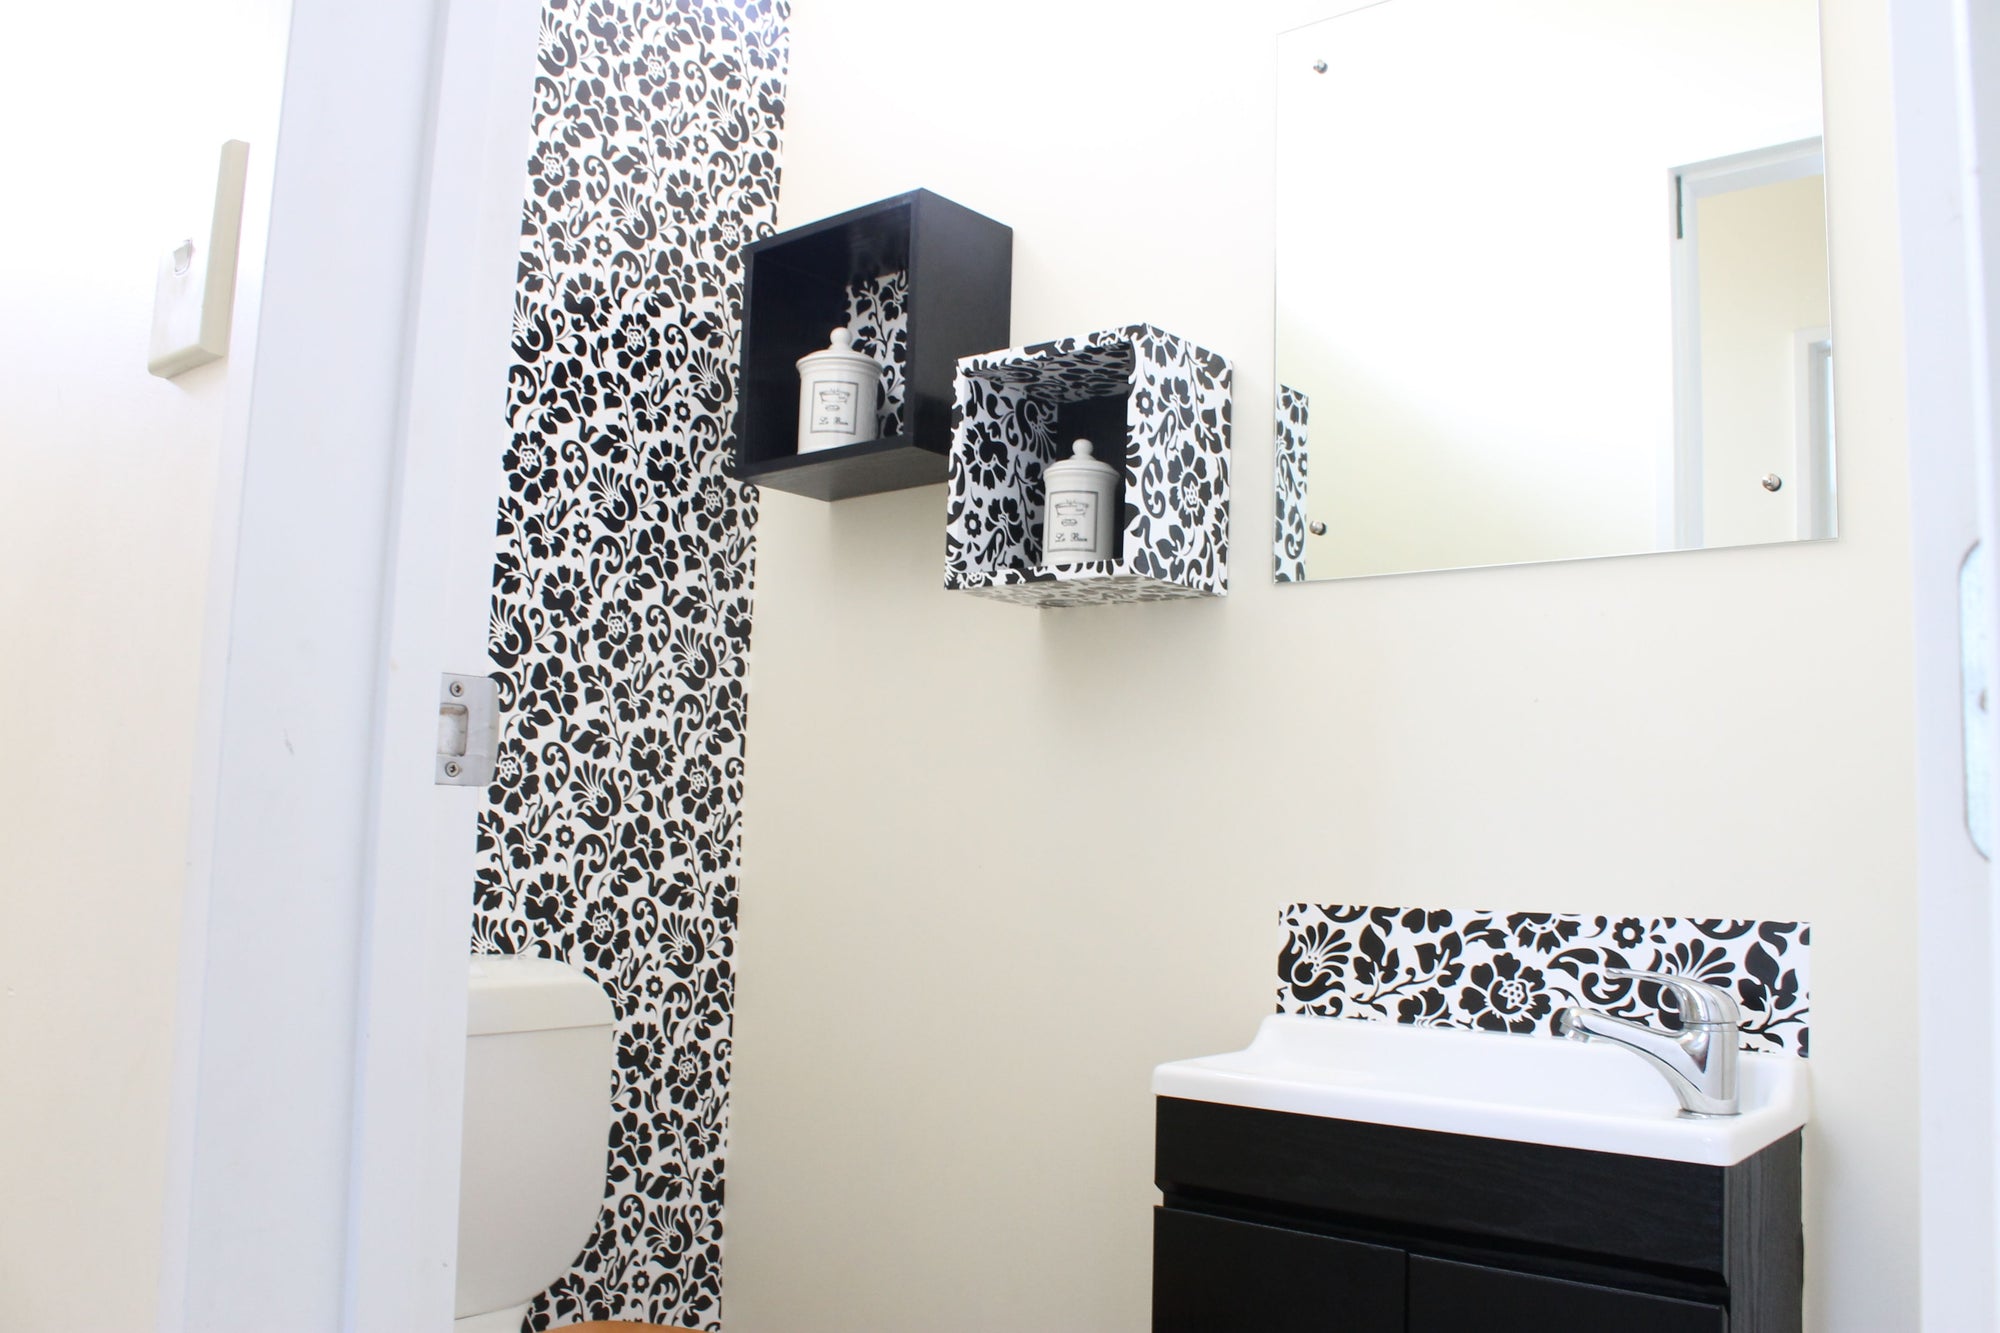
They picked a black and white colour scheme and decided to make a feature wall behind the toilet. That is the main wall you see when you walk down the corridor.

I decided to start in the right hand corner as the wall required 2.5 roll width of the vinyl. This way the smallest piece and seam wouldn't be visible from the hallway. The most tricky part here was the beginning. It is crucial to get it straight in order for the rest of the wall to look good. I allowed for a small overhang around the corner as I wanted to make a nice straight cut line in the corner. I cut around the window, toilet seat and pipes as I went along.

My client had two boxed shelves that they wanted to incorporate into the bathroom makeover.

We decided to wrap the shelves with the same sticky back plastic as we had chosen for the rest of the guest toilet. We added a square piece of the vinyl on the wall to give the shelves an extra feature.

I will create a separate blog post just on how to create the shelves. (You can now find it here)
Since the cupboard unit was so dated and a bit water damaged my client had to sand those parts down, fill them with gap filler and then prime. This gives a better finish.
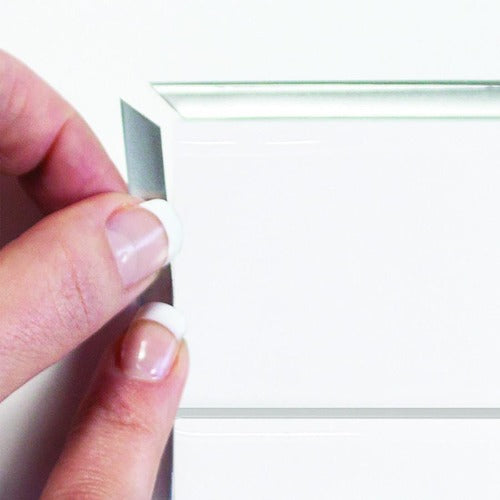
We went with a nice black wood grain sticky back plastic on the cabinet. As with anything you wrap a good rule is to start by splitting the unit into manageable pieces. The doors were removable which made the work a lot easier. When I wrap a door, drawer or cabinet I aim to start with the largest surface and pull the film right around the corner. Then I use a sharp knife and cut along the contour.


As a last feature we added a small splash back of the barock patterned sticky back plastic above the basin. It is vinyl after all so it's fully water resistant and perfect for bathrooms!

Lessons learned from this project
- always divide your project into smaller parts
- take extra care at the beginning when you use vinyl as wallpaper
- try not to stretch the vinyl when used as a wallpaper as it may be difficult to align the pattern
- remove doors, drawers and everything you can when you work on a unit
- make overlaps on all corners
- Hint! if the vinyl is likely to be exposed to a lot of water, make sure you seal the edges to avoid water finding its way underneath the film
skill level
- Cabinet: Basic to intermediate level. The trickiest part is working in small areas and uncomfortable positions
- Boxed shelves: Basic level. Just go slowly and follow guidelines on how to wrap corners
- Wallpaper feature wall: intermediate to advanced level. This is mainly because we worked with a busy pattern which was difficult to align. It was also tricky to cut around the toilet and pipes. Go slowly is my number one advice!