This is a follow up on my previous blog post where I redecorated a guest toilet for a client. Here I will show you a few easy tricks on how to give your shelf a new look with a perfect finish.
I think I can't say this often enough; start by dividing your object into manageable pieces. This way you have a plan with your project and you will probably save some vinyl too instead of rushing into it. This shelve could be divided into either:
- four sides (up, down, left and right); or
- inside and outside.
I decided to go with the first option as it would give a better finish on the edges. I started by measuring one side plank (on the outside, edge and inside). Thereafter I cut the vinyl to size and allowed an overhang of about 1cm on each side.
I started on the outside and slowly covered that whole side by pulling the backing paper with one hand and smoothing down the vinyl with the other.

Now I flipped the whole shelf around and let it rest on the vinyl. Here I had to make a small straight cut on each side to allow for the vinyl to be wrapped around the corner and continue on the inside.

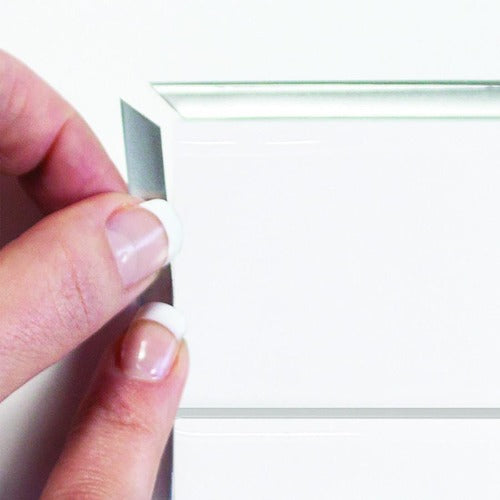
You will normally get a better finish if you have a small overlap where two pieces of vinyl join each other. As illustrated In the photo below I have left about 1cm in the bottom right corner. The same goes for the inside of the shelf but it hasn't been cut on the picture here yet. Another tip is to use a sharp knife and follow the contour of the object when you cut off excess film.

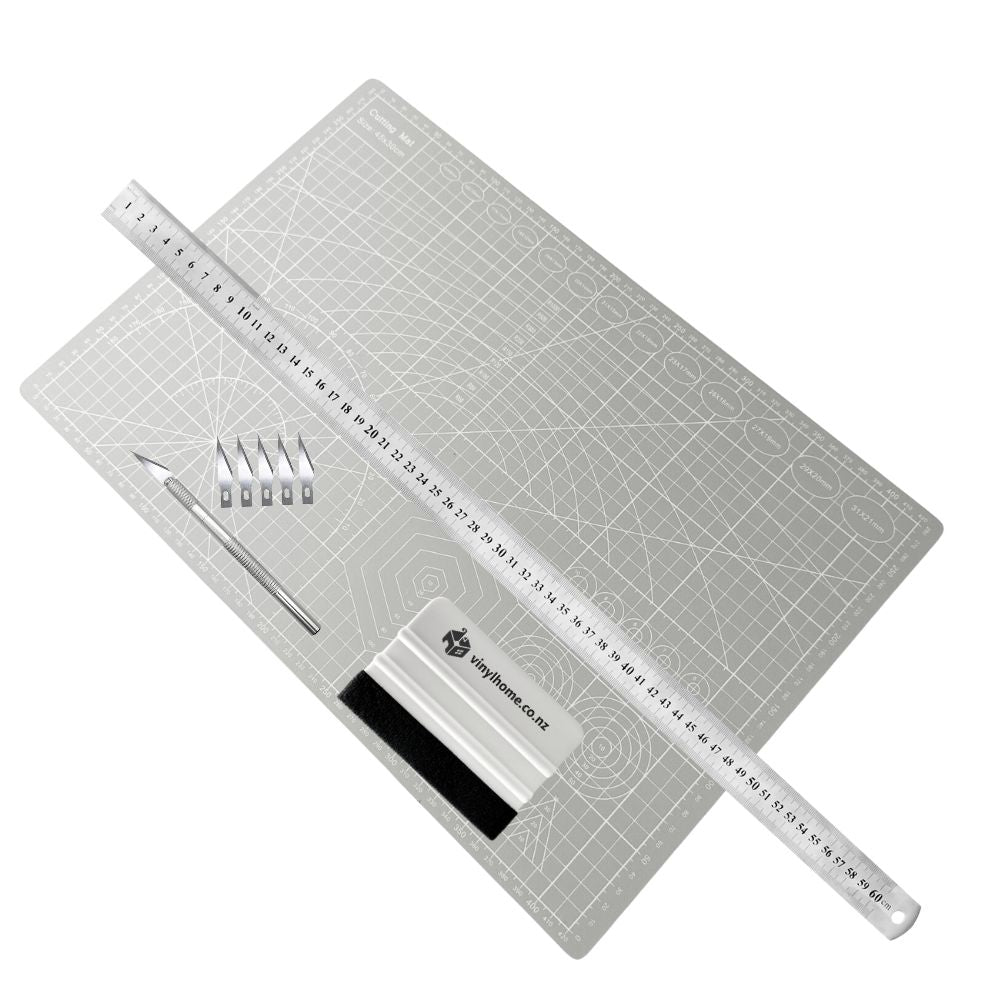
The corners look more professional if you cut them on an angel. A ruler for straight lines is a must!

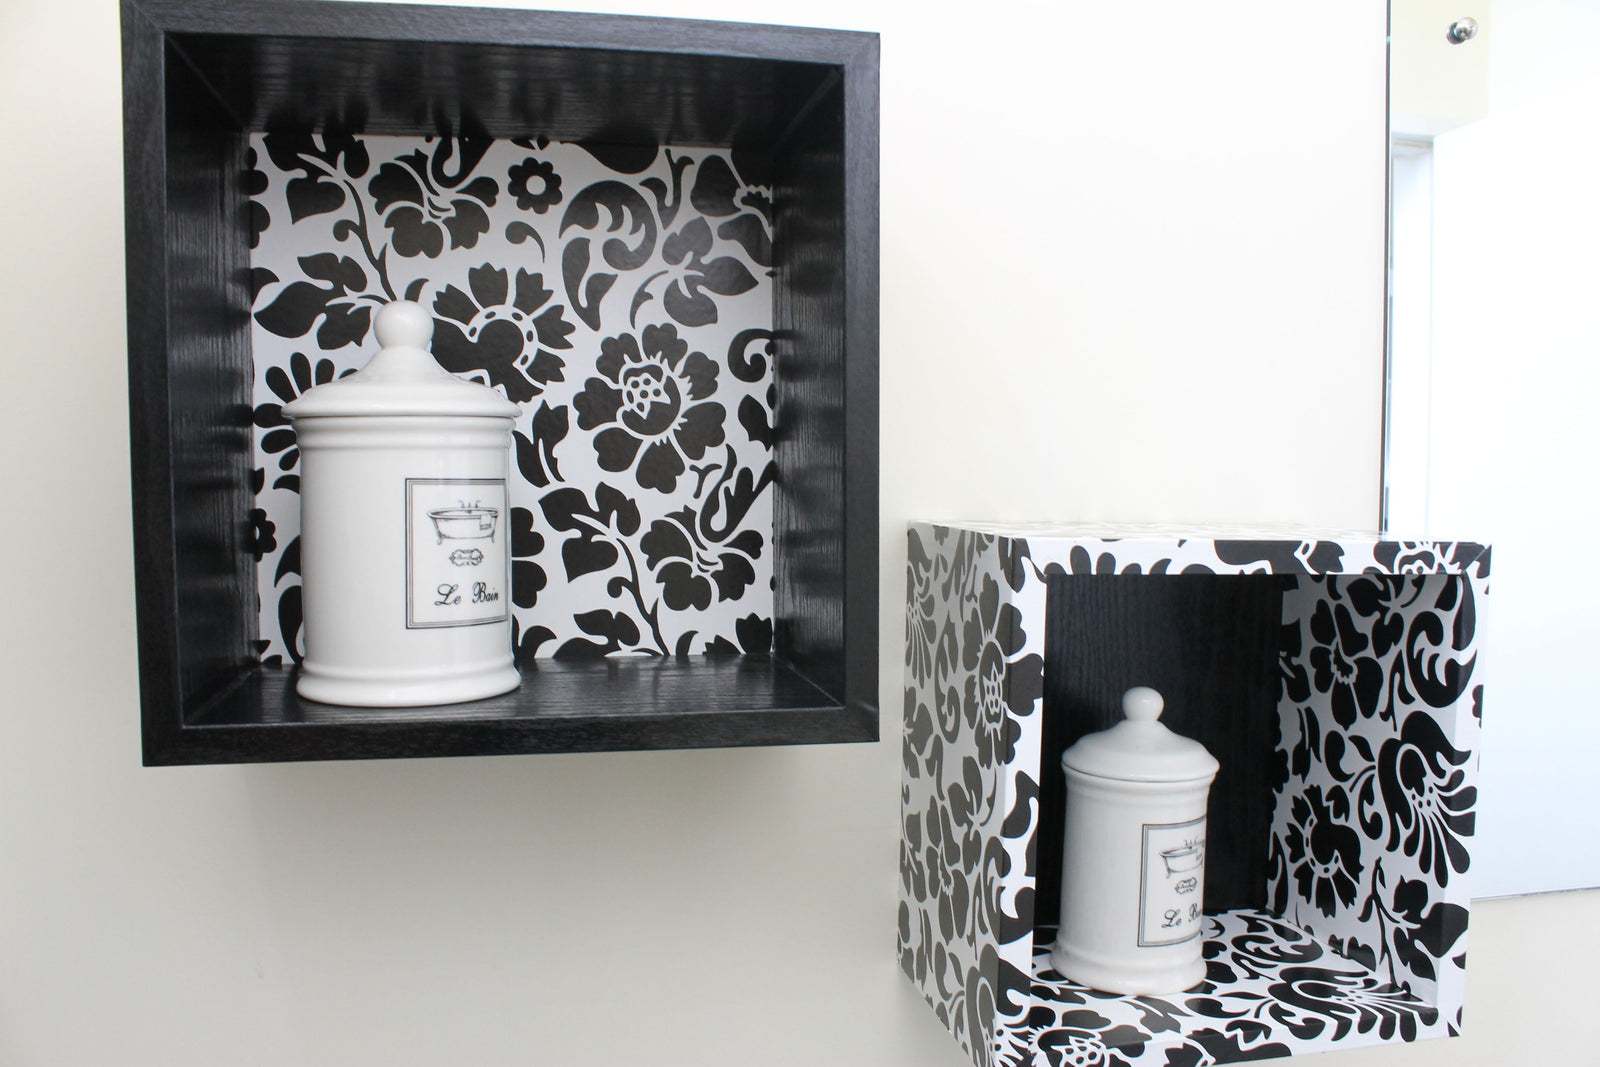
This is the end result.

Lessons learned from this project
- plan each part of the shelf carefully
- use a ruler for nice straight cuts
- make a small overlap when you join the vinyl
- follow the contour of the object when you cut off excess film.
skill level
I consider this as a basic level project. The key is to plan and to go slowly!


