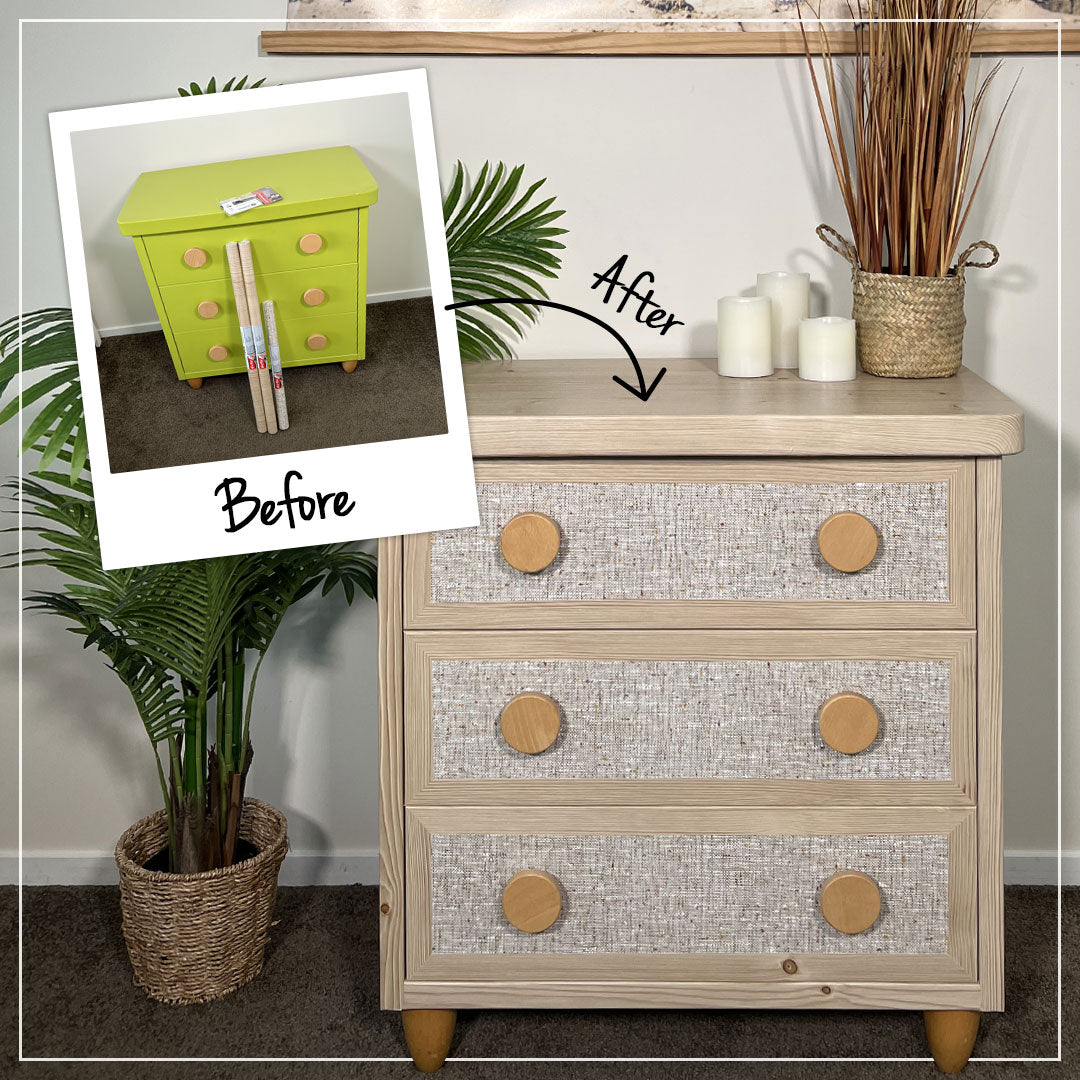


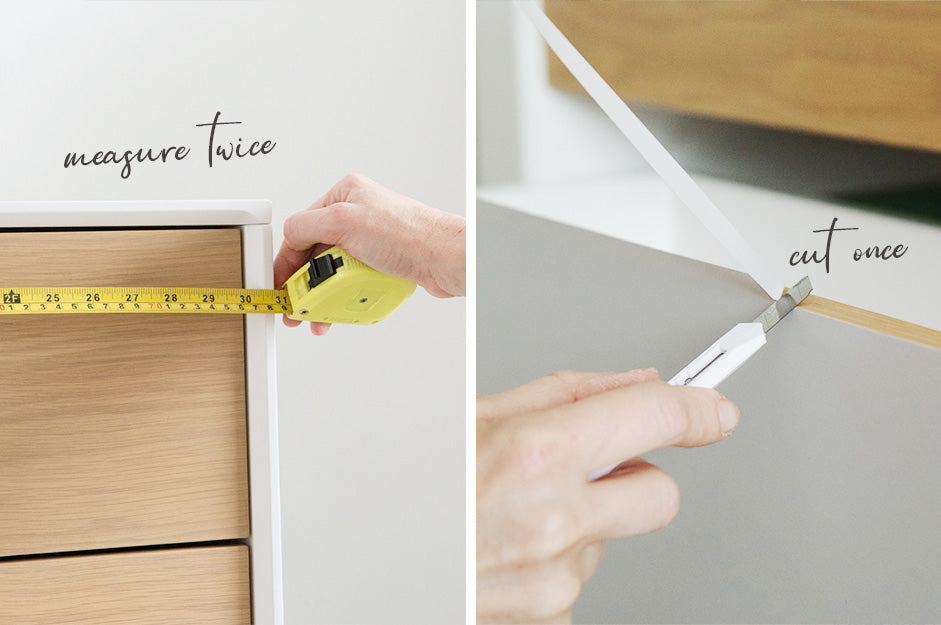


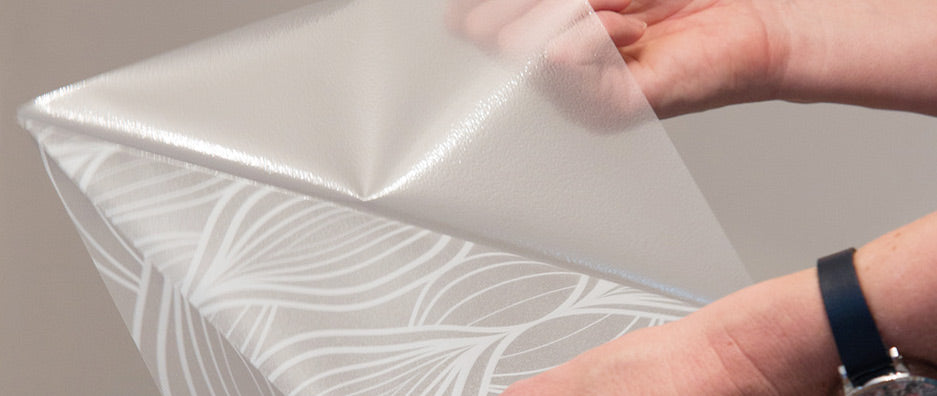


Easy application, hard around corners. Has 10cm measurements for cutting on the backside. Vinyl is a great neutral warm colour and has texture to it!! bery high quality and happy with the look, definitely a better and cheap option than buying new furniture
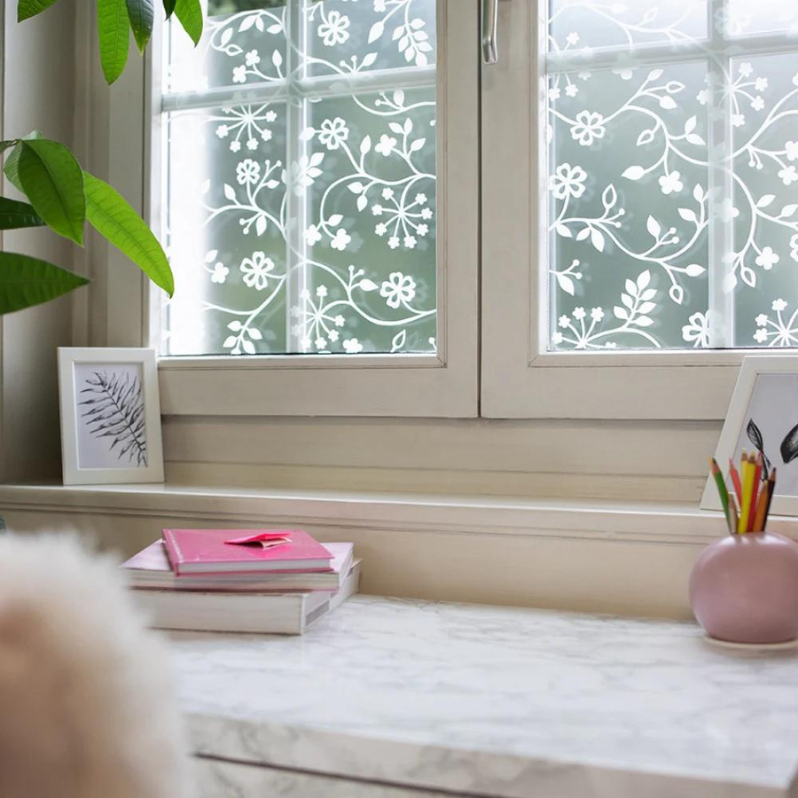
Ordered vinyla for window. Arrived quickly and easily installed - blocks out the nosy neighbours - very happy!
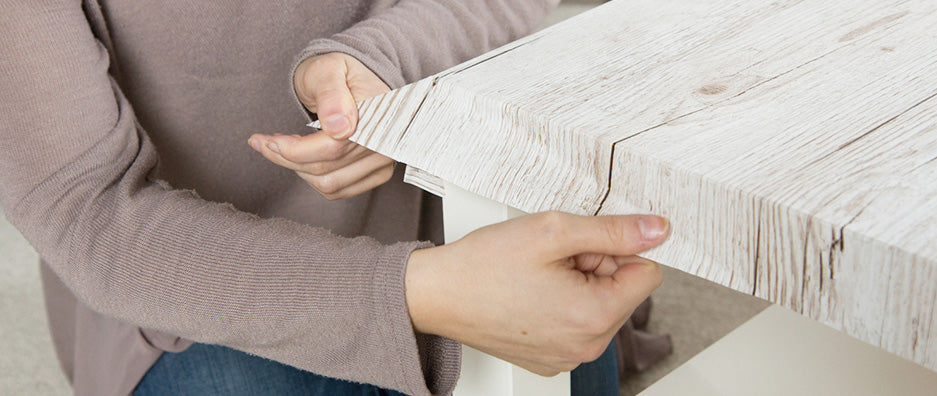
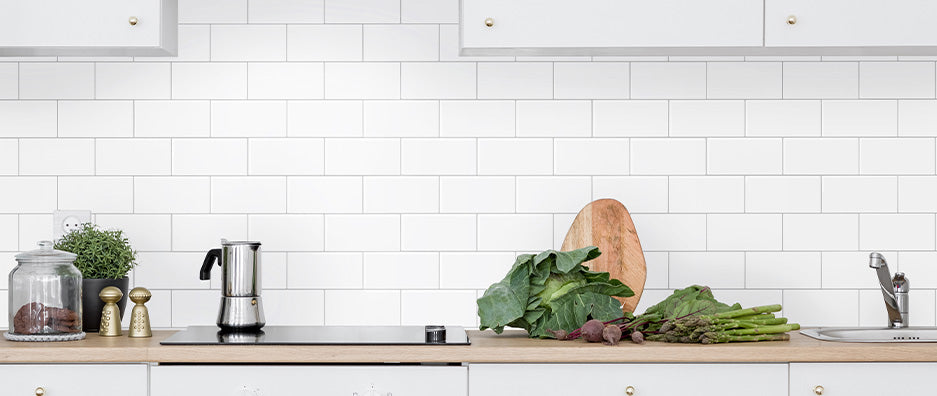
Before I bought this product, Actually I didn't much expected a quality which I thought might be same as normal Bunnings benchitop covering vinyl but I received and attached on my old and aged benchtop.... Wow!!!! Definitely it is amazing quality and superb product. I uaed a heat gun for firmly attaching on the benchtop that is absolutely strongly attached. I'm 200% happy with this products. thanks a lot guys.
Excellent product, easy to apply. Highly recommend
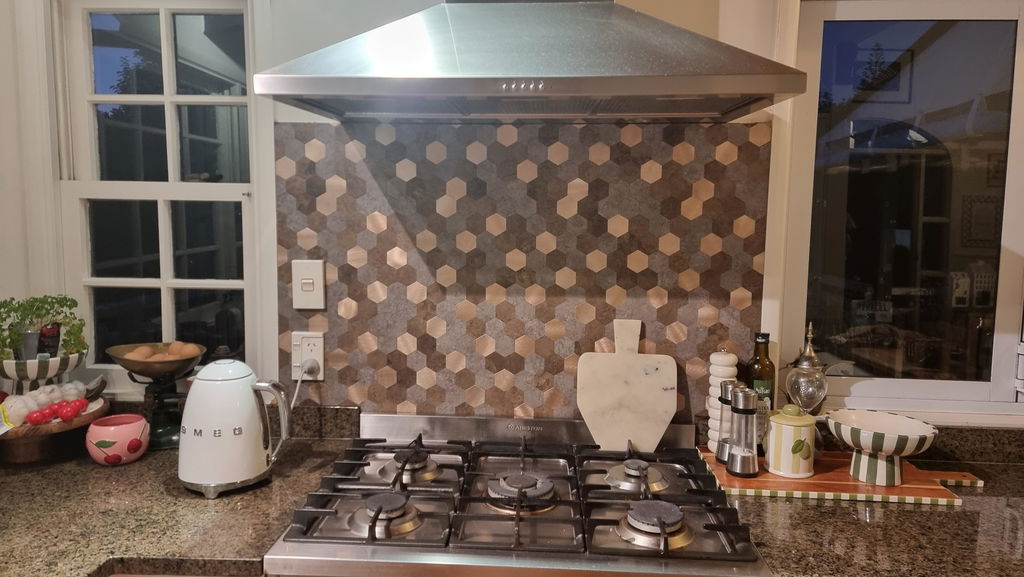
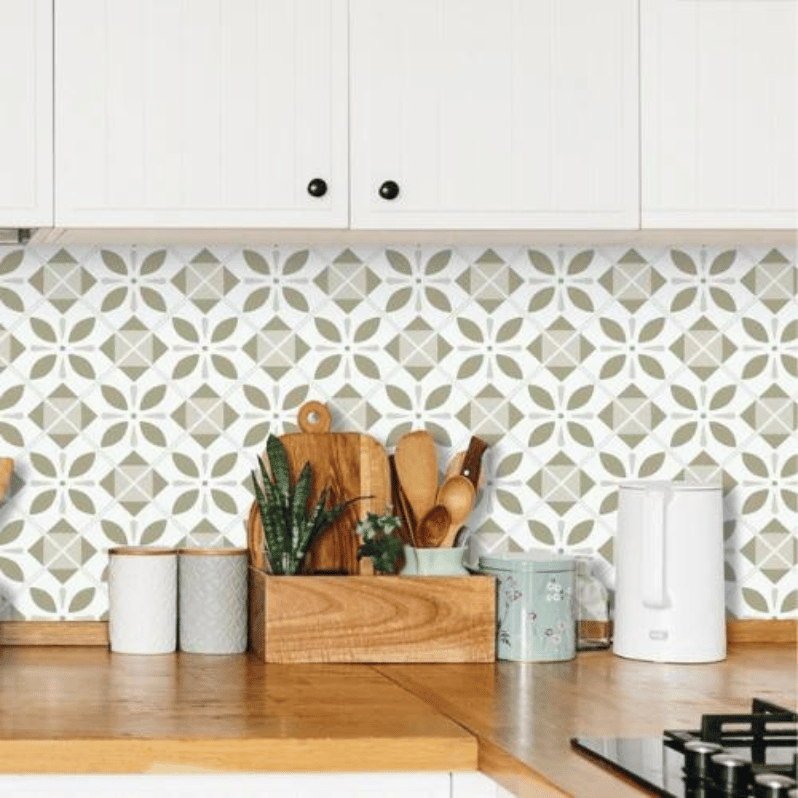
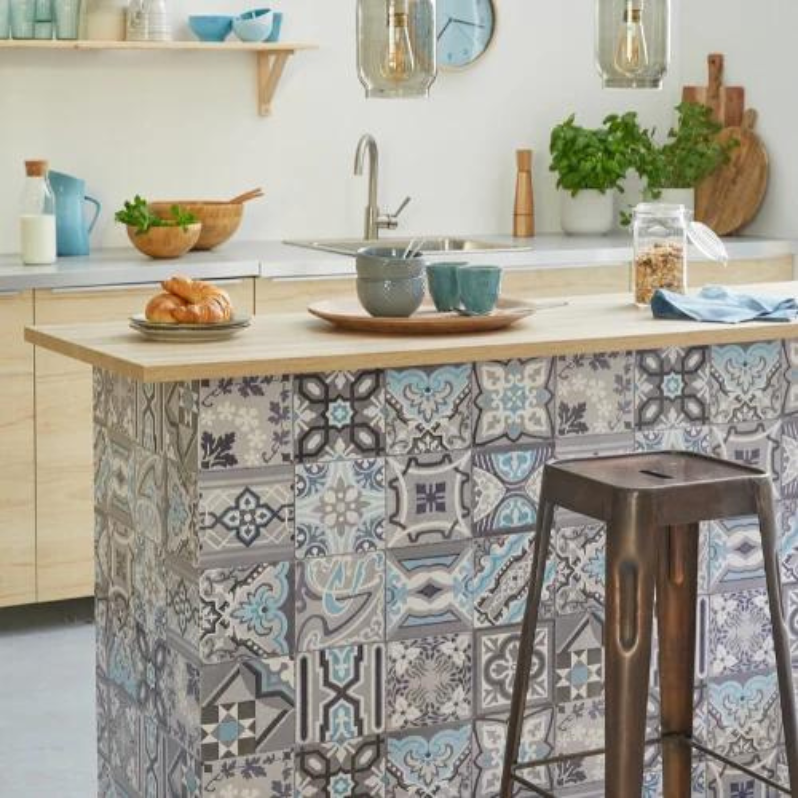
Easy to apply. Tile look without the grout. Very very happy