The Ultimate Guide to Window Film
The Ultimate Guide to Window Film
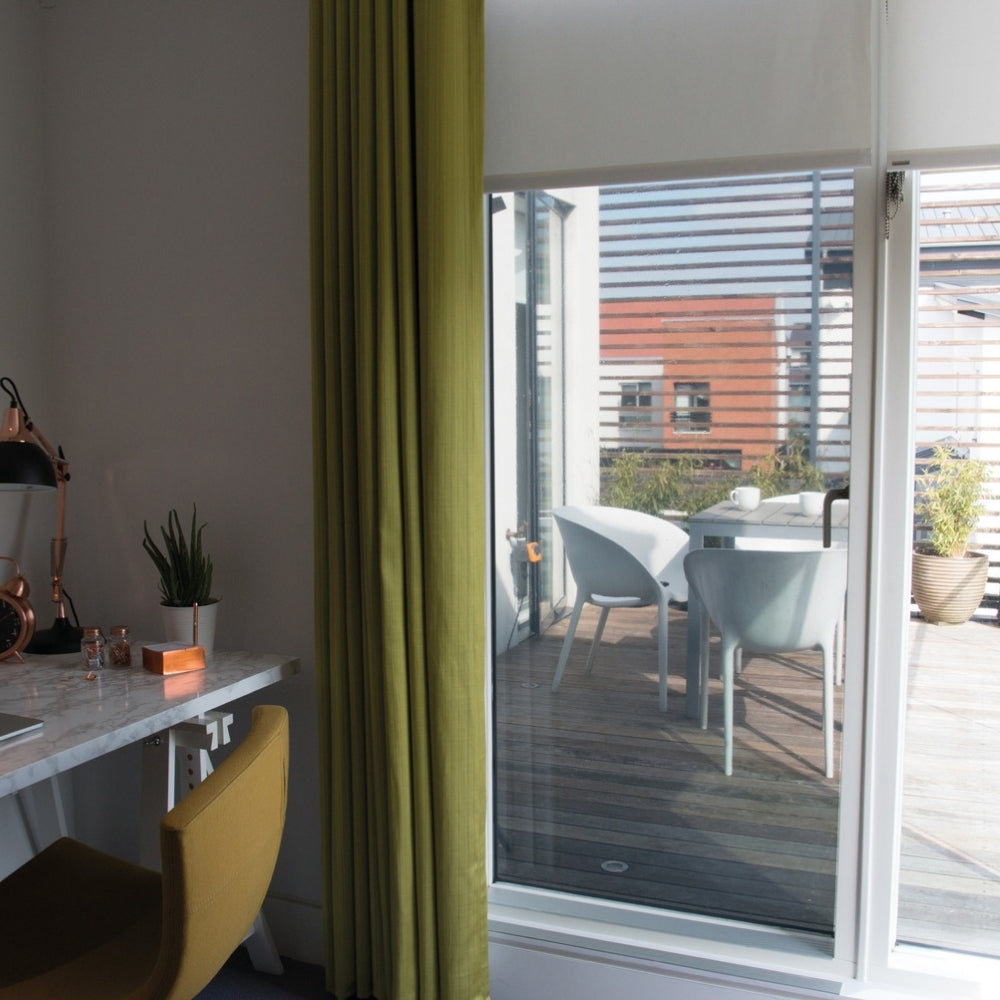
Looking to add privacy, style, or glare reduction to your windows? Our range of self-adhesive and static cling window films are an easy, affordable solution — no tools or tradespeople required. Below, we cover everything you need to know to choose, install, and care for your film with confidence.
Where Can Window Film Be Used?
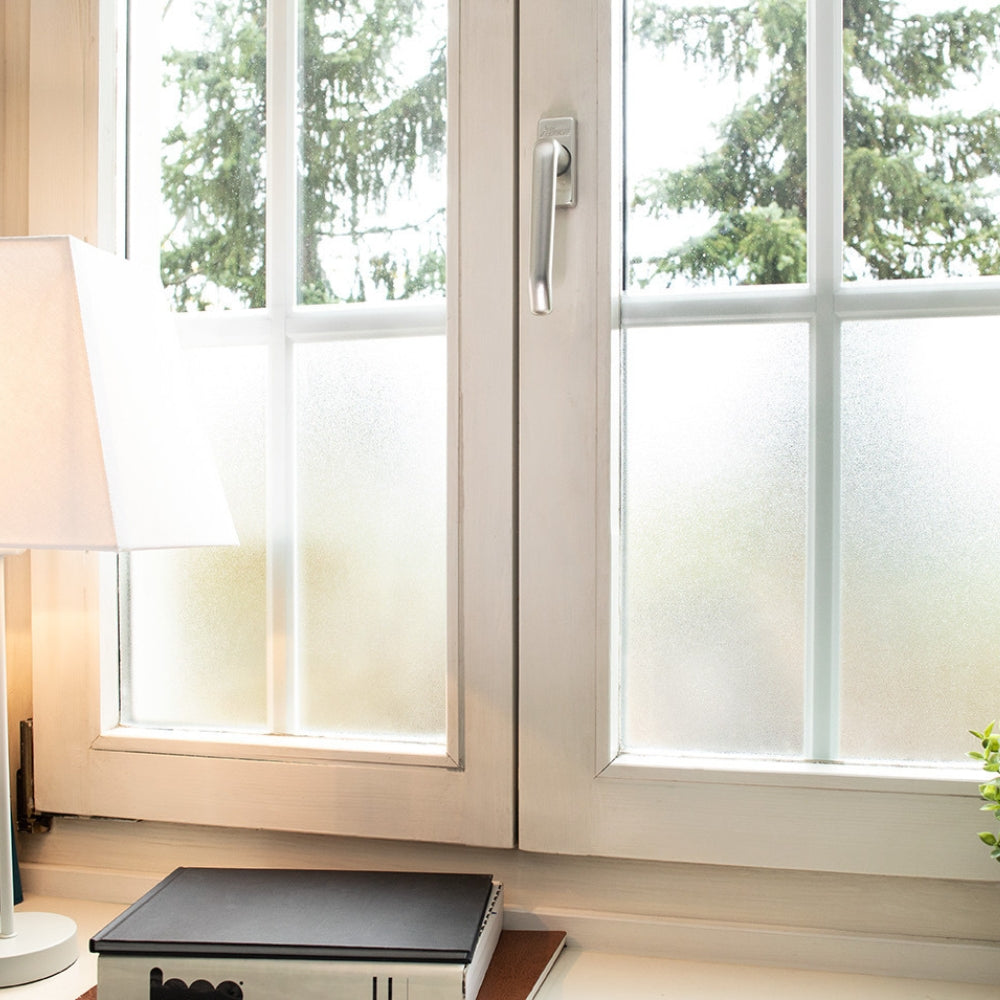
- Double Glazed Windows: Yes — all our films are safe to use on double glazing.
- Condensation-Prone Windows: Also fine — condensation will sit on the film rather than the glass. Just ensure conditions are dry during application.
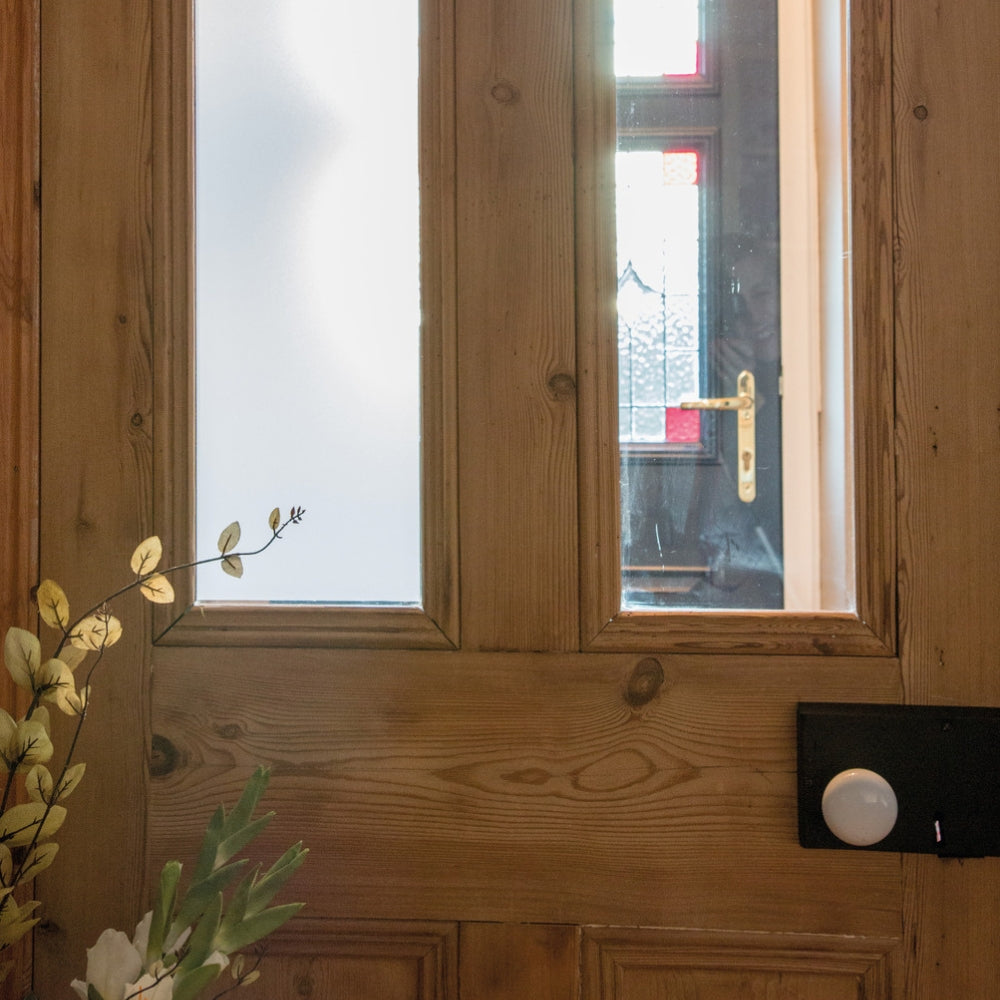
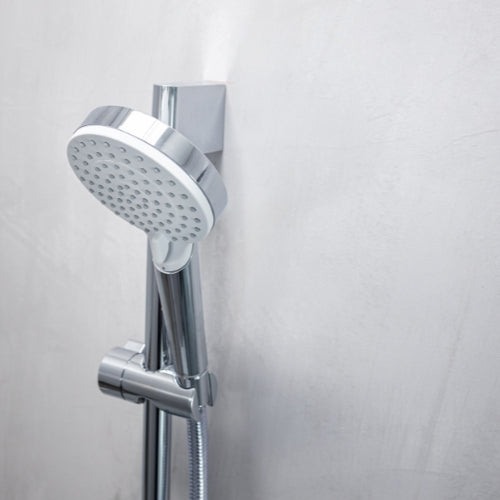
- Shower Glass: Yes, but install on the outsideof the glass, not inside where it’s directly exposed to water.
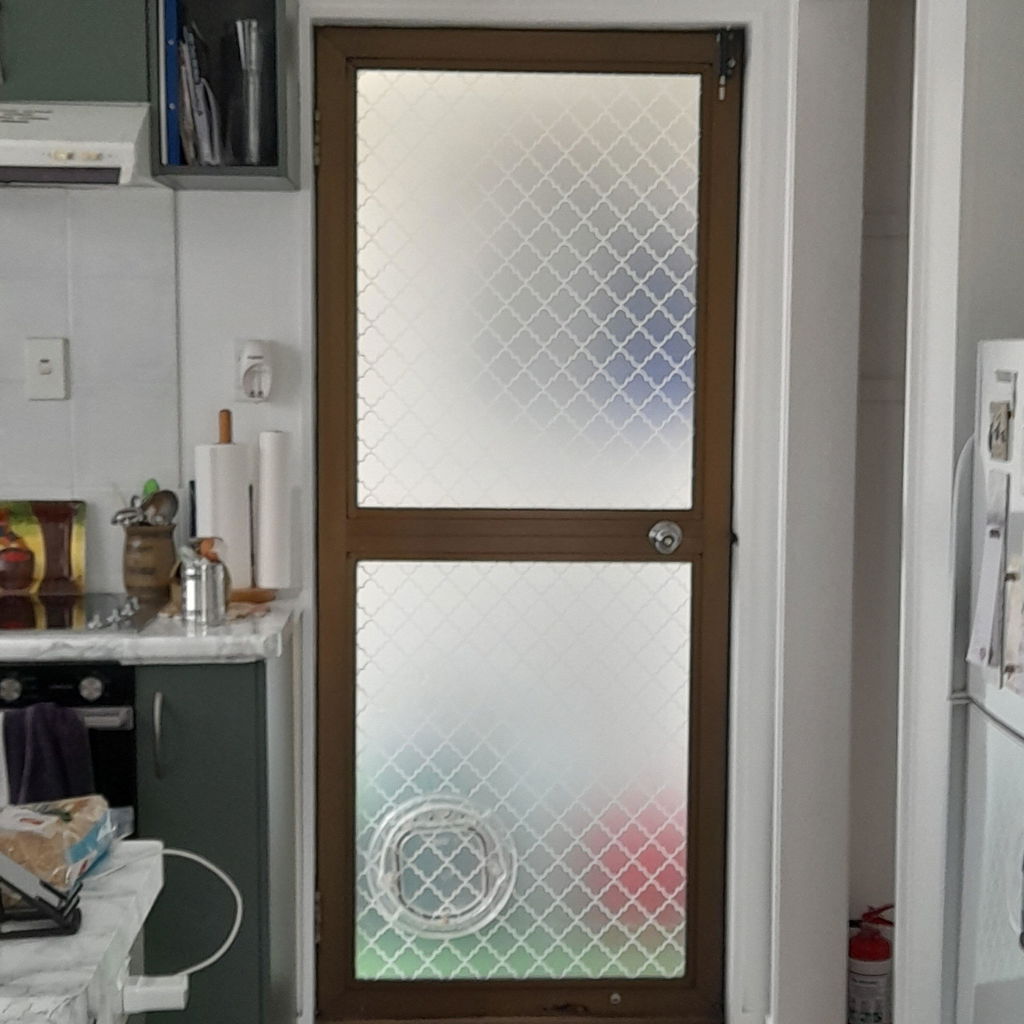
- Textured Glass: Use self-adhesive film, as static cling does not bond well to textured surfaces.
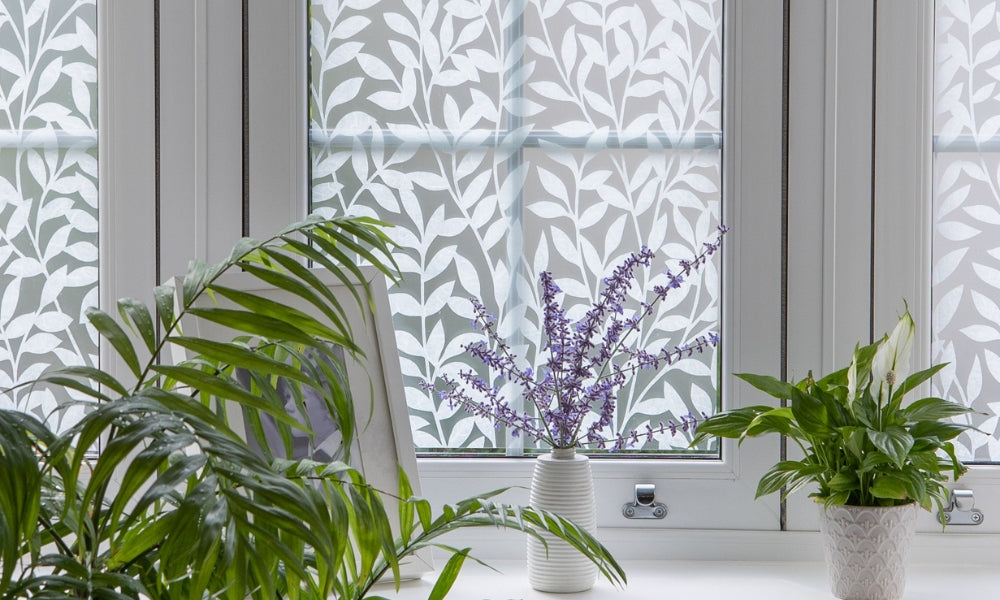
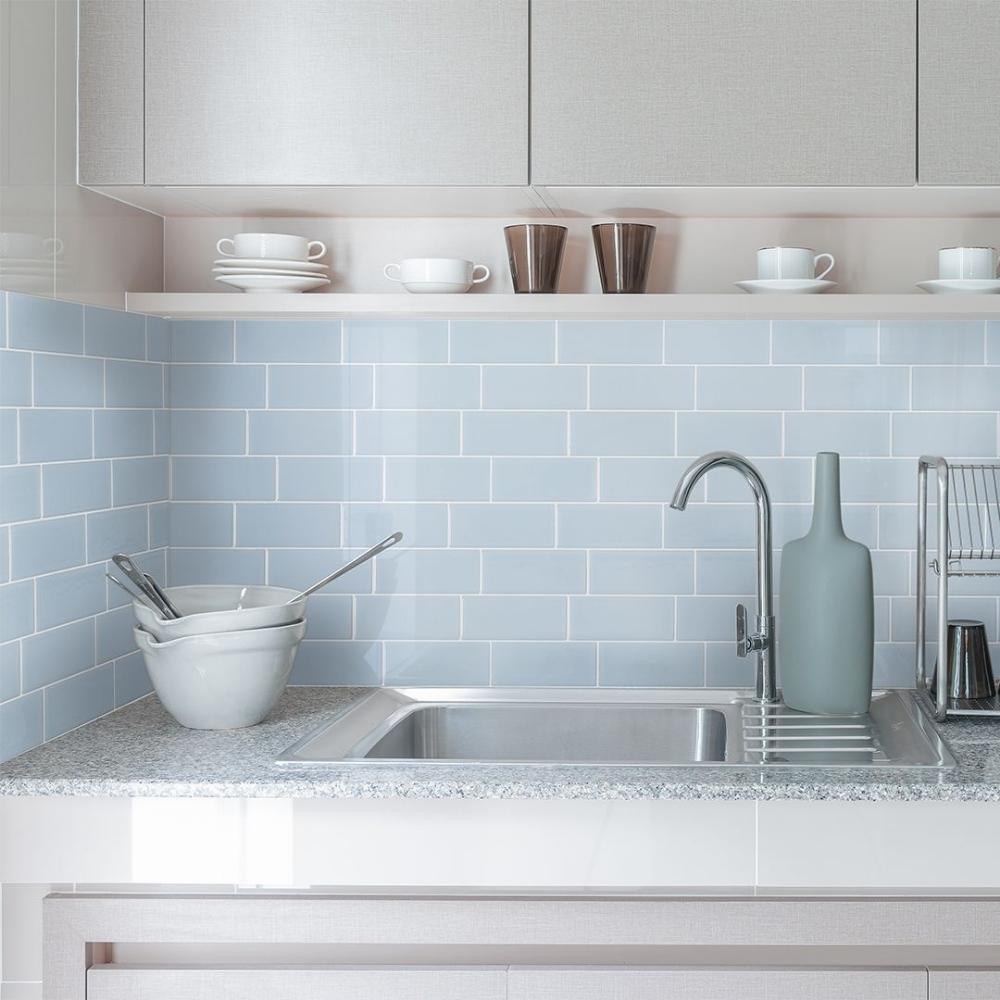
- Other Surfaces: Film can also be used on:
✓ Glass table
✓ Interior doors
✓ Cabinet glass
✓ Vases or decorative pieces
✓ Glass balustrades or pool fences (ensure they are clean, smooth, and flat)
✓ Acrylic sheets / Plexiglass
A Note About Tinted Static Cling Film
Tinted static cling film must cover the entire glass pane. If applied partially, it can cause heat imbalances in the glass which may lead to cracks — especially in sunny areas or on double-glazed windows.
Not Recommended For:
- Car Windows: Most car glass is curved, so static cling may not adhere properly and can peel off over time.
- Insulation: Our films do not provide extra insulation, and we currently do not stock thermal window insulation film.
Static Cling vs. Self-Adhesive Window Film
Static Cling Film
This type of film sticks using water — no glue required. It's completely removable and reusable, making it perfect for renters or temporary privacy needs. Static cling films work best on clean, flat, smooth glass surfaces only.
Self-Adhesive Film
Self-adhesive films have a glue backing, which makes them a more semi-permanent option. They're ideal for kitchens, bathrooms, and even lightly textured glass. Once applied, they stay put for the long haul but can be removed when needed with a bit more care.
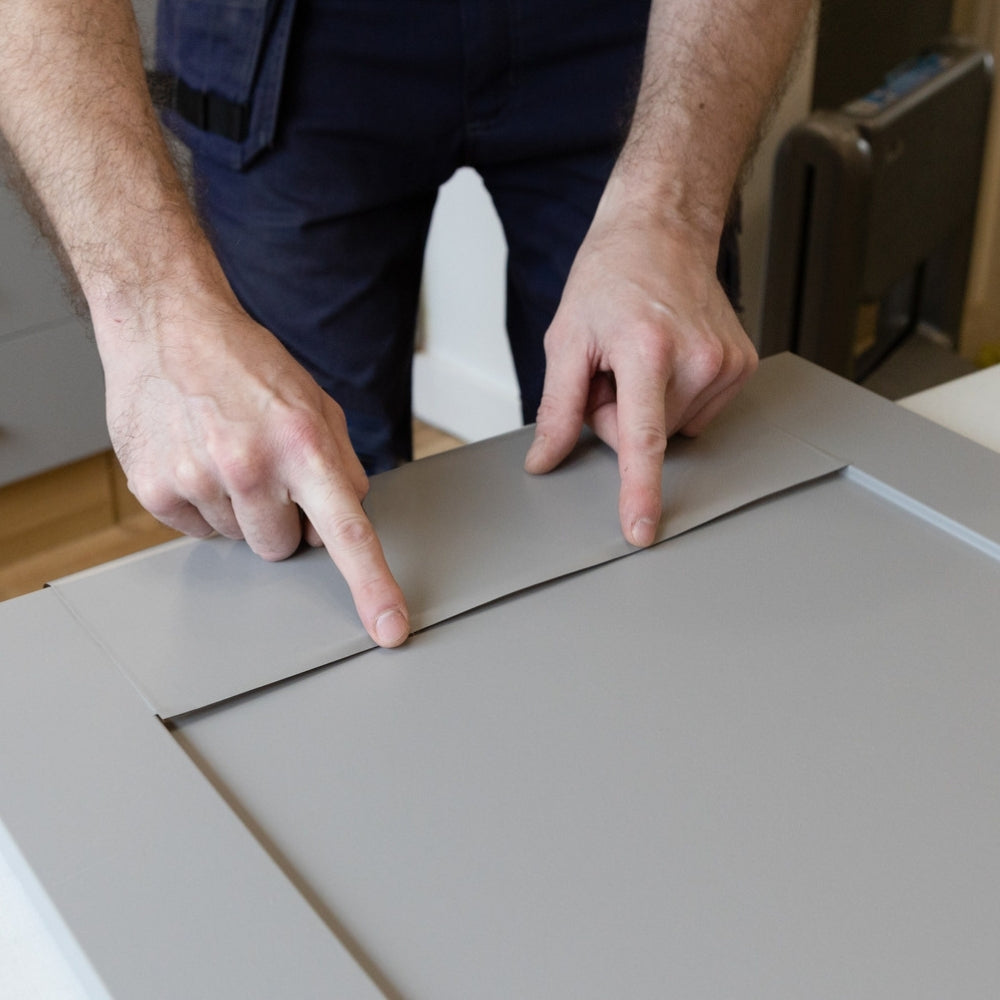
Joining Film on Larger Windows?
If your window is wider than the roll, we recommend leaving a small gap (2–5mm) between each sheet to mimic glass panels — this looks intentional and avoids peeling at the edges.
Cleaning & Maintenance
- Clean with a soft cloth and non-abrasive cleaner.
- Avoid scrubbing pads or ammonia-based sprays.
- For reapplication, clean both the window and the film before reinstalling.
Trouble-Shooting Guide: If the Film Isn’t Sticking
- Backing paper hasn’t been removed
It’s clear and can be tricky to see — double-check! - The film touches the window frame or seal
Always leave a 2–5mm gap around the edge to avoid trapped air. - Glass is textured or frosted
Use a self-adhesivefilm for these surfaces. - The glass already has an existing film
E.g. UV tint — this may prevent proper adhesion. - Not enough water during application
Spray generously and squeeze out excess with a squeegee. - Wrong side is facing the window
The smooth side should touch the glass. - Poor surface prep
Clean both the window and the filmthoroughly before applying.
Watch this Instagram video for a visual guide.
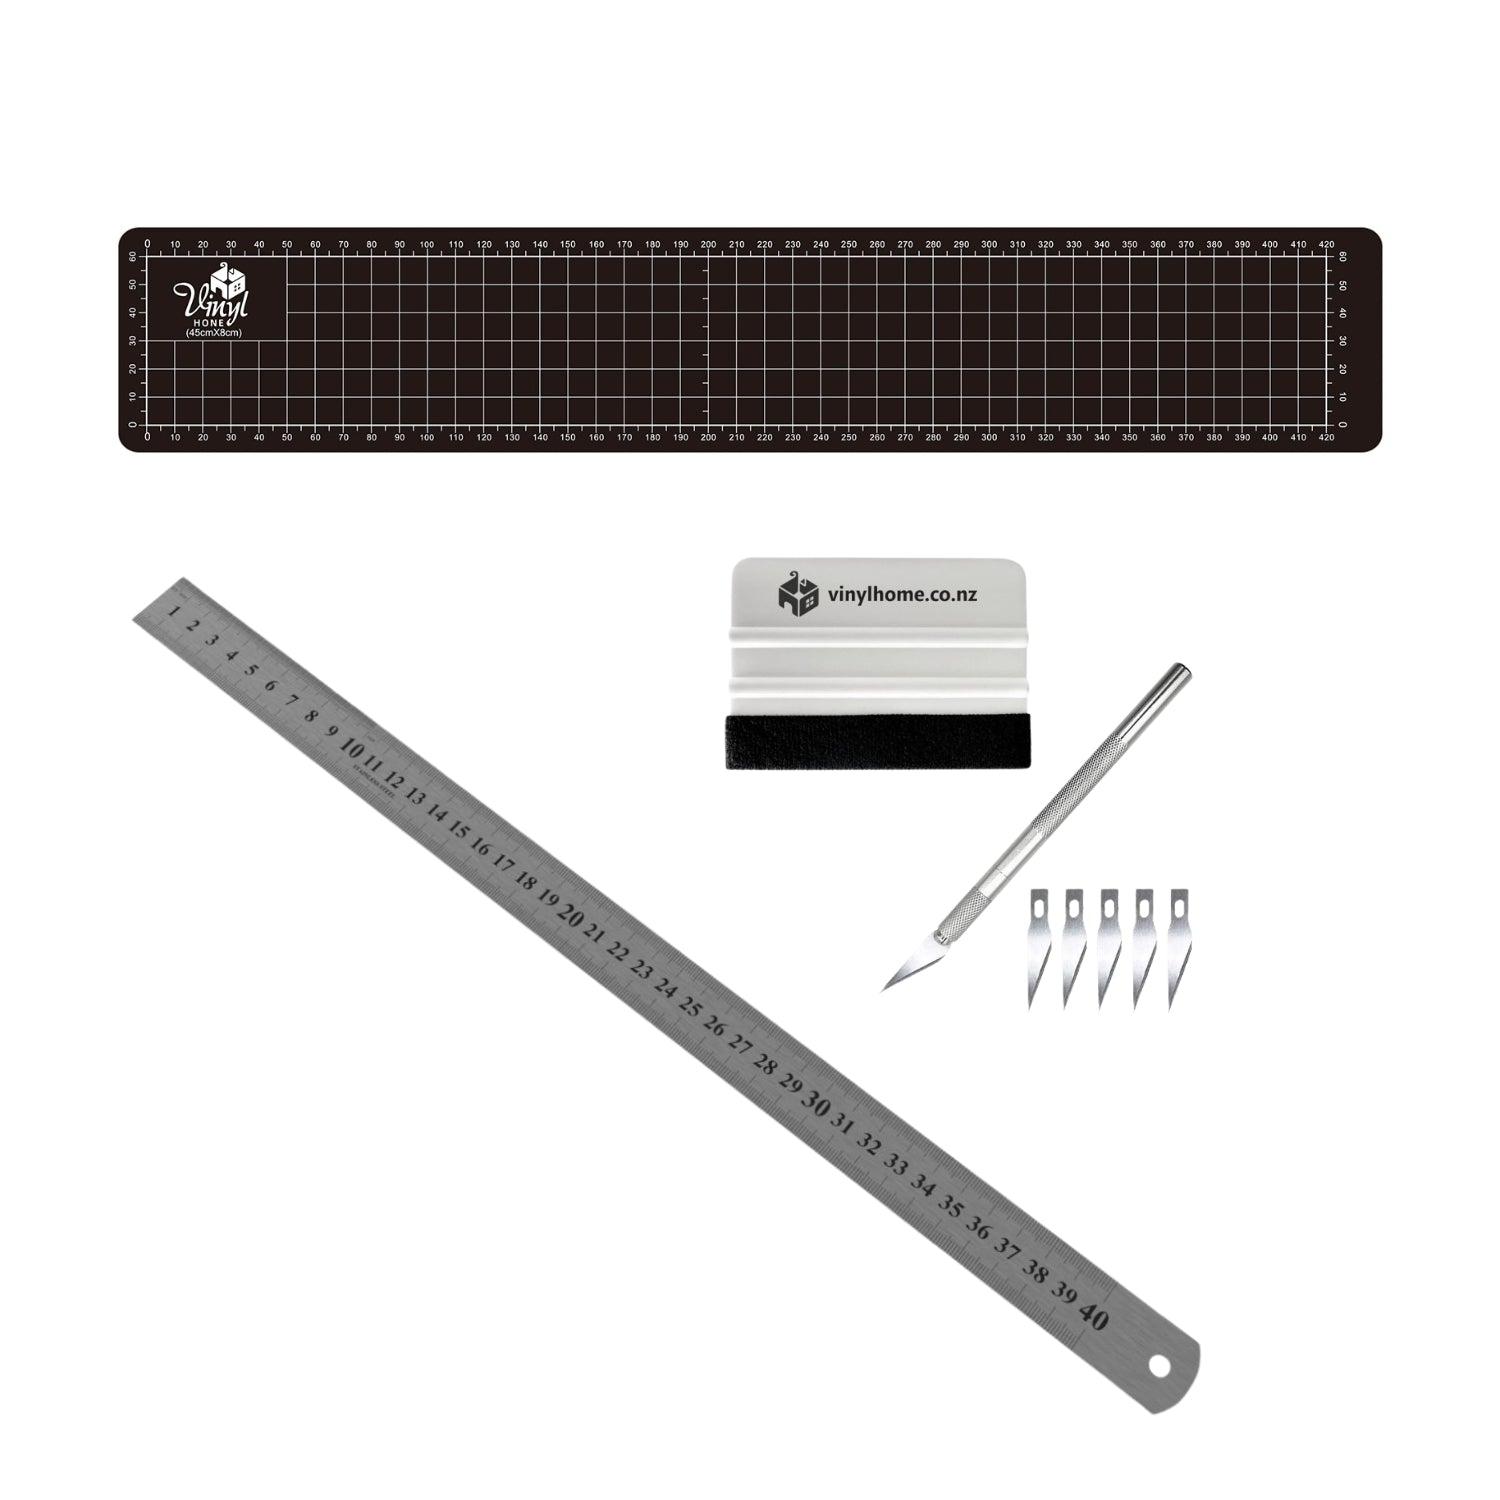
What You'll Need
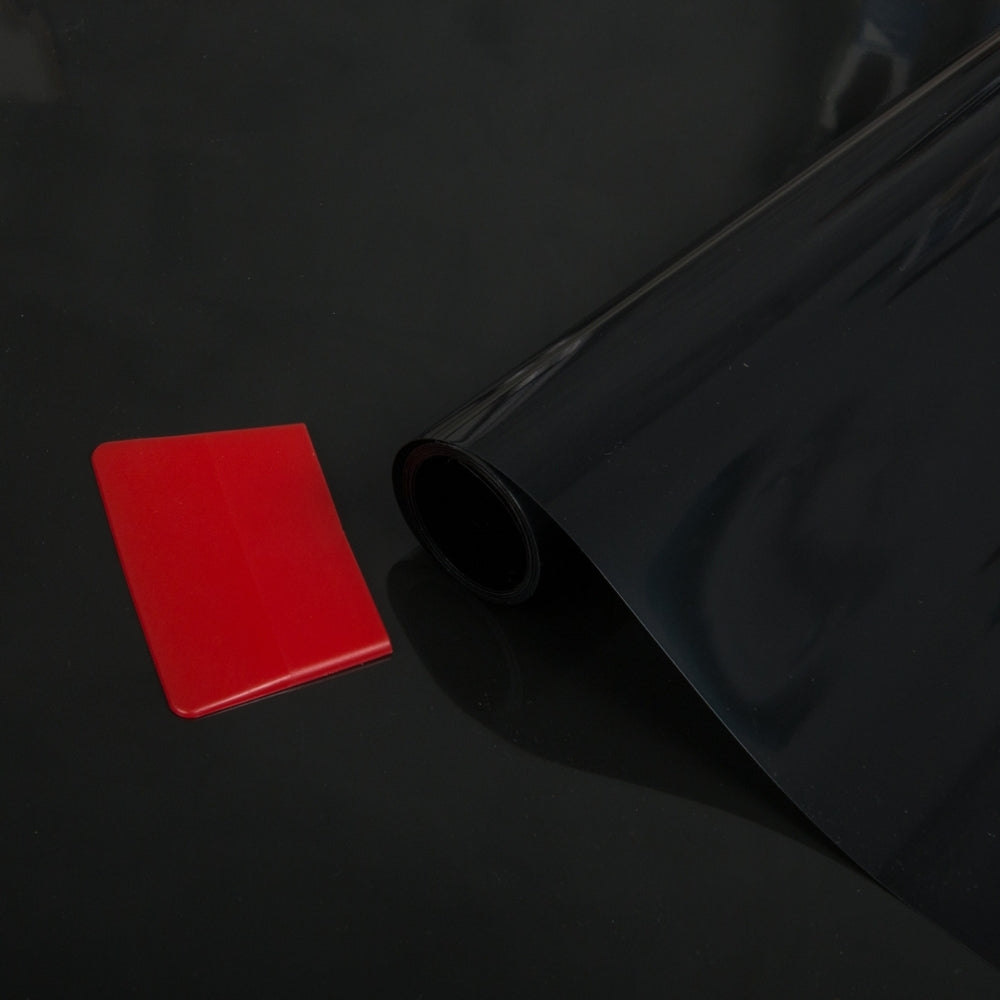
- Window film (static cling or self-adhesive)
- Spray bottle with water (add a few drops of dish soap)
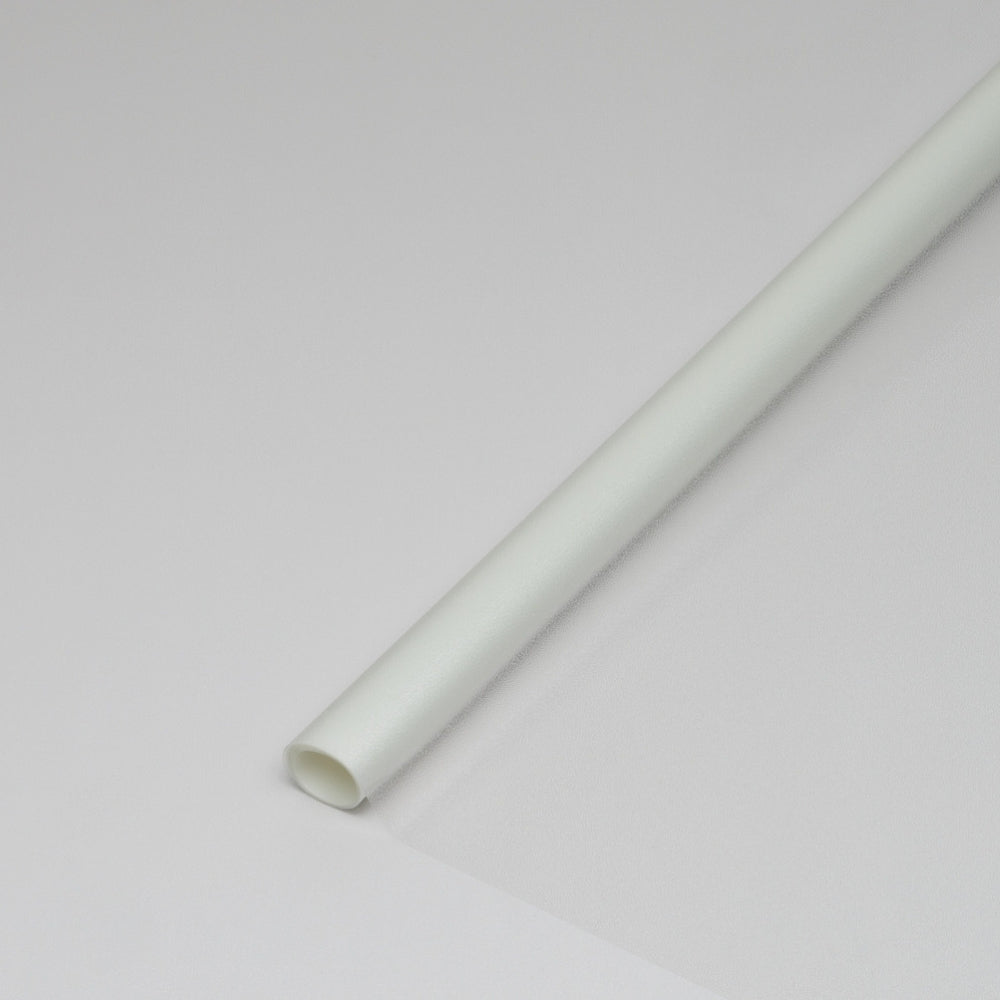
- Application kit including a a Squeegee and a Sharp utility knife
- Tape measure & ruler
- Microfibre cloth or paper towels
- Masking tape (optional, for positioning)
Cleaning solution (non-abrasive)
Step 1: Clean the Glass
Thoroughly clean the window with a glass cleaner or a vinegar-water mix.
Remove all dust, grease, and grime — the cleaner the surface, the better the film will adhere.
Dry the window with a lint-free cloth.
Step 2: Measure and Cut
- Measure the width and height of the glass pane.
- Cut your film to size, leaving 1–2cm extraaround the edges (you'll trim later for a perfect fit).
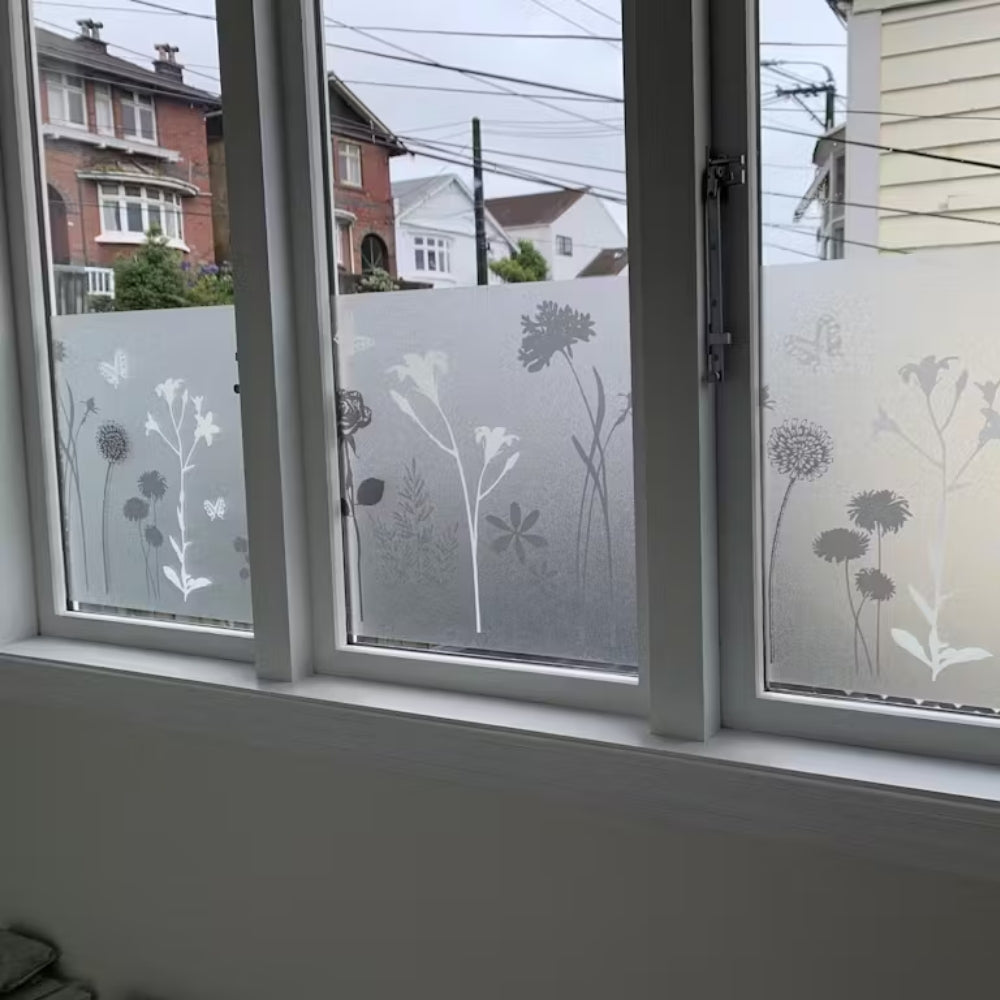
- Double-check the pattern direction if using decorative film.
Step 3: Spray the Glass
- For static cling film, spray the entire window generously with water + a few drops of dish soap. This allows repositioning and prevents air bubbles.
- For self-adhesive film, mist the surface lightly — this reduces initial stickiness and helps reposition the film.
Step 4: Peel the Backing
- Static cling: Carefully peel off the clear backing film (it may be hard to see).
- Self-adhesive: Peel a small section to start — don’t remove all the backing at once.
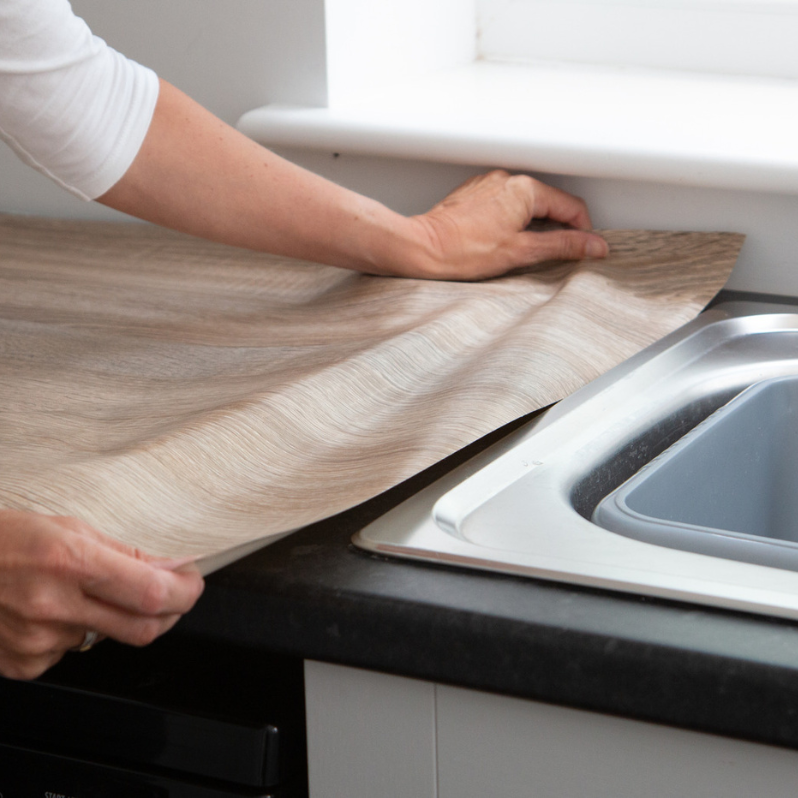
Step 5: Apply the Film
- Position the top edge of the film against the glass.
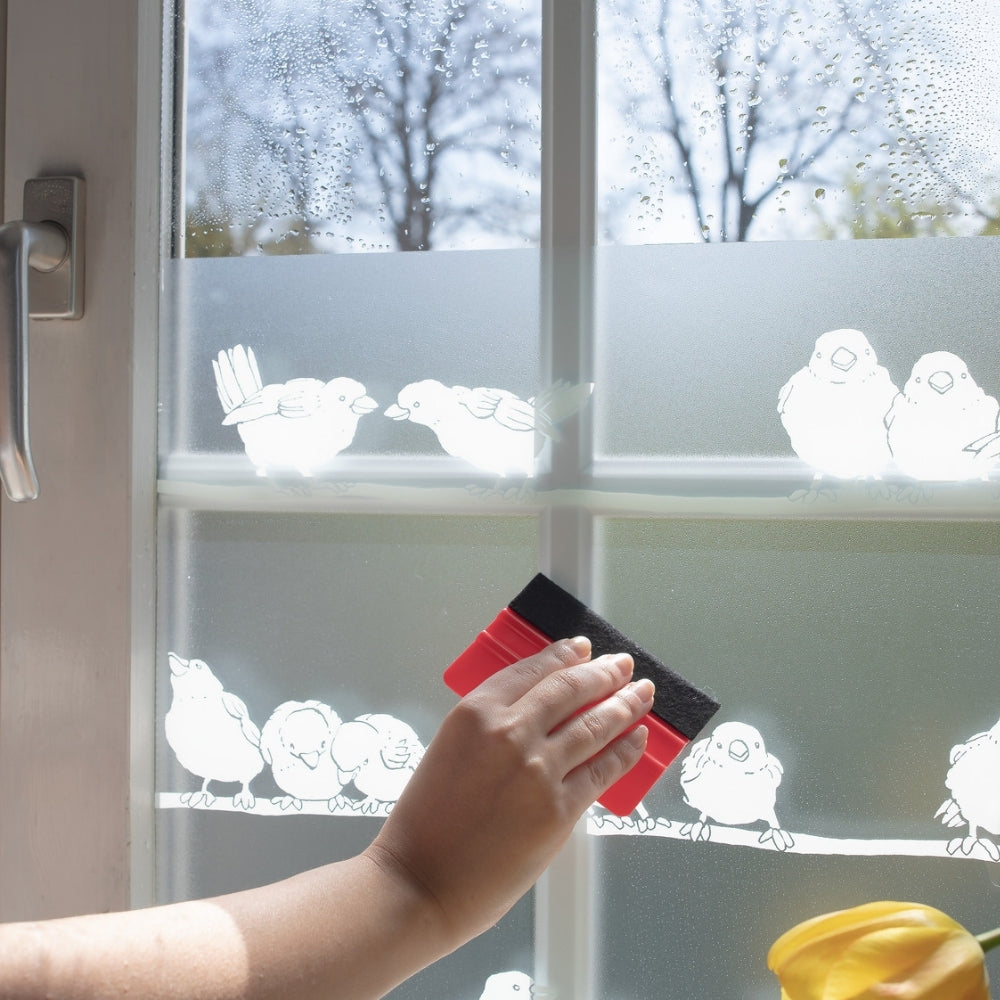
- Use a squeegee to press it in place while gradually peeling off the backing.
- Smooth the film down from top to bottom, pressing out water and bubbles as you go.
- If needed, reposition the film while the glass is still wet.
Step 6: Trim and Finish
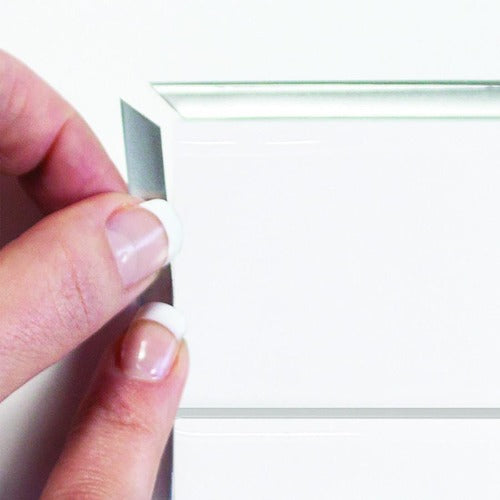
- Use a sharp knife to trim excess film around the edges, leaving a 2–5mm gapfrom the window frame to prevent edge lifting.
- Run the squeegee over the entire surface again to push out any remaining moisture.
Step 7: Let It Cure
- Leave the window alone for at least 24 hours.
- Static cling film will bond better once the moisture evaporates — keep windows closed to speed this up.
- Avoid cleaning for a few days to allow the film to fully settle.
Looking to add privacy, style, or glare reduction to your windows? Our range of self-adhesive and static cling window films are an easy, affordable solution — no tools or tradespeople required. Below, we cover everything you need to know to choose, install, and care for your film with confidence.
Where Can Window Film Be Used?
- Double Glazed Windows: Yes — all our films are safe to use on double glazing.
- Condensation-Prone Windows: Also fine — condensation will sit on the film rather than the glass. Just ensure conditions are dry during application.
- Shower Glass: Yes, but install on the outsideof the glass, not inside where it’s directly exposed to water.
- Textured Glass: Use self-adhesive film, as static cling does not bond well to textured surfaces.
- Other Surfaces: Film can also be used on:
✓ Glass table
✓ Interior doors
✓ Cabinet glass
✓ Vases or decorative pieces
✓ Glass balustrades or pool fences (ensure they are clean, smooth, and flat)
✓ Acrylic sheets / Plexiglass
A Note About Tinted Static Cling Film
Tinted static cling film must cover the entire glass pane. If applied partially, it can cause heat imbalances in the glass which may lead to cracks — especially in sunny areas or on double-glazed windows.
Not Recommended For:
- Car Windows: Most car glass is curved, so static cling may not adhere properly and can peel off over time.
- Insulation: Our films do not provide extra insulation, and we currently do not stock thermal window insulation film.
Static Cling vs. Self-Adhesive Window Film
Static Cling Film
This type of film sticks using water — no glue required. It's completely removable and reusable, making it perfect for renters or temporary privacy needs. Static cling films work best on clean, flat, smooth glass surfaces only.
Self-Adhesive Film
Self-adhesive films have a glue backing, which makes them a more semi-permanent option. They're ideal for kitchens, bathrooms, and even lightly textured glass. Once applied, they stay put for the long haul but can be removed when needed with a bit more care.
Joining Film on Larger Windows?
If your window is wider than the roll, we recommend leaving a small gap (2–5mm) between each sheet to mimic glass panels — this looks intentional and avoids peeling at the edges.
Cleaning & Maintenance
- Clean with a soft cloth and non-abrasive cleaner.
- Avoid scrubbing pads or ammonia-based sprays.
- For reapplication, clean both the window and the film before reinstalling.
Trouble-Shooting Guide: If the Film Isn’t Sticking
- Backing paper hasn’t been removed
It’s clear and can be tricky to see — double-check! - The film touches the window frame or seal
Always leave a 2–5mm gap around the edge to avoid trapped air. - Glass is textured or frosted
Use a self-adhesivefilm for these surfaces. - The glass already has an existing film
E.g. UV tint — this may prevent proper adhesion. - Not enough water during application
Spray generously and squeeze out excess with a squeegee. - Wrong side is facing the window
The smooth side should touch the glass. - Poor surface prep
Clean both the window and the filmthoroughly before applying.
Watch this Instagram video for a visual guide.
What You'll Need
- Window film (static cling or self-adhesive)
- Spray bottle with water (add a few drops of dish soap)
- Application kit including a a Squeegee and a Sharp utility knife
- Tape measure & ruler
- Microfibre cloth or paper towels
- Masking tape (optional, for positioning)
Cleaning solution (non-abrasive)
Step 1: Clean the Glass
Thoroughly clean the window with a glass cleaner or a vinegar-water mix.
Remove all dust, grease, and grime — the cleaner the surface, the better the film will adhere.
Dry the window with a lint-free cloth.
Step 2: Measure and Cut
- Measure the width and height of the glass pane.
- Cut your film to size, leaving 1–2cm extraaround the edges (you'll trim later for a perfect fit).
- Double-check the pattern direction if using decorative film.
Step 3: Spray the Glass
- For static cling film, spray the entire window generously with water + a few drops of dish soap. This allows repositioning and prevents air bubbles.
- For self-adhesive film, mist the surface lightly — this reduces initial stickiness and helps reposition the film.
Step 4: Peel the Backing
- Static cling: Carefully peel off the clear backing film (it may be hard to see).
- Self-adhesive: Peel a small section to start — don’t remove all the backing at once.
Step 5: Apply the Film
- Position the top edge of the film against the glass.
- Use a squeegee to press it in place while gradually peeling off the backing.
- Smooth the film down from top to bottom, pressing out water and bubbles as you go.
- If needed, reposition the film while the glass is still wet.
Step 6: Trim and Finish
- Use a sharp knife to trim excess film around the edges, leaving a 2–5mm gapfrom the window frame to prevent edge lifting.
- Run the squeegee over the entire surface again to push out any remaining moisture.
Step 7: Let It Cure
- Leave the window alone for at least 24 hours.
- Static cling film will bond better once the moisture evaporates — keep windows closed to speed this up.
- Avoid cleaning for a few days to allow the film to fully settle.