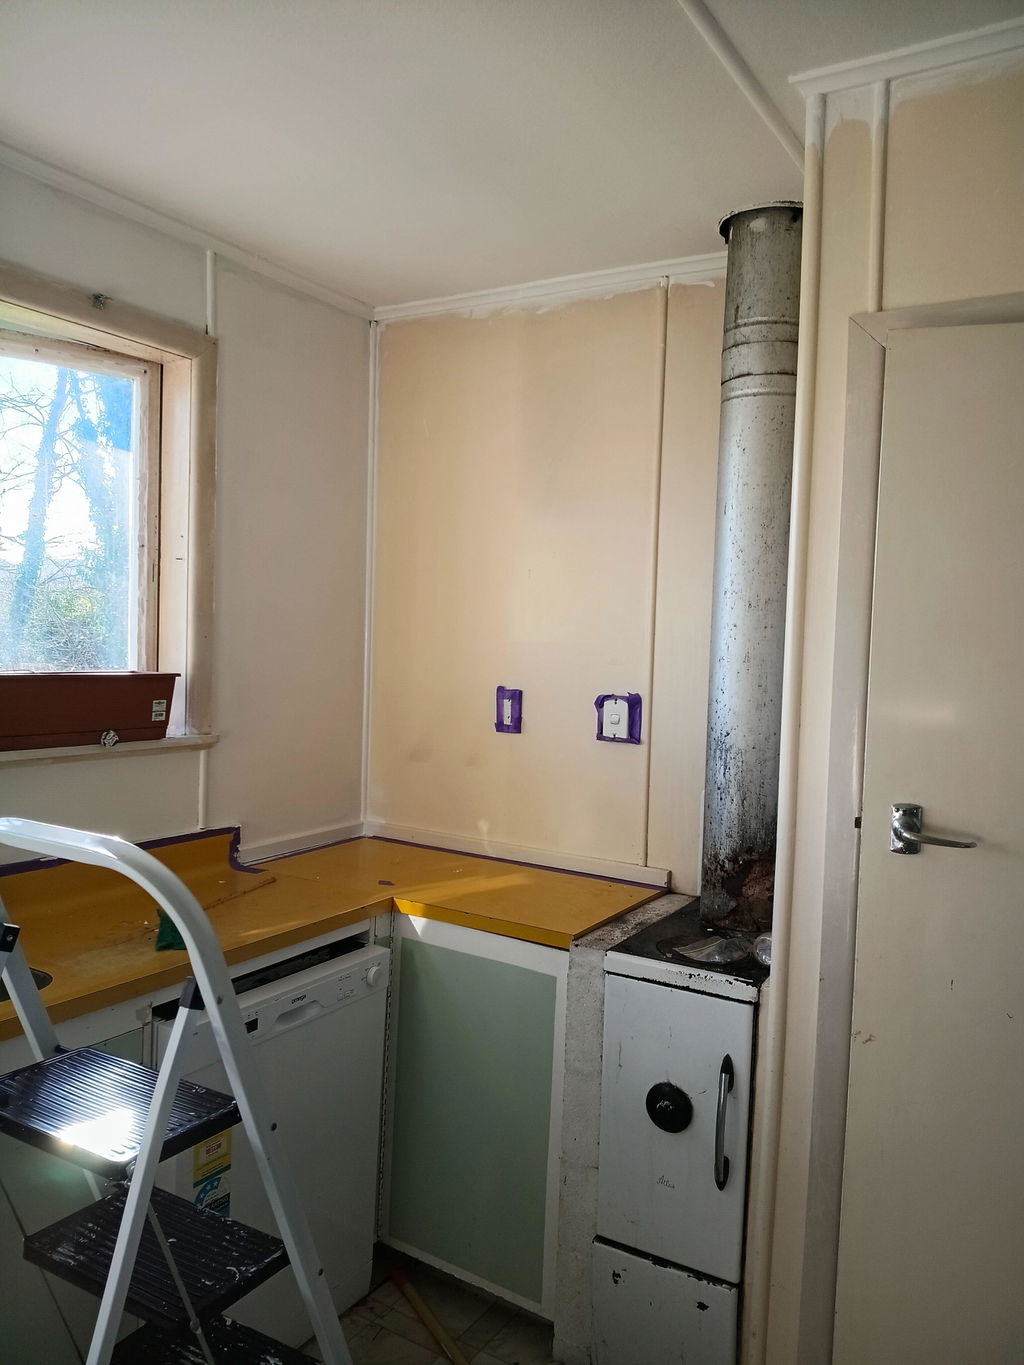


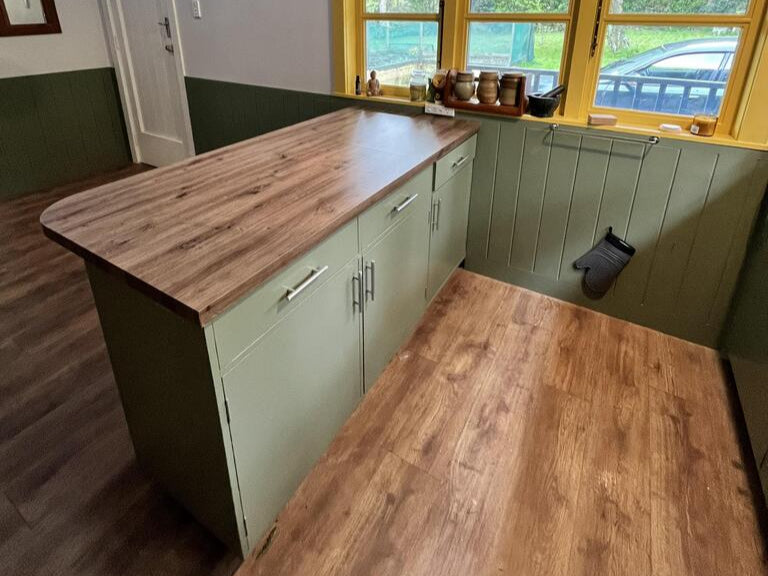


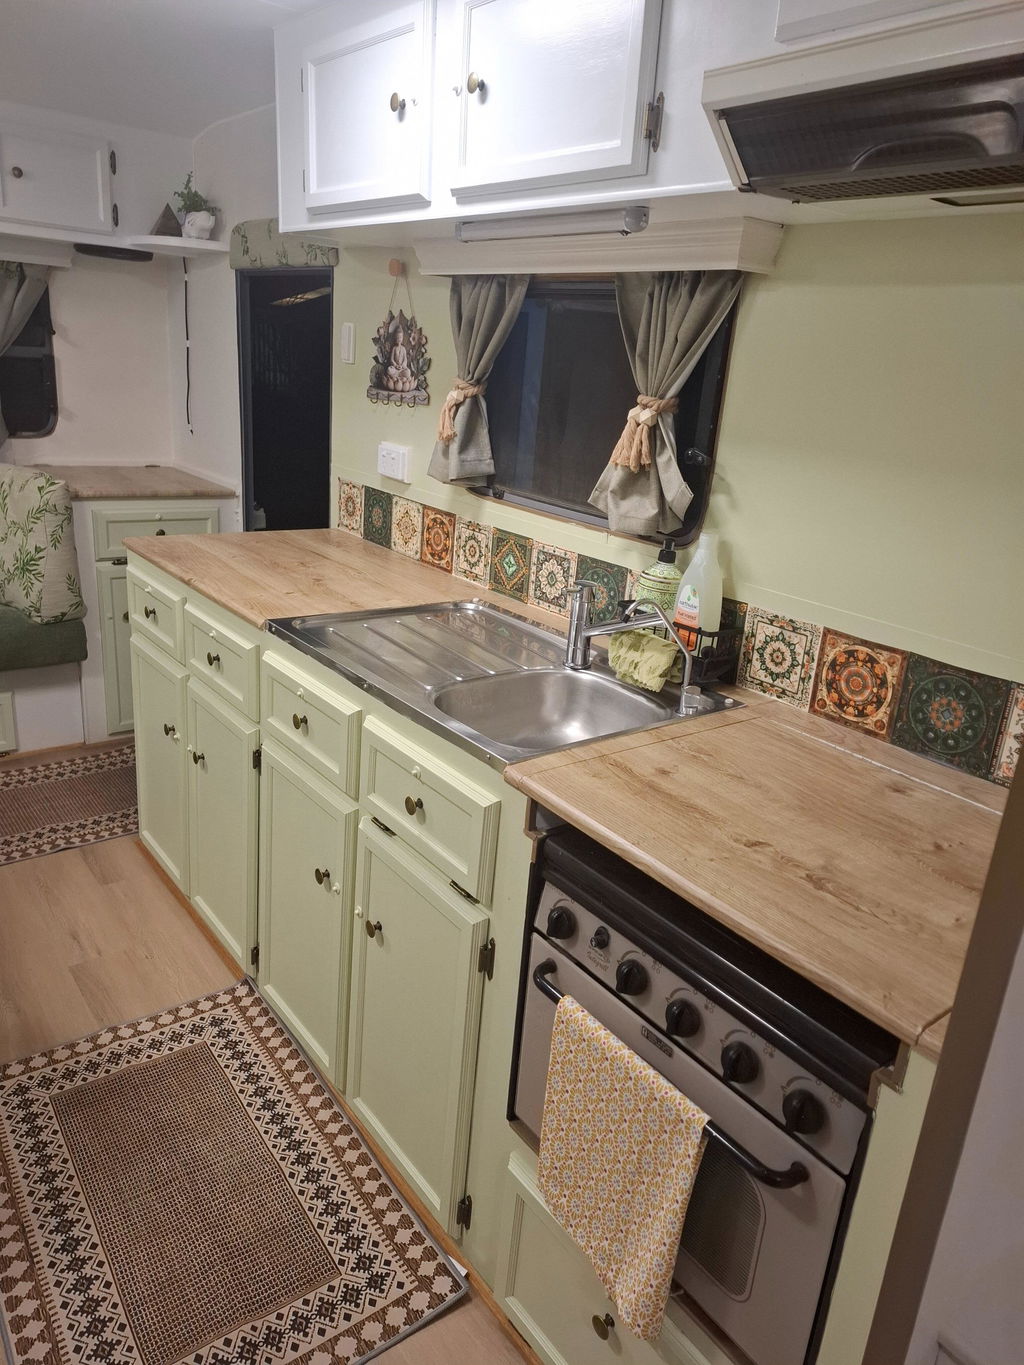
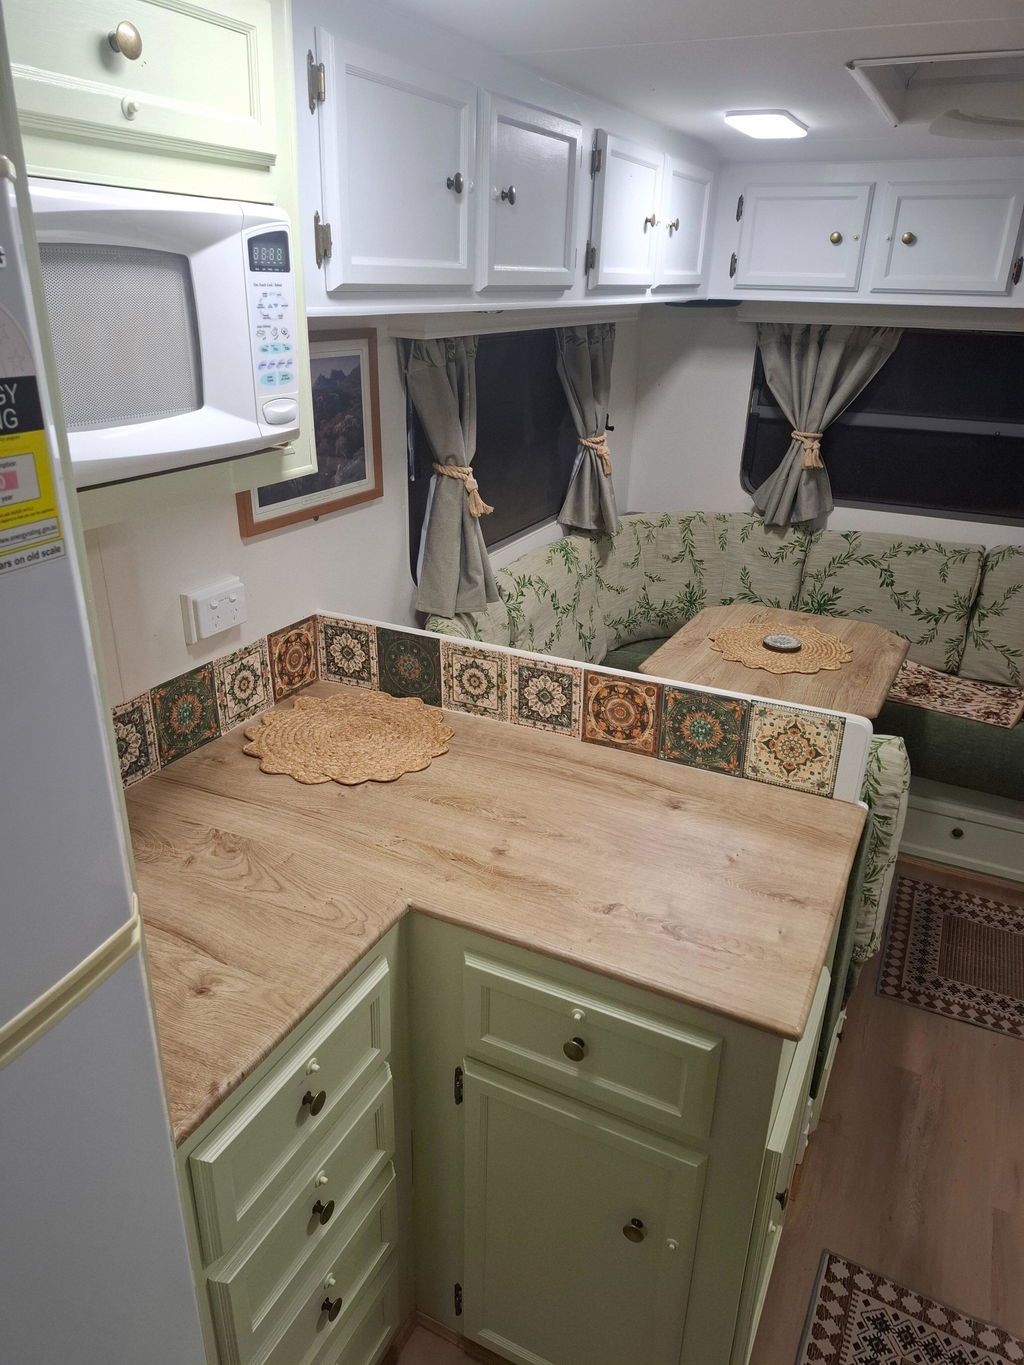
Totally impressed with the vinyl we used for renovations to our large caravan we use for a Nana flat.The ease of putting it on and its durability out weighs cheap stuff from temu. (As i tried it) It has completely changed the look of the dated bench tops. I am glad i bought extra as im going to do our travelling caravan now and a couple small cupboards inside house.
Very happy indeed.
I totally recommend this product.
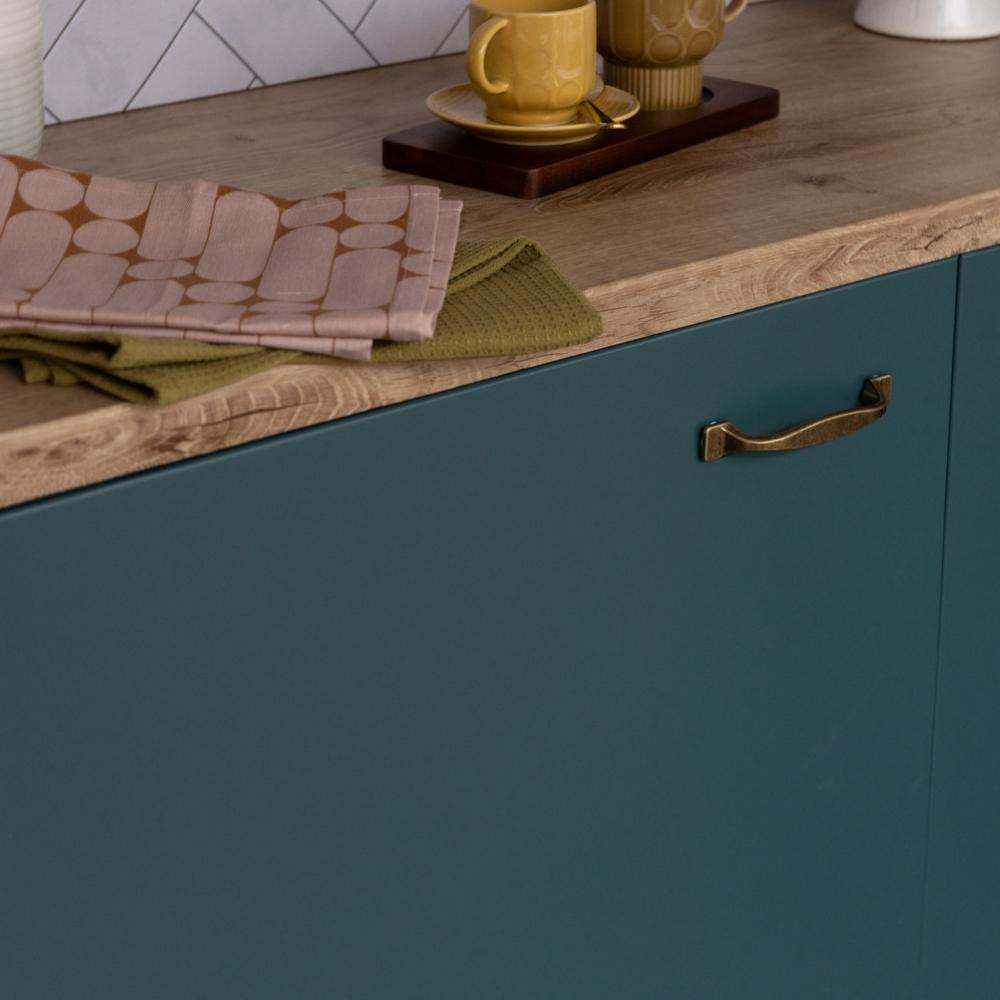
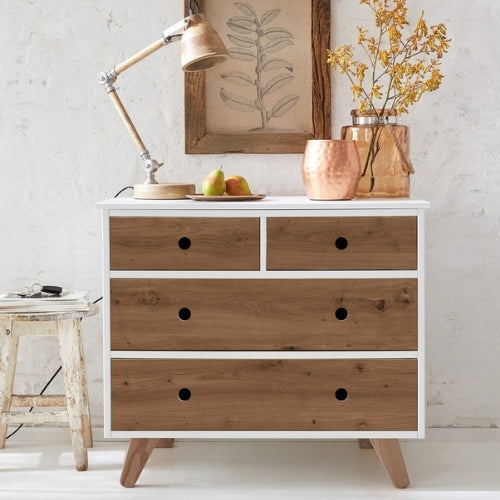
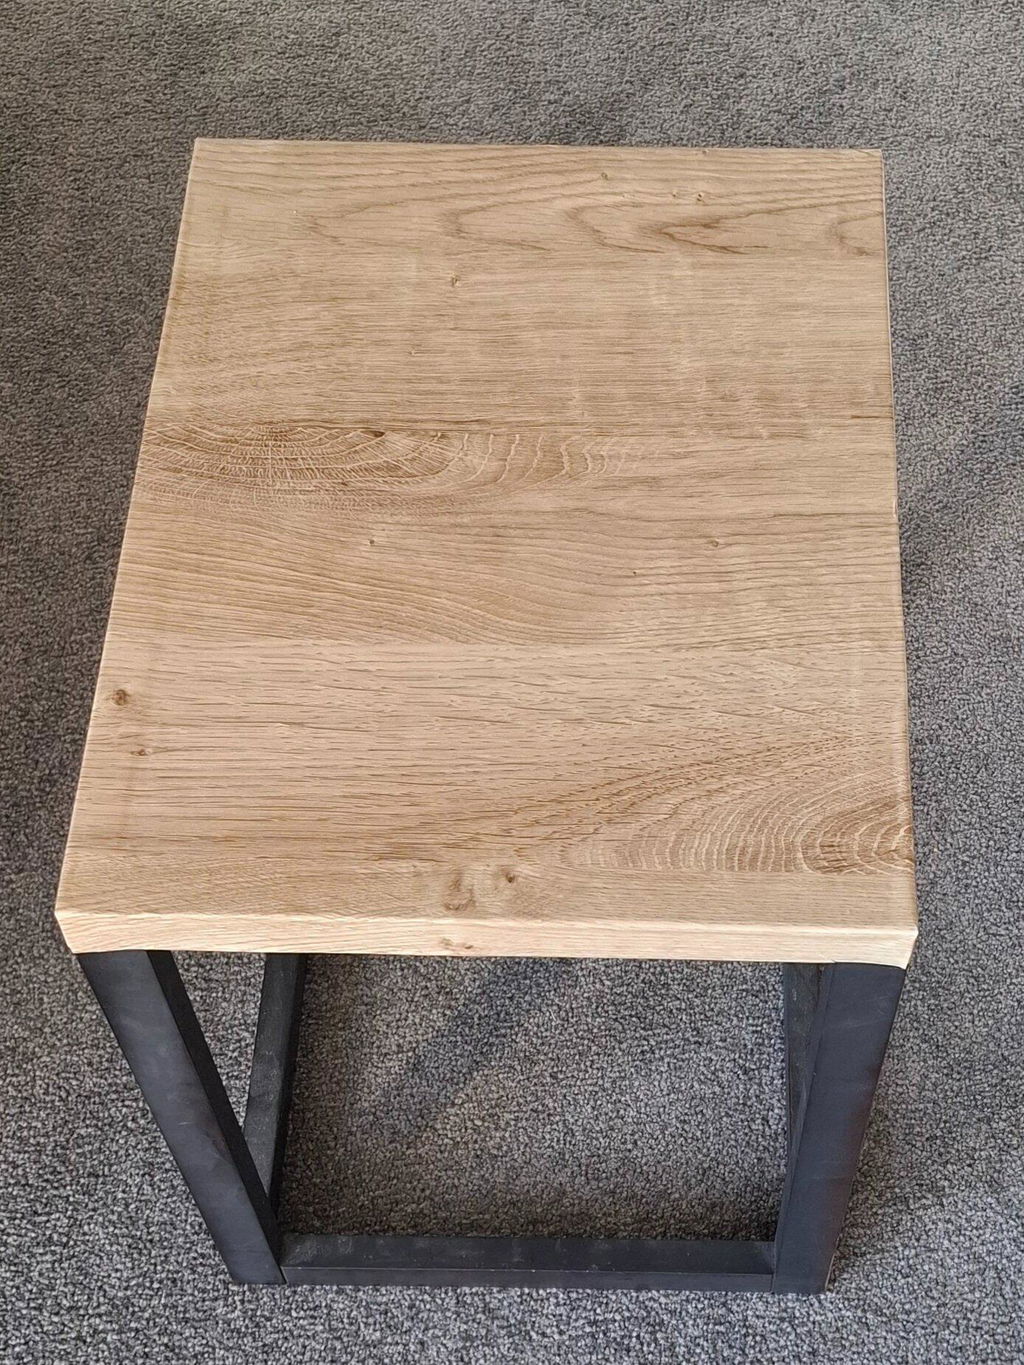
I've ordered 2x lots of samples now. First lot to suss out colours, feel, spray and wipe and a hot mug etc and second lot to make the final choice. Highly recommend getting the samples! I'm going with someone that was not in the plan and can't wait for the final result.

Absolutely brilliant service and strongly recommend these products
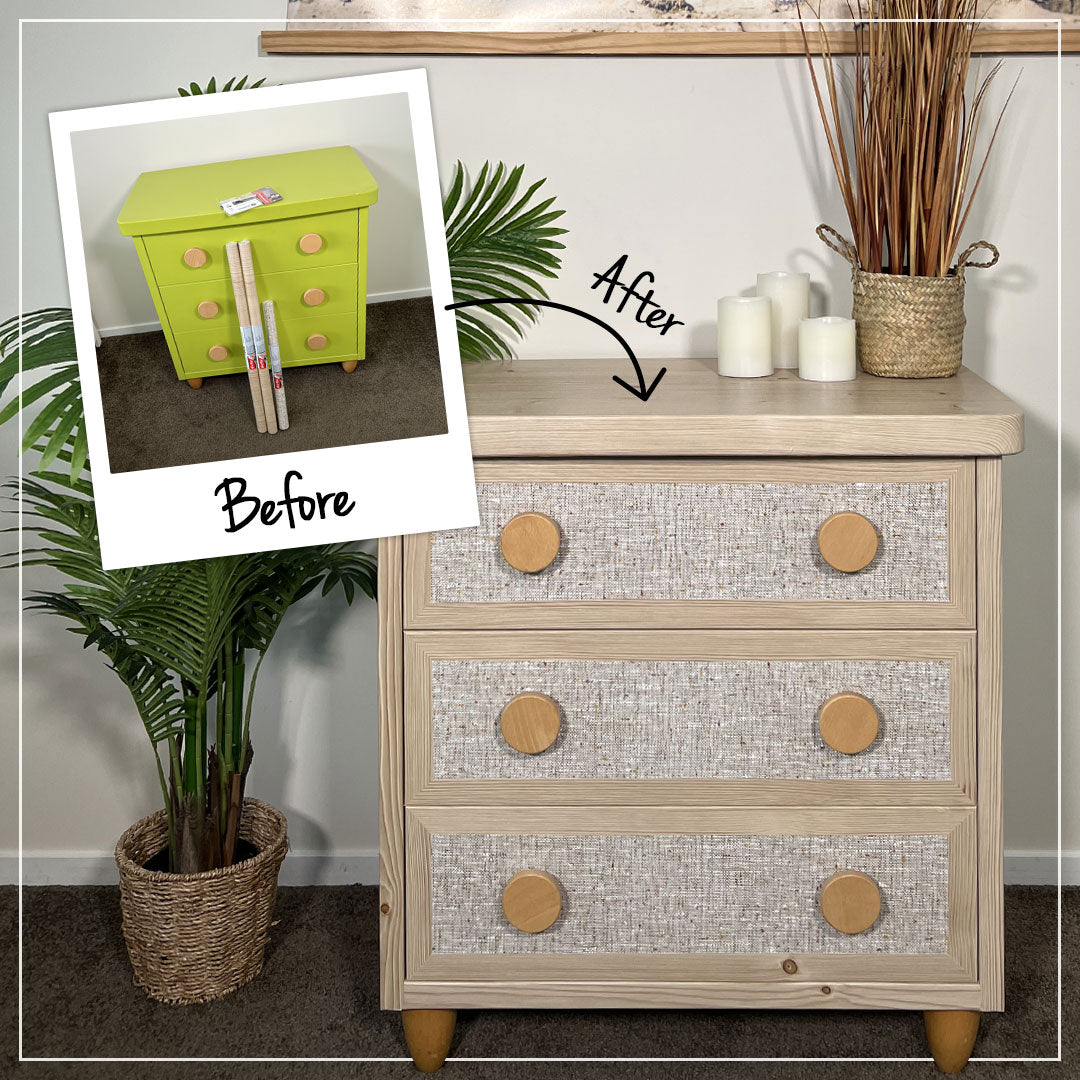
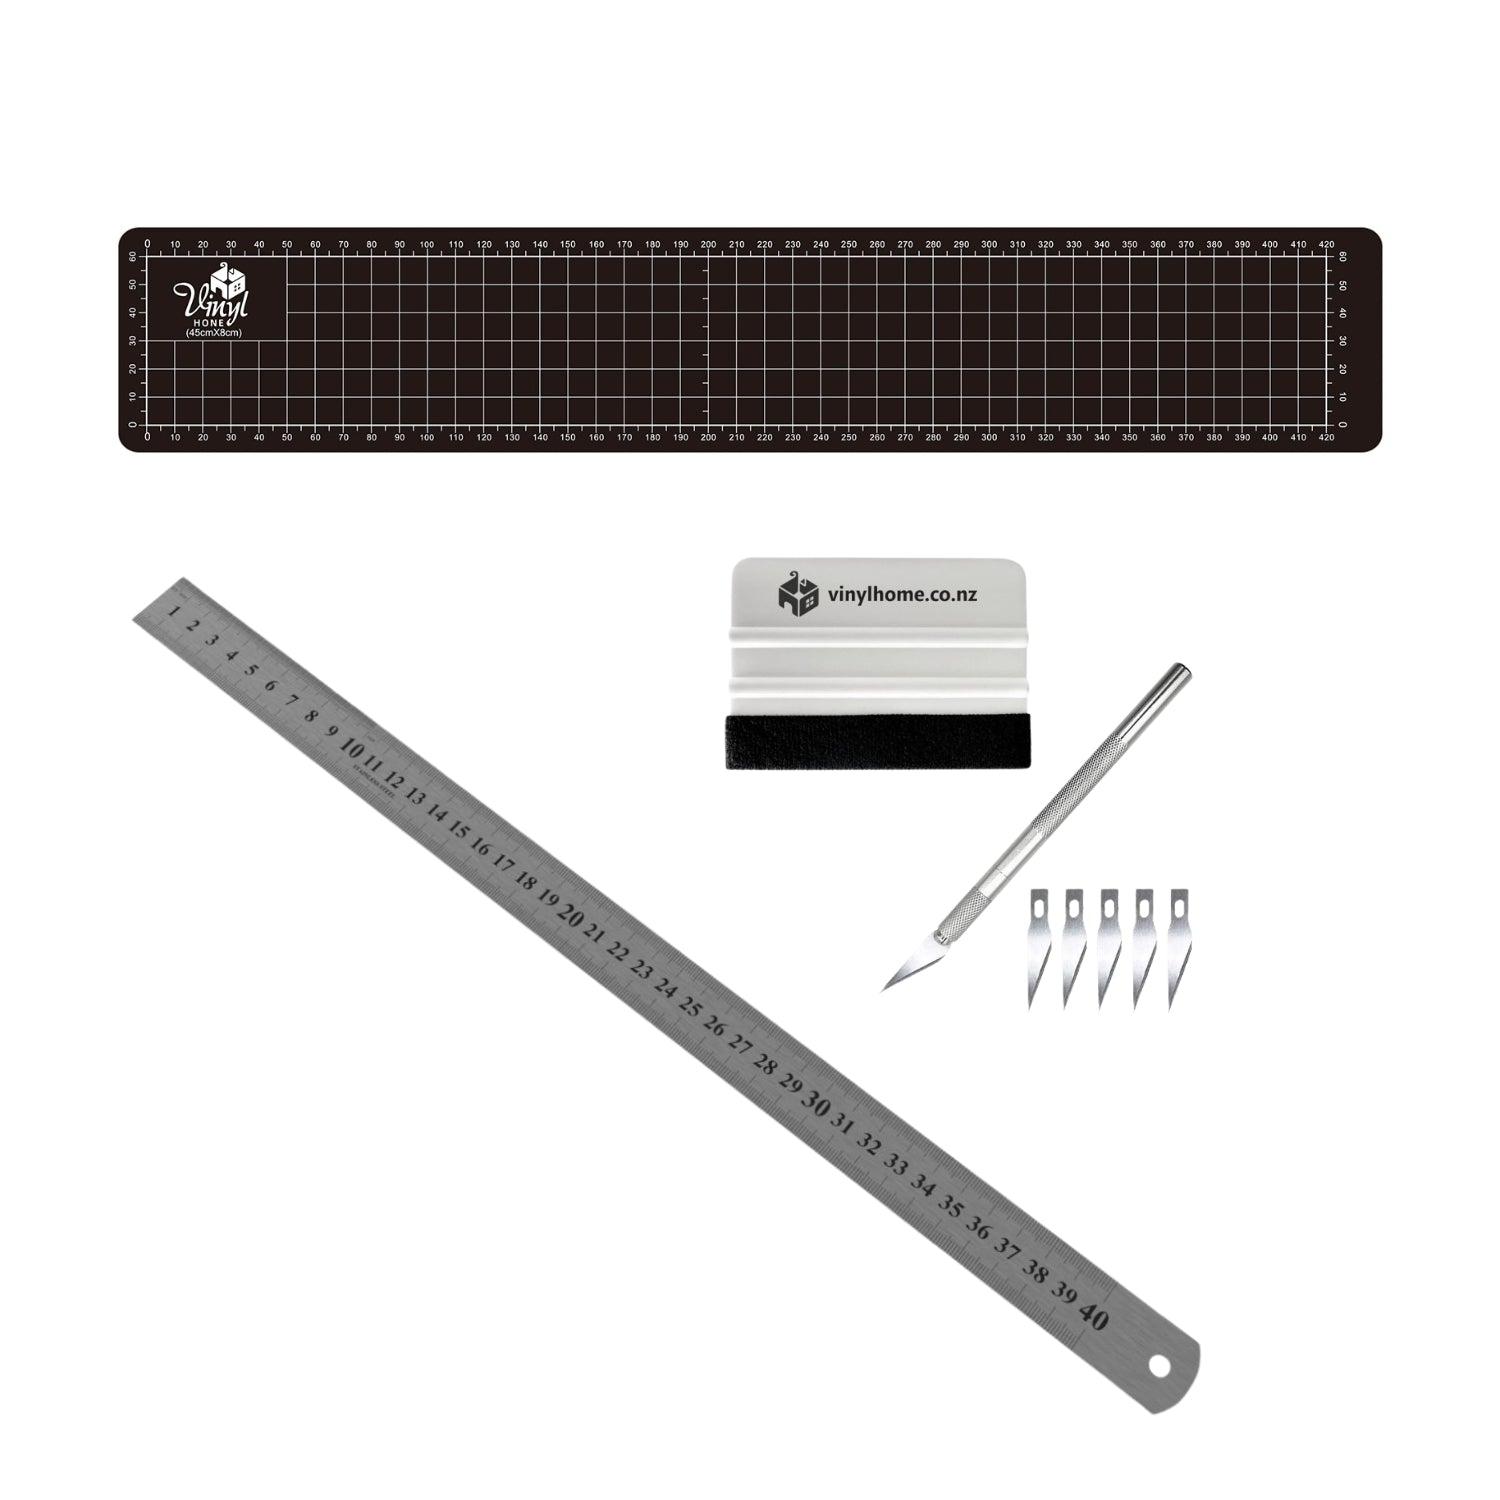
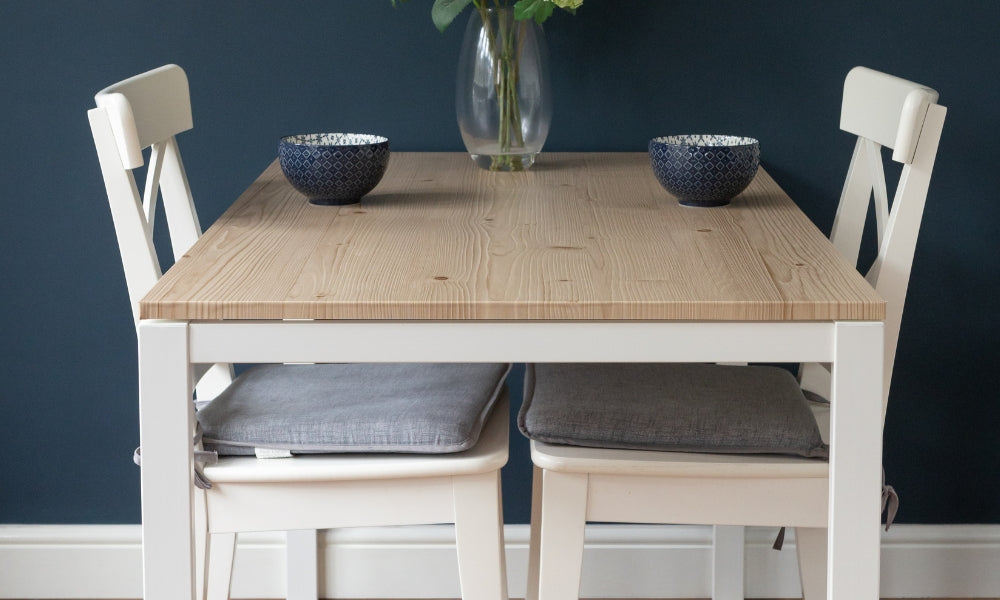
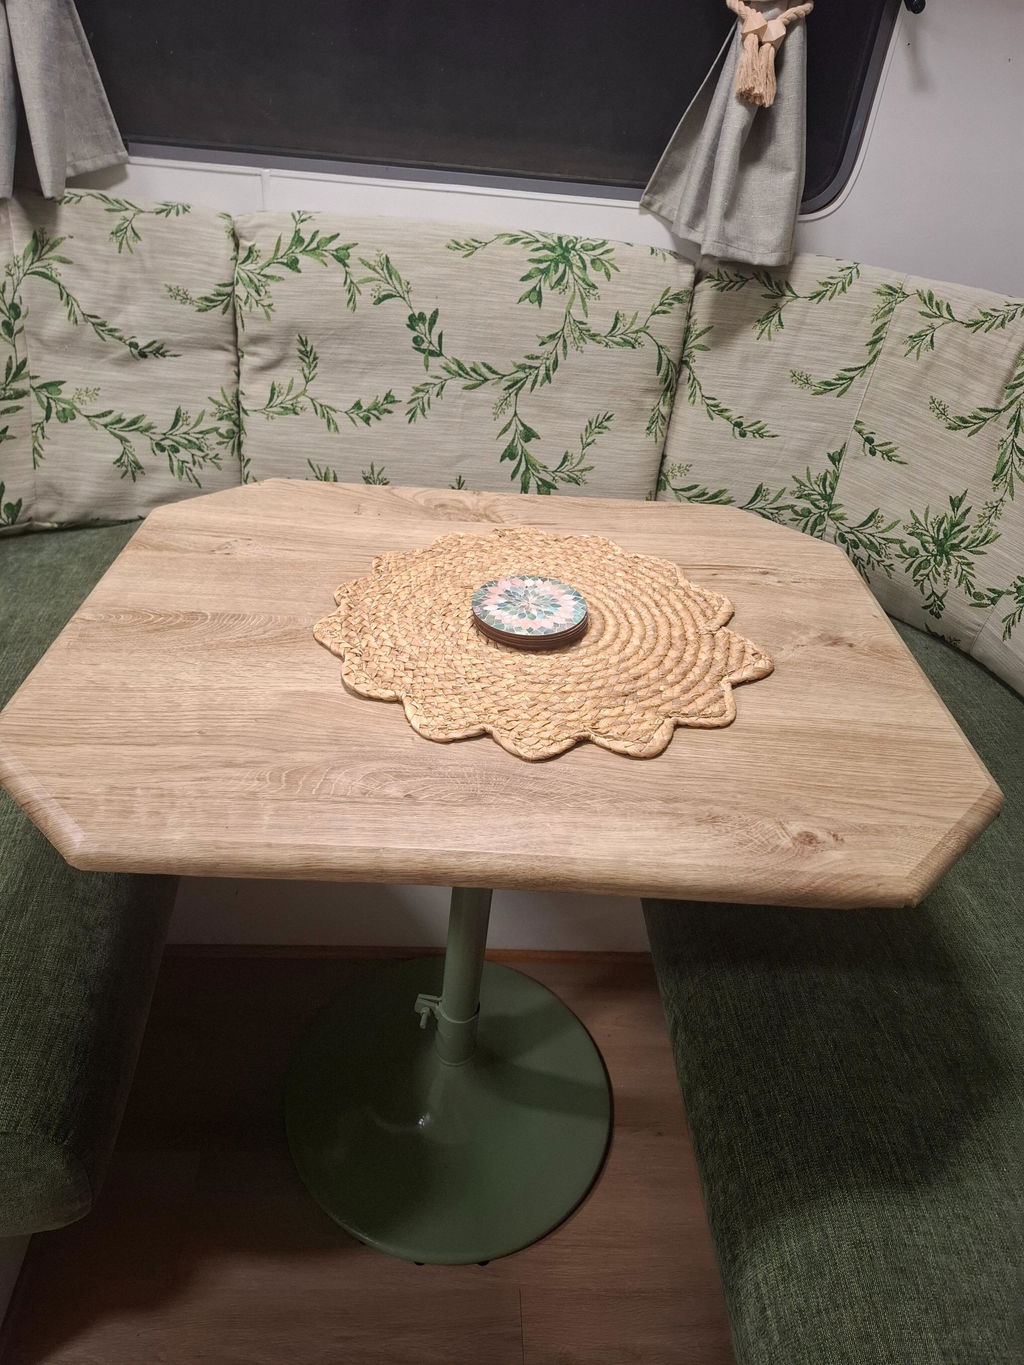
Thank i have got a nice waterproof finish on my table which matches other tables and it was easy to do just like wrapping Christmas presents thanks Gary
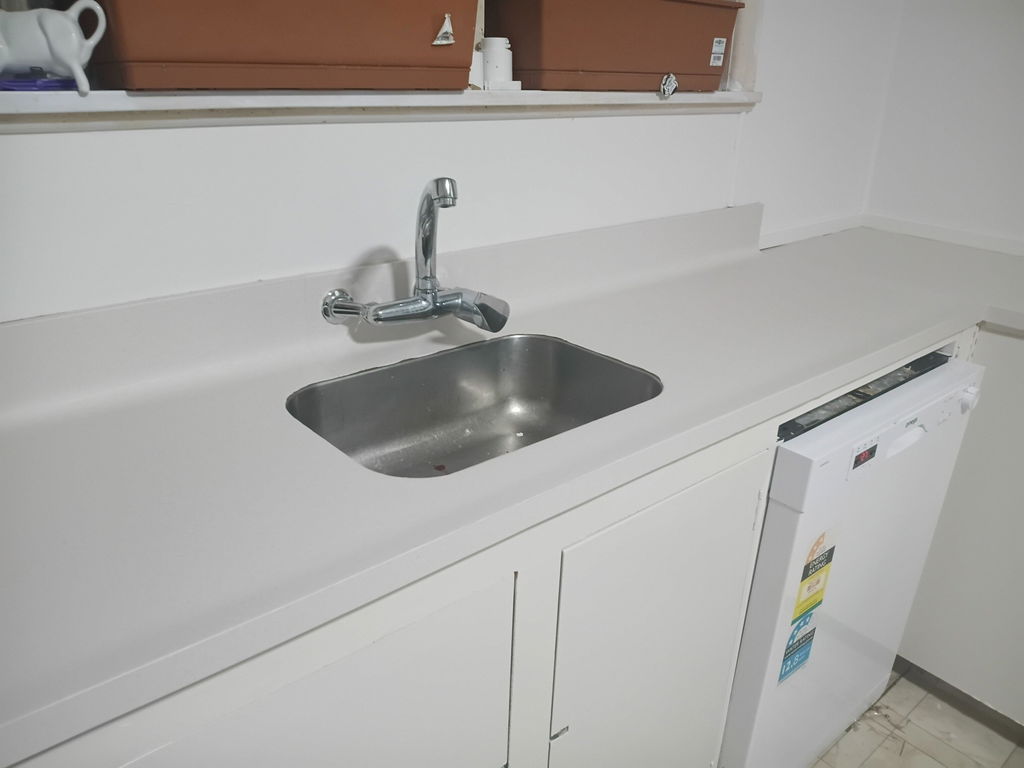
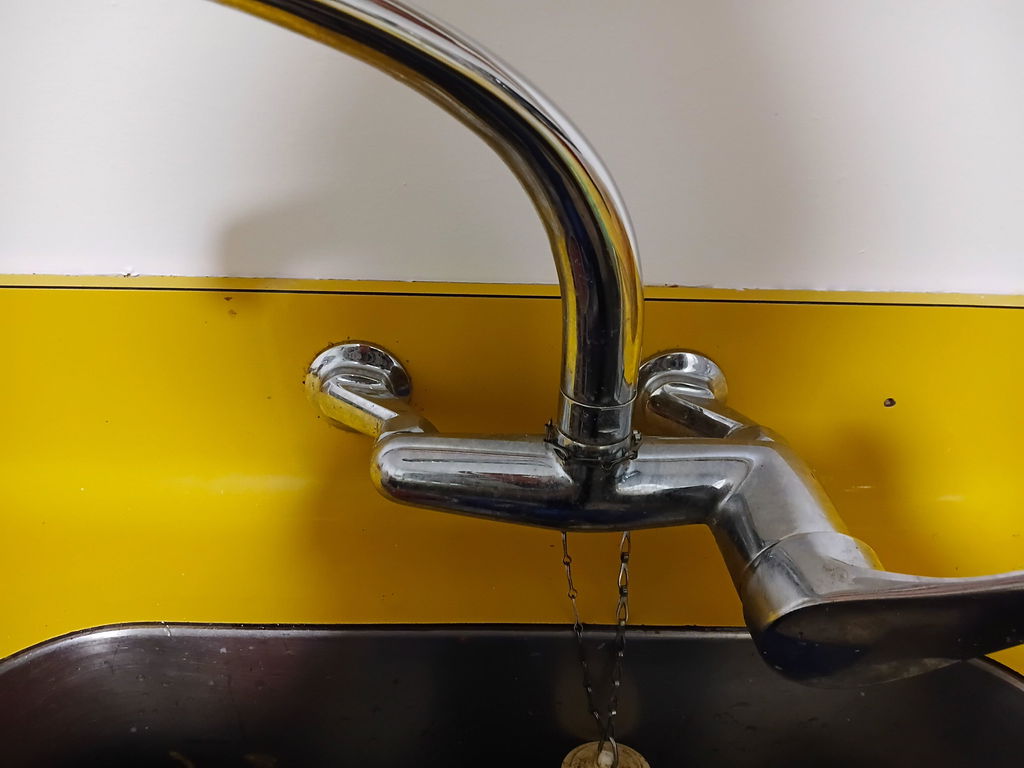
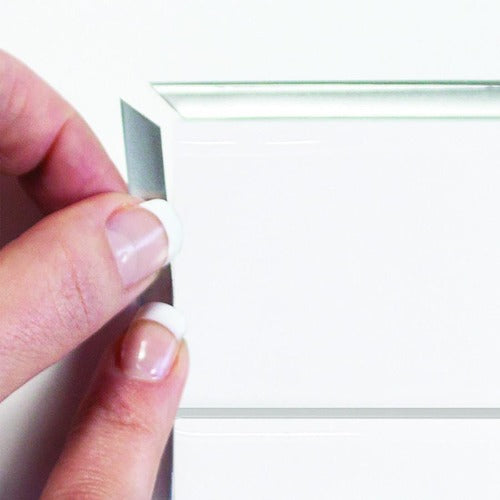
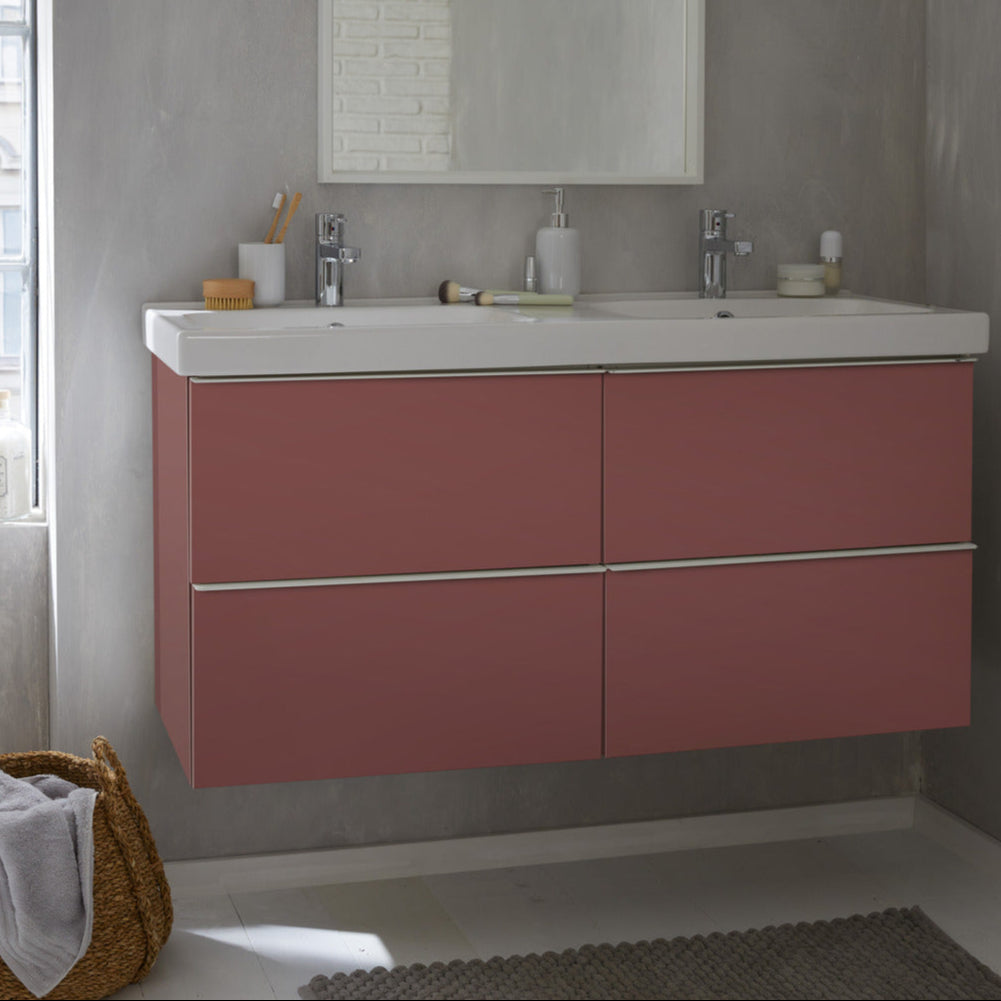
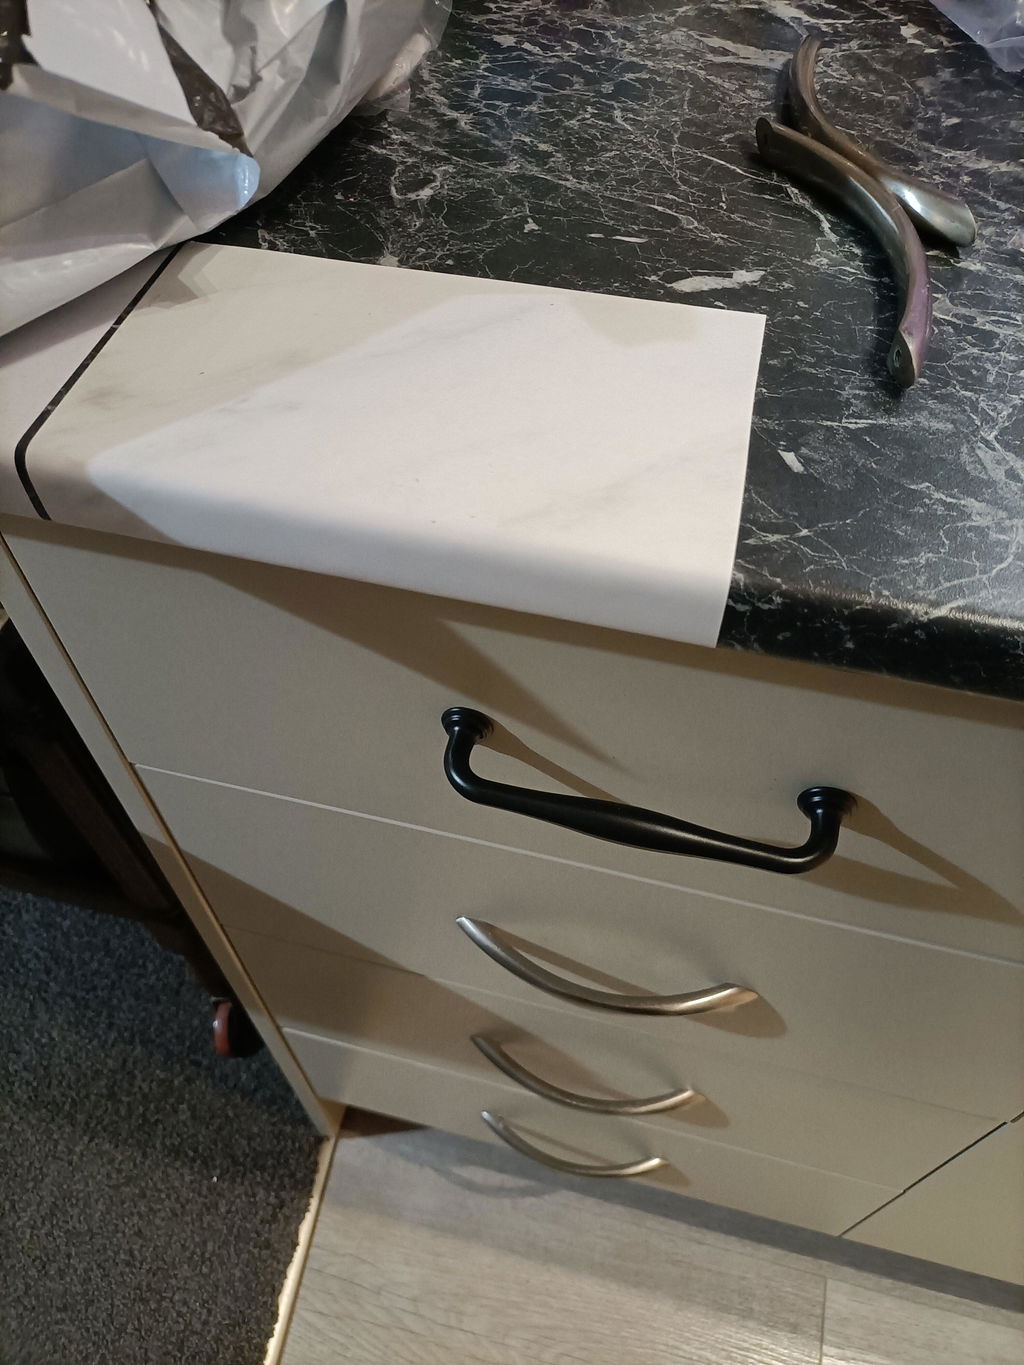
Definitely not for beginners if you have a bend like my sink, but I managed and I really like the result. Very easy to install in flat surfaces