The Ultimate Installation Guide: Splashbacks Made Easy
The Ultimate Installation Guide: Splashbacks Made Easy
Ready to transform your kitchen, bathroom or laundry splashbacks with peel and stick tiles or vinyl wallpaper? This guide covers everything — tools, surface prep, cutting tips, application methods, and long-term care — tailored for all our splashback types.
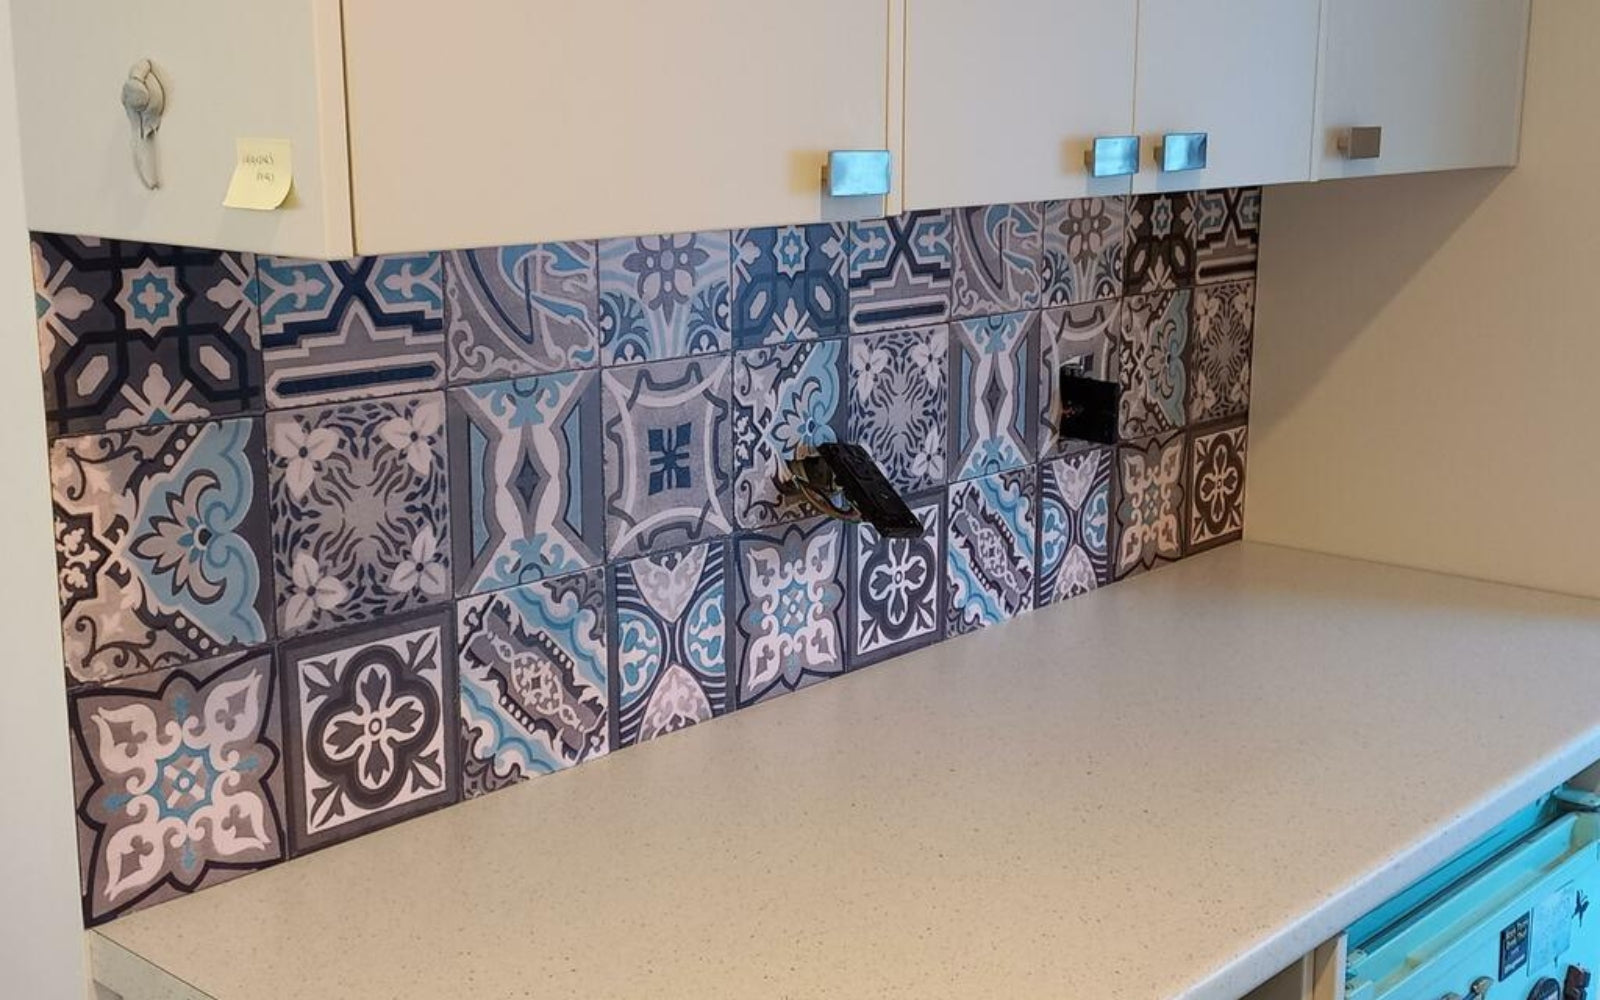
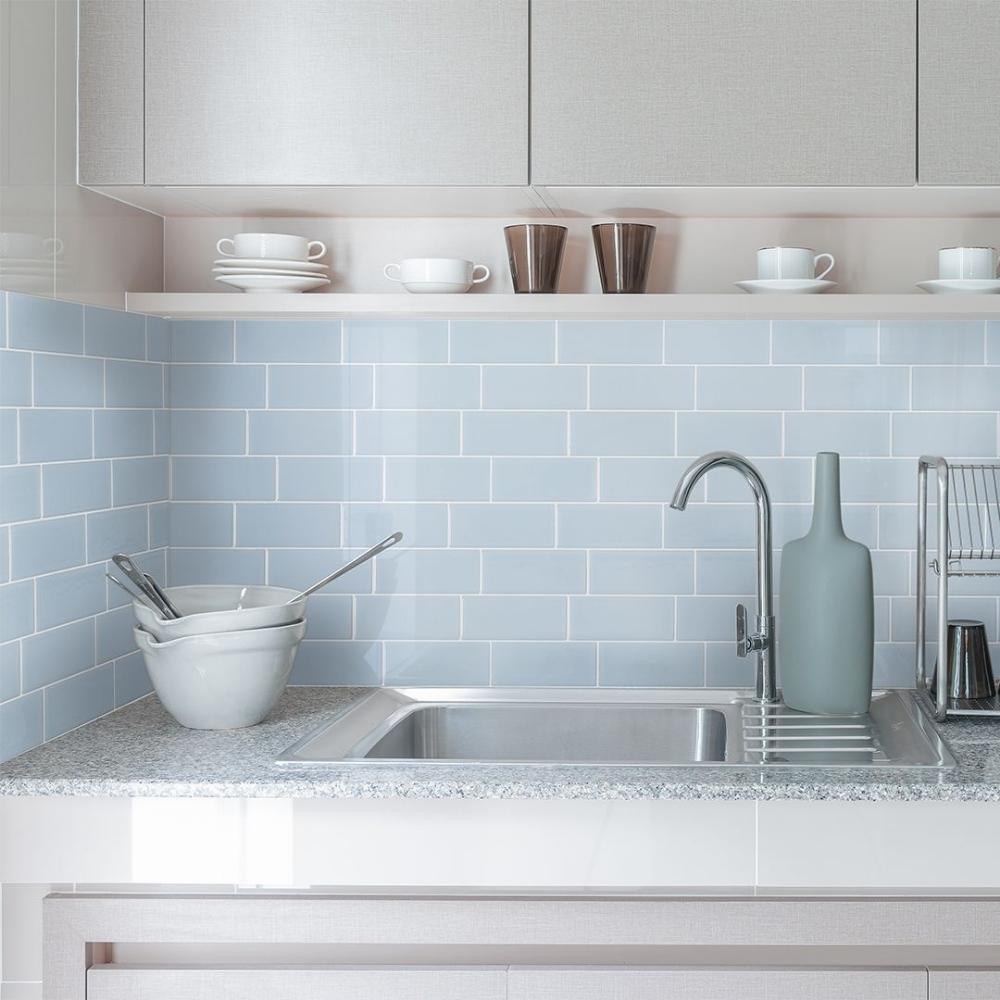
Which Splashback Is Right for You?
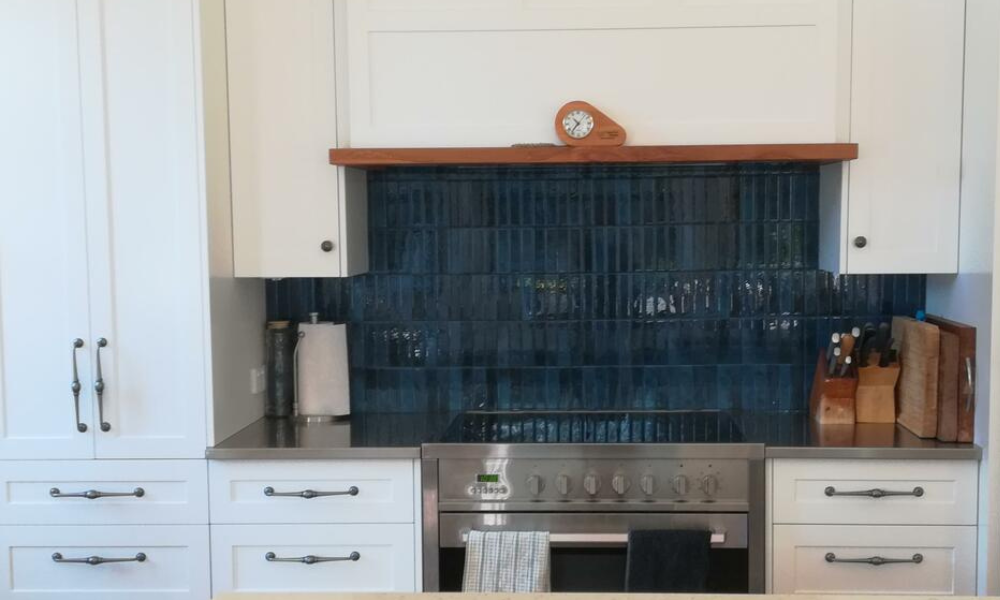
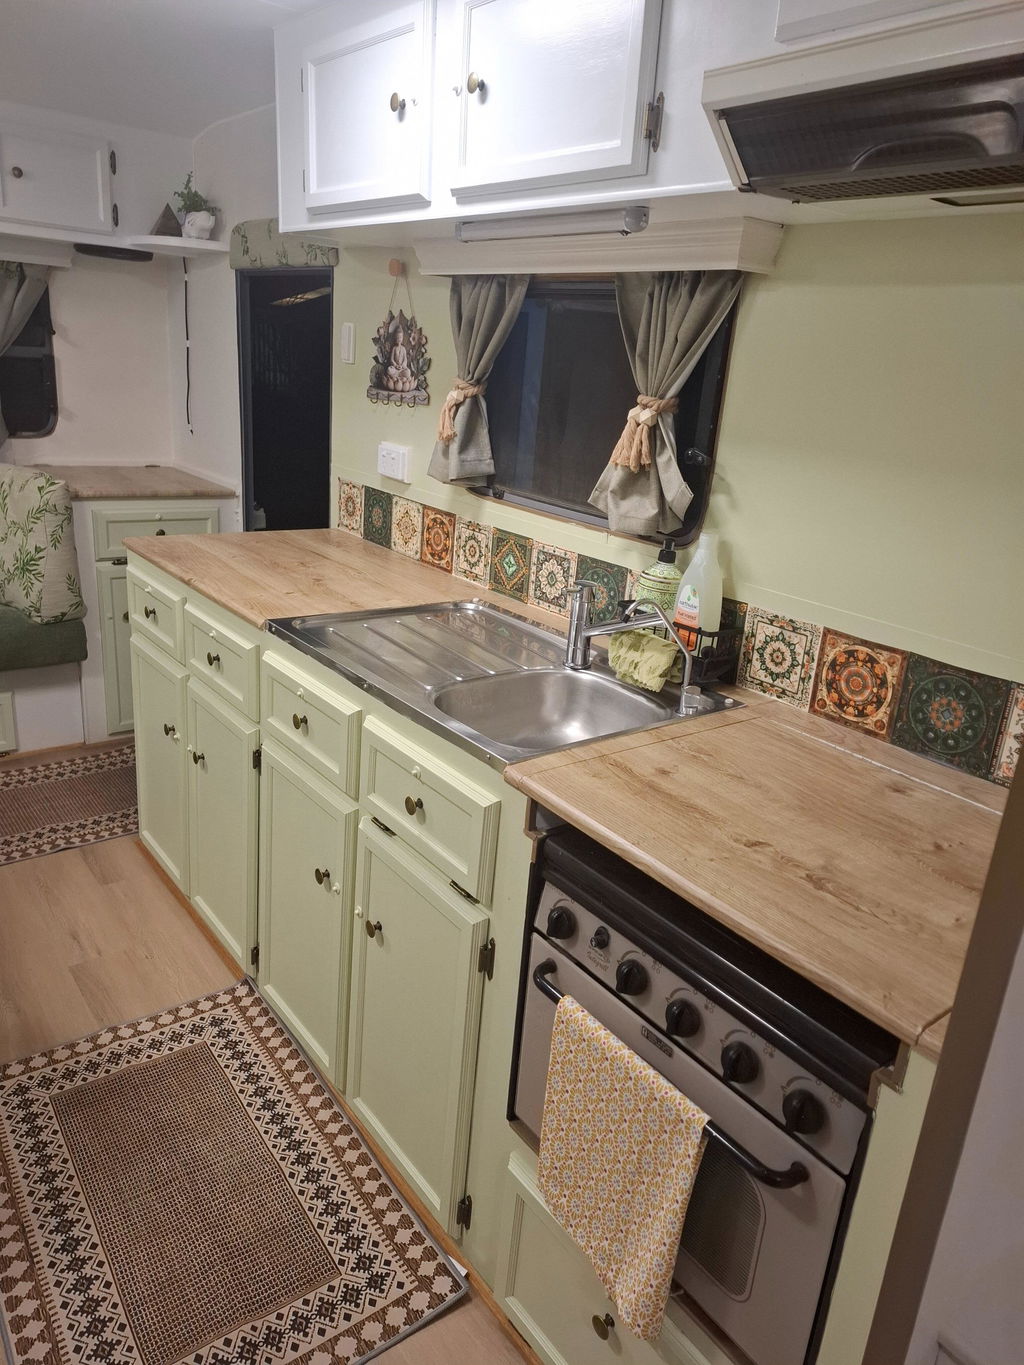
- Installation behind a cooktop:All our peel and stick tiles can withstand heat from electric cooktops. The products are heat resistant but not fire safe. If you have a gas hob you need a rear plate or allow a minimum distance of 20cm to prevent the tiles to come in contact with open flame. Always refer to your stove top installation manual regarding correct safety clearance.
- Renters or temporary living?Go for Smart Tiles, they are the absolute easies to remove with little to no damage to the surface. The Value Tiles from Peel & Stick Hub would be the second option.
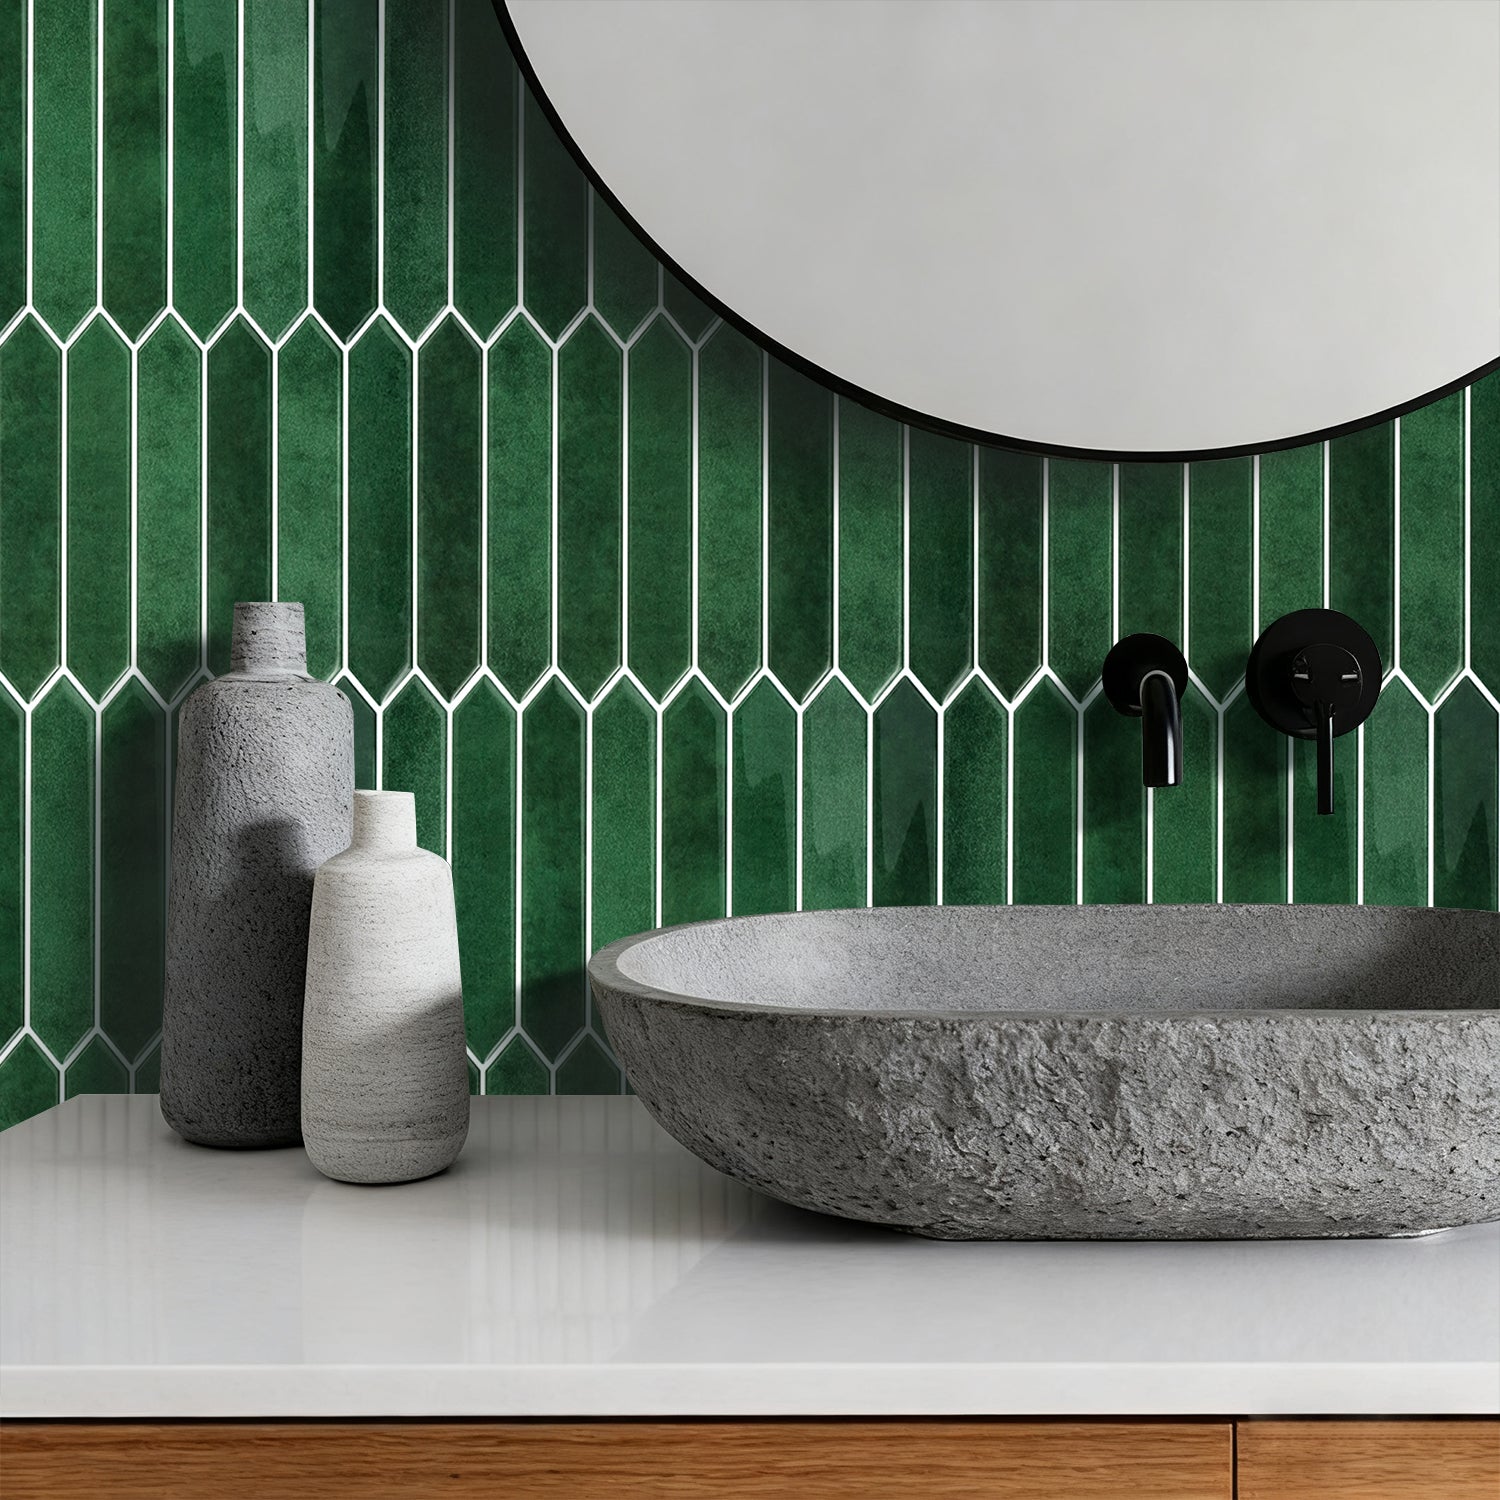
- Want premium realism?Composite Tiles offer a luxe, firm finish and realistic textures — best for homeowners and long-term installs.
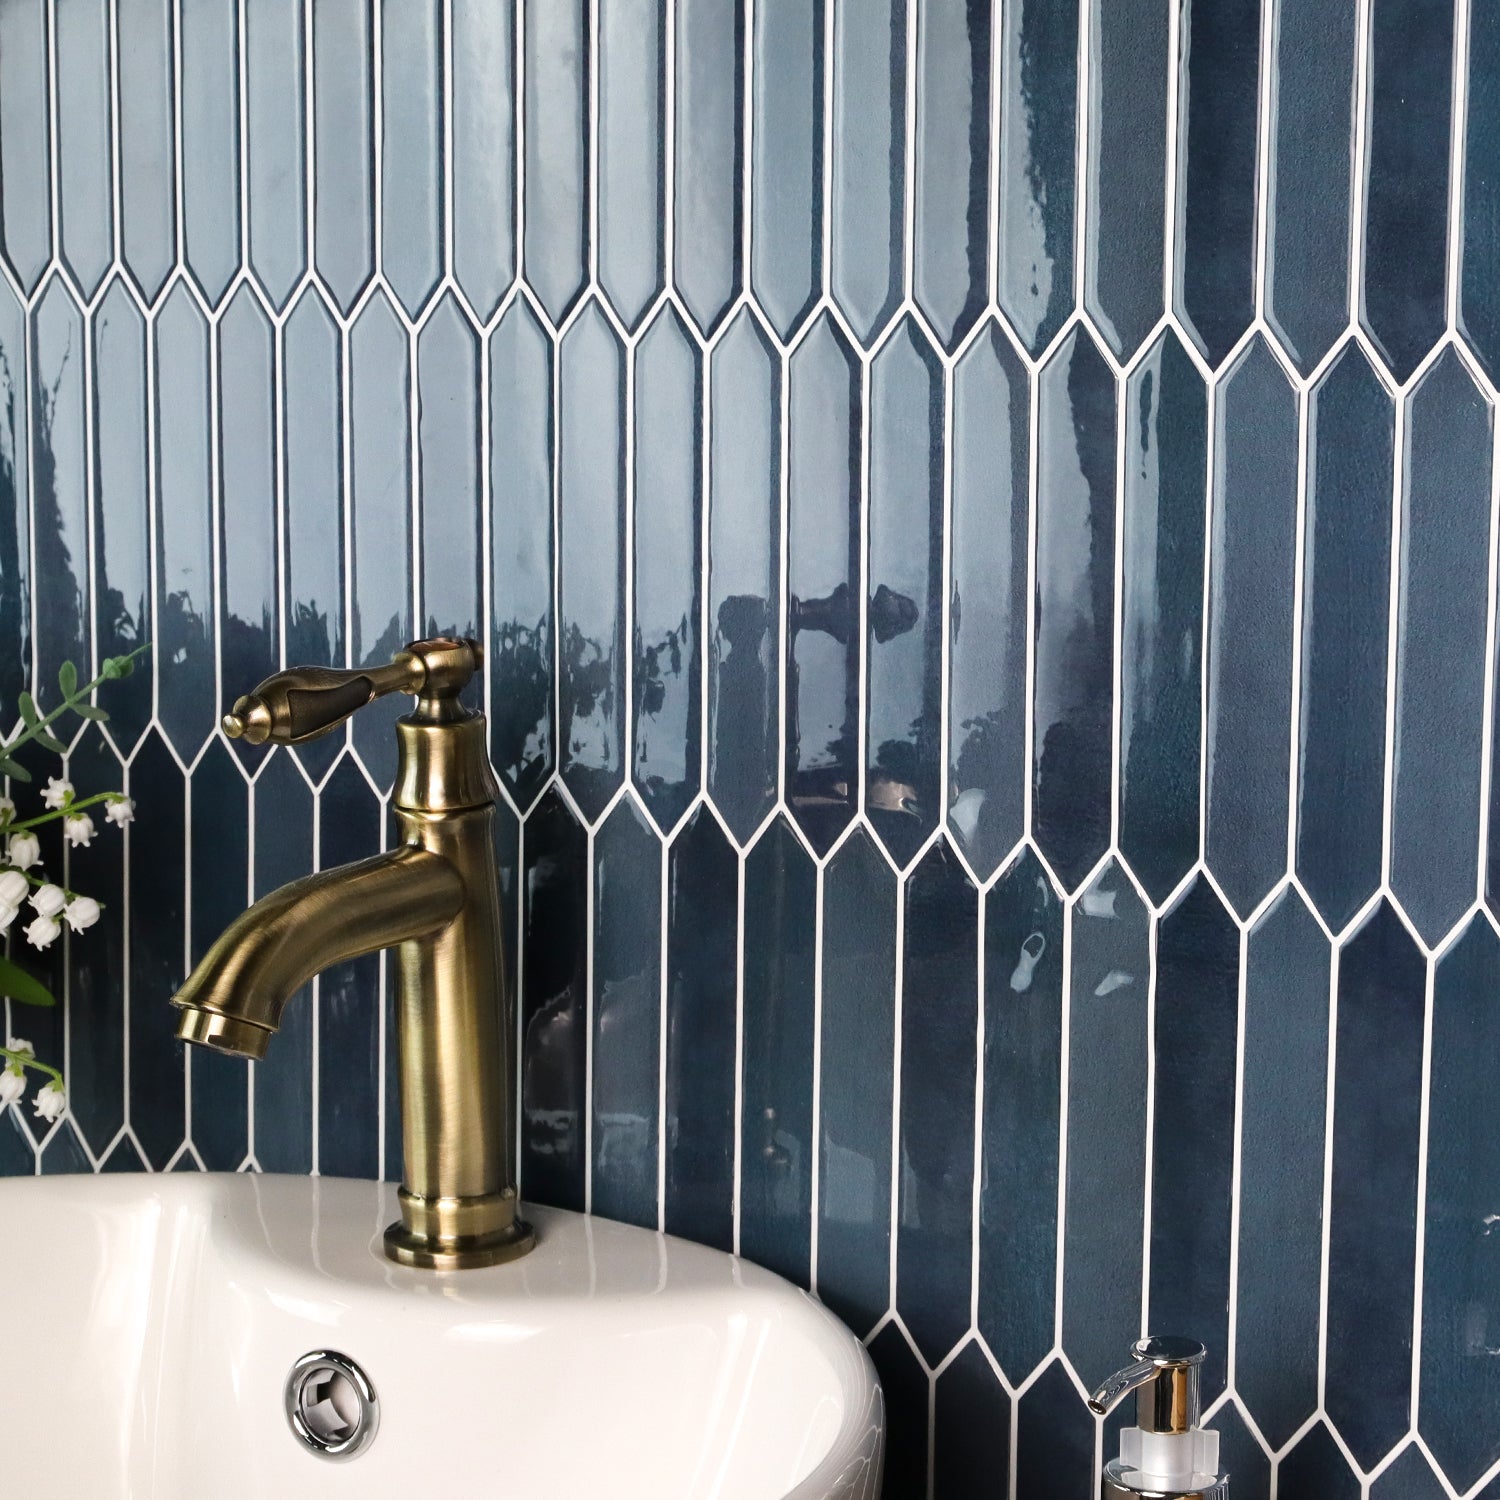
- Deep and wide grout lines?Our Premium and Premium Composite Peel & Stick ranges have firmer adhesion and hide uneven surfaces beautifully due to their foam backing that stays rigid.
- Small budget?Our Value Tiles deliver maximum impact for minimal cost — perfect for fast makeovers.
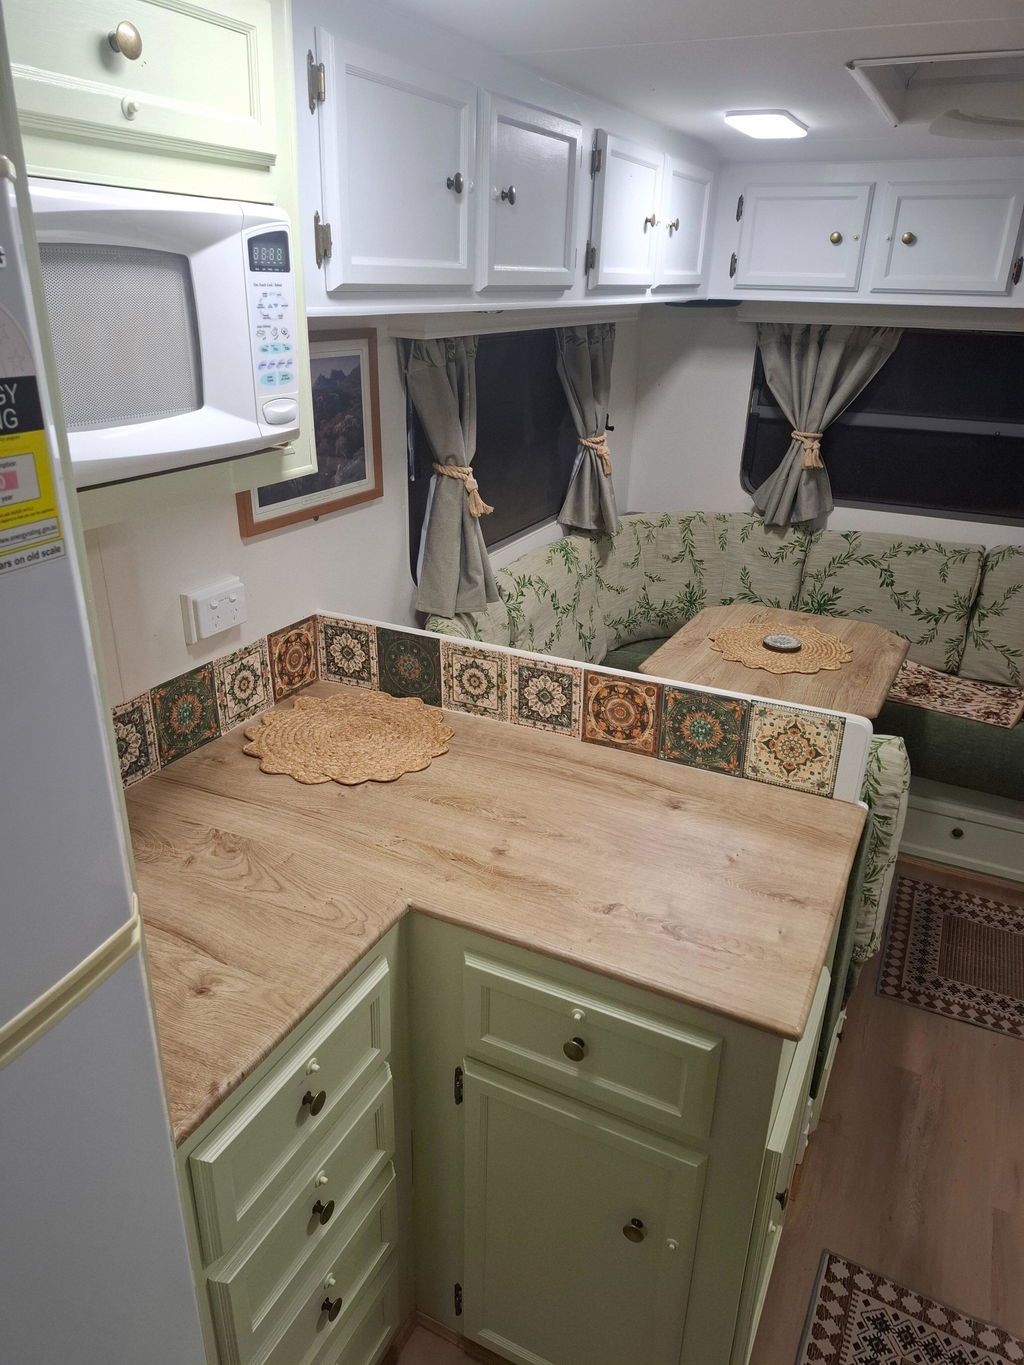
- On the move? All our peel and stick tiles apart from the composite tile range are lightweight so ideal for the motorhome. If your walls are slightly curved, then choose Smart Tiles or Value Tiles which are bendable.
For even more flexibility, check out our Renter-Friendly Solutions guide where we show how to make even strong-glue tiles removable with clever tricks like vinyl backing panels.
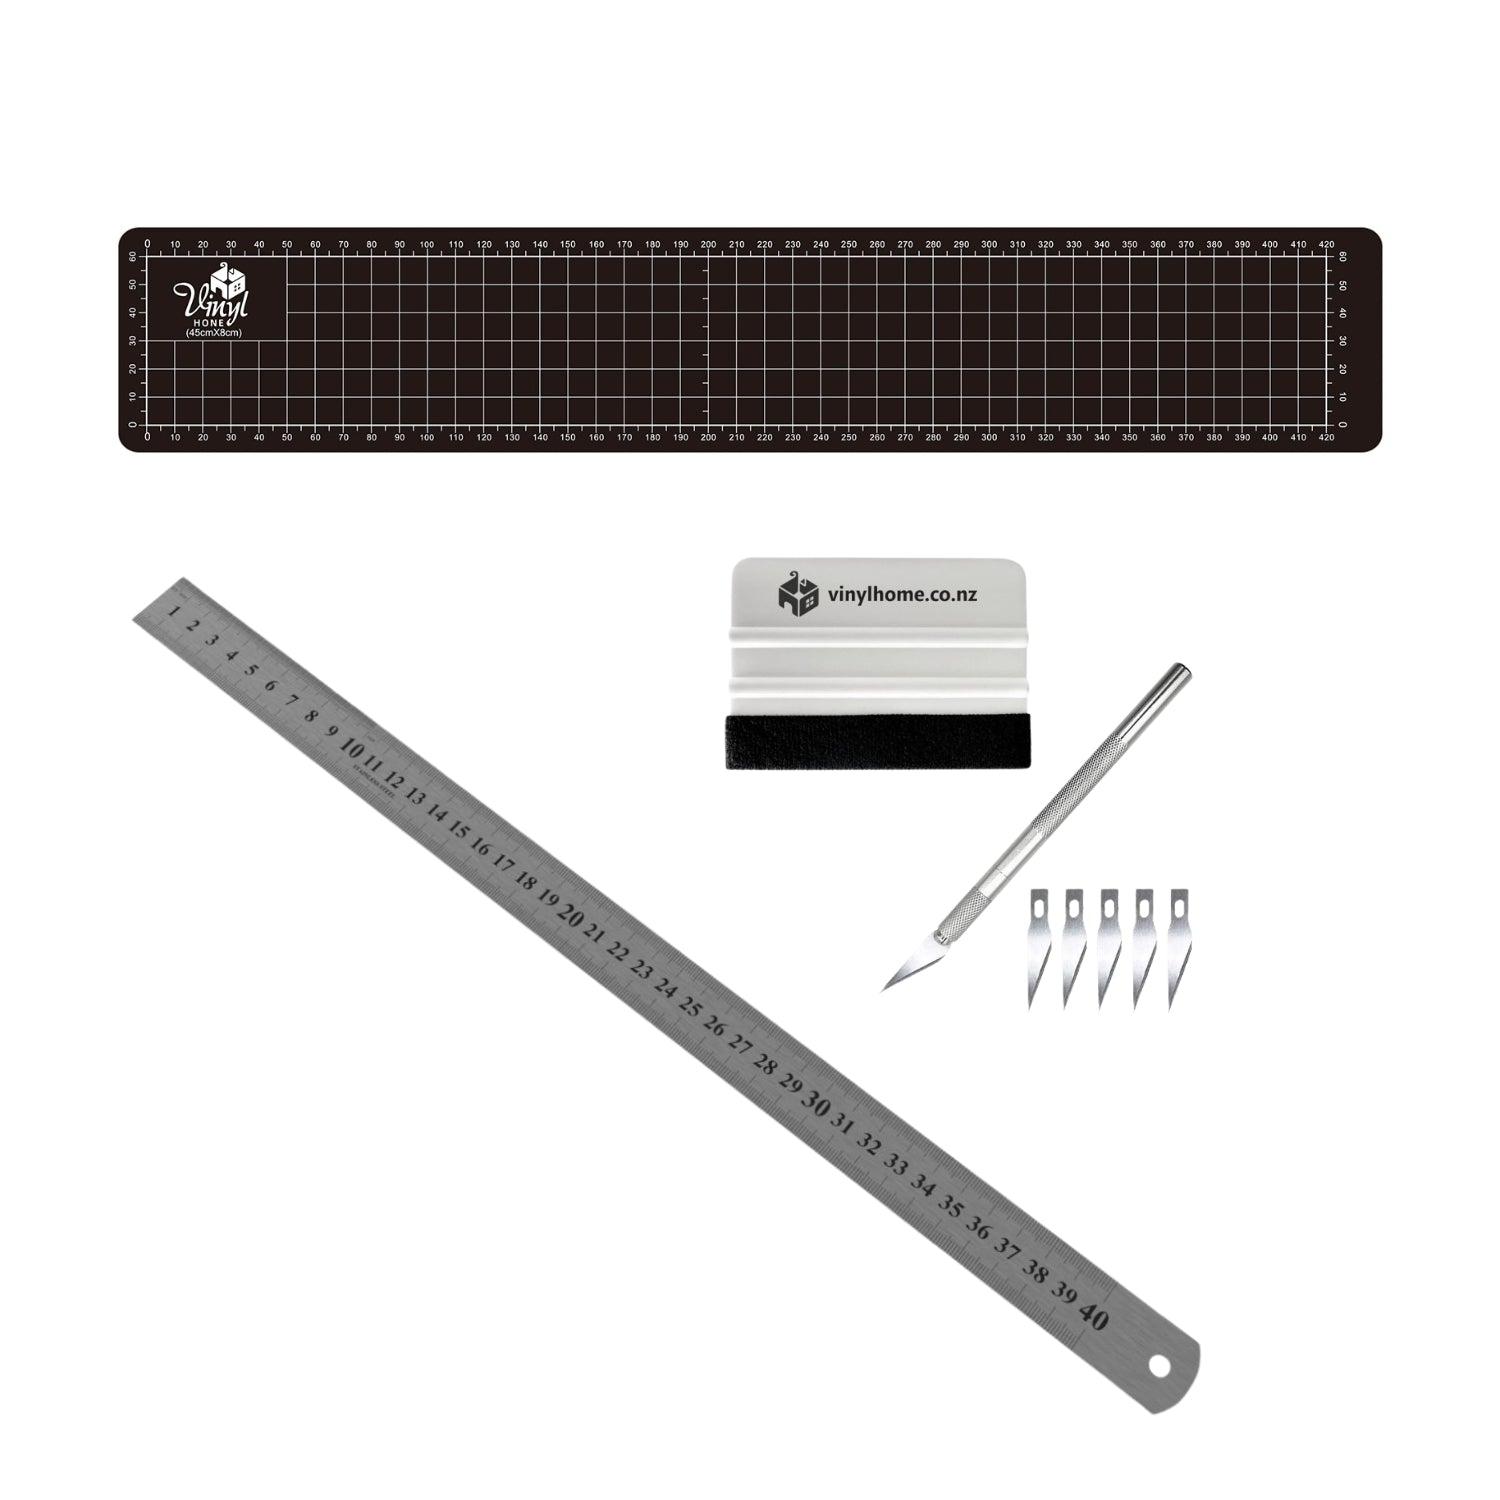
Tools You’ll Need (All Tile Types)
- Grease remover (e.g. sugar soap)
- Cutting mat
- Utility knife or craft knife
- Metal ruler
- Pen or pencil
- Tape measure
- Level
- Sponge
- Spray bottle with water + a few drops of dish soap (for repositioning)
- Optional: fine-grit sandpaper (for trimming edges)
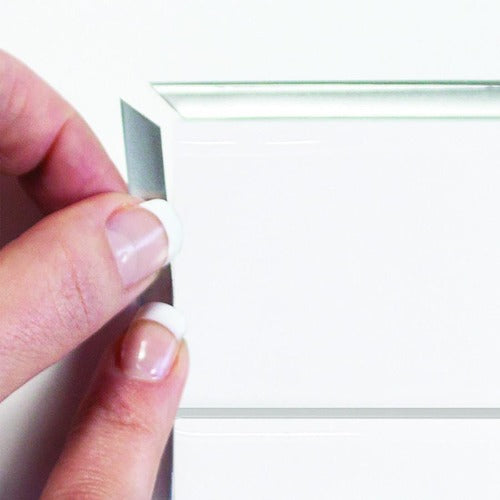
⚠️ Important: Avoid Touching the Adhesive
Always wash your hands before application and handle the tile or wallpaper by the edges only.
Touching the glue side transfers oils and dust from your fingers, which weakens the adhesive and may cause peeling.
Step 1: Clean & Prepare the Surface
- Clean thoroughlyusing a degreaser like sugar soap. Let it dry completely.
- Remove dust, oils, flaking paint, or uneven surfaces.
- Freshly painted walls need a 3–6 week curing period(check specific product guide).
- Ensure the temperature is between18°C and 35°Cduring installation.
Step 2: Measure & Plan
- Use a spirit level or rulerto mark your starting guideline — this ensures straight placement.
- Measure the area and plan your layout. Lay out all tiles on your benchtop or a table or even the floor in the pattern you desire. Start from the bottom centre or cornerof the area and work outward.
- If your design has a pattern, align and match tiles carefully.
- Use backing paper as a cutting guidewhen working around switches, windows, or obstacles.
Step 3: Cut Around Obstacles
- Hold the tile in place and use a pencil to trace where to cut.
- Use a utility knife and metal ruler to score and snap straight lines for composite tiles. Cut with scissors or a craft knife for all other tiles
- For tricky shapes (like around a pipe), make multiple small cuts.
- Test-fit before peeling the backing.
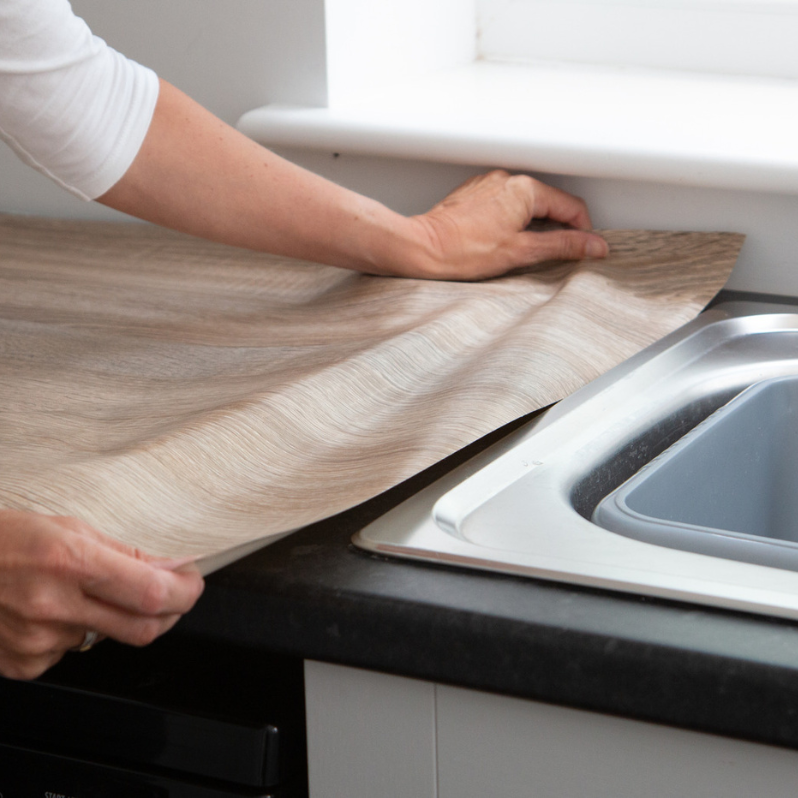
Step 4: Application by Tile Type
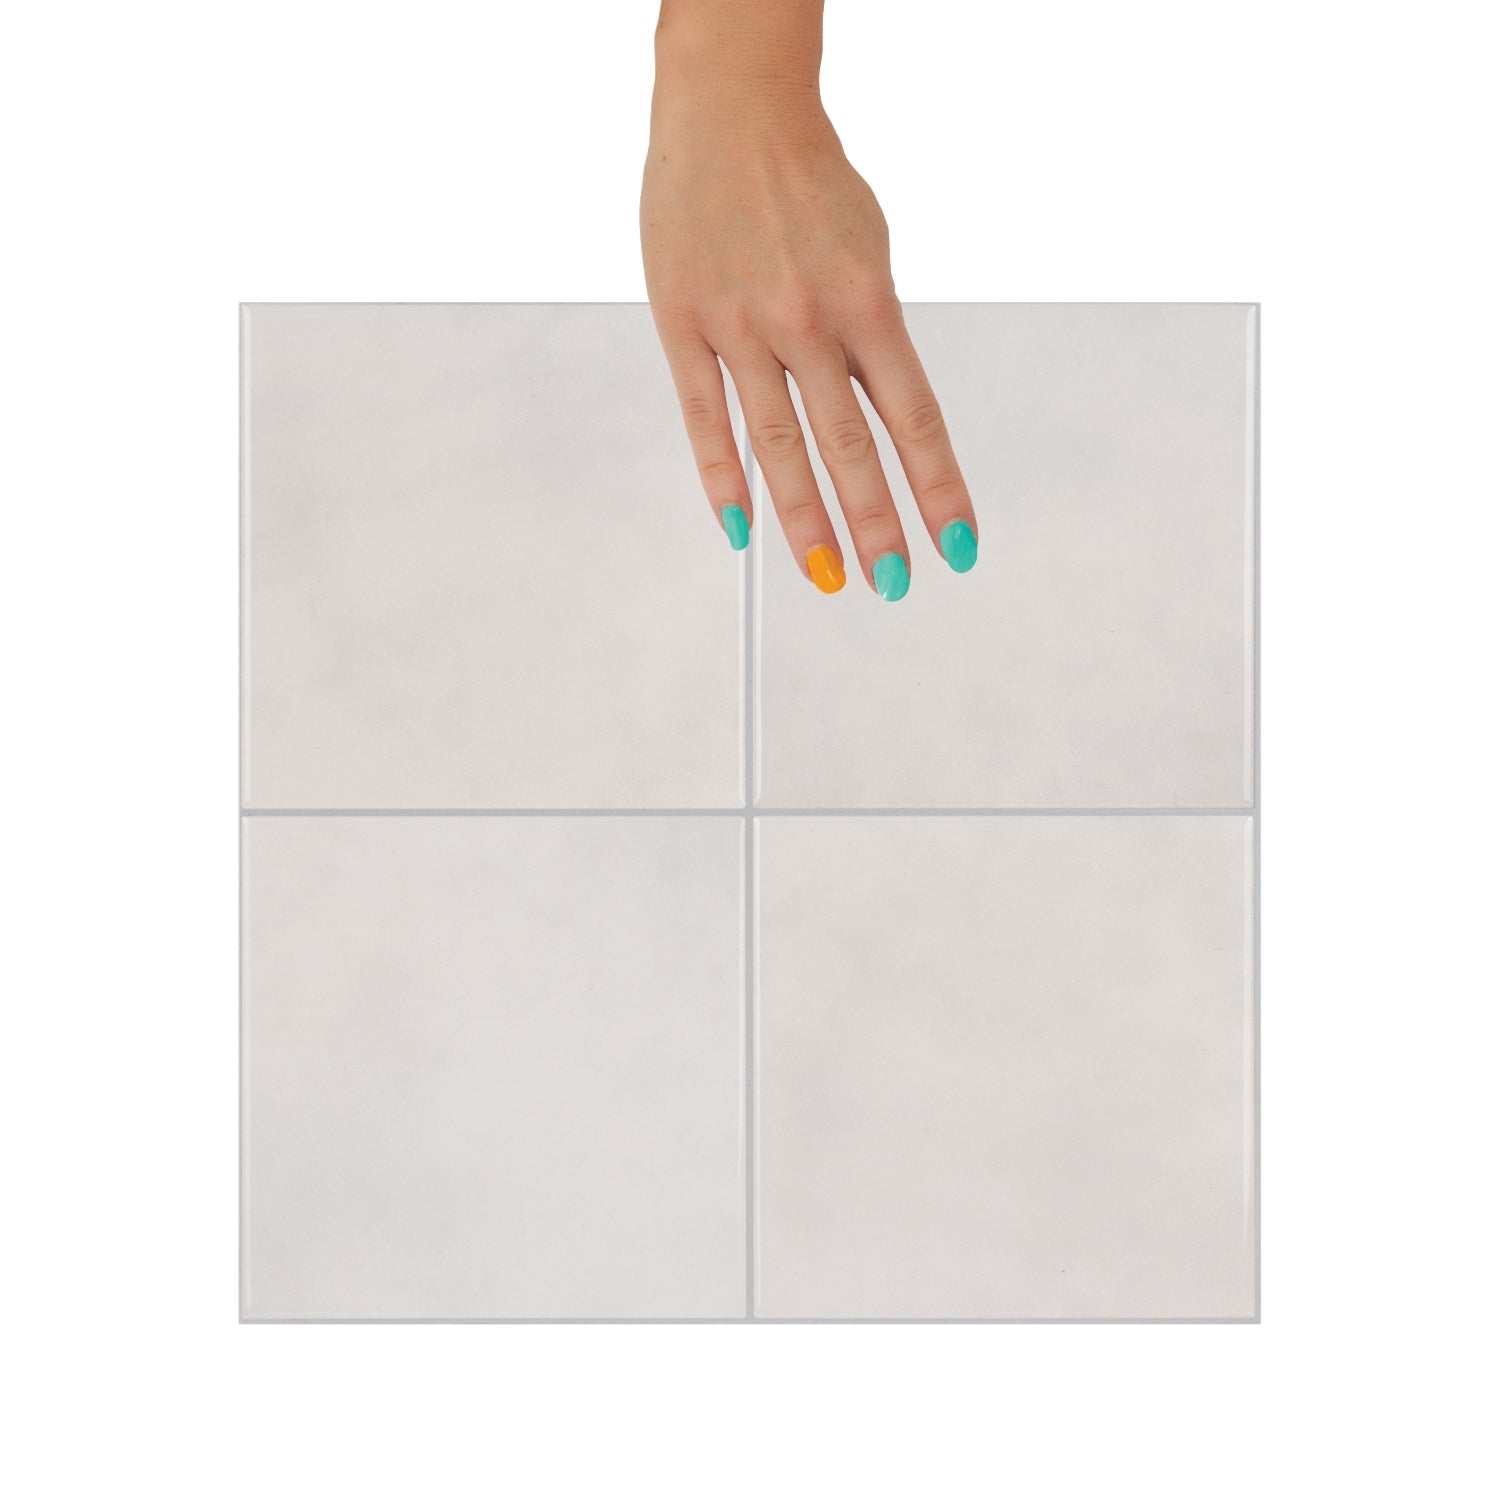
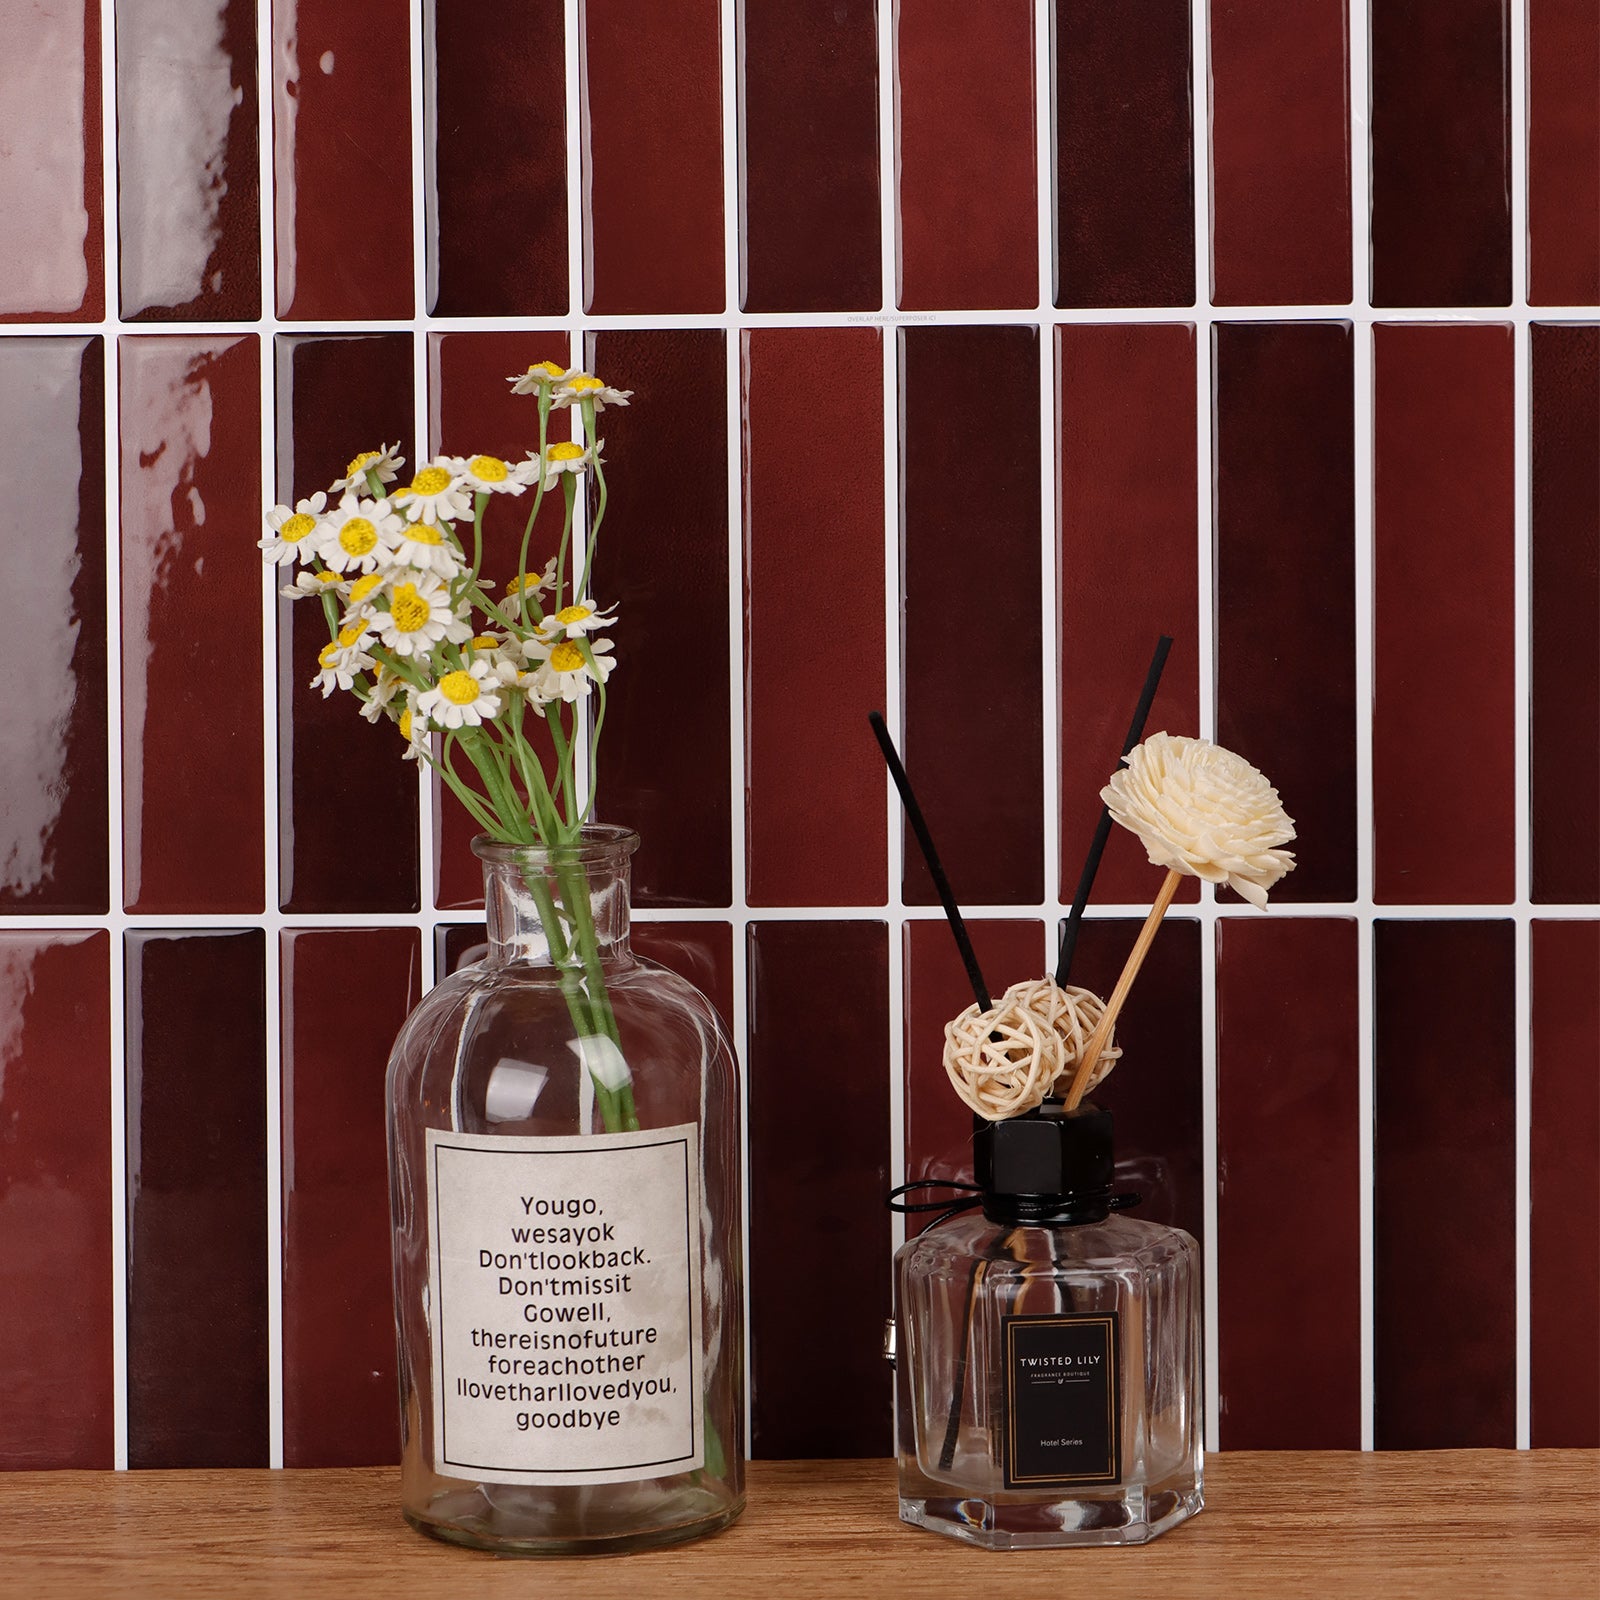
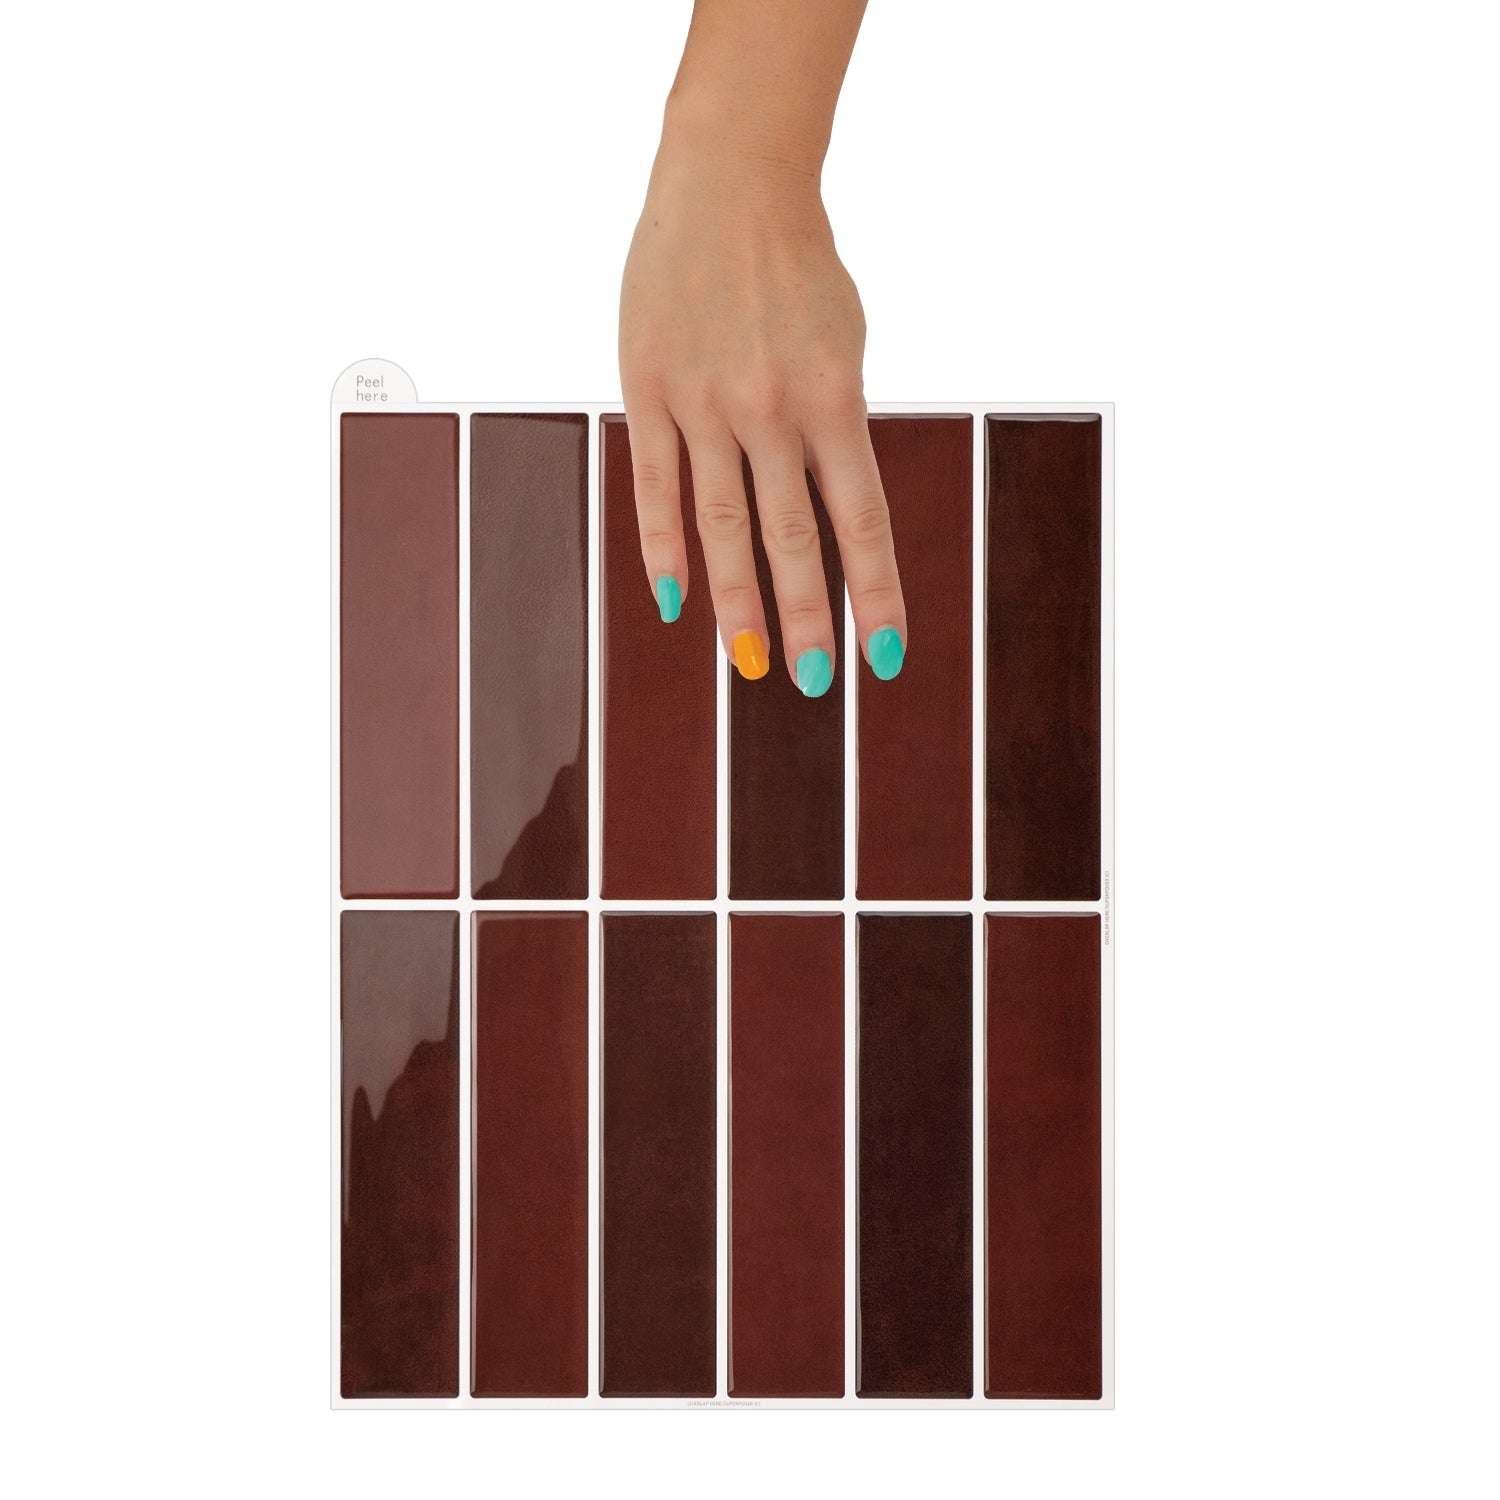
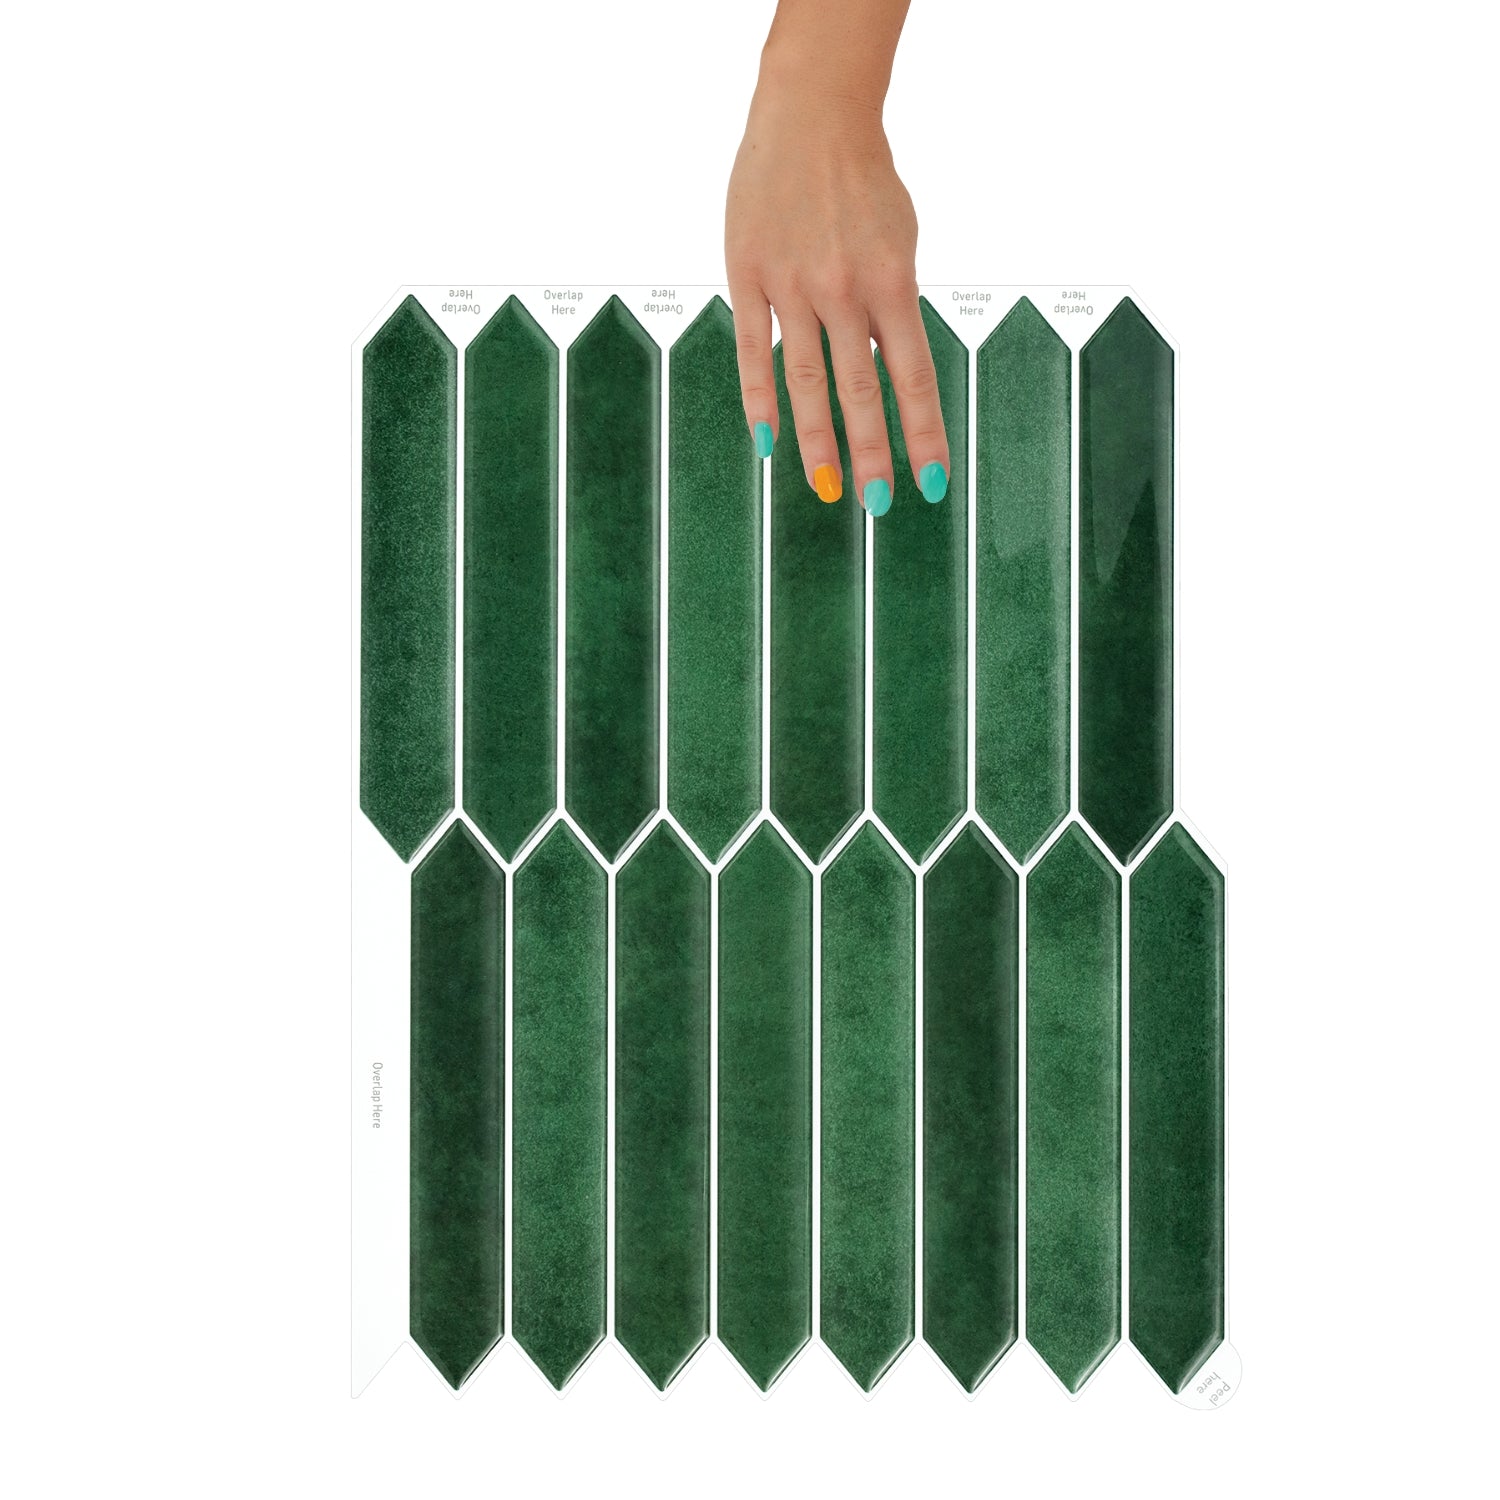
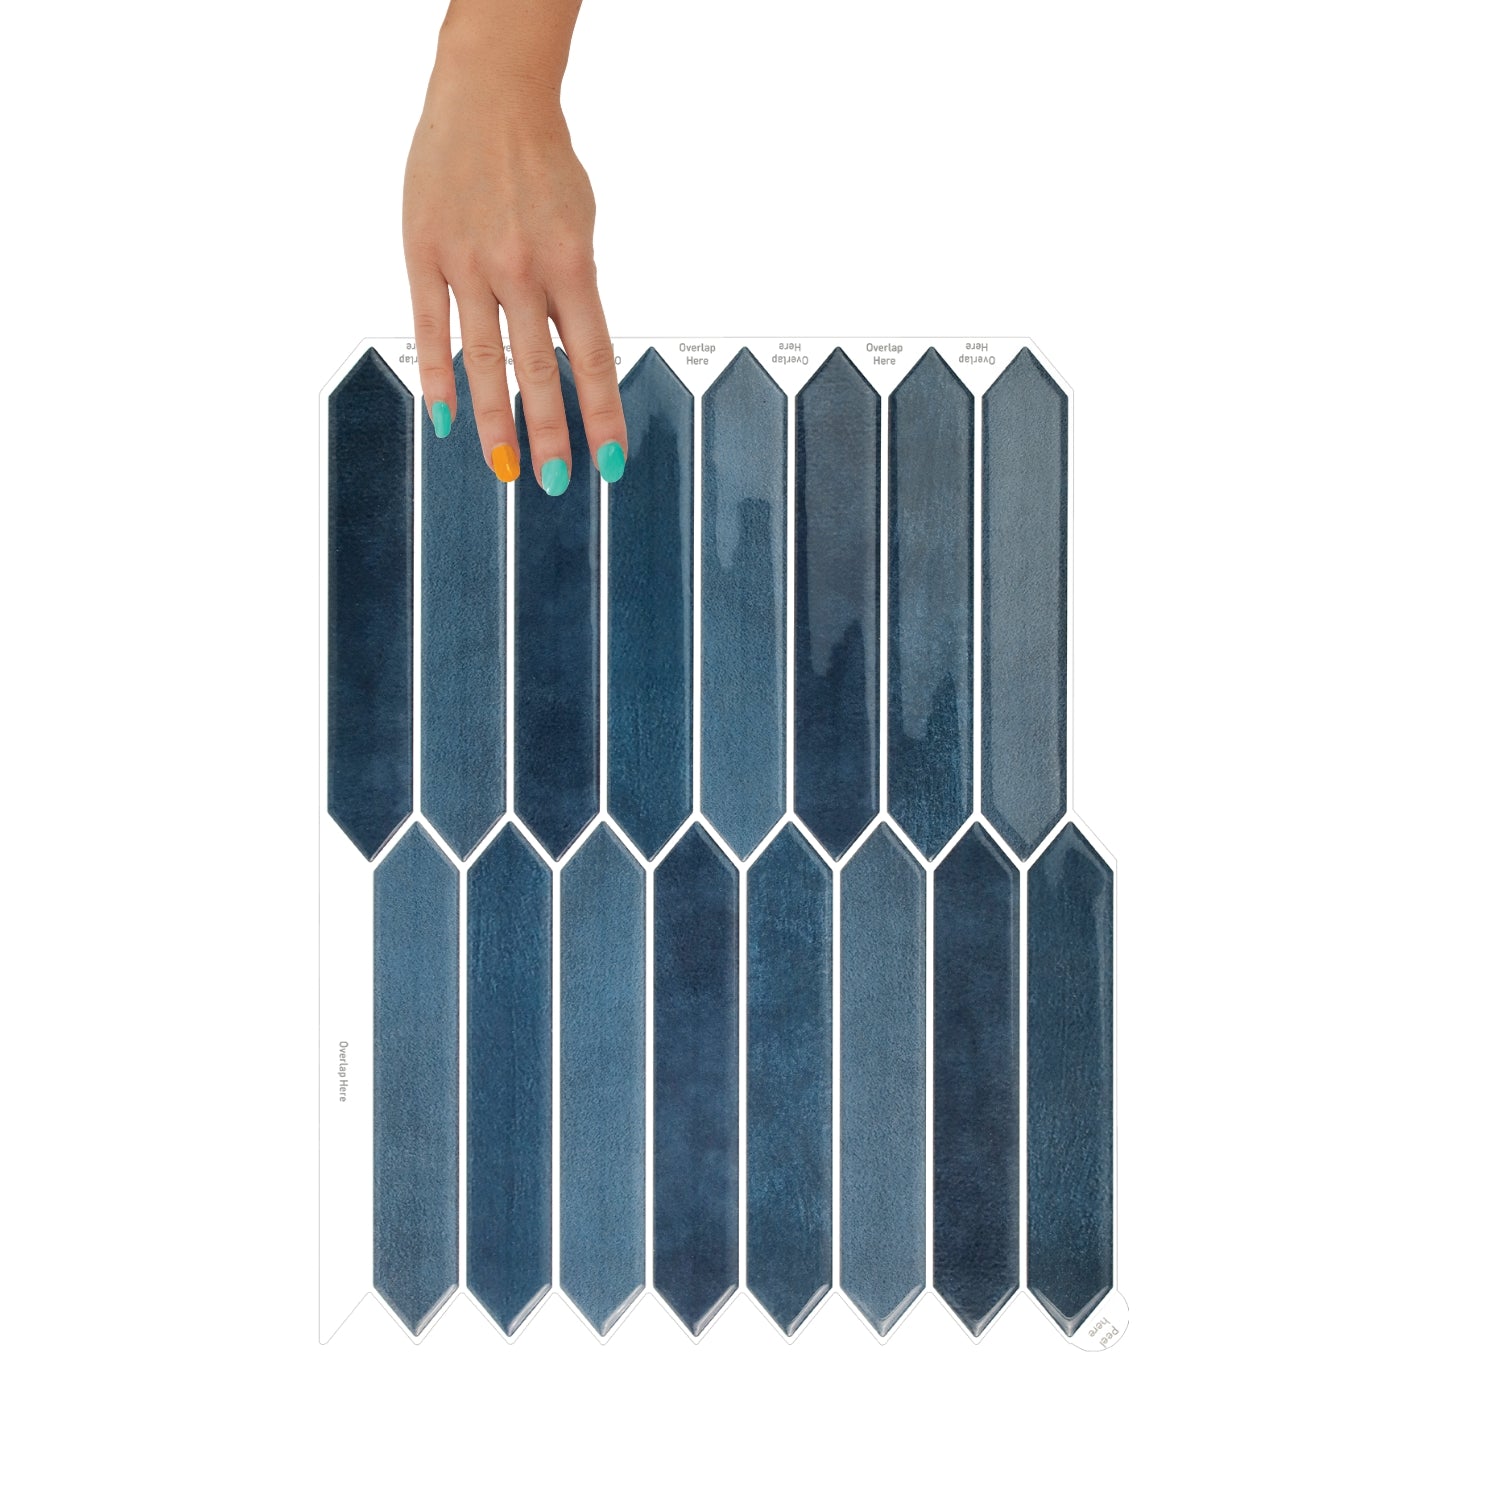
Smart Tiles & Value Tiles (Overlap Method)
- Peel back half the backing paper — don’t touch the glue!
- Align with your guideline and press gently.
- Once positioned, peel the rest and press firmly.
- Overlap grout lines fully for a seamless look.
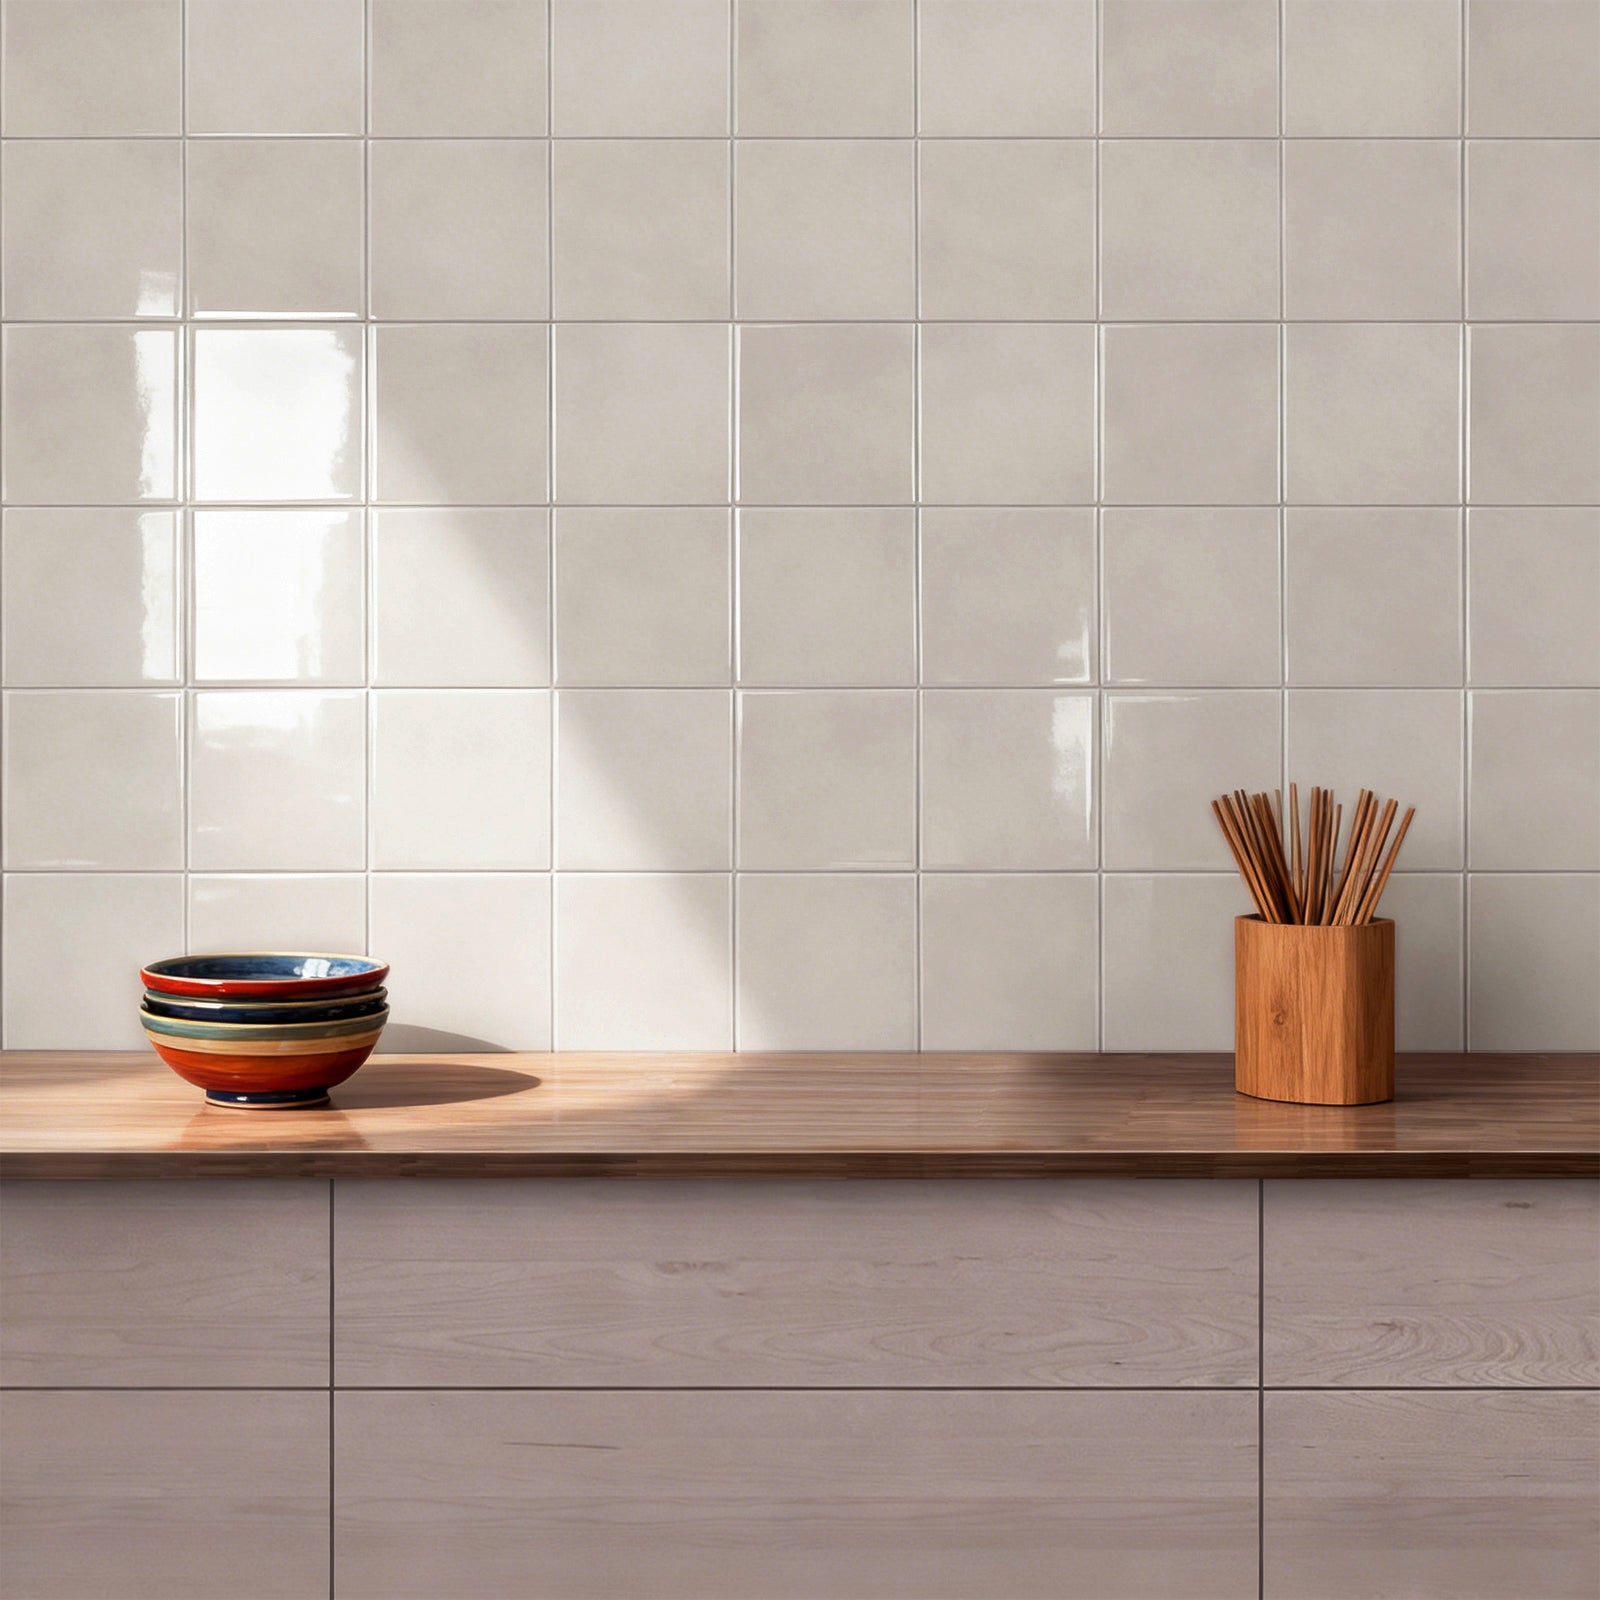
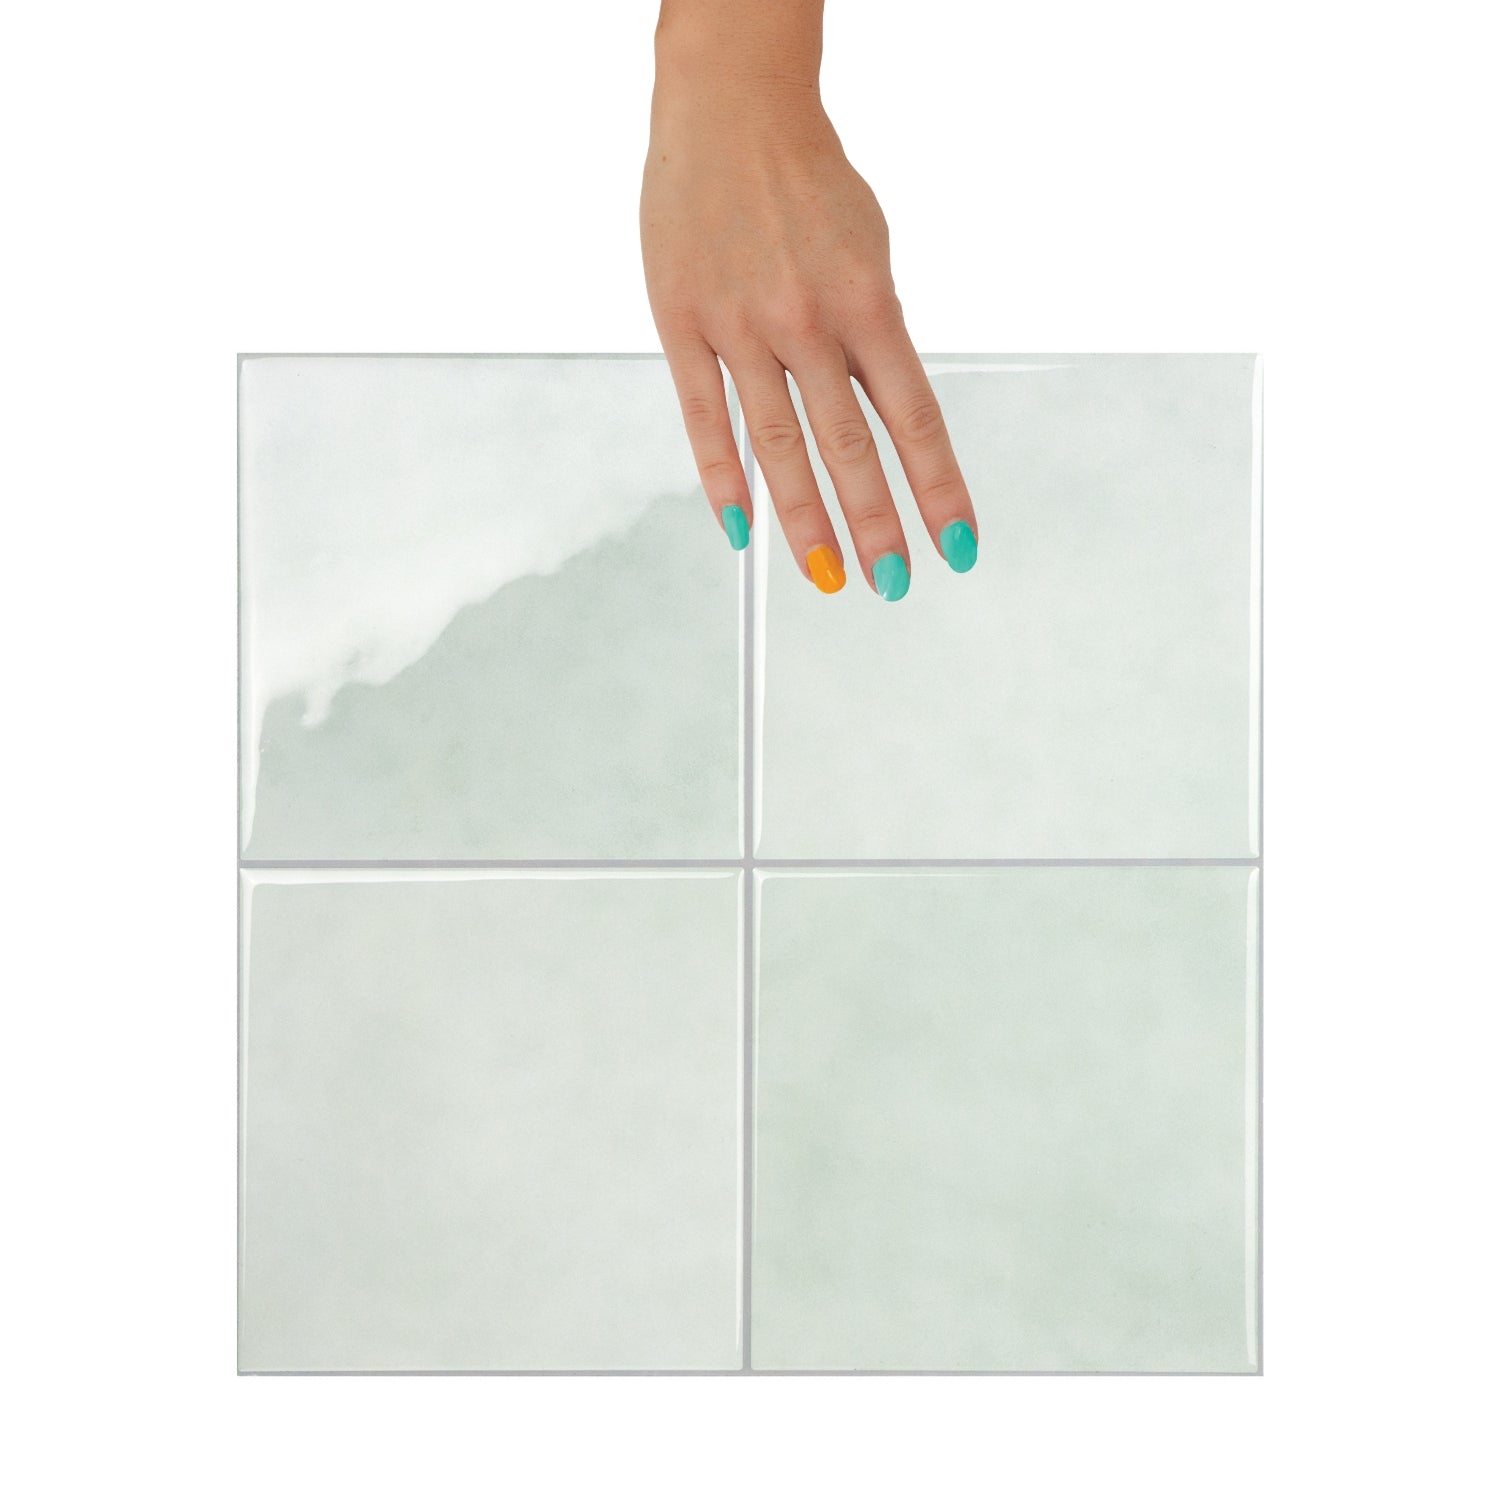
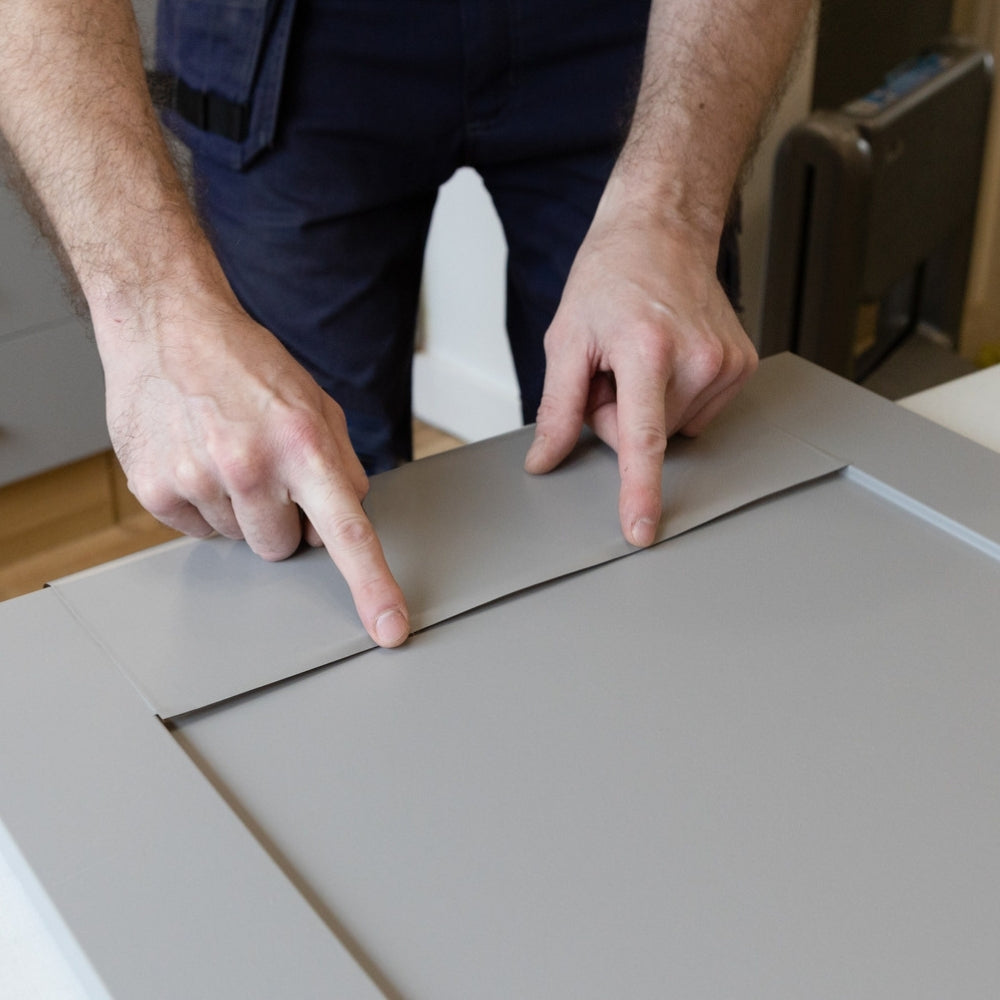
Quality, Premium & Composite Tiles (Butt-Join Method)
- (optional) Lightly mist the adhesive side with soapy water — this gives you time to reposition.
- Press onto the wall along your guideline.
- Align the next tile edge to edge( no overlap). Gaps will show, so take your time.
- Let sit 48 hours to fully adhere.
Extra Pro Tips
- Always wash your hands first — touching the adhesive weakens its stick!
- Use offcuts for tricky corners or small fill-ins.
- In tight corners, apply wallpaper in smaller sections.
- For gas hobs: leave 20cm above open flames and 6cm from toaster ovens.
- Frame your project with a Smart Edge or an Edge Trim.
Maintenance & Cleaning
- Wipe clean with a damp cloth and mild cleaner.
- Avoid abrasive scrubbing or cleaners with bleach, ammonia, acetone, or solvents.
- Spills (especially turmeric, coffee, or tomato-based sauces) should be cleaned immediately.
- Don’t install near extreme heat (above 60°C) or in direct steam zones like inside showers.
Removal Tips (for Renter-Friendly Projects)
- Composite tiles are semi-permanent and may damage the wall.
- To make it renter-friendly:
- Apply adhesive vinyl or a plastic panel underneath as a removable barrier.
- This protects the wall and makes removal clean and easy.
Ready to transform your kitchen, bathroom or laundry splashbacks with peel and stick tiles or vinyl wallpaper? This guide covers everything — tools, surface prep, cutting tips, application methods, and long-term care — tailored for all our splashback types.
Which Splashback Is Right for You?
- Installation behind a cooktop:All our peel and stick tiles can withstand heat from electric cooktops. The products are heat resistant but not fire safe. If you have a gas hob you need a rear plate or allow a minimum distance of 20cm to prevent the tiles to come in contact with open flame. Always refer to your stove top installation manual regarding correct safety clearance.
- Renters or temporary living?Go for Smart Tiles, they are the absolute easies to remove with little to no damage to the surface. The Value Tiles from Peel & Stick Hub would be the second option.
- Want premium realism?Composite Tiles offer a luxe, firm finish and realistic textures — best for homeowners and long-term installs.
- Deep and wide grout lines?Our Premium and Premium Composite Peel & Stick ranges have firmer adhesion and hide uneven surfaces beautifully due to their foam backing that stays rigid.
- Small budget?Our Value Tiles deliver maximum impact for minimal cost — perfect for fast makeovers.
- On the move? All our peel and stick tiles apart from the composite tile range are lightweight so ideal for the motorhome. If your walls are slightly curved, then choose Smart Tiles or Value Tiles which are bendable.
For even more flexibility, check out our Renter-Friendly Solutions guide where we show how to make even strong-glue tiles removable with clever tricks like vinyl backing panels.
Tools You’ll Need (All Tile Types)
- Grease remover (e.g. sugar soap)
- Cutting mat
- Utility knife or craft knife
- Metal ruler
- Pen or pencil
- Tape measure
- Level
- Sponge
- Spray bottle with water + a few drops of dish soap (for repositioning)
- Optional: fine-grit sandpaper (for trimming edges)
⚠️ Important: Avoid Touching the Adhesive
Always wash your hands before application and handle the tile or wallpaper by the edges only.
Touching the glue side transfers oils and dust from your fingers, which weakens the adhesive and may cause peeling.
Step 1: Clean & Prepare the Surface
- Clean thoroughlyusing a degreaser like sugar soap. Let it dry completely.
- Remove dust, oils, flaking paint, or uneven surfaces.
- Freshly painted walls need a 3–6 week curing period(check specific product guide).
- Ensure the temperature is between18°C and 35°Cduring installation.
Step 2: Measure & Plan
- Use a spirit level or rulerto mark your starting guideline — this ensures straight placement.
- Measure the area and plan your layout. Lay out all tiles on your benchtop or a table or even the floor in the pattern you desire. Start from the bottom centre or cornerof the area and work outward.
- If your design has a pattern, align and match tiles carefully.
- Use backing paper as a cutting guidewhen working around switches, windows, or obstacles.
Step 3: Cut Around Obstacles
- Hold the tile in place and use a pencil to trace where to cut.
- Use a utility knife and metal ruler to score and snap straight lines for composite tiles. Cut with scissors or a craft knife for all other tiles
- For tricky shapes (like around a pipe), make multiple small cuts.
- Test-fit before peeling the backing.
Step 4: Application by Tile Type
Smart Tiles & Value Tiles (Overlap Method)
- Peel back half the backing paper — don’t touch the glue!
- Align with your guideline and press gently.
- Once positioned, peel the rest and press firmly.
- Overlap grout lines fully for a seamless look.
Quality, Premium & Composite Tiles (Butt-Join Method)
- (optional) Lightly mist the adhesive side with soapy water — this gives you time to reposition.
- Press onto the wall along your guideline.
- Align the next tile edge to edge( no overlap). Gaps will show, so take your time.
- Let sit 48 hours to fully adhere.
Extra Pro Tips
- Always wash your hands first — touching the adhesive weakens its stick!
- Use offcuts for tricky corners or small fill-ins.
- In tight corners, apply wallpaper in smaller sections.
- For gas hobs: leave 20cm above open flames and 6cm from toaster ovens.
- Frame your project with a Smart Edge or an Edge Trim.
Maintenance & Cleaning
- Wipe clean with a damp cloth and mild cleaner.
- Avoid abrasive scrubbing or cleaners with bleach, ammonia, acetone, or solvents.
- Spills (especially turmeric, coffee, or tomato-based sauces) should be cleaned immediately.
- Don’t install near extreme heat (above 60°C) or in direct steam zones like inside showers.
Removal Tips (for Renter-Friendly Projects)
- Composite tiles are semi-permanent and may damage the wall.
- To make it renter-friendly:
- Apply adhesive vinyl or a plastic panel underneath as a removable barrier.
- This protects the wall and makes removal clean and easy.