Step by Step Guide for installing Adhesive Vinyl on a Benchtop
Step by Step Guide for installing Adhesive Vinyl on a Benchtop
If you're looking for a practical, cost-effective way to update your kitchen without the drama of a full renovation, wrapping your benchtop with TGA® or d-c-fix® adhesive vinyl is a brilliant solution. It's durable, stylish, and if done right, it can completely transform the space. This guide will walk you through every step of the process, from measuring to moulding, including the tricky bits like wrapping around a sink or stove top.
What You'll Need:
- d-c-fix® adhesive vinyl or TGA® (sold by the meter) adhesive vinyl
- Measuring tape
- Pencil
- Ruler or straight edge
- Scissors
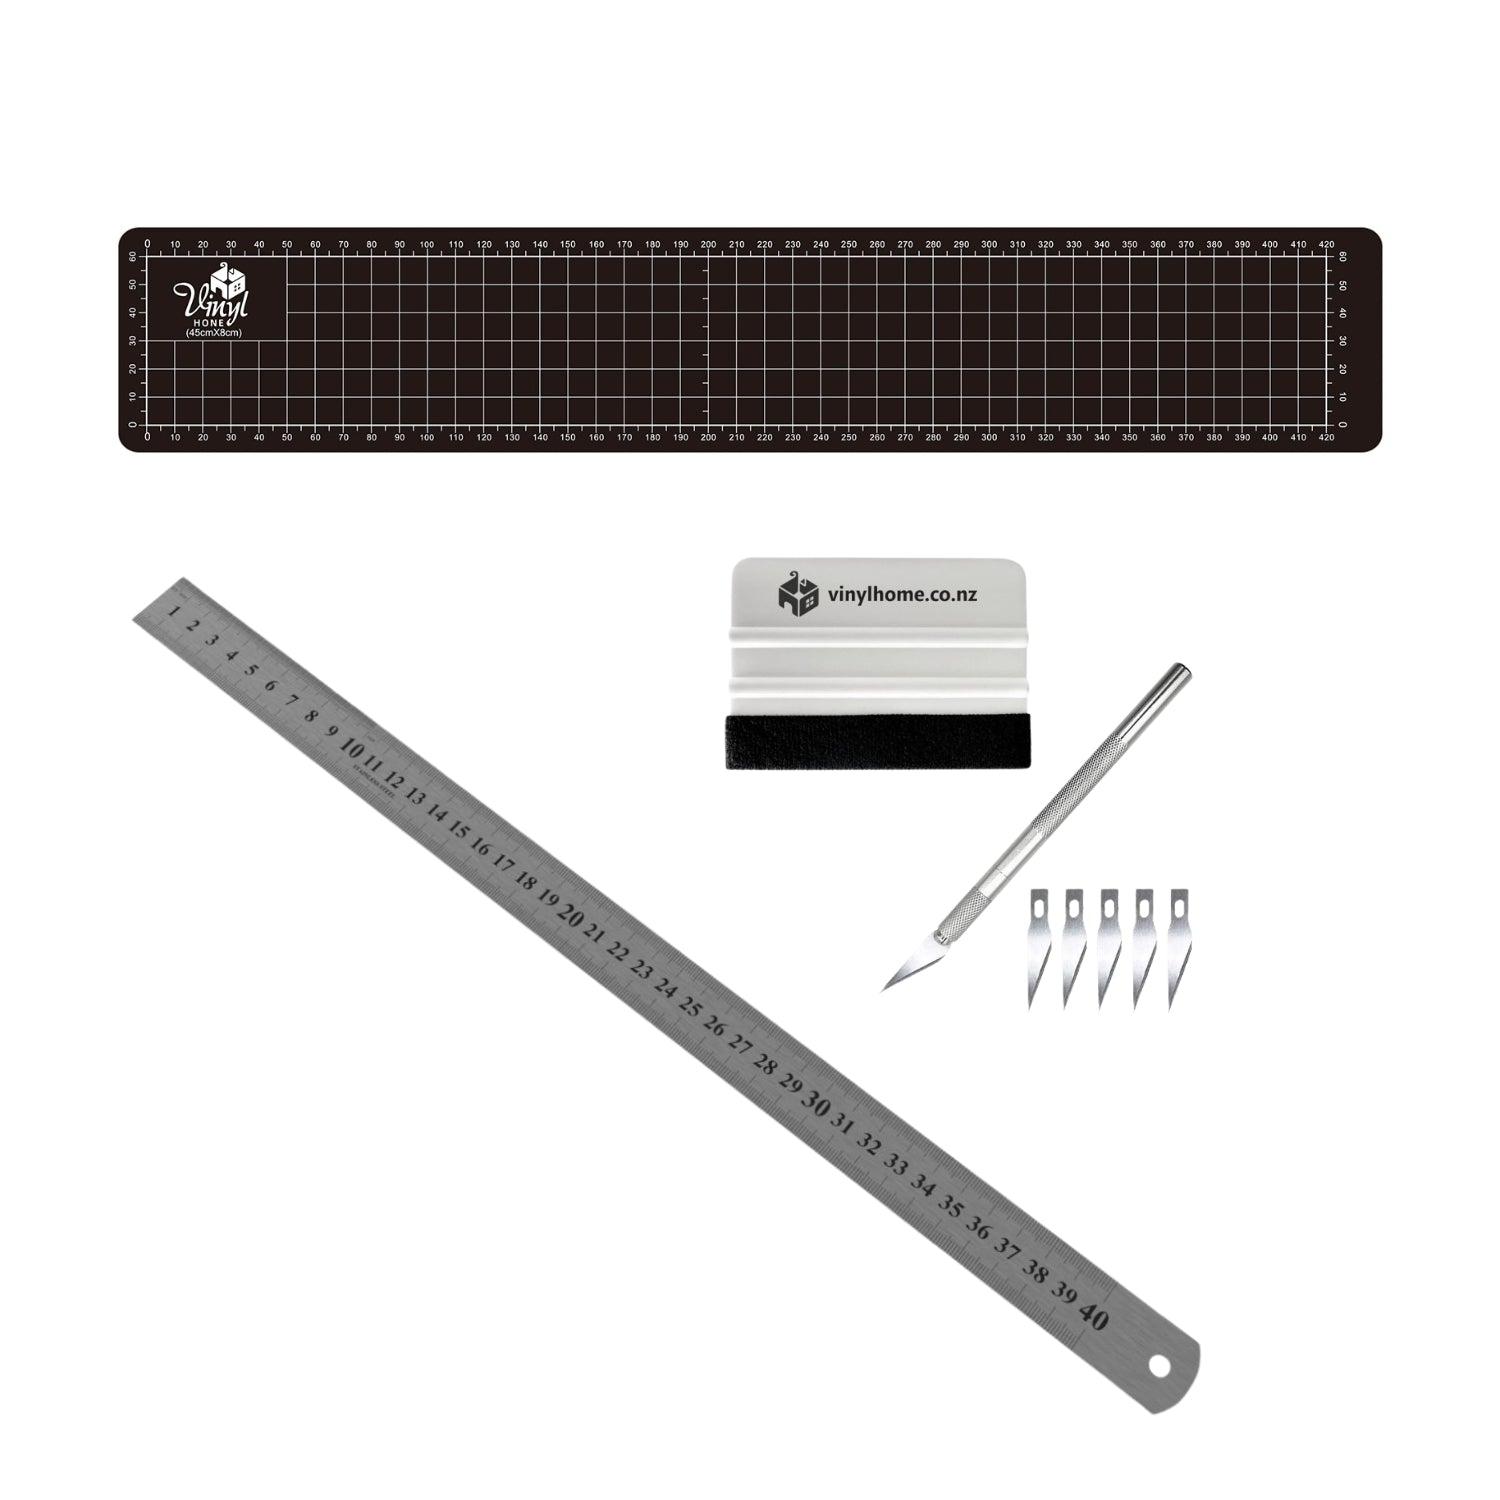
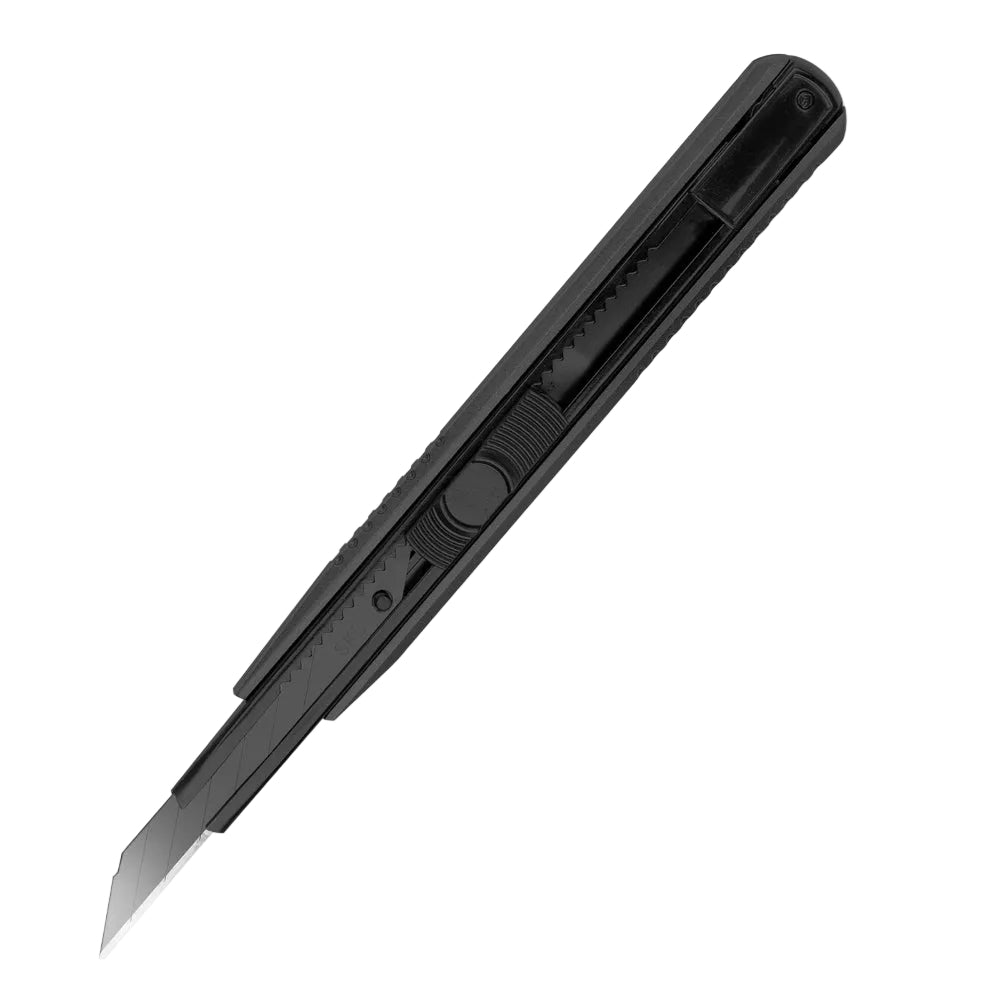
- Application Kit including a Squeegee with a velvet side for smooth application and craft knife
- Heat gun or hair dryer
- Cleaning product (we recommend sugar soap) and cloth
- Silicone sealant and applicator gun
- Heavy books (optional)
Step 1: Measure Your Space
Before ordering, measure the full length and width of your benchtop, including the front drop edge. For benchtops with sinks or cutouts, measure those areas separately.
To calculate how much vinyl to order:
Before ordering, measure the full length and width of your benchtop, including the front drop edge. For benchtops with sinks or cutouts, measure those areas separately.
To calculate how much vinyl to order:
- Measure the width of the benchtop, including the front edge if you plan to wrap it.
- Choose the vinyl width that is equal to or greater than your measurement:Standard Benchtops: Use 67.5cm rolls for standard 60cm wide benchtops (or 90cm rolls for anything wider). Wide Islands: Use TGA® Architectural vinyl (122cm wide) to cover wide breakfast bars and islands in one single piece.
- Measure the total length of the benchtop (plus 10cm extra).
- Choose a roll length (d-c-fix®) or order the specific number of meters (TGA®) that allows you to use one continuous piece for each section.
Tip: If you're covering a wide breakfast bar and using standard d-c-fix®, you’ll need to join two pieces (we recommend wood grain for this to hide the seam). However, we strongly recommend using the 122cm wide TGA® vinyl to avoid seams altogether.
Step 2: Prep the Surface
Clean the benchtop thoroughly with a degreasing spray. Remove any silicone, food grime, or old sealant. Dry the surface completely. The vinyl sticks best to smooth, clean surfaces.
If your benchtop is chipped or uneven, fill in imperfections with filler and sand smooth before starting.
Step 3: Cutting the Vinyl
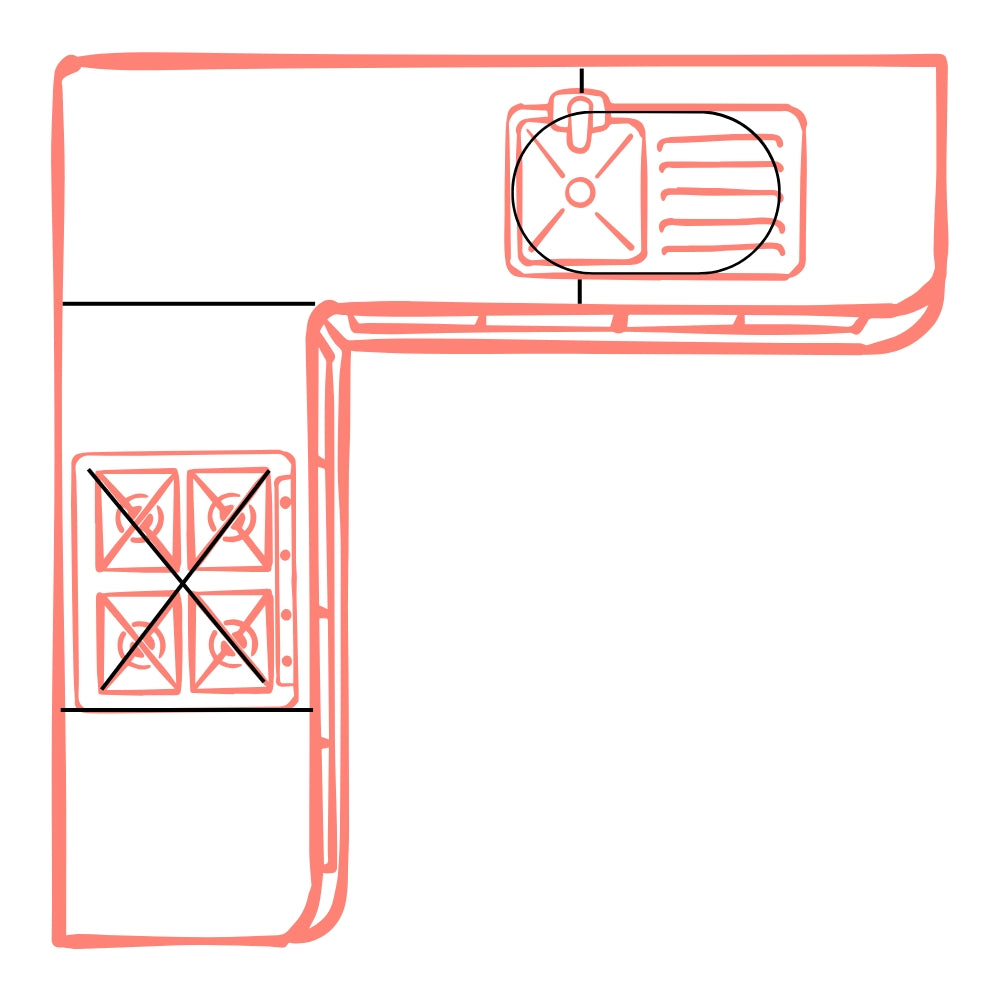
Roll out your vinyl and cut it roughly to size, leaving the extra margin. Make sure the grain or pattern direction matches across adjoining pieces. For obstacles like sinks and taps, cut holes that are smaller than the obstacle. For stove tops / hobs: Please note that under AS/NZS 5601.1 building regulations, adhesive vinyl cannot be applied within 200 mm of an open-flame gas hob. If wrapping around an electric/induction hob, ensure a small cutout gap and seal the border with high-heat silicone.
Step 4: Application – Flat Surfaces
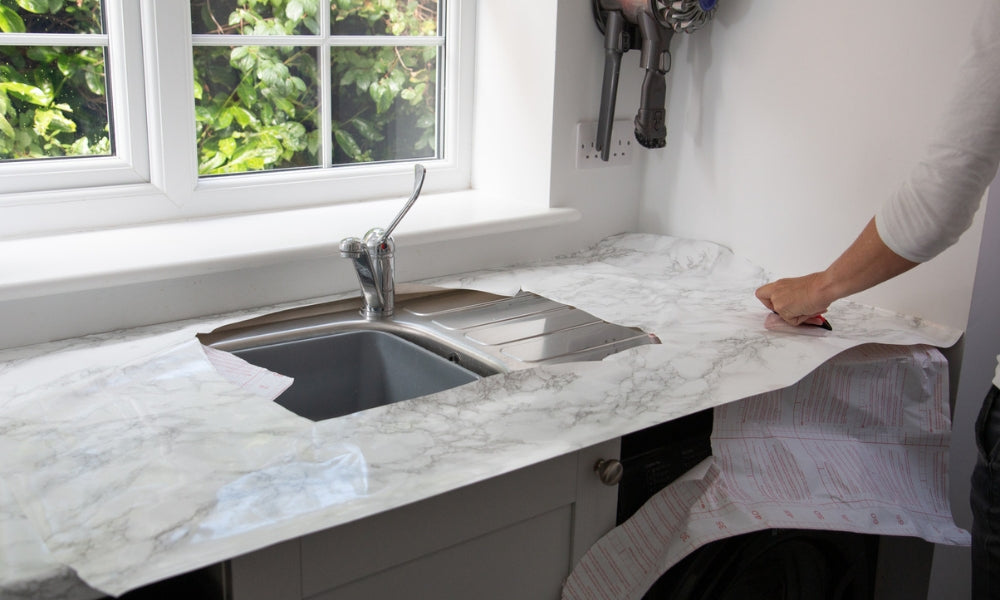
- It’s helpful to work in pairs—one person holds the vinyl while the other applies it.
- If you're working alone, use heavy books to hold one end in place while you start sticking the other end.
- Peel back about 10–15cm of the backing paper.
- Line up your vinyl carefully and press the exposed adhesive to the surface.
- Use your squeegee to push out air bubbles, working from the centre outward.
- Slowly peel more of the backing and continue smoothing as you go.
Tip: If you get a bubble, use a pin to pop it and press it flat.
Step 5: Wrapping Straight Corners
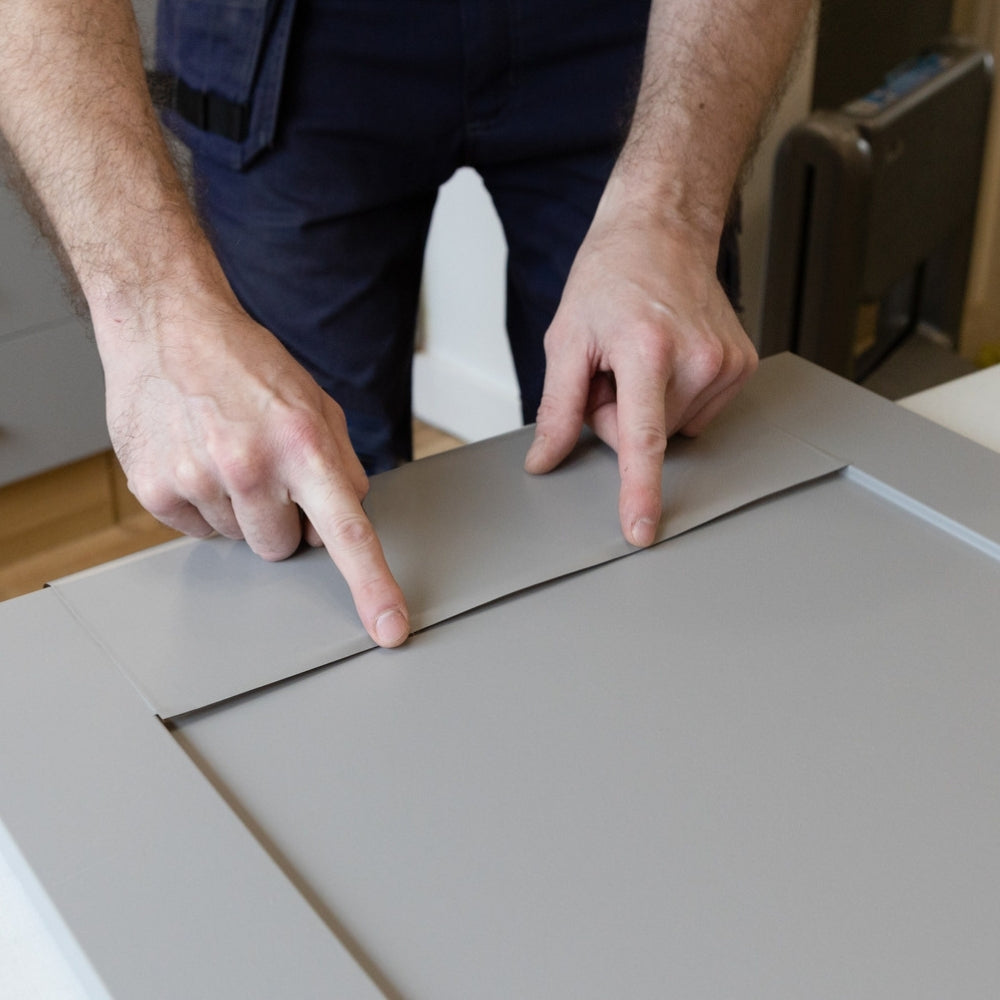
- Cut a diagonal slit at each corner.
- Fold the vinyl down the front edge and smooth it with the squeegee. Fold down the flap around the corner.
- Fold down the other edge and cut off excess vinyl along the corner
- Wrap the excess underneath the benchtop.
- Use a heat gun or hair dryer to activate the glue faster on the edge.
Step 6: Wrapping Bevelled Edges
- Bevelled edges need extra care:
- Use the heat gun to soften the vinyl gently.
- Slowly press and stretch the vinyl over the bevel.
- Work in small sections to avoid wrinkles.
- Use a craft knife to trim excess vinyl along the underside.
Step 7: Moulding Around Rounded Edges
- Heat the vinyl until it becomes pliable.
- Gently stretch it around the curve while smoothing with your squeegee.
- Work methodically around the curve to keep the vinyl tight.
- Trim excess with a sharp craft knife.
Tip: Don’t overheat—the vinyl can become too soft or tear.
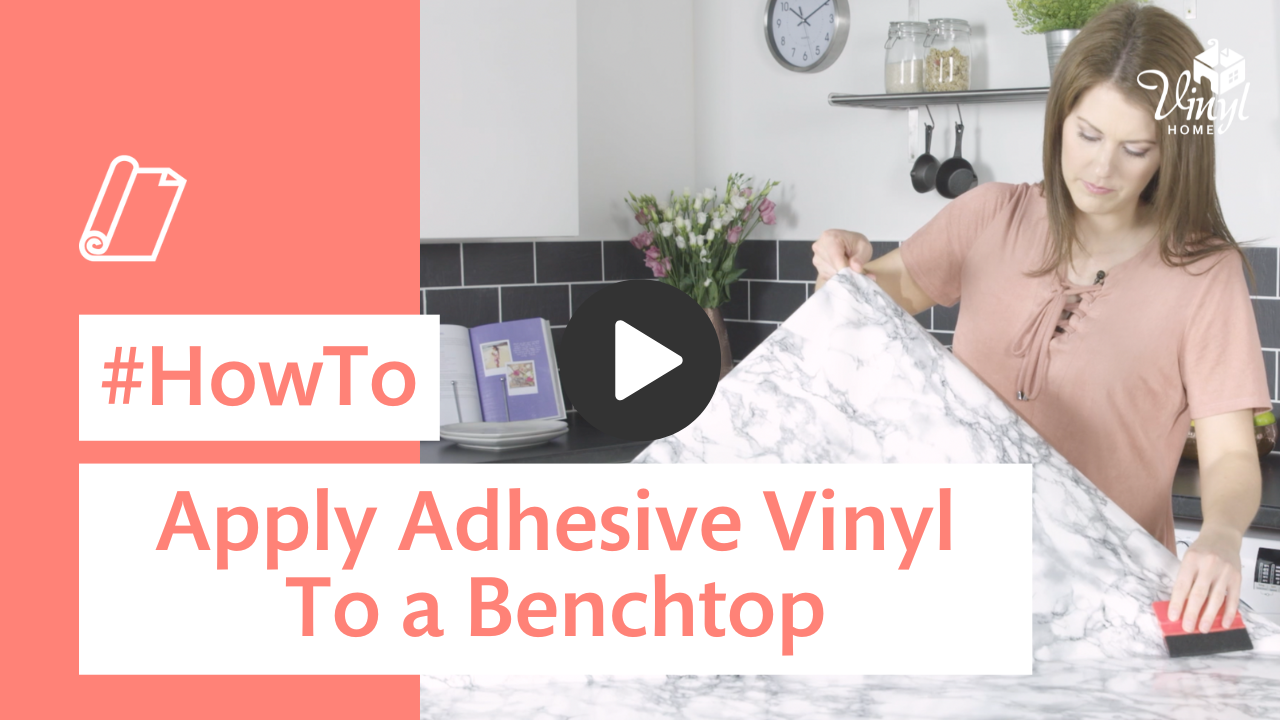
Watch our corner wrapping demonstration video below.
Step 8: Around the Sink
- Remove the sink if possible. If not, clean the join very well.
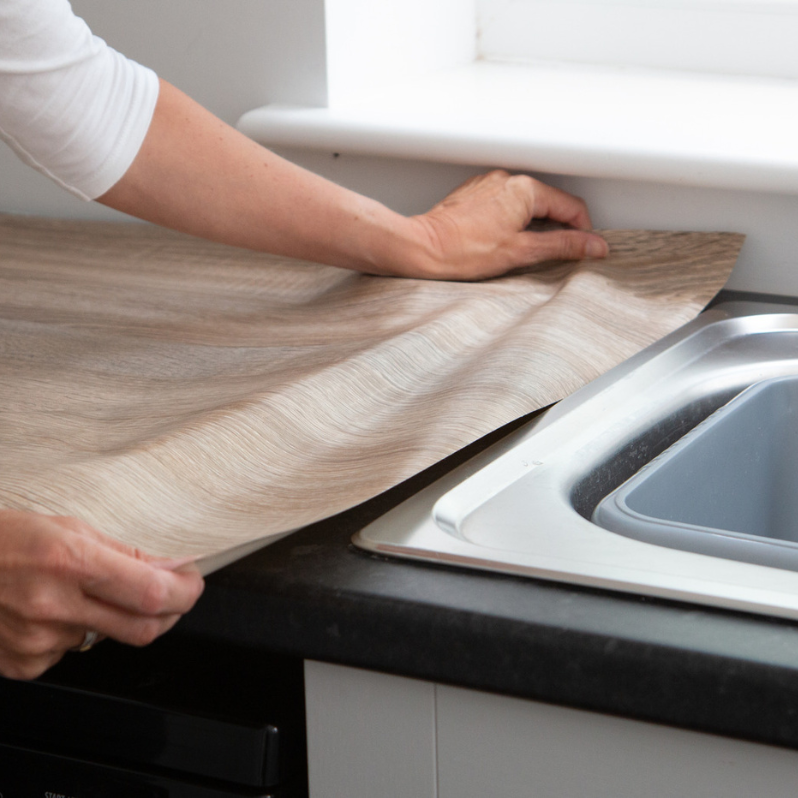
- Apply the vinyl up to the edge of the sink.
- Use a sharp knife to cut around the sink base carefully.
- Push the vinyl under the lip if there’s room.
- Apply a thin line of silicone around the edge to seal and protect from water.
Step 9: Around the Stove Top & Heat Safety
- Check your stove type before cutting or installing:
-Gas Hobs (Non-Compliant Zone): Under AS/NZS 5601.1, adhesive vinyl is combustible and cannot be installed within 200 mm of an open-flame gas burner. Maintain a non-combustible buffer zone (such as a stainless steel, tile, or stone trim border around the cutout) and wrap the vinyl only up to that non-combustible edge.
-Electric & Ceramic Hobs: Vinyl can be wrapped up to the cutout edge, provided cookware stays strictly within the ceramic glass zones to avoid heat transfer exceeding 70°C–80°C.
-Induction Hobs: Ideal for seamless wrapping right up to the cutout, as surface heat transfer is minimal. - Installation & Sealing:For Electric or Induction units, remove the stove top if possible for a seamless wrap into the cutout. If you cannot remove it, cut precisely around the perimeter edge. Always apply a continuous bead of high-temperature silicone around the entire stove top edge to seal out heat, steam, and liquid spills.
Step 10: Silicone Sealing
Once your vinyl is fully applied:
- Run a bead of clear silicone along the edges where water might get in – like around sinks, the back wall, and joins.
- Smooth it with a wet finger or silicone tool.
Let it cure for at least 12 hours before using the surface.
Caring for Your Vinyl-Wrapped Benchtop
d-c-fix® and TGA® vinyls are designed to be tough, but like all surfaces, they benefit from good care:
- Clean with a soft cloth and mild detergent. Avoid abrasive cleaners or scrubbing pads.
- Use chopping boards for all food preparation. While our vinyls are non-toxic (phthalate-free, solvent-free, and heavy-metal-free), they are not classified as food-grade surfaces. Always use a barrier rather than placing food directly on the vinyl.
- Place hot pots or pans on a trivet. Even though TGA® is B1 fire-rated, vinyl can warp if exposed to high heat.
- Wipe spills promptly to avoid moisture seeping into the edges.
- Avoid dragging heavy items across the surface.
- Avoid high pigmented food like curry and turmeric as it may stain the vinyl.
Tip: Darker vinyl colours tend to show scratches and wear more easily than lighter or patterned designs. If your kitchen gets heavy use, a lighter stone look may be a better long-term option.
Final Tips
- Always practice on a small piece if it’s your first time.
- Keep your workspace dust-free.
- A second person can be a big help with large pieces.
- If joining two pieces of vinyl, select a wood grain design, or opt for the wider TGA® vinyl to avoid joins entirely.
By following this guide, you'll be well on your way to giving your kitchen a fresh new look, without the mess or price tag of a full renovation. d-c-fix® and TGA® Architectural vinyl from Vinyl Home are made to be easy to use, long-lasting, and stylish. Happy wrapping!
If you're looking for a practical, cost-effective way to update your kitchen without the drama of a full renovation, wrapping your benchtop with TGA® or d-c-fix® adhesive vinyl is a brilliant solution. It's durable, stylish, and if done right, it can completely transform the space. This guide will walk you through every step of the process, from measuring to moulding, including the tricky bits like wrapping around a sink or stove top.
What You'll Need:
- d-c-fix® adhesive vinyl or TGA® (sold by the meter) adhesive vinyl
- Measuring tape
- Pencil
- Ruler or straight edge
- Scissors
- Application Kit including a Squeegee with a velvet side for smooth application and craft knife
- Heat gun or hair dryer
- Cleaning product (we recommend sugar soap) and cloth
- Silicone sealant and applicator gun
- Heavy books (optional)
Step 1: Measure Your Space
Before ordering, measure the full length and width of your benchtop, including the front drop edge. For benchtops with sinks or cutouts, measure those areas separately.
To calculate how much vinyl to order:
Before ordering, measure the full length and width of your benchtop, including the front drop edge. For benchtops with sinks or cutouts, measure those areas separately.
To calculate how much vinyl to order:
- Measure the width of the benchtop, including the front edge if you plan to wrap it.
- Choose the vinyl width that is equal to or greater than your measurement:Standard Benchtops: Use 67.5cm rolls for standard 60cm wide benchtops (or 90cm rolls for anything wider). Wide Islands: Use TGA® Architectural vinyl (122cm wide) to cover wide breakfast bars and islands in one single piece.
- Measure the total length of the benchtop (plus 10cm extra).
- Choose a roll length (d-c-fix®) or order the specific number of meters (TGA®) that allows you to use one continuous piece for each section.
Tip: If you're covering a wide breakfast bar and using standard d-c-fix®, you’ll need to join two pieces (we recommend wood grain for this to hide the seam). However, we strongly recommend using the 122cm wide TGA® vinyl to avoid seams altogether.
Step 2: Prep the Surface
Clean the benchtop thoroughly with a degreasing spray. Remove any silicone, food grime, or old sealant. Dry the surface completely. The vinyl sticks best to smooth, clean surfaces.
If your benchtop is chipped or uneven, fill in imperfections with filler and sand smooth before starting.
Step 3: Cutting the Vinyl
Roll out your vinyl and cut it roughly to size, leaving the extra margin. Make sure the grain or pattern direction matches across adjoining pieces. For obstacles like sinks and taps, cut holes that are smaller than the obstacle. For stove tops / hobs: Please note that under AS/NZS 5601.1 building regulations, adhesive vinyl cannot be applied within 200 mm of an open-flame gas hob. If wrapping around an electric/induction hob, ensure a small cutout gap and seal the border with high-heat silicone.
Step 4: Application – Flat Surfaces
- It’s helpful to work in pairs—one person holds the vinyl while the other applies it.
- If you're working alone, use heavy books to hold one end in place while you start sticking the other end.
- Peel back about 10–15cm of the backing paper.
- Line up your vinyl carefully and press the exposed adhesive to the surface.
- Use your squeegee to push out air bubbles, working from the centre outward.
- Slowly peel more of the backing and continue smoothing as you go.
Tip: If you get a bubble, use a pin to pop it and press it flat.
Step 5: Wrapping Straight Corners
- Cut a diagonal slit at each corner.
- Fold the vinyl down the front edge and smooth it with the squeegee. Fold down the flap around the corner.
- Fold down the other edge and cut off excess vinyl along the corner
- Wrap the excess underneath the benchtop.
- Use a heat gun or hair dryer to activate the glue faster on the edge.
Step 6: Wrapping Bevelled Edges
- Bevelled edges need extra care:
- Use the heat gun to soften the vinyl gently.
- Slowly press and stretch the vinyl over the bevel.
- Work in small sections to avoid wrinkles.
- Use a craft knife to trim excess vinyl along the underside.
Step 7: Moulding Around Rounded Edges
- Heat the vinyl until it becomes pliable.
- Gently stretch it around the curve while smoothing with your squeegee.
- Work methodically around the curve to keep the vinyl tight.
- Trim excess with a sharp craft knife.
Tip: Don’t overheat—the vinyl can become too soft or tear.
Watch our corner wrapping demonstration video below.
Step 8: Around the Sink
- Remove the sink if possible. If not, clean the join very well.
- Apply the vinyl up to the edge of the sink.
- Use a sharp knife to cut around the sink base carefully.
- Push the vinyl under the lip if there’s room.
- Apply a thin line of silicone around the edge to seal and protect from water.
Step 9: Around the Stove Top & Heat Safety
- Check your stove type before cutting or installing:
-Gas Hobs (Non-Compliant Zone): Under AS/NZS 5601.1, adhesive vinyl is combustible and cannot be installed within 200 mm of an open-flame gas burner. Maintain a non-combustible buffer zone (such as a stainless steel, tile, or stone trim border around the cutout) and wrap the vinyl only up to that non-combustible edge.
-Electric & Ceramic Hobs: Vinyl can be wrapped up to the cutout edge, provided cookware stays strictly within the ceramic glass zones to avoid heat transfer exceeding 70°C–80°C.
-Induction Hobs: Ideal for seamless wrapping right up to the cutout, as surface heat transfer is minimal. - Installation & Sealing:For Electric or Induction units, remove the stove top if possible for a seamless wrap into the cutout. If you cannot remove it, cut precisely around the perimeter edge. Always apply a continuous bead of high-temperature silicone around the entire stove top edge to seal out heat, steam, and liquid spills.
Step 10: Silicone Sealing
Once your vinyl is fully applied:
- Run a bead of clear silicone along the edges where water might get in – like around sinks, the back wall, and joins.
- Smooth it with a wet finger or silicone tool.
Let it cure for at least 12 hours before using the surface.
Caring for Your Vinyl-Wrapped Benchtop
d-c-fix® and TGA® vinyls are designed to be tough, but like all surfaces, they benefit from good care:
- Clean with a soft cloth and mild detergent. Avoid abrasive cleaners or scrubbing pads.
- Use chopping boards for all food preparation. While our vinyls are non-toxic (phthalate-free, solvent-free, and heavy-metal-free), they are not classified as food-grade surfaces. Always use a barrier rather than placing food directly on the vinyl.
- Place hot pots or pans on a trivet. Even though TGA® is B1 fire-rated, vinyl can warp if exposed to high heat.
- Wipe spills promptly to avoid moisture seeping into the edges.
- Avoid dragging heavy items across the surface.
- Avoid high pigmented food like curry and turmeric as it may stain the vinyl.
Tip: Darker vinyl colours tend to show scratches and wear more easily than lighter or patterned designs. If your kitchen gets heavy use, a lighter stone look may be a better long-term option.
Final Tips
- Always practice on a small piece if it’s your first time.
- Keep your workspace dust-free.
- A second person can be a big help with large pieces.
- If joining two pieces of vinyl, select a wood grain design, or opt for the wider TGA® vinyl to avoid joins entirely.
By following this guide, you'll be well on your way to giving your kitchen a fresh new look, without the mess or price tag of a full renovation. d-c-fix® and TGA® Architectural vinyl from Vinyl Home are made to be easy to use, long-lasting, and stylish. Happy wrapping!