FREE NZ SAMPLE SHIPPING OVER $18

FREE NZ SAMPLE SHIPPING OVER $18

Search

Edge Trims for Wall Tiles

Complete your self-adhesive wall tiling job with smart accessories.

Vinyl Home -Gift Card

Shopping for someone else? Treat them with a DIY gift card and let them select their favourite design.

Tool Bundle
Get all the tools you need for your project

Equip yourself with the right tools and take your DIY project to the next level!

Wall Tiles - FAQs

A peel and stick tile in 3D design that can be applied on walls and splashbacks in kitchen, bathrooms, laundry rooms, motorhomes and more. It can even go on top of existing tiles.  It's easy to apply and no specialist tools are required. Ones applied the tiles look strikingly close to ceramic tiles. 

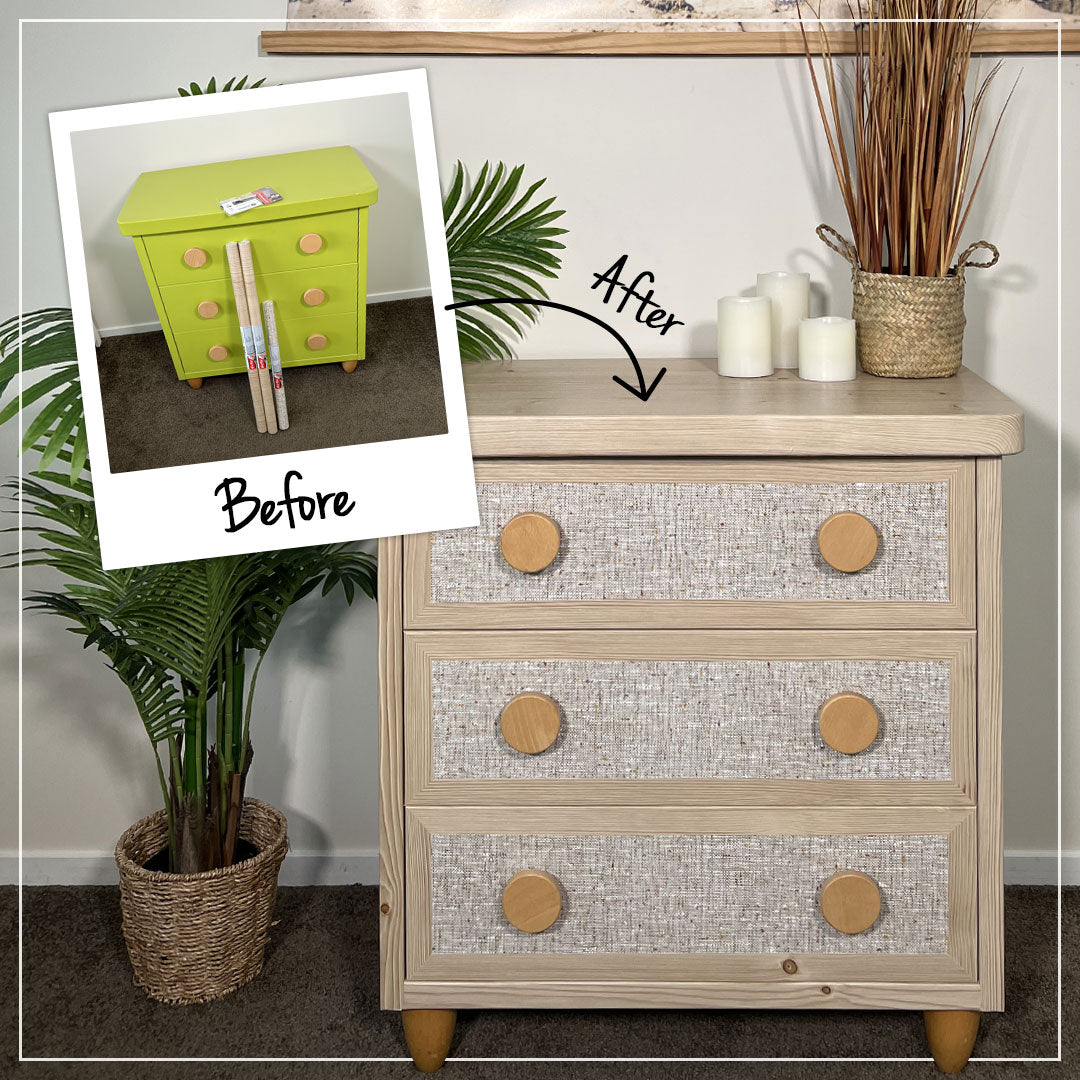
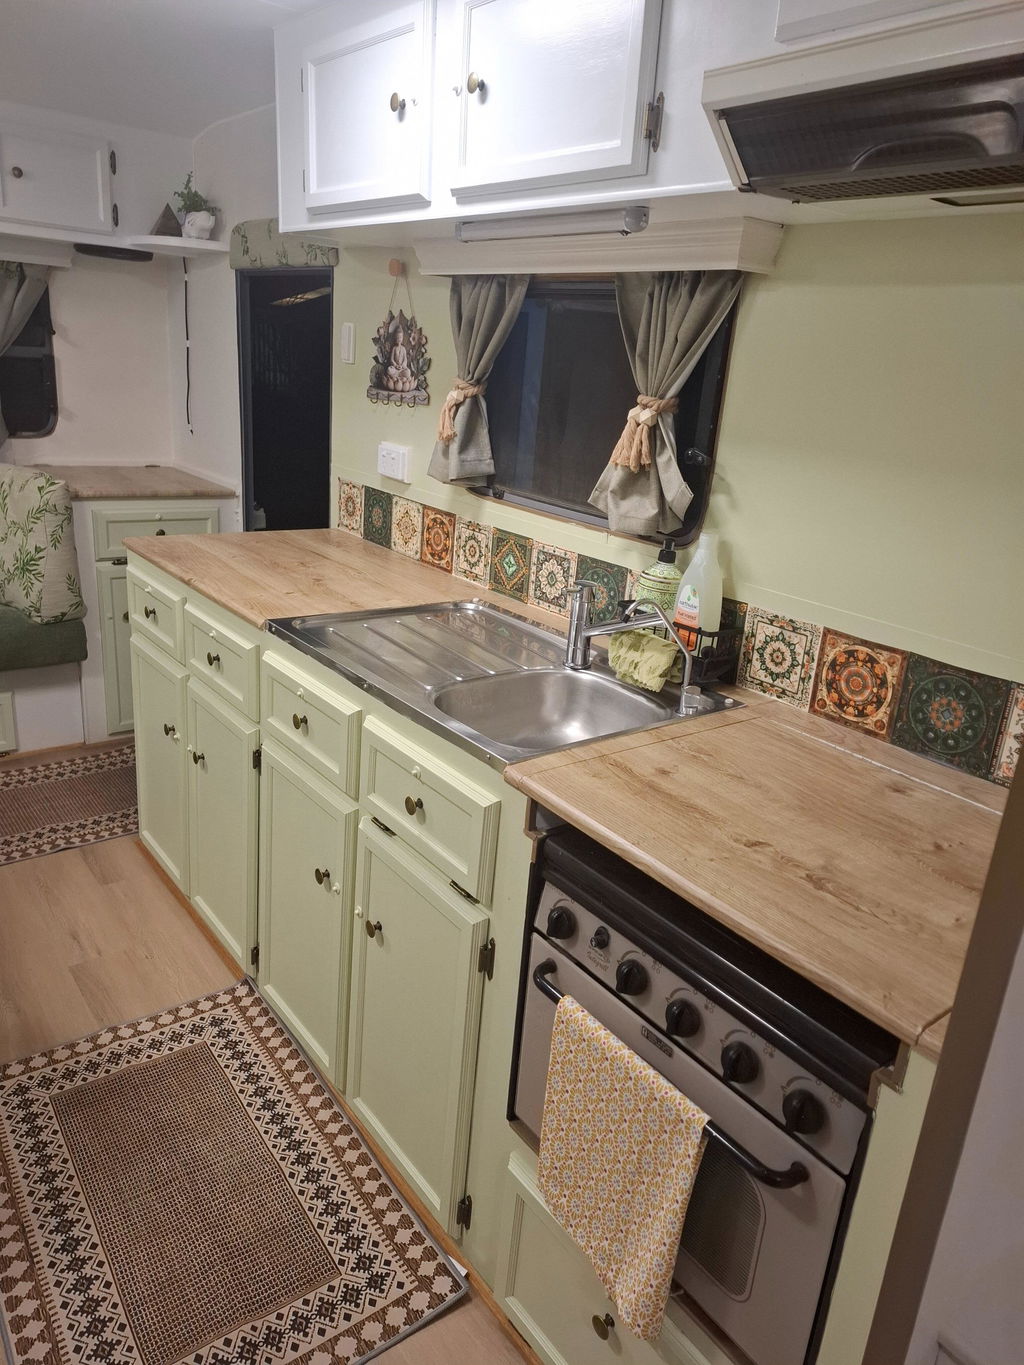
The tiles are suitable for kitchen, bathroom, laundry room and motorhome splashbacks.

Important! If you can't find your installation surface below pleasecontact us before you purchase.
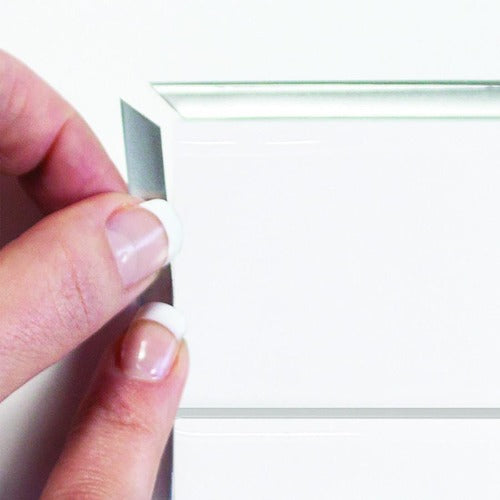
Recommended surfaces include:
-smooth ceramic tiles (this excludes the XL & Mega range)
-smooth glass tiles
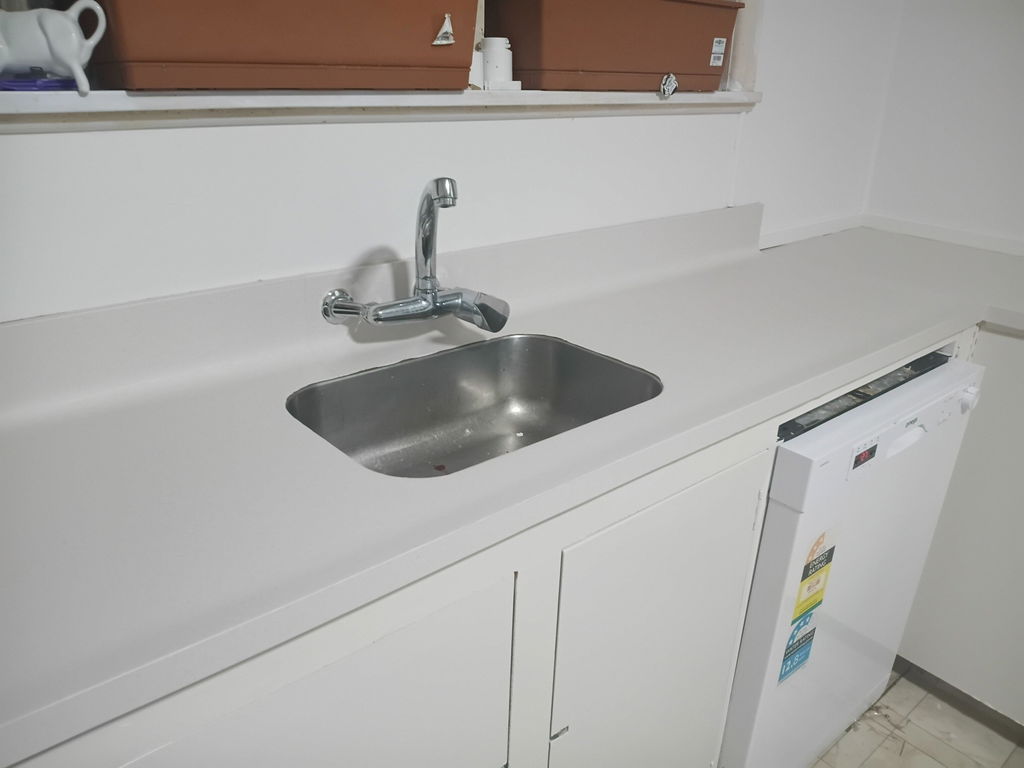
-wall panel (acrylic)
-wall linoleum
-mirror
-wallpaper (untextured) 
-painted gib board (after a minimum of 21-day curing time for fresh paint, sometimes longer)

Not recommended surfaces:
-stucco wall
-stone wall
-unfinished wall (gib or plaster)
-unpainted plywood
-porous wood
-relief ceramic tiles
-textured wallpaper
-inside a shower
-floors
-bench tops
-ceilings
-brick wall

For deep and wide grout lines and you may want to consider the Premium Composite Tiles or the Quality and Premium Peel & Stick Hub brand as they are more rigid and won't sink into the grout lines.

For walls that are slightly curved Smart Tiles or the Value range fro Peel & Stick Hub are more suitable as they are more flexible.

1. CLEANING: Wash the surface with a powerful grease-remover such as sugar soap. Make sure you allow enough time for the surface to dry properly. Make sure that your hands are properly cleaned before installation.
2. GUIDELINE: using a level or chalk line, trace a guideline to ensure perfect alignment using a tile sheet to mark the height of your guideline on the lowest side of the bench top.
3. MEASURING & CUTTING: use a utility knife and a metal ruler to trim and shape your tiles around electrical outlets or other irregularities. Measure and mark your tiles and then lay it on a cutting mat to cut off the unwanted portion.
The composite tiles needs to be scored several times and then snapped.
4. REMOVE THE TABS OF THE FIRST TILE: For all jagged edge models, you must cut off the overlapping tabs of the first sheet to get a straight edge to begin the installation. This will allow you to start in a corner, against a cabinet or to get straight edge ending. 
5. PEEL: Fold back half of the protective paper in the back without touching the adhesive portion with your fingers. We strongly recommend you wash your hands before you start the installation to ensure no dust particles or greasy residue are transferred to the adhesive. Touching the backing will cause the adhesive to weaken and may cause edges lifting and tiles eventually falling down.
6. ALIGN & STICK: Now align the adhesive portion with your guideline and apply a light pressure. This will allow you to validate the positioning of your tiles. Once you are satisfied with its placement and alignment, you may remove the rest of the protective paper and apply a firm pressure across the entire surface.
The Premium Composite tiles and Quality and Premium Tiles from Peel & Stick Hub have a stronger bonding glue which means an instant stick. To allow for more wiggle room you can ightly spray a soap-and-water mixture (10 mL dish soap per 500 mL water) onto the adhesive and spread it evenly with a sponge. This allows the tile to be repositioned within a few seconds of installation.
7a. OVERLAPPING (Smart Tiles & Value Tiles): Once you've successfully installed the first sheet of tiles, you may continue the process making sure you overlap the entire grout lines as you go. This will result in a continous and even layout of the entire project.
7b. INTERLOCK: The PREMIUM COMPOSITE, Quality and Premium Peel & Stick Hub tiles are designed to interlock, so ensure you push them tightly together, leaving no gaps for a seamless finish.

After 48 hours, your DIY wall tiles are permanently secured to the wall.

Watch this short video for more details about the tiles and how to install them.

It's crucial to make sure that the surface is correctly prepared for optimal adhesion and durability. The surface needs to be clean from dust and grease. Make sure that you use a powerful grease remover (e.g. sugar soap) that is recommended for your surface. Let the surface dry completely before application. 
You may want to consider scrubbing painted surfaces with a high grit sandpaper. This will help removing the oily layer and the tiles will stick better to the surface.

The ambient temperature must be between 18°C and 35°C and the self-adhesive tiles should be room temperature. Put your tiles in the room a couple of days before installation to allow them to acclimatise.

Yes you can order samples here. Or if you prefer to see a whole tile sheet and just not a sample piece you can order single tiles here.

No, it's not recommended as they cannot adhere properly. If it's an orange peel painted surface, make sure you sand it first so it's smooth. Then apply a primer and allow a minimum of 72 hours for it to dry. Clean the surface with a degreaser like sugar soap before applying the tiles. 

Each tile sheet varies in size depending on model. All measurements can be found in the product description under specifications. Use the calculator for the design you want to use to find out how much you need for your project.

Yes they can be removed with little to no damage depending on the surface they've been applied to. Heat them with a hairdryer and pull carefully. Remove any excess glue with warm soapy water or methylated spirits. 
Smart Tiles are our most renter friendlytiles followed by the Value Tiles.
The Quality and Premium Peel & Stick Hub tiles have a stronger bonding glue and may damage the surface a bit more depending on where you install them.
The Premium Composite tiles are considered a permanent solution.

Yes Smart Tiles and Value Tiles are slightly bendable and can be used for curved wall areas (e.g. in buses, caravans, camper vans)

Once the tiles have completely adhered to the surface (generally after 48 hours) they are resistant to the humidity of bathrooms and water splashes. However they are not fully waterproof and it is therefore not recommended to use them in a shower.

Yes they can be used for the splash back or walls in the bathroom and are humidity resistant and the surface is water resistant. Let the tiles bond 48h with the surface before exposing them to humidity and water. They are not recommended in the shower or shower over bath as the solution is not completely waterproof. Water might find its way between and underneath the tiles eventually if submerged in water.

It's not recommended to use them in the shower. The surface of the tiles are water resistant, but overlapping parts can be weakened in places where there is a lot of water. Installing peel and stick tiles in the surrounding areas (e.g. above the shower, on the bath tub panel, above a bath not used as a shower), that don't get submerged in water is fine.

Yes the tiles are heat resistant to the heat of an electric stove once applied and have completely bonded with the surface. This generally takes 48 hours.  Please note that they are not fire resistant and require a safety distance from a gas hob and any open flame. It is recommended to prevent direct exposure to an open flame by installing our Smart Panel

Yes the tiles are heat resistant once applied. Allow sufficient time for the tiles to bond with the surface before use - generally 48 hours. They are not easily damaged by hot oil.

The tiles are not fire resistant! If installed behind a gas range without a protective rear panel, allow a length of 20cm above the surface to prevent the tiles from coming in contact with open flame. We recommend to use our Smart Panel to protect from direct exposure of open flames.

Important: Avoid placing air fryers, toasters, or other high-heat appliances too close to the wall or directly in front of peel & stick tiles. These appliances can release intense heat from rear or side vents, which may cause discolouration, bubbling, or lifting of the tiles. We recommend allowing at least 10–15cm of space for ventilation between the appliance and the wall.

Please note that the tiles needs to be out of reach for direct steam (e.g. from the oven) as they are not steam resistant. Always refer to your stove top installation manual regarding correct safety clearance. 

No they are not. Do not apply self-adhesive wall tiles so that they are in direct reach of steam (e.g. from an oven or airfryer). 

Yes, some of our tiles can be applied over existing ceramic tiles.

  • Smart Tiles and Value Tiles:These work best on smooth surfaces. Smaller designs help minimise the appearance of grout lines. For best results, fill in the grout first to create a flat, light-coloured surface.
  • XL and Mega Tiles: These are not recommended for use over ceramic tiles.
  • Premium Composite Tiles and Premium/Quality Peel & Stick Hub Tiles: These are more rigid and won’t sink into grout lines, making them suitable for covering ceramic tile surfaces.

There are some key factors to a successful installation
1. Go slowly and don't rush the process
2. Measure twice and cut once. If unsure cut off less than you think and then just cut off small pieces at the time
3. Create a straight line and make sure to apply the first tile completely straight. Only firmly press down on the tile when you are completely satisfied with the position of the tile
4. Cover the entire grout line when overlapping the tiles. This is particularly important when applying the hexagon design and other smaller tiles with many grout lines. 
5. Wash your hands before installation and don't touch the glue. Touching it will weaken the adhesive and the tiles may start lifting and eventually fall down.

Yes they will never yellow or crack and keep their look in the long term

You don't need any special tiling tools but the installation will be easier with the following:
-grease-remover
-pen for marking
-ruler / plain and a level for cutting and marking a straight line
-scissors
-craft knife
-cutting board 

Find the tile design you would like to use and scroll down to the calculator. It will tell you how to measure and will calculate the amount of tiles you need.

The number of tiles per pack depends on the design and brand you choose. We offer packs of 2, 4, 10, and 24 tiles, and some designs also come in super saver packs of 16 tiles. Every tile can also be purchased individually.

To avoid the frustration of running out mid-project, we recommend calculating the total number of tiles you’ll need and ordering enough for the entire surface. It’s also best to add at least 10% extra to cover cuts, mistakes, or future replacements.

We do our best to always keep our bestsellers in stock, but we also like to bring in on-trend, new designs. This means that while some tiles are regularly restocked, others may be limited editions or end-of-line and not available again once sold out.

As a backup, we offer a 30-day return policy on unopened packs, so you can order with confidence knowing you can return any extras if you don’t end up needing them.

Wipe your tiles with a sponge to restore the shine of them. Use a mild non-abrasive household cleaning product like a dish soap or glass cleaner. It's important to note that some spices with high density pigment colour, such as turmeric, can stain the tile permanently. 

The subway tiles include 18 bricks ( 7.62 x 3.81cm) on one sheet and they are symmetrical stacked. The metro tiles include 8 bricks (10.16cm x 5.08cm) on one sheet and are staggered differently. 

our self-adhesive tiles can be installed on a surface up to 49°C. Make sure it's not in contact with a heat source or an open flame.

For overlapping models, join two tiles at the corner. For straight models position the grout line directly on the corner. This means you don't apply any unnecessary pressure on the tile.

First, measure the outlet and mark where you need to cut. A sharp craft knife works best for trimming the tile to size.

💡 Pro tip: Reuse a piece of the backing paper as a template to trace and cut the perfect shape before applying the tile.

Fill any empty sections between panels with plaster and sand it to a smooth finish. Make sure you cover the entire surface with a primer and let it dry for a minimum of 72 hours. If paint is used, you will need to wait for a minimum of 21 days to make sure it's completely dry. Installing adhesive products too soon after painting will cause the glue not adhering properly and they'll eventually fall down.

Sand it to a smooth finish. Make sure you cover the entire surface with a primer and let it dry for a minimum of 72 hours. If paint is used, you will need to wait for a minimum of 21 days to make sure it's completely dry. 

Use a level and draw a horizontal line on the wall of the hight of the first row of tiles. For Smart Tiles, the glue takes a little while to kick in so the tiles are easy to reposition during application if needed, if firm pressure has not already been applied. 

Yes for extra protection it can be advantageous to use a caulk or silicone. 

  • Smart Tiles: Gel-O™ (3D effect), Adhesive substrate, Backing release paper
  • Vinyl Home Premium Composite Tiles:SPC, aluminium, SPC mixed with stone powder, strong PE adhesive, backing paper
  • Peel & Stick Hub Value Tiles: Peeling back sheet, Image printing PET layer, Scratch resistant 3D PU Gel, Transparent protective film
  • Peel & Stick Hub Quality Tiles:Peeling back sheet, Premium EVA foam adhesive tape, Image printing PET substrate, scratch resistant PET substrate
  • Peel & Stick Hub Premium Tiles:Peeling back sheet, Premium EVA foam adhesive tape, Image printing PET layer, Scratch resistant 3D PU Gel, Transparent protective film

Smart Tiles are manufactured in Canada
Premium Composite tiles and Peel & Stick Hub tiles are manufactured in China.

If you have used a primer on your wall, make sure that you allow enough time for it to cure before applying the tiles. The curing time for a primer is normally around 72 hours. A primer will make untreated surfaces like plywood, plaster and gib more uniform. Most primers are fine but don't use Zinsser as some chemical components may effect the adherence of the tiles. 
If you decide to paint your wall you will need to prime it first. Wait at least 21 days until you apply the tiles to allow enough time for the paint to dry completely. Auroa  by Benjamin Moore is the only known paint to avoid that may harm the adherence of the tiles. 

Smart Tiles® will stick on your walls for as long as you wish them to. That's our guarantee! We offer replacement of defective Smart Tiles following file investigation and depending on certain conditions. Smart Tiles® also guarantee the products for a period of thirty (30) days starting from the date of purchase and applies only to design or manufacture defects, excluding any hue or colour change and labour expenses. For the warranty to be valid, the manufacturer installation recommendations must be followed.

-Wait a period of three weeks before affixing Smart Tiles on a freshly painted wall to allow the paint to penetrate and dry thoroughly.
-The surface must be smooth and undamaged.
-The surface must be clean and dry.
-You should clean the surface with a degreaser such as sugar soap.
-During installation, the ambient temperature must be at least 18°C and should not exceed 35°C.
-Smart Tiles should not be exposed to direct steam, or be in direct contact with a heat source and should not be submerged in water (do not install in the shower).
-To install behind a gas range without a protective rear panel, allow a height of 20 centimetres above the surface to prevent the tiles from coming in contact with open flame and we recommend to install our Smart Panel. If there is a wall to the right or left side of the range, Smart Tiles must be installed at least six centimetres away.
-Keep a distance of at least six centimetres between an oven toaster grill and wall covered with Smart Tiles.
-If you decide to remove the Smart Tiles once they have been firmly applied, they cannot be reused.
-Smart Tiles are not designed to cover floors, countertops or work surfaces, or to serve as a trivet.
-For maintenance, you should only use a mild non-abrasive product.

Sorry we don't but feel free to reach out to us and let us know what you are after and we will do our best to source it for you.

You can either buy a pack or a single sheet. Please note that the single sheets cannot be returned under our 30 days return policy

Smart Tiles– Yes. Independently tested for UV exposure, they maintain colour and clarity even in bright, sunny areas.
Premium Composite Tiles– Yes, UV resistant and suitable for rooms with lots of natural light.
Peel & Stick Hub Vinyl Tiles (Value, Quality, Premium)– These tiles perform well in most indoor spaces. While they are not fully UV resistant, they are specially made to resist yellowing over time. In very sunny rooms, using our UV-blocking window film can help maintain colour vibrancy.

Check out our tile comparison table below and read our full splashback guide.

Search

SAMPLE SHIPPING FREE over $18 in NZ
PROUDLY NZ owned & operated
ORDERS SHIP in 1 business day
EASY RETURNS within 30 days*
EASY INSTALLATION FREE tutorials
PROUDLY NZ owned & operated
ORDERS SHIP in 1 business day
EASY RETURNS within 30 days
PREMIUM TILES
EASY INSTALLATION
NO GROUT NEEDED
EASY TO CLEAN
HEAT & HUMIDITY RESISTANT
APPLY OVER EXISTING TILES
GUARANTEED TO STICK
AFFORDABLE AND HASSLE-FREE
EASY INSTALLATION
REPOSITION-ABLE
EASY TO CLEAN
RESISTANT TO MOISTURE & HEAT
CUT WITH CRAFT KNIFE
Premium trusted brand
Easy installation
No grout needed
Easy to clean
Heat & humidity resistant
Apply over existing tiles
Cut with craft knife
Guaranteed to stick
Affordable & Hassle-free Solution
Easy installation
Top quality
Easy to clean
Resistant to moisture & heat
Cut with craft knife
Easy installation
95% UV protection
Privacy film
Remove & Reuse
Easy installation
99% UV protection
45% protection against direct heat radiation
Remove & Reuse
Easy installation
99% UV protection
60% protection against direct heat radiation
Privacy & Glare protection
Remove & Reuse
Easy installation
Apply over existing tiles
Easy to clean
3D design
Suitable for wet areas when sealed
Easy installation
Waterproof
Skidproof
Strong Viscosity
Easy installation
Waterproof
Skidproof
Food safe
Dishwasher safe
Easy installation
Waterproof
Skidproof
Laundry safe
Premium thickness
Easy installation
Cut with craft knife
No grout or mortar needed
Apply over existing tiles
Hides old grout lines
Heat & humidity resistant
Easy to clean
Extra strong glue
Removable & Repositionable No residue, no damage — perfect for temporary upgrades
Easy to clean Low-maintenance surfaces that wipe clean with ease
No Tools Required Peel-and-stick designs that anyone can install
Landlord-Friendly Options Protective install methods for peace of mind
Tested by Renters Across NZ & AU Real-life results from real rental homes
Budget friendly
Easy installation
Flexible & Lightweight
No grout needed
Heat & humidity resistant
Cut with craft knife
Budget friendly
Easy installation
Hides old grout lines
No grout needed
Heat & humidity resistant
Cut with craft knife
Premium thickness
Easy installation
Hides old grout lines
No grout needed
Heat & humidity resistant
Cut with craft knife
GUARANTEED TO STICK
PROUDLY NZ owned & operated
ORDERS SHIP in 1 business day
EASY RETURNS within 30 days*