


Easy to apply. Tile look without the grout. Very very happy
M
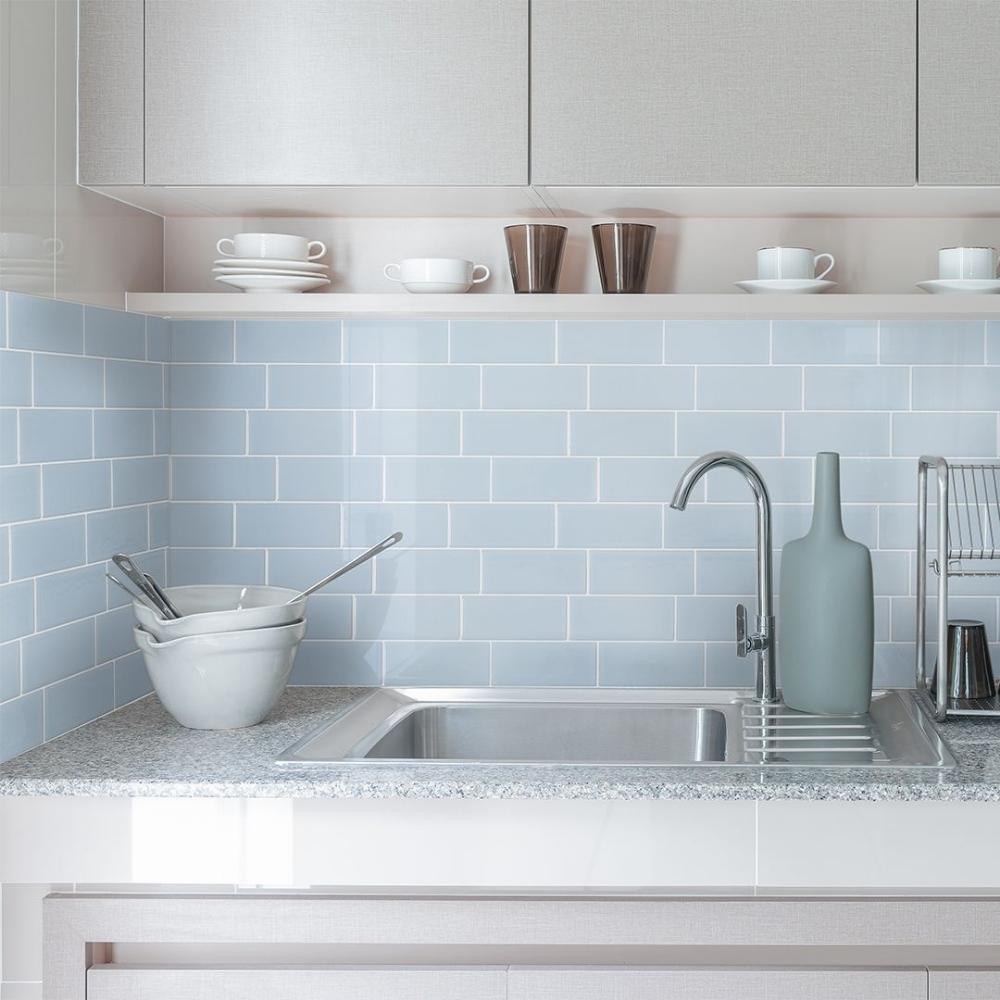
Wall Tile Sample - Smart Tiles Great sample pack
Really happy with the product, looks great in the space and was easy to apply


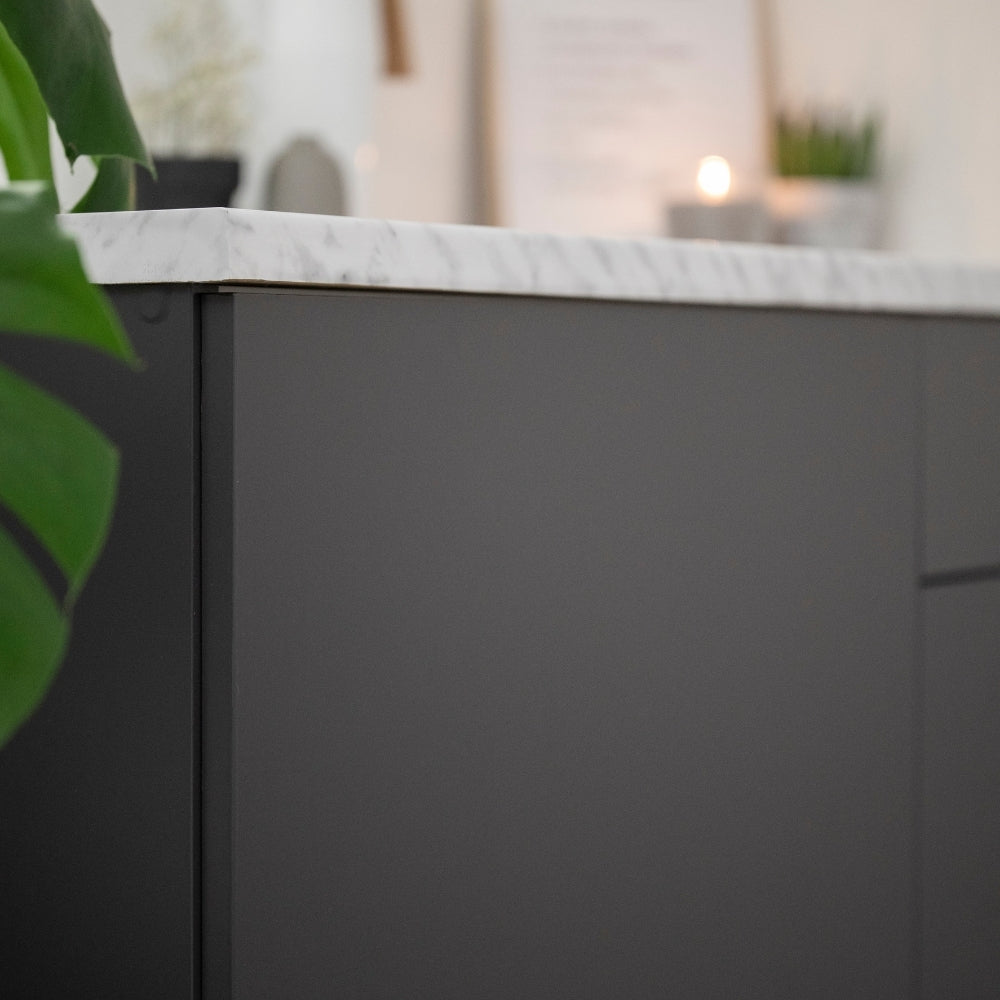
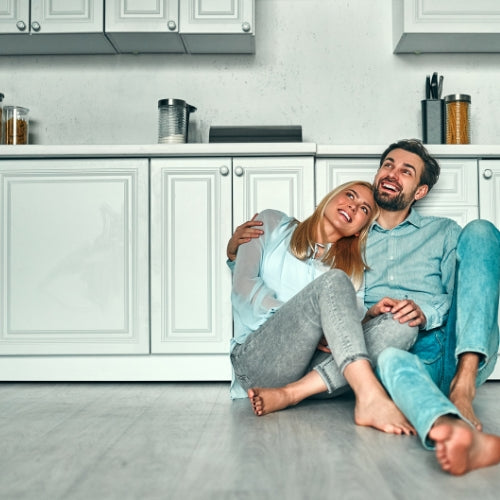
Tired of old-fashioned cabinet doors or worn-out finishes? You don’t need to renovate to refresh your space. Adhesive vinyl offers a clever alternative to replacing cupboards — it’s quick to install, affordable, and ideal for both homeowners and renters alike.
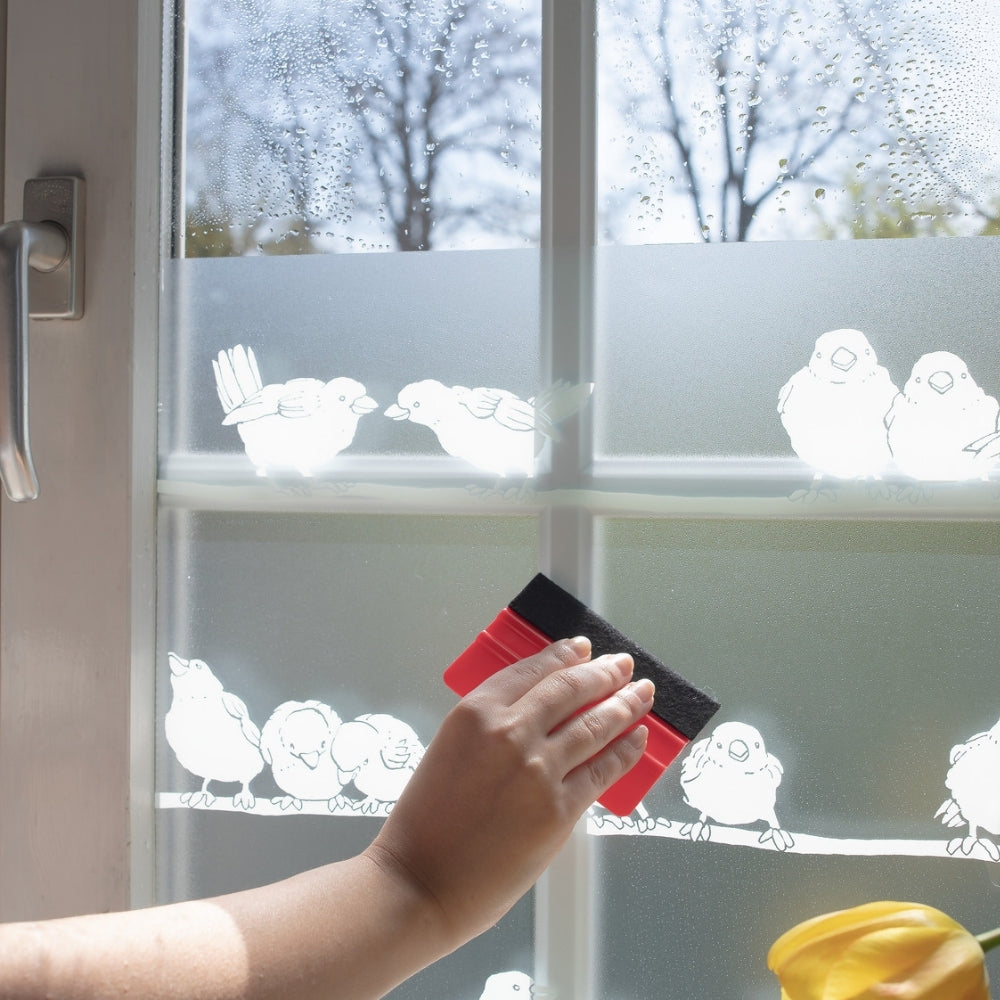
Our vinyl is designed to stand up to everyday use in kitchens and bathrooms — it's easy to wipe clean, moisture-resistant, and comes in styles to suit every taste, from sleek matte to textured woodgrain.
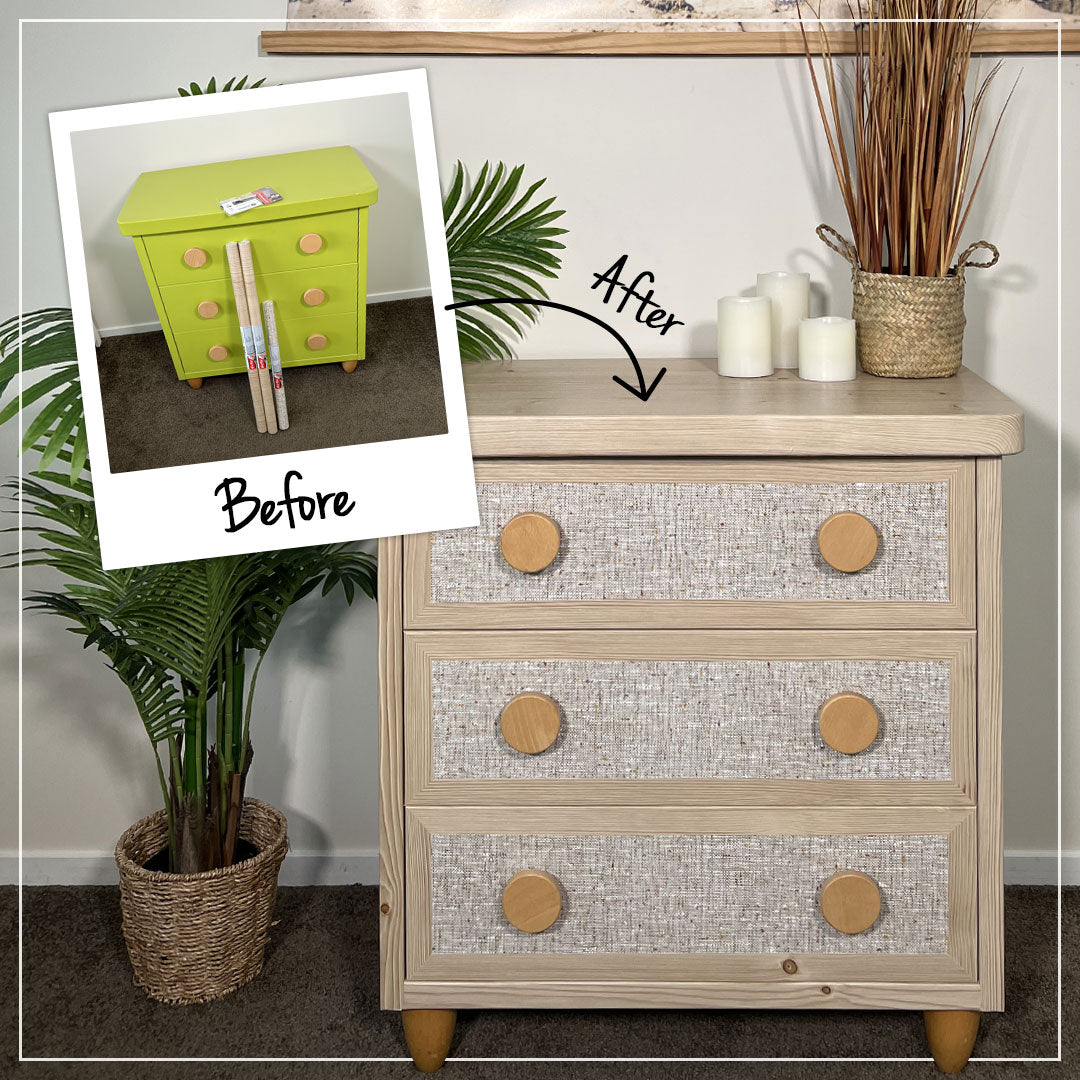
Curious how it looks in real life? Scroll down to see customer transformations and learn exactly how to wrap your own cupboards — no experience needed. Or, if you're ready to begin, explore NZ’s best selection of cupboard vinyls below.
Tired of old-fashioned cabinet doors or worn-out finishes? You don’t need to renovate to refresh your space. Adhesive vinyl offers a clever alternative to replacing cupboards — it’s quick to install, affordable, and ideal for both homeowners and renters alike.
Our vinyl is designed to stand up to everyday use in kitchens and bathrooms — it's easy to wipe clean, moisture-resistant, and comes in styles to suit every taste, from sleek matte to textured woodgrain.
Curious how it looks in real life? Scroll down to see customer transformations and learn exactly how to wrap your own cupboards — no experience needed. Or, if you're ready to begin, explore NZ’s best selection of cupboard vinyls below.


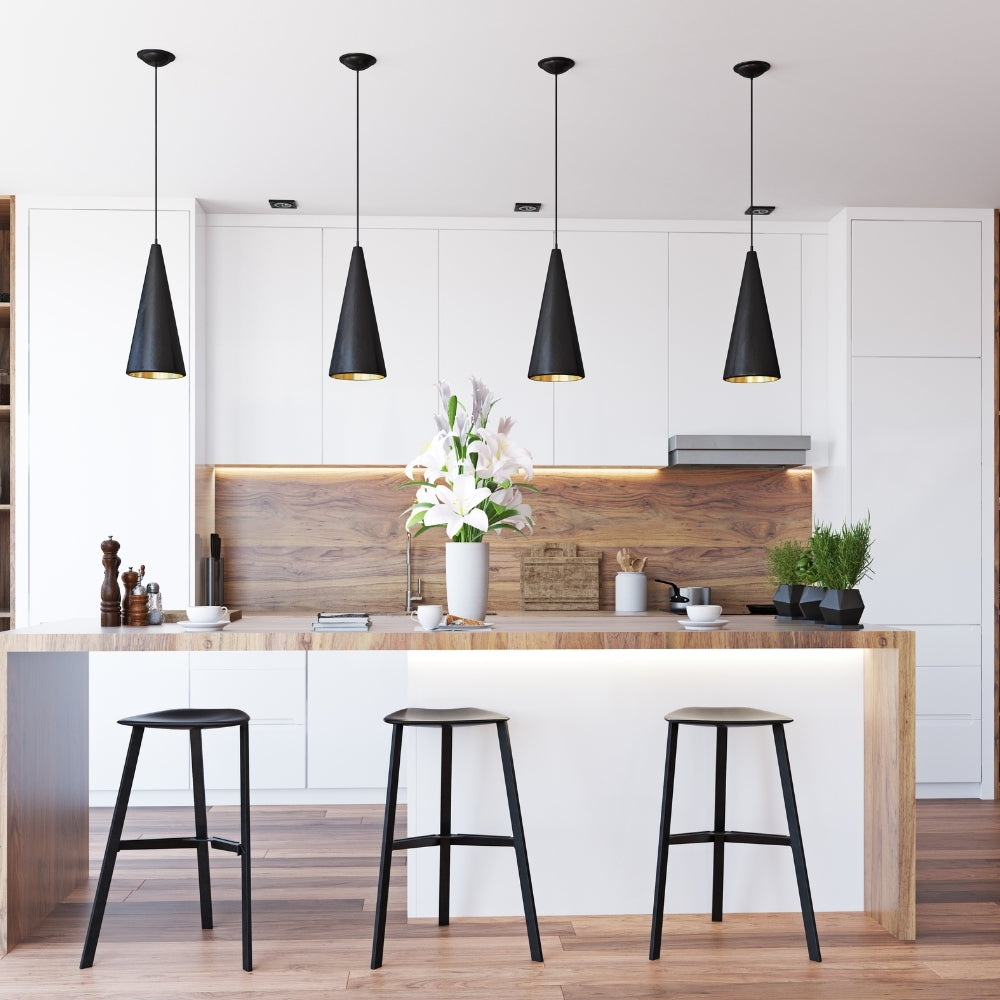
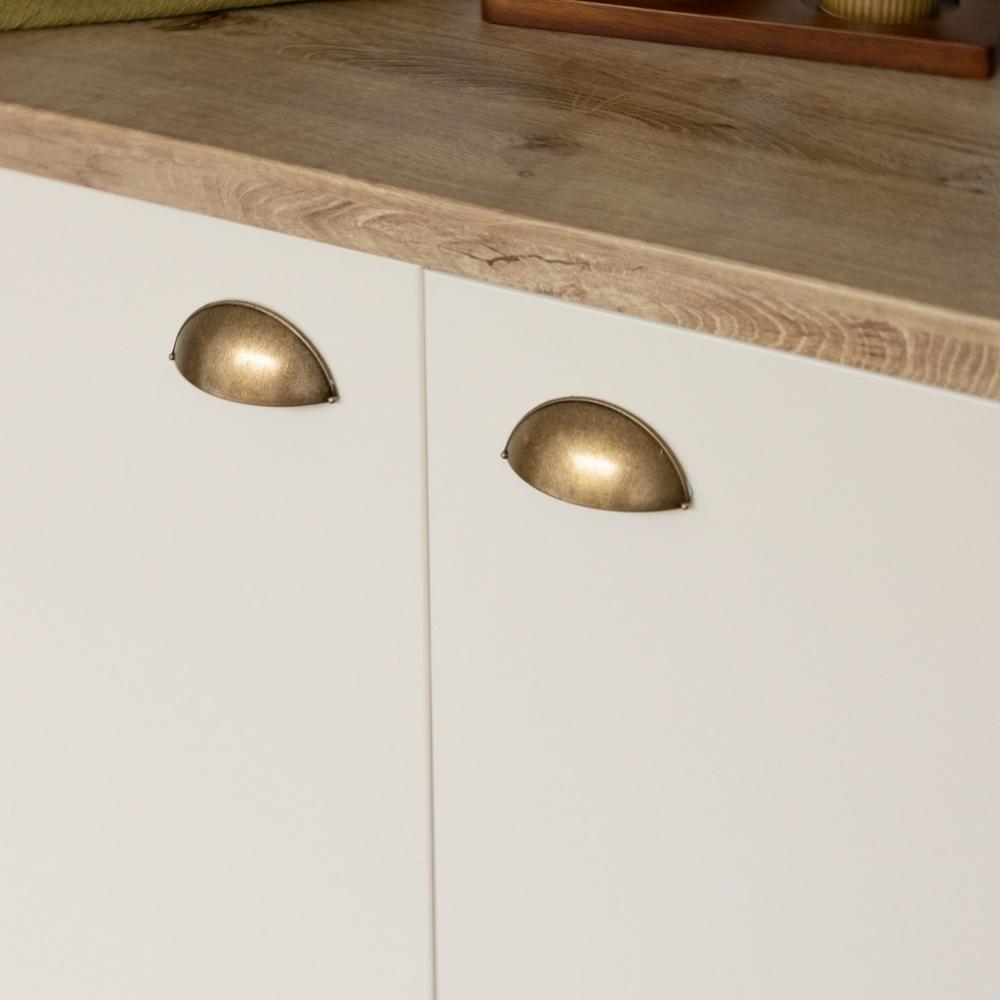
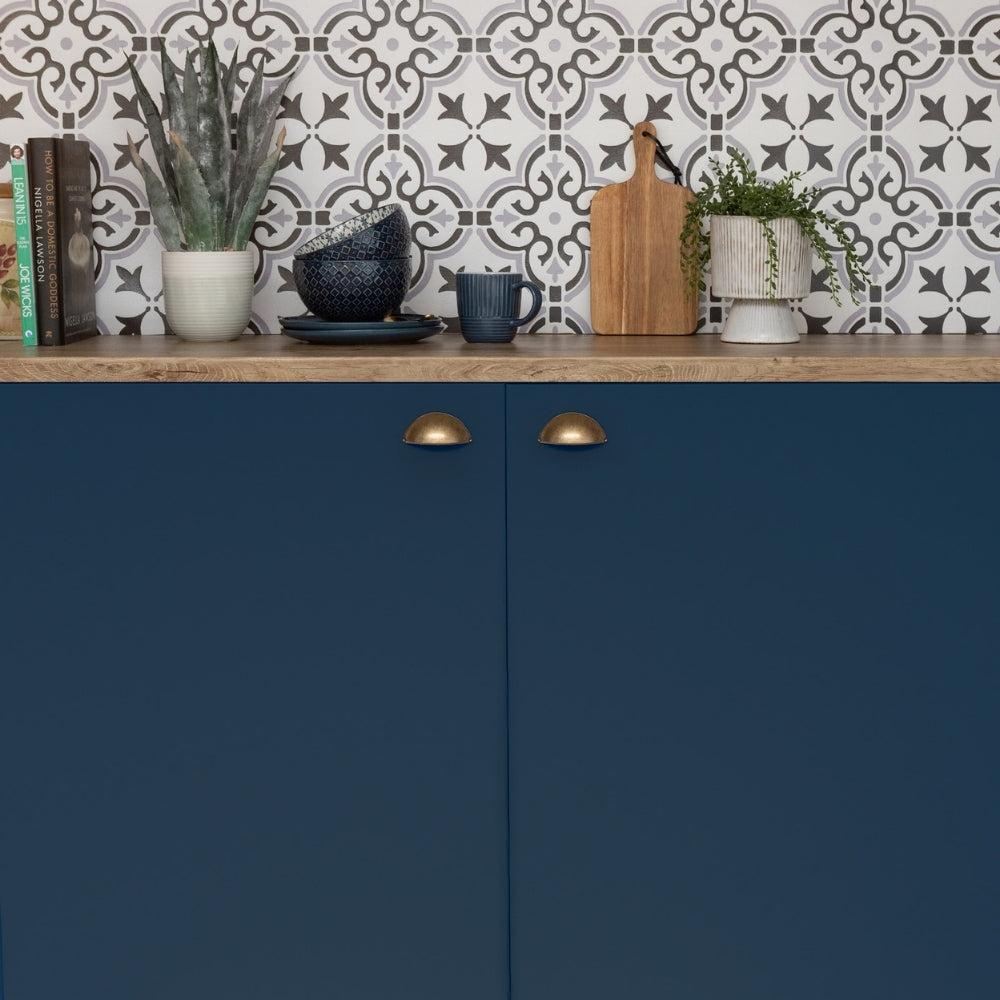
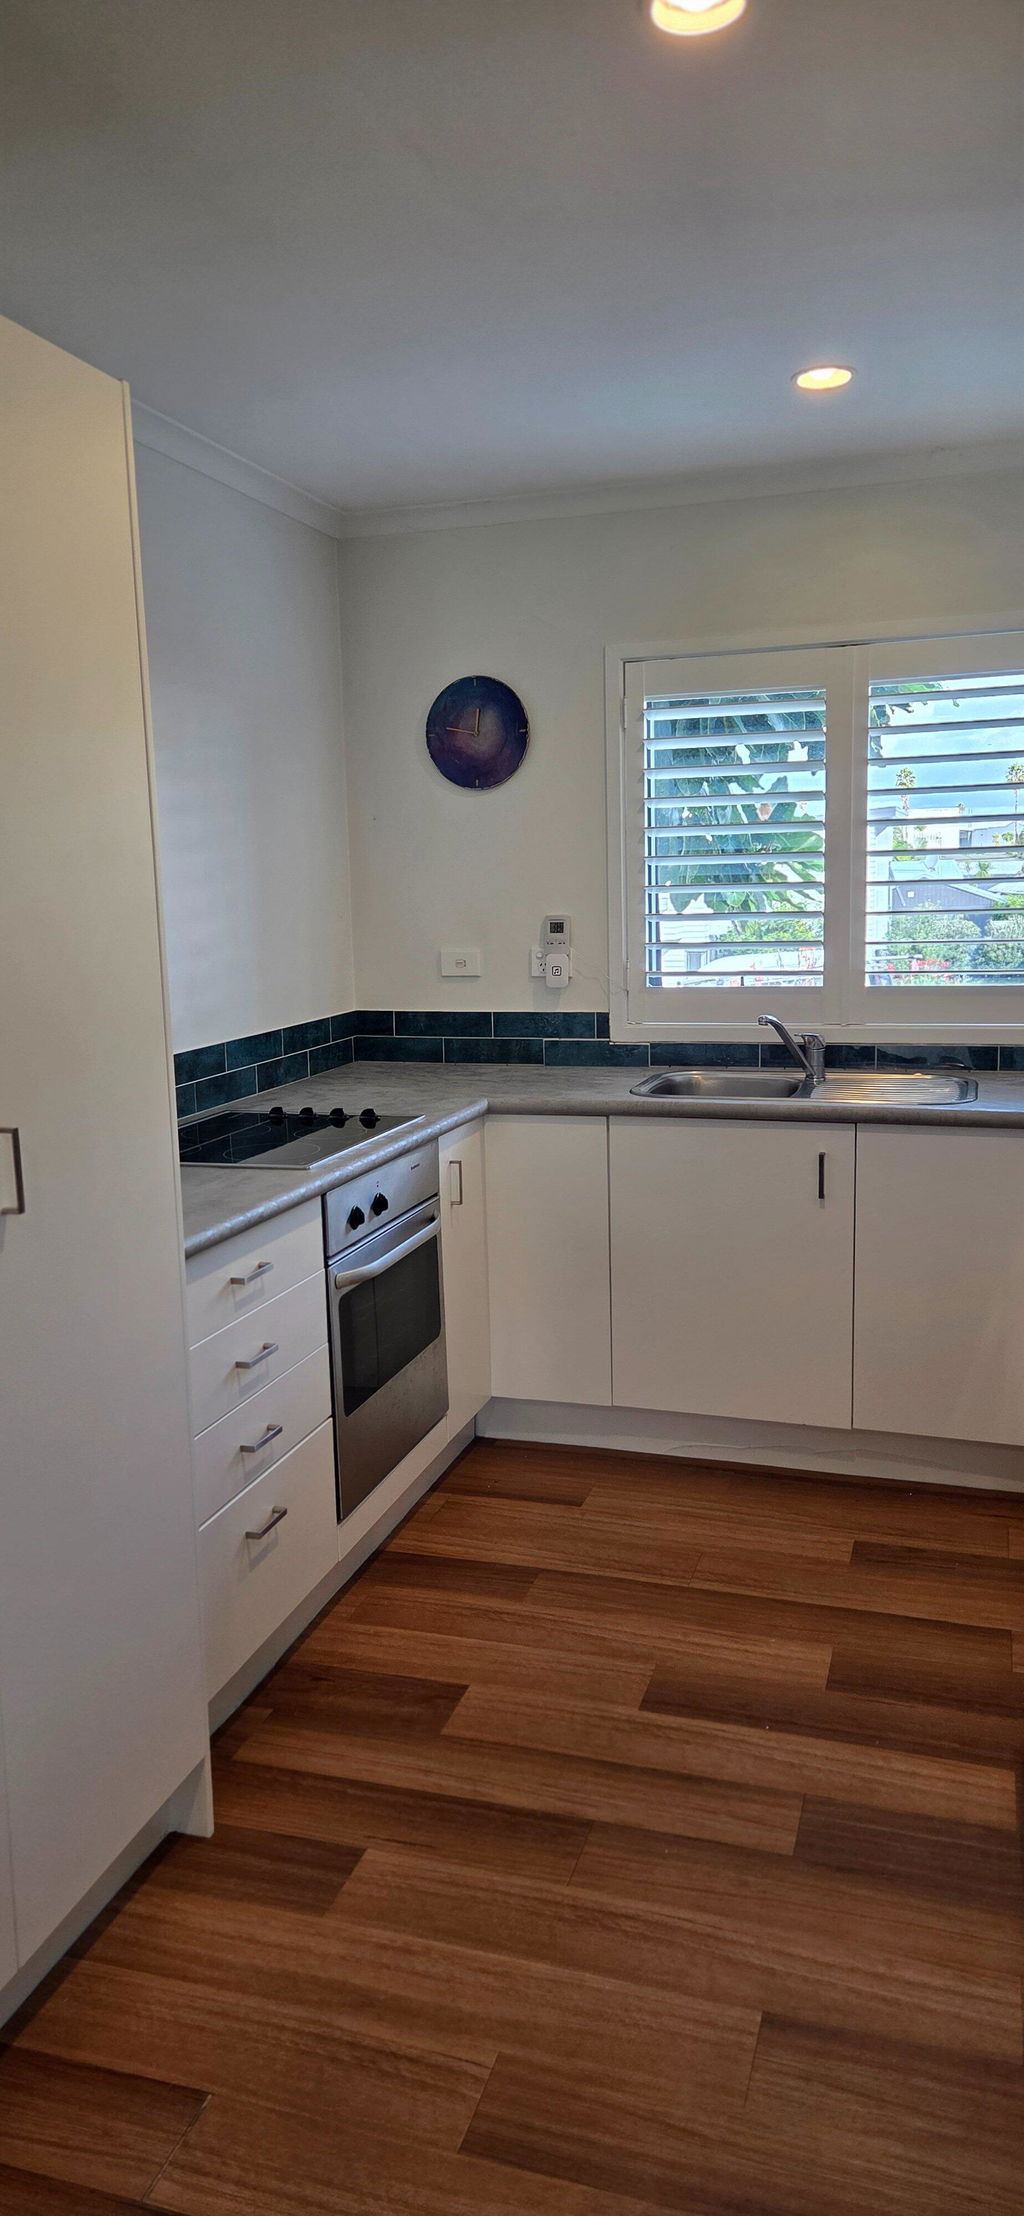
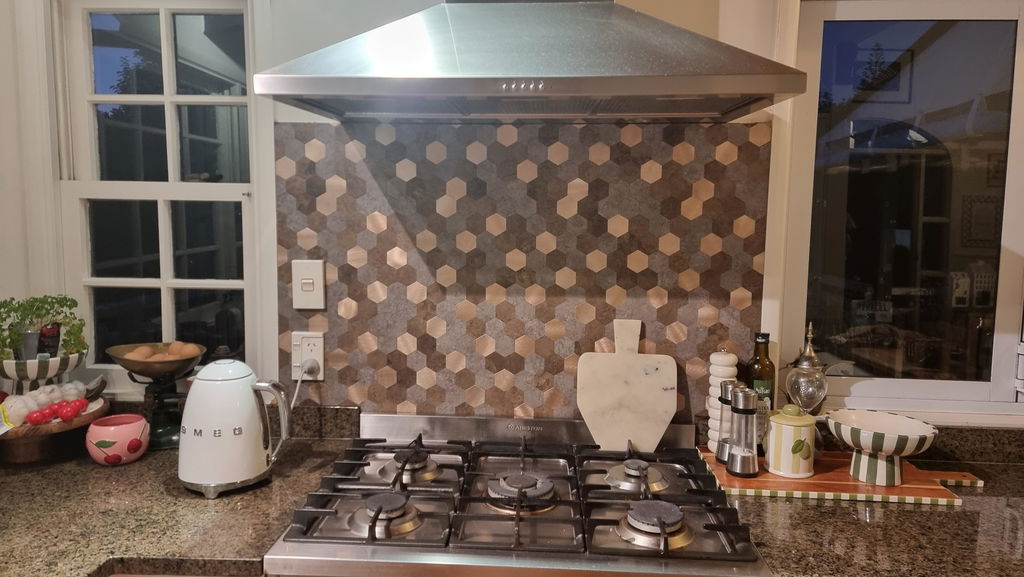
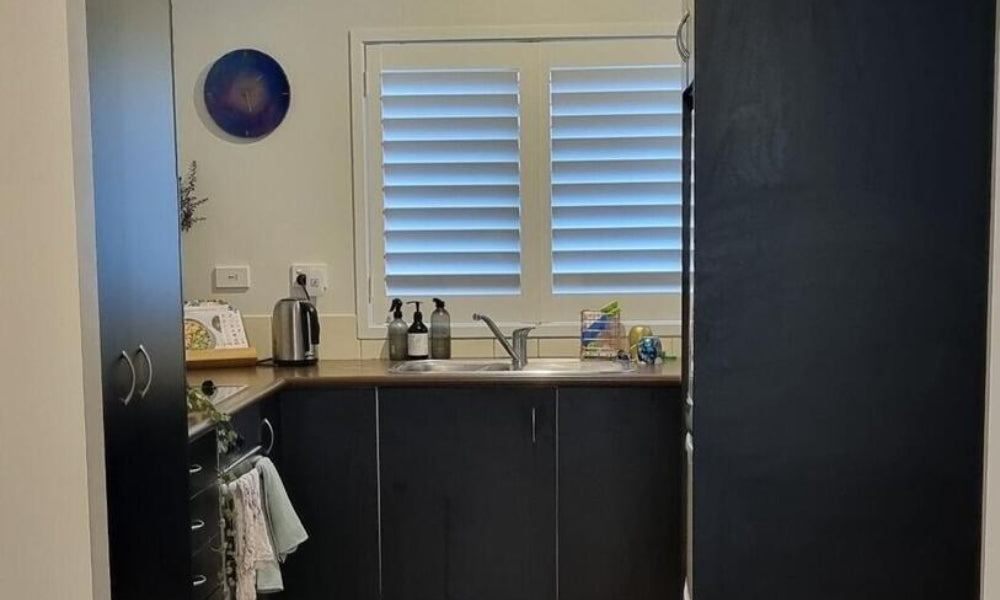
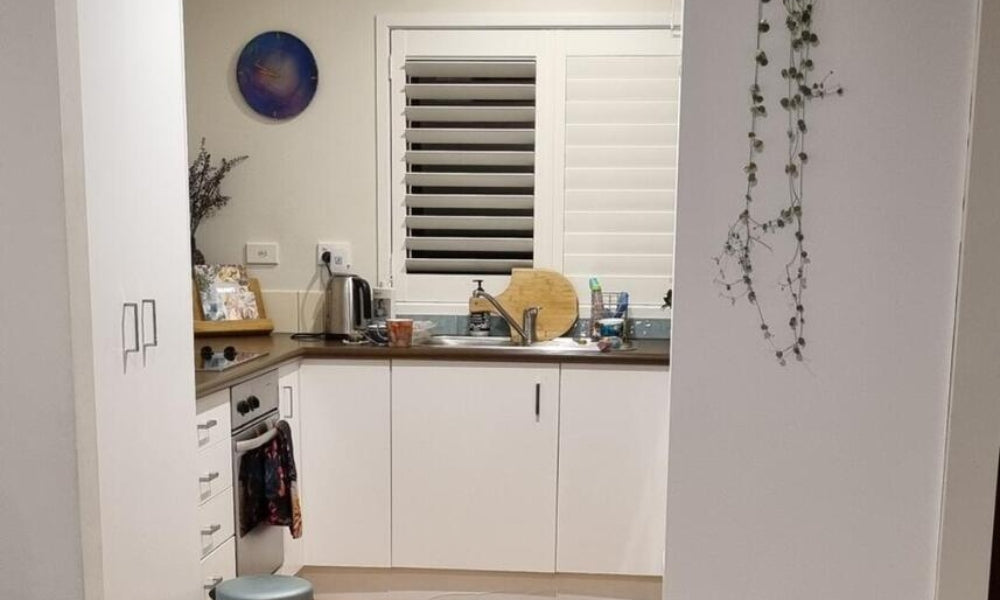
Outdated cupboards? These customers wrapped theirs with vinyl — and the results speak for themselves. From plain to polished, get inspired by real makeovers in kitchens and bathrooms across New Zealand and Australia.
Outdated cupboards? These customers wrapped theirs with vinyl — and the results speak for themselves. From plain to polished, get inspired by real makeovers in kitchens and bathrooms across New Zealand and Australia.


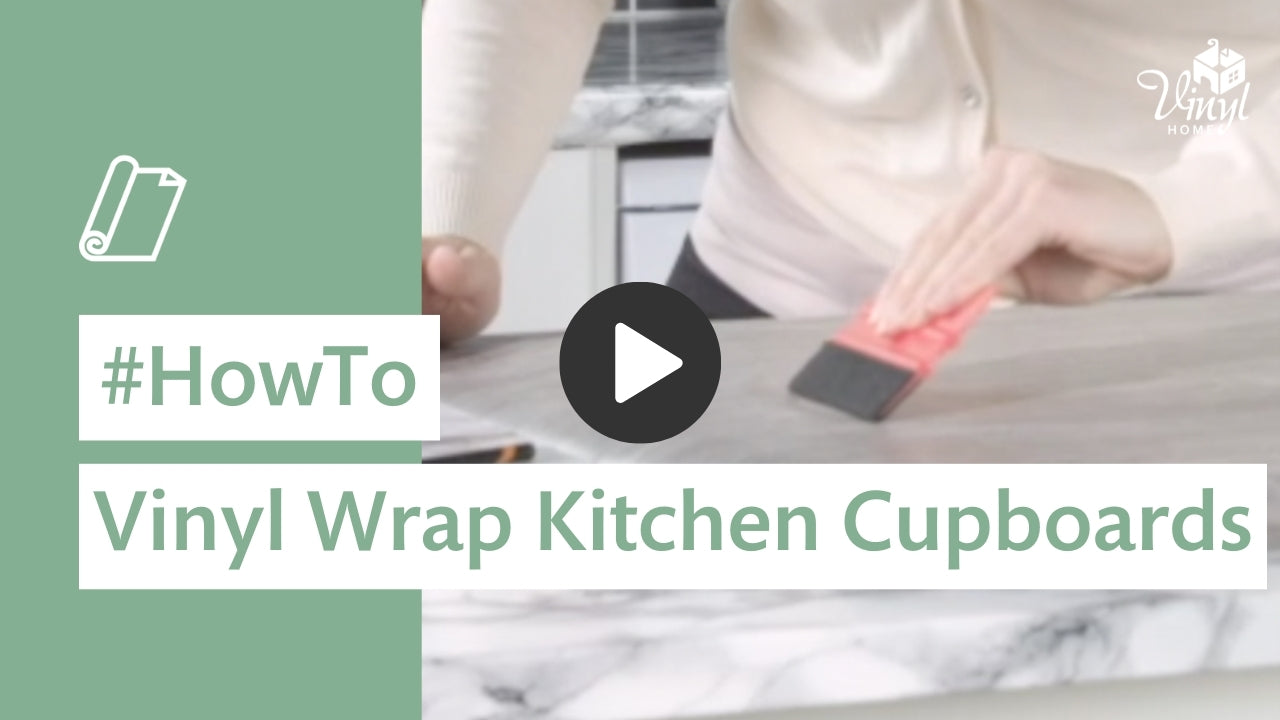
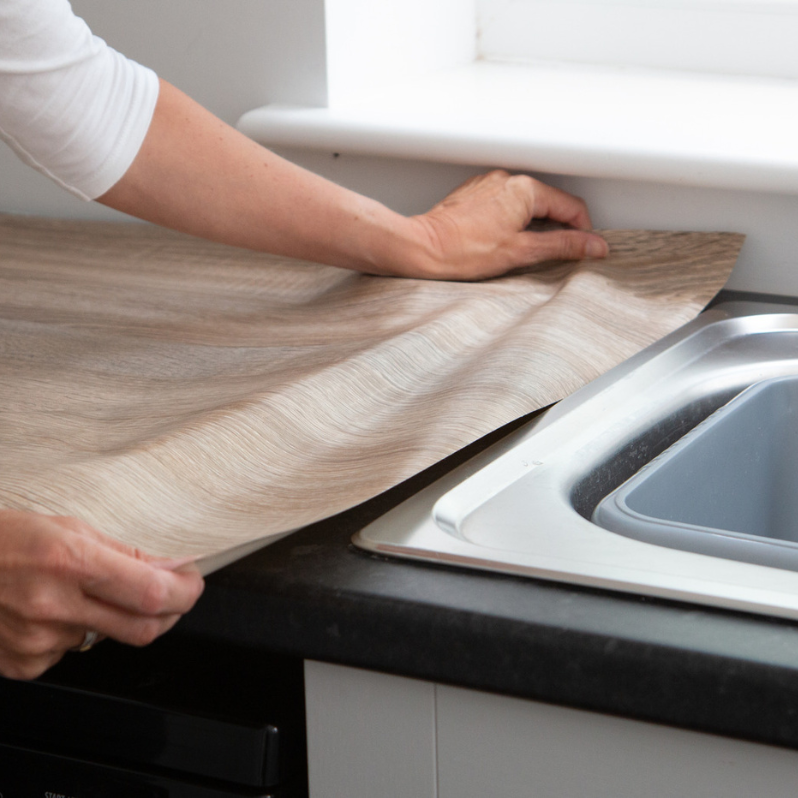
Want to refresh your cupboards without replacing them? This video shows you how to get a smooth, professional finish — no DIY background needed. You'll learn how to prepare the surface and handle hinges and corners with ease.
Even if your layout is unique, we're here to help. Send us a photo and we'll offer personalised advice to get you started. Scroll down for expert tips and real-life wrapping techniques to boost your confidence.


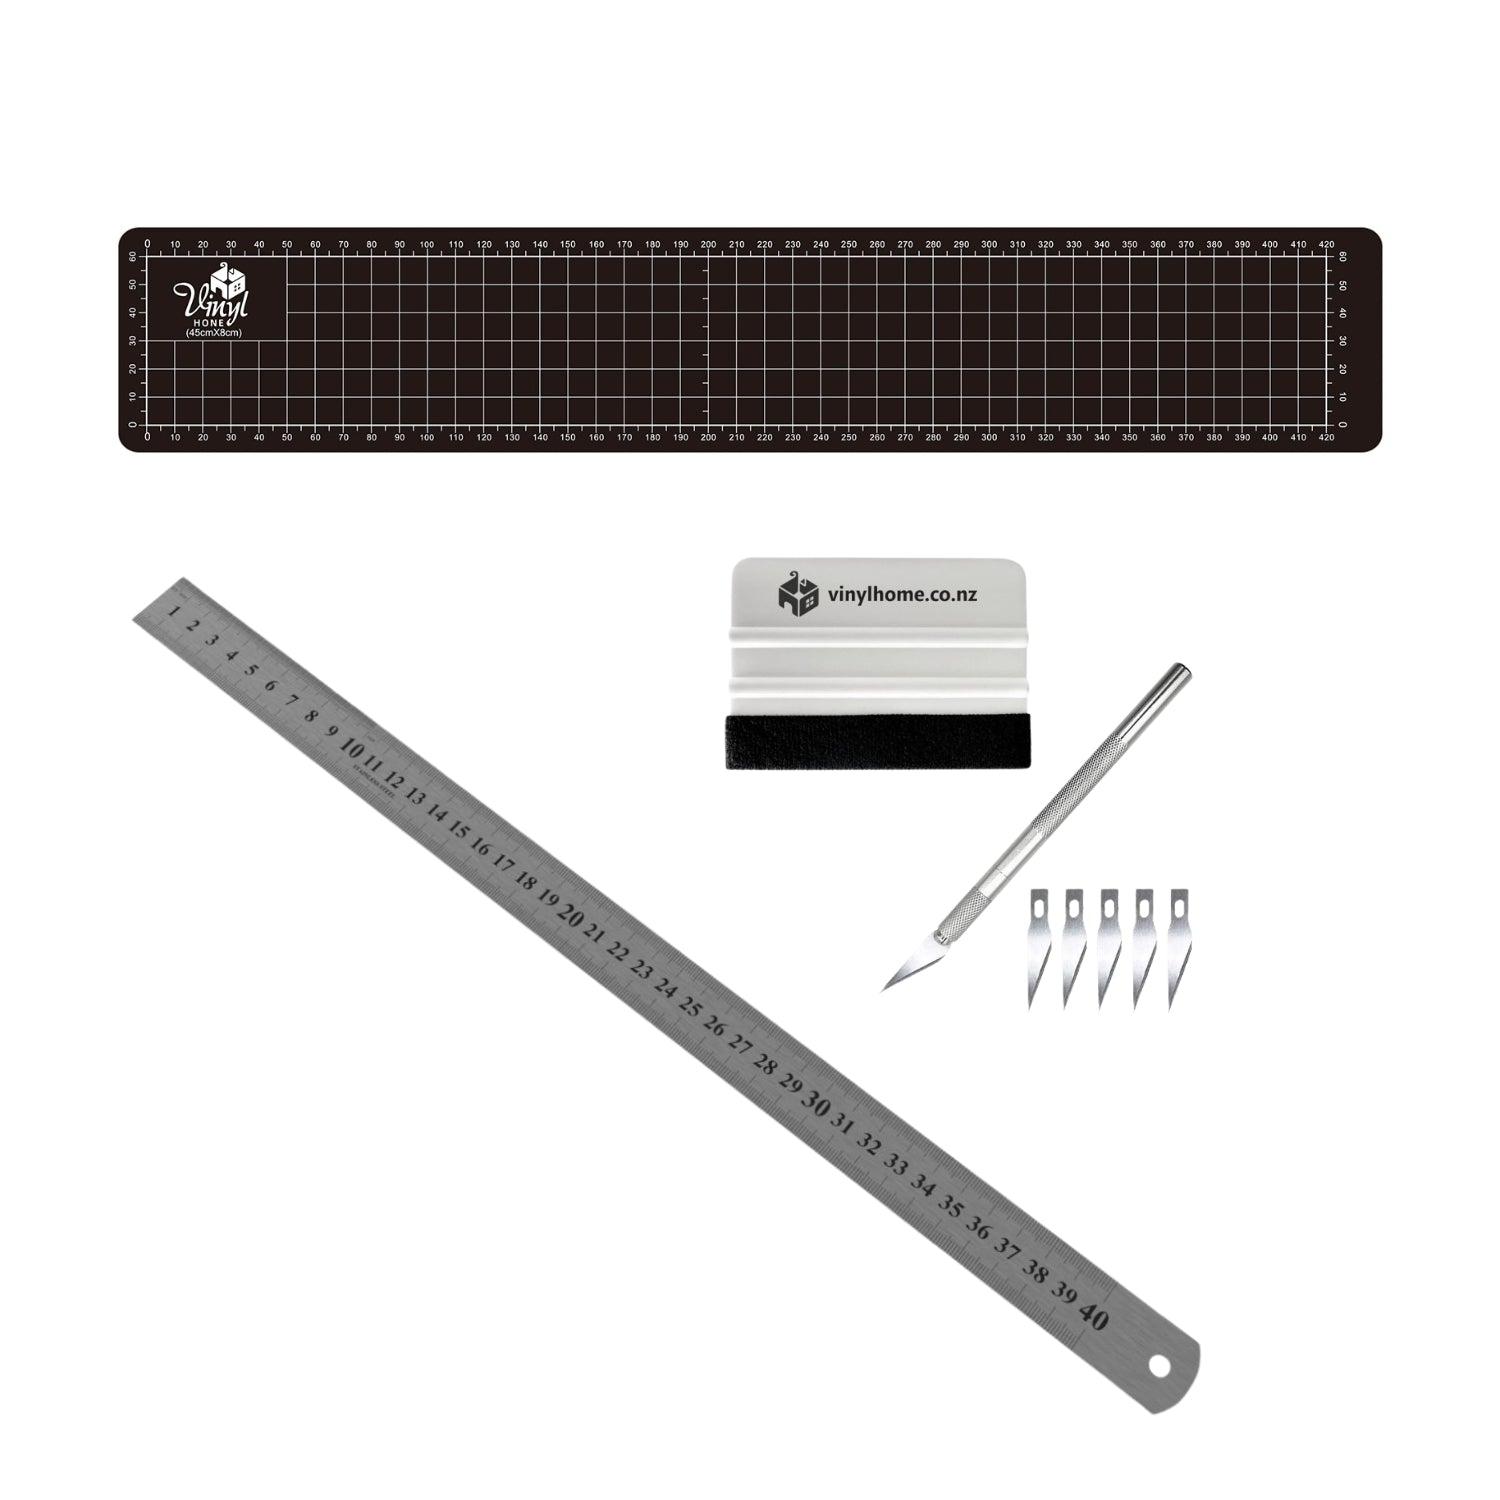
If you're dreaming of a kitchen or bathroom refresh without the chaos or cost of a renovation, adhesive vinyl could be your new favourite hack. With the right prep, tools, and technique, you can achieve a premium look on cupboards, drawers, and side panels — even if you're a total DIY beginner. Here's everything you need to know.
Start by measuring the height and width of each cupboard door, drawer, and any side panels you plan to wrap. Add an extra 1–2cm on each edge if you’re wrapping around the back.
As a general rule of thumb:
Measure everything upfront and round up slightly to allow for trimming and mistakes.
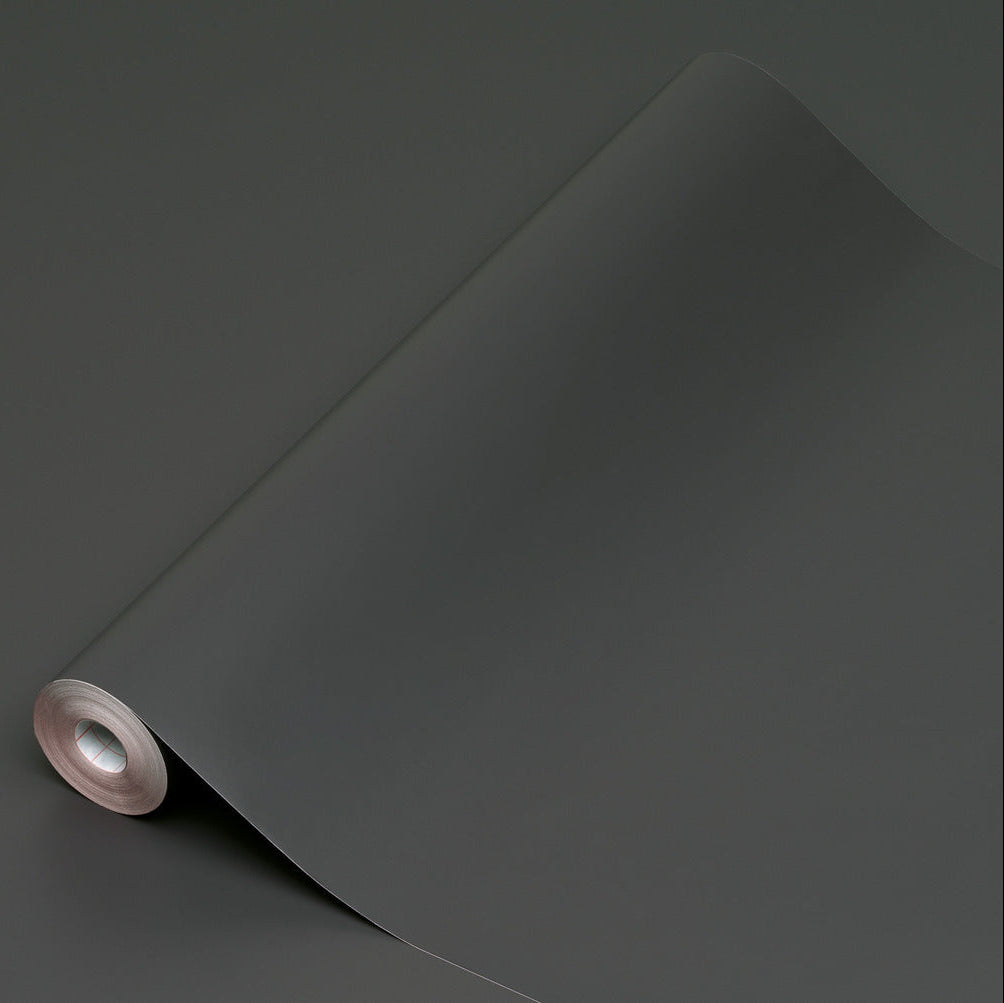
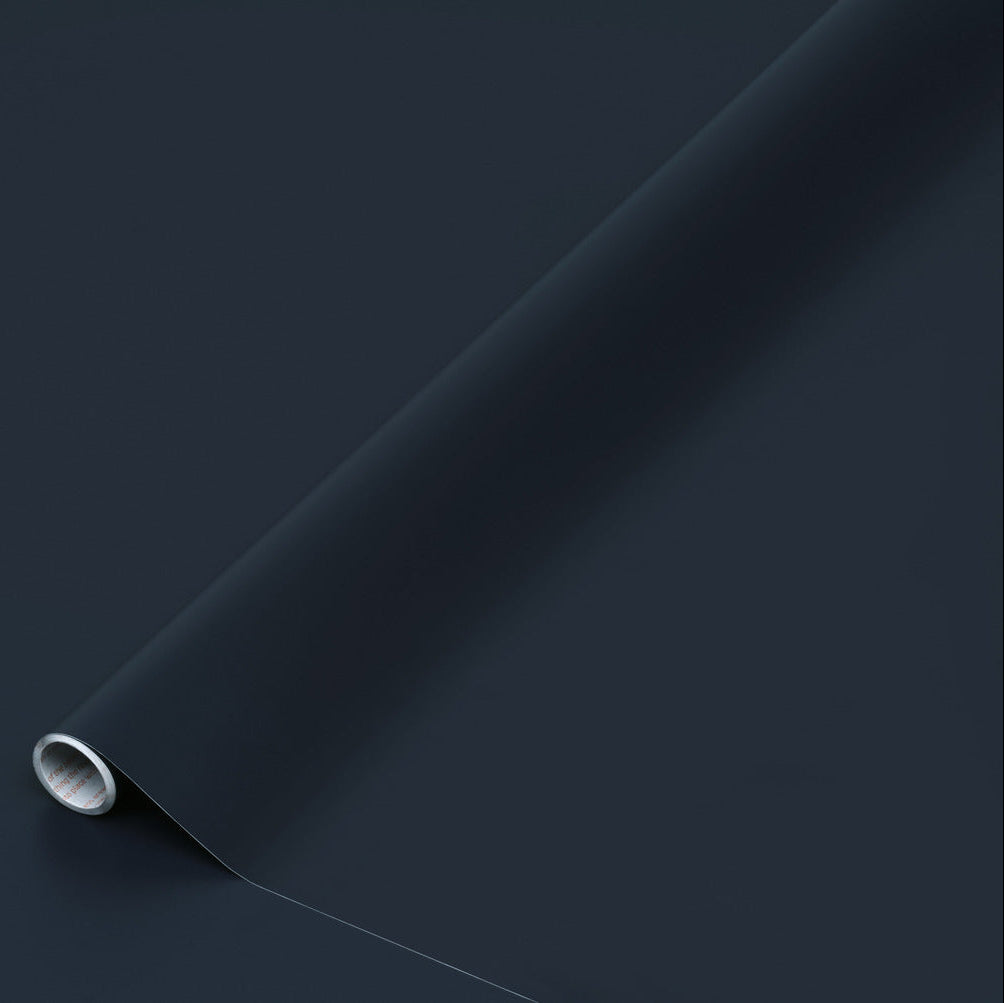
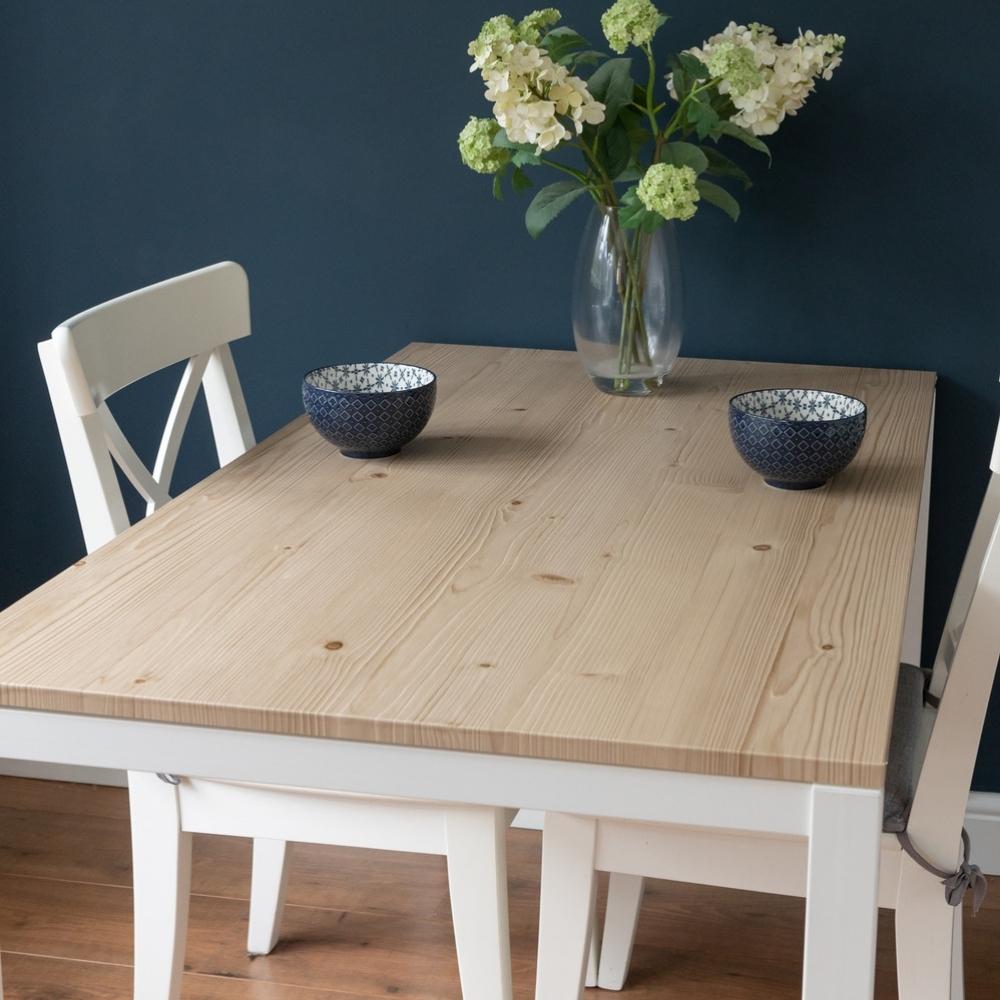
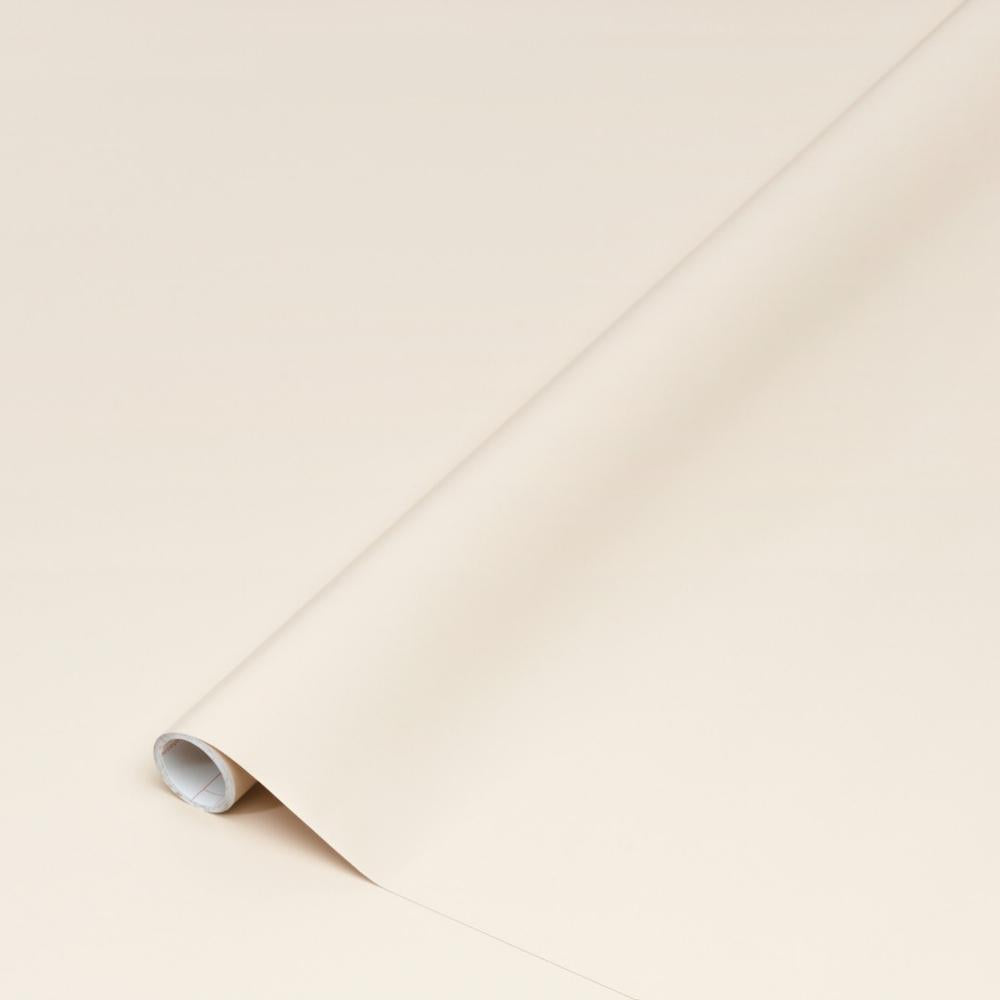
Most customers go for either plain colours or woodgrain finishes, depending on their style and surface type.
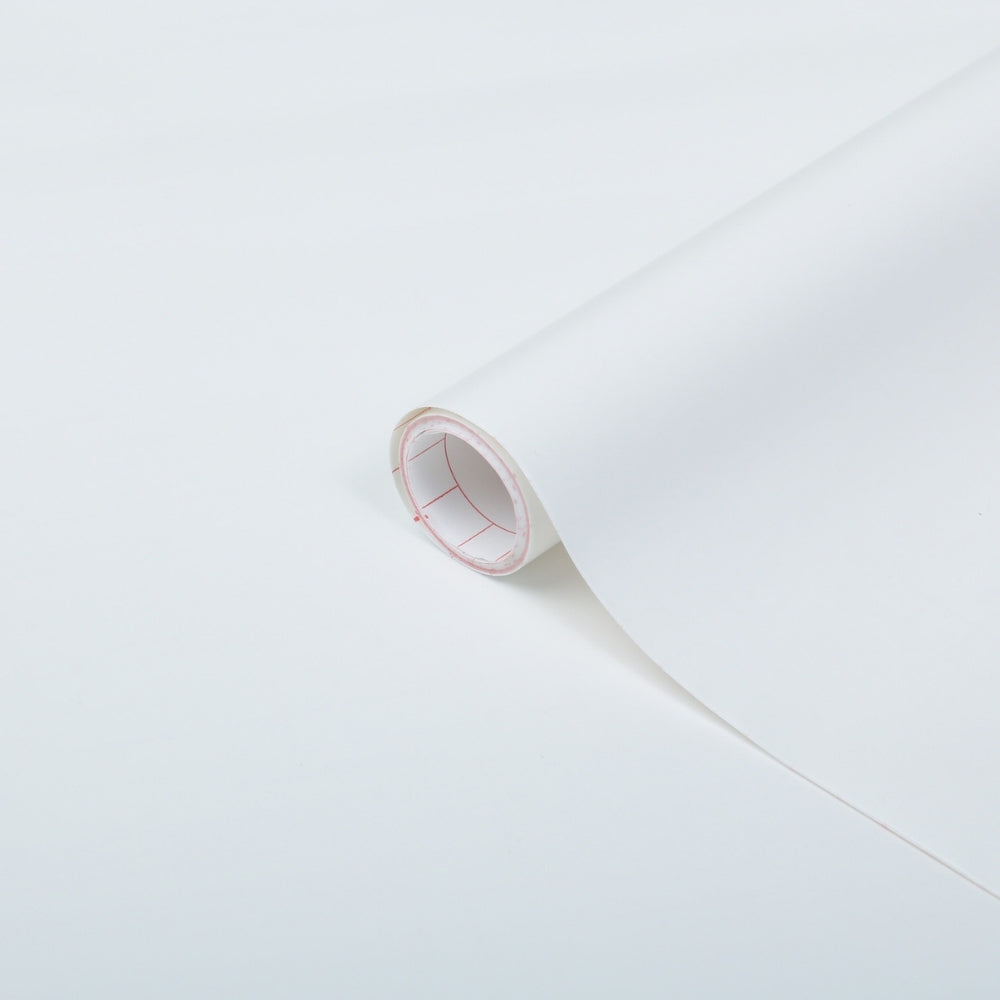
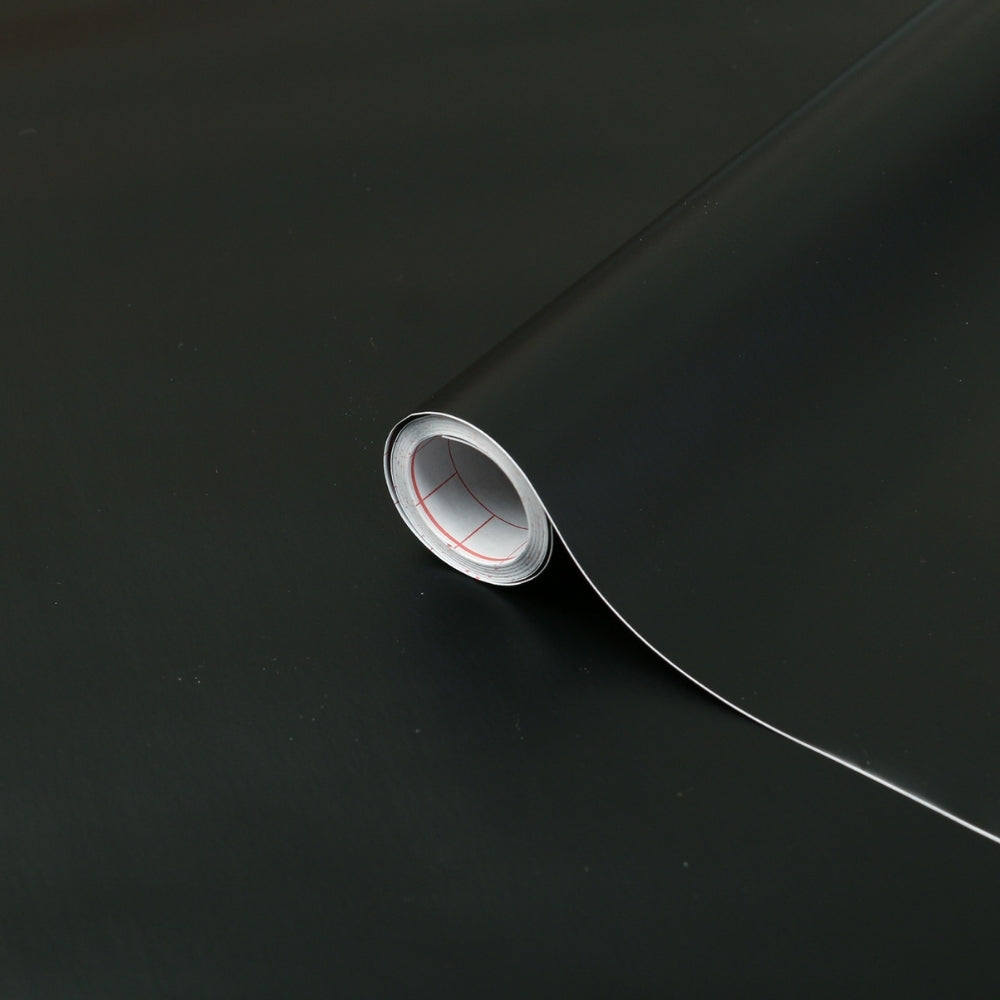
Matte vinyl offers a soft, modern look and does a great job hiding fingerprints. However, keep in mind that our white matte option is the thinnest — it works best on perfectly smooth cupboard doors, as any imperfections may show through.
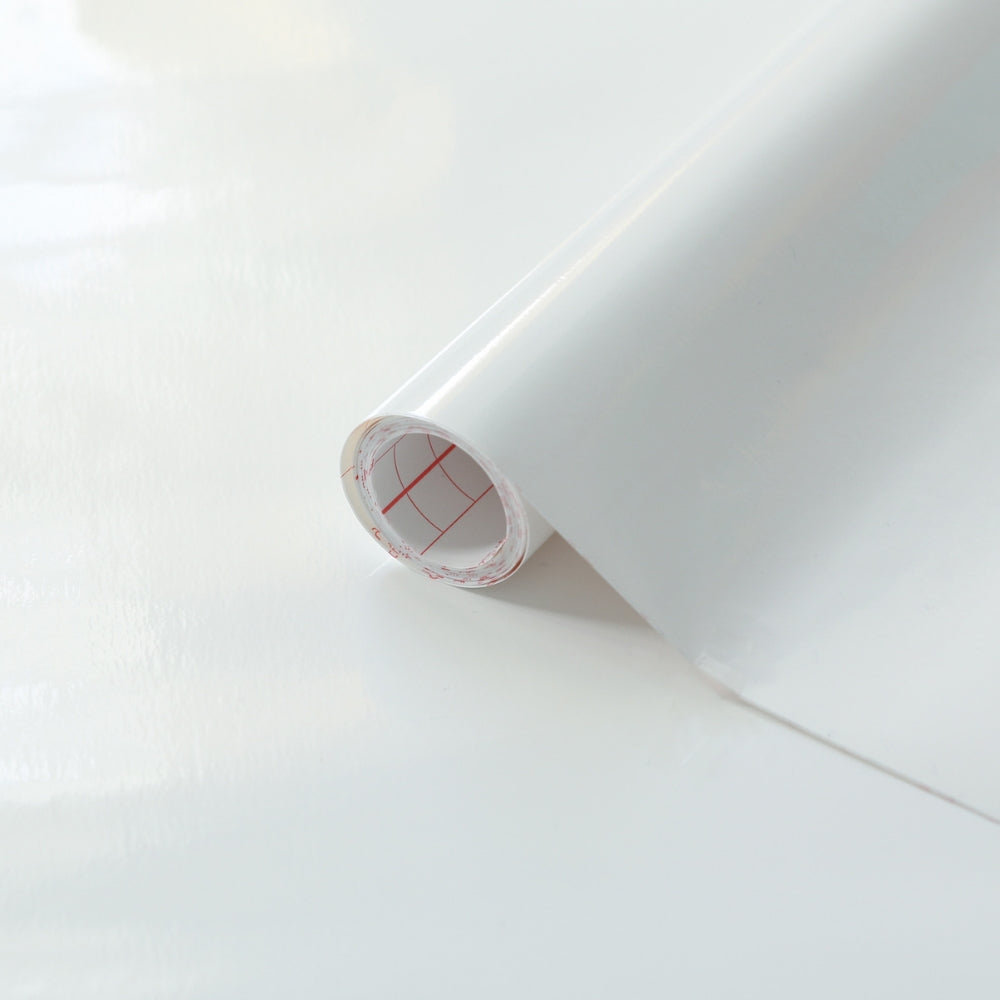
Glossy vinyl gives a sleek, light-reflecting finish. It looks high-end and is slightly thicker than the matte vinyl so tends to hide imperfections better.
Woodgrain designs are a favourite for kitchen and bathroom cupboards. They add natural texture and are especially forgiving on slightly uneven surfaces.
If your cupboards have a slightly textured surface or aren’t perfectly smooth, woodgrain vinyl is usually the most forgiving option.
For a smoother application, many customers remove the cupboard doors first. Most modern kitchen and bathroom cabinets use clip-on hinges, meaning:
💡 Planning to update your handles or knobs?
If the new ones have a different hole spacing, fill the old holes with wood filler and sand smooth before applying vinyl.
Clean all surfaces thoroughly with sugar soap or a degreasing cleaner to remove oils and residue. Pay extra attention to cupboard edges and around handles.
If you’ve patched old handle holes or have any surface damage, sand smooth and make sure the surface is completely dry before starting.
Depending on how visible your cupboard doors are (especially from the back), choose from the following wrapping styles:
1. Front Only
2. Partial Back Wrap
3. Full Wrap
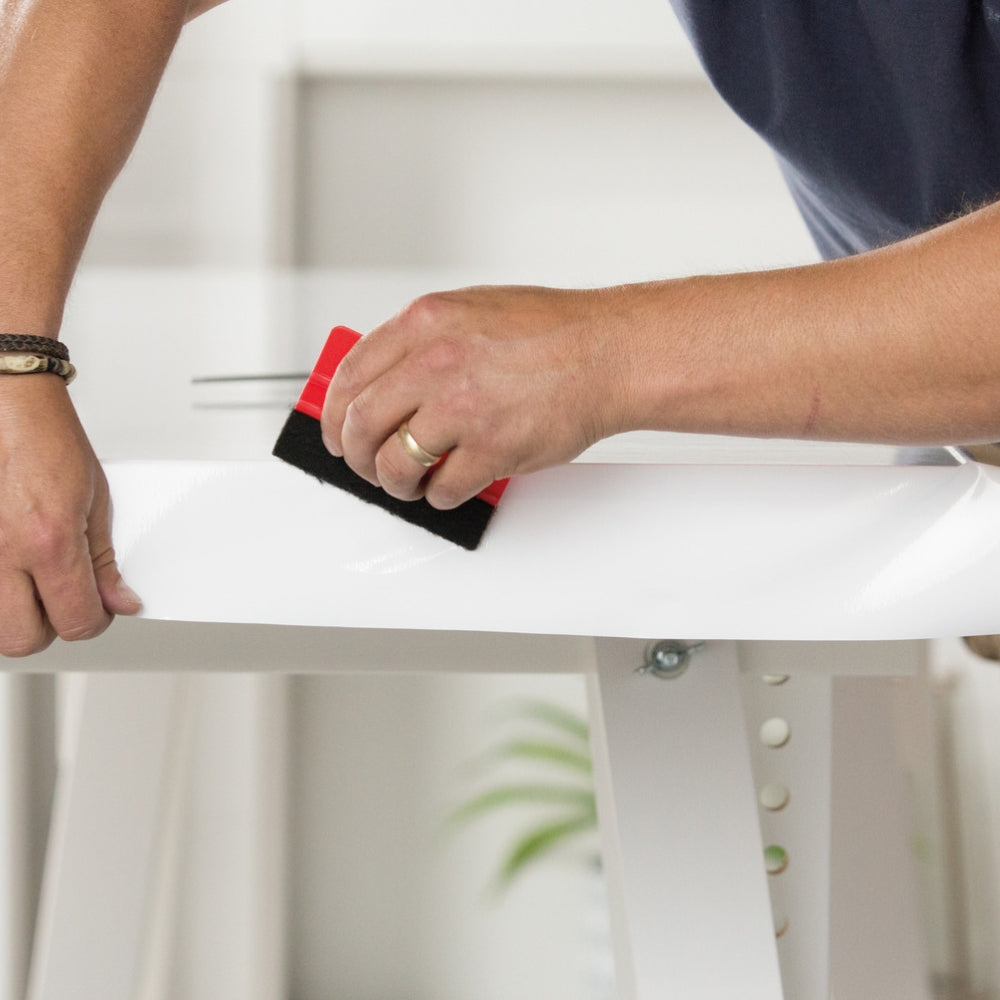
🔸 Note: Cupboard edges are usually under 2cm thick — we recommend using a hairdryer to gently warm the vinyl along the edge before folding. This activates the adhesive instantly and helps prevent lifting.
💡 Wrinkles or bubbles? Warm the vinyl slightly and smooth them out. Use a pin to release trapped air if needed.
💡 Tricky corners? Watch our video below to master any corner like a pro.
Once wrapped, reattach your doors and handles (or drill new holes if you’re updating them). Let the vinyl settle for a few hours before heavy use.
To keep your wrapped cupboards looking great:
We’re here to help. Send us photos of your kitchen or bathroom cupboards, and we’ll recommend the best vinyl and wrapping approach for your setup.
If you're dreaming of a kitchen or bathroom refresh without the chaos or cost of a renovation, adhesive vinyl could be your new favourite hack. With the right prep, tools, and technique, you can achieve a premium look on cupboards, drawers, and side panels — even if you're a total DIY beginner. Here's everything you need to know.
Start by measuring the height and width of each cupboard door, drawer, and any side panels you plan to wrap. Add an extra 1–2cm on each edge if you’re wrapping around the back.
As a general rule of thumb:
Measure everything upfront and round up slightly to allow for trimming and mistakes.
Most customers go for either plain colours or woodgrain finishes, depending on their style and surface type.
Matte vinyl offers a soft, modern look and does a great job hiding fingerprints. However, keep in mind that our white matte option is the thinnest — it works best on perfectly smooth cupboard doors, as any imperfections may show through.
Glossy vinyl gives a sleek, light-reflecting finish. It looks high-end and is slightly thicker than the matte vinyl so tends to hide imperfections better.
Woodgrain designs are a favourite for kitchen and bathroom cupboards. They add natural texture and are especially forgiving on slightly uneven surfaces.
If your cupboards have a slightly textured surface or aren’t perfectly smooth, woodgrain vinyl is usually the most forgiving option.
For a smoother application, many customers remove the cupboard doors first. Most modern kitchen and bathroom cabinets use clip-on hinges, meaning:
💡 Planning to update your handles or knobs?
If the new ones have a different hole spacing, fill the old holes with wood filler and sand smooth before applying vinyl.
Clean all surfaces thoroughly with sugar soap or a degreasing cleaner to remove oils and residue. Pay extra attention to cupboard edges and around handles.
If you’ve patched old handle holes or have any surface damage, sand smooth and make sure the surface is completely dry before starting.
Depending on how visible your cupboard doors are (especially from the back), choose from the following wrapping styles:
1. Front Only
2. Partial Back Wrap
3. Full Wrap
🔸 Note: Cupboard edges are usually under 2cm thick — we recommend using a hairdryer to gently warm the vinyl along the edge before folding. This activates the adhesive instantly and helps prevent lifting.
💡 Wrinkles or bubbles? Warm the vinyl slightly and smooth them out. Use a pin to release trapped air if needed.
💡 Tricky corners? Watch our video below to master any corner like a pro.
Once wrapped, reattach your doors and handles (or drill new holes if you’re updating them). Let the vinyl settle for a few hours before heavy use.
To keep your wrapped cupboards looking great:
We’re here to help. Send us photos of your kitchen or bathroom cupboards, and we’ll recommend the best vinyl and wrapping approach for your setup.
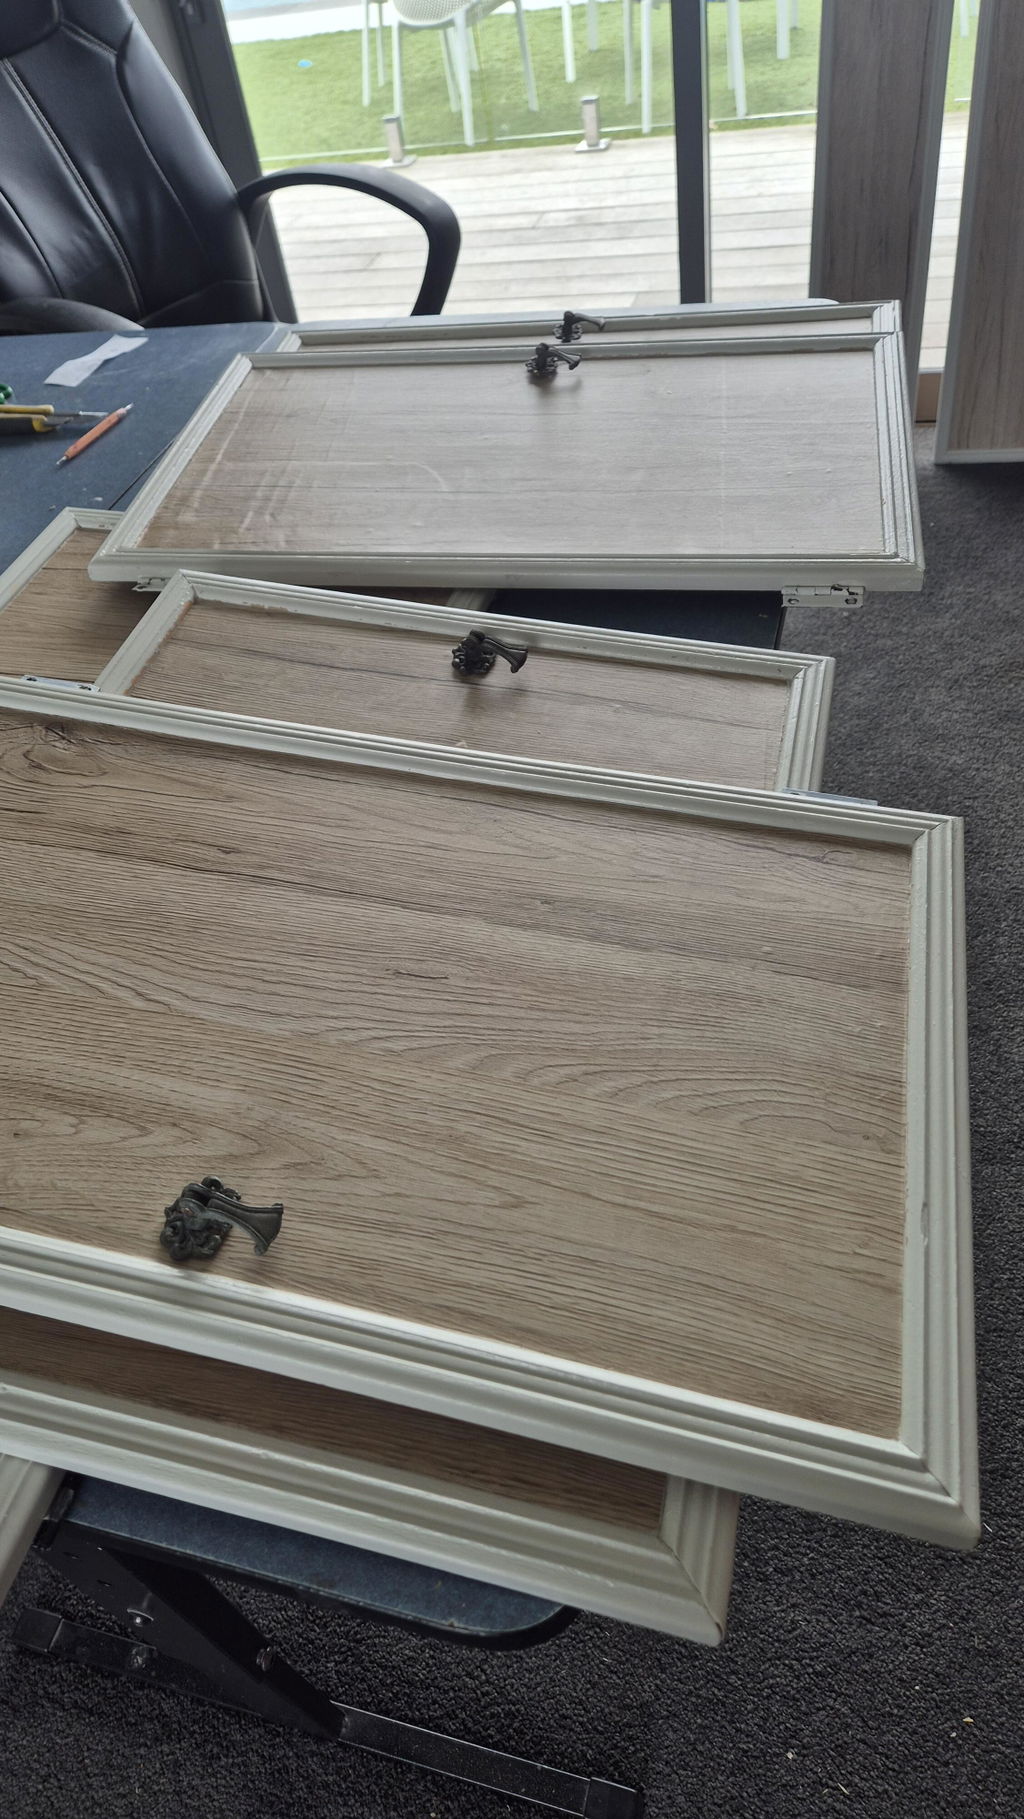
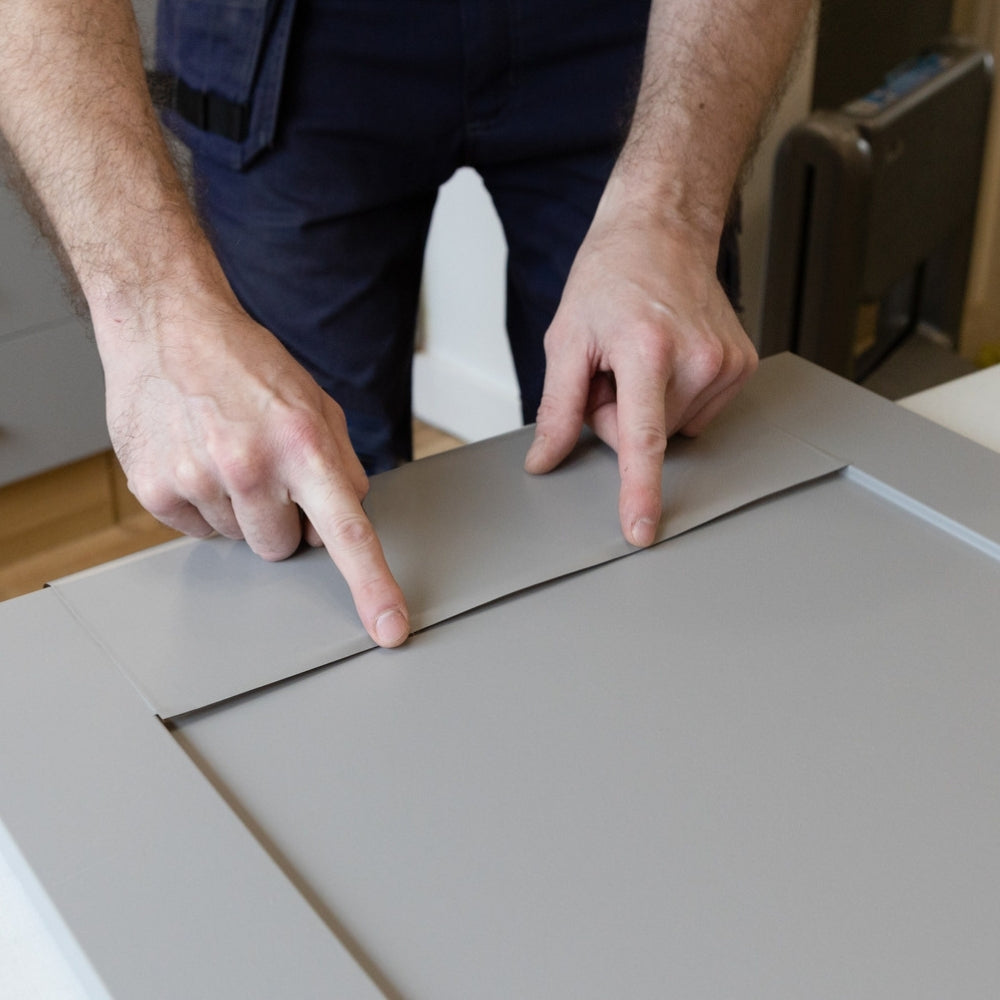
Cupboard doors often come with tricky corners — from sharp angles to subtle curves and bevels. This video will guide you through wrapping them cleanly using adhesive vinyl, so you can get smooth, professional-looking edges every time. Whether your cupboards have straight lines or soft curves, you’ll learn techniques to handle them all with confidence.
Cupboard doors often come with tricky corners — from sharp angles to subtle curves and bevels. This video will guide you through wrapping them cleanly using adhesive vinyl, so you can get smooth, professional-looking edges every time. Whether your cupboards have straight lines or soft curves, you’ll learn techniques to handle them all with confidence.


Our customers' #1 regret is that they didn't try vinyl wrapping sooner!
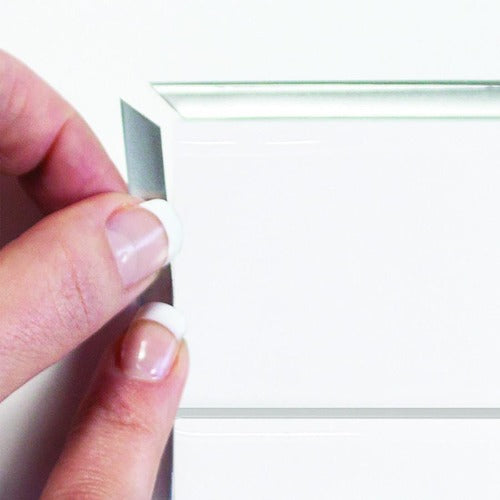
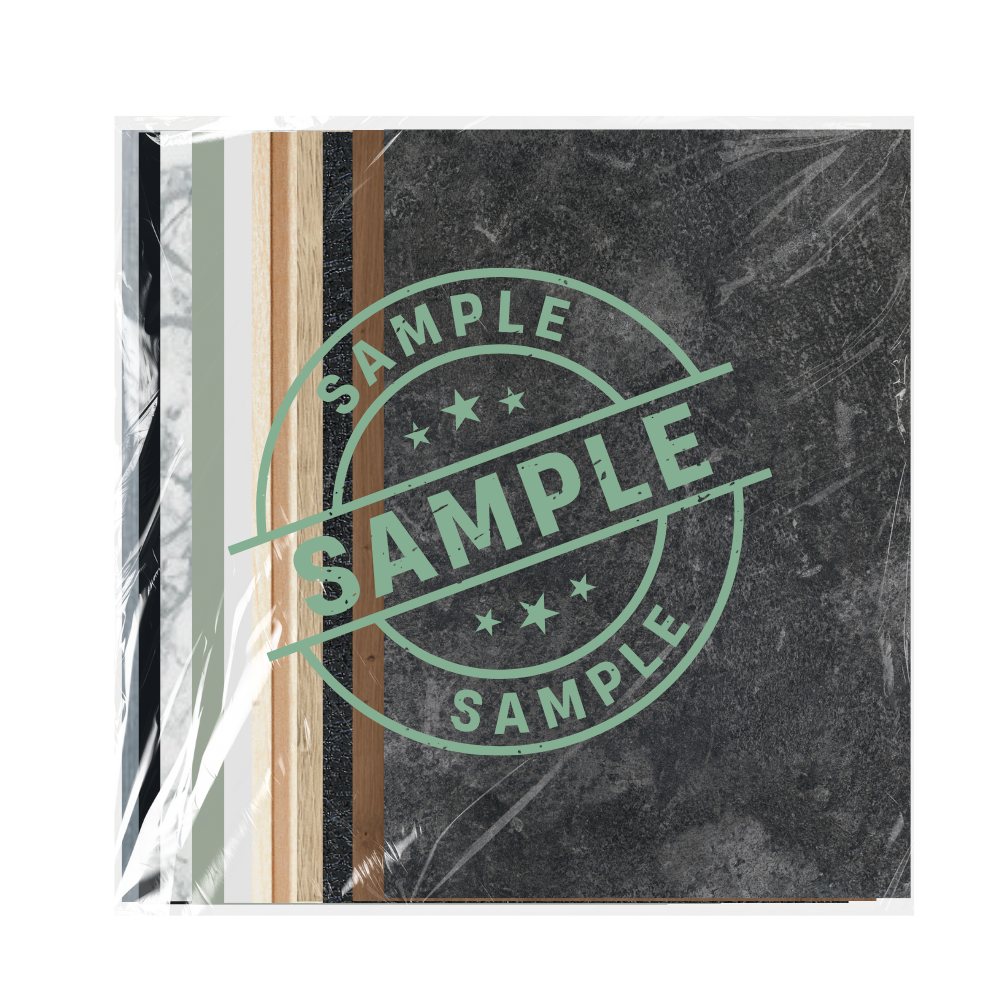
💥 See it. Feel it. Test it.
👉 Build your own sample pack — pick any designs you like (minimum 10 samples).
🚚 Free NZ shipping | Weight-based shipping to Australia
📏 Sample size: approx. 15cm x 20cm
Our customers' #1 regret is that they didn't try vinyl wrapping sooner!
💥 See it. Feel it. Test it.
👉 Build your own sample pack — pick any designs you like (minimum 10 samples).
🚚 Free NZ shipping | Weight-based shipping to Australia
📏 Sample size: approx. 15cm x 20cm
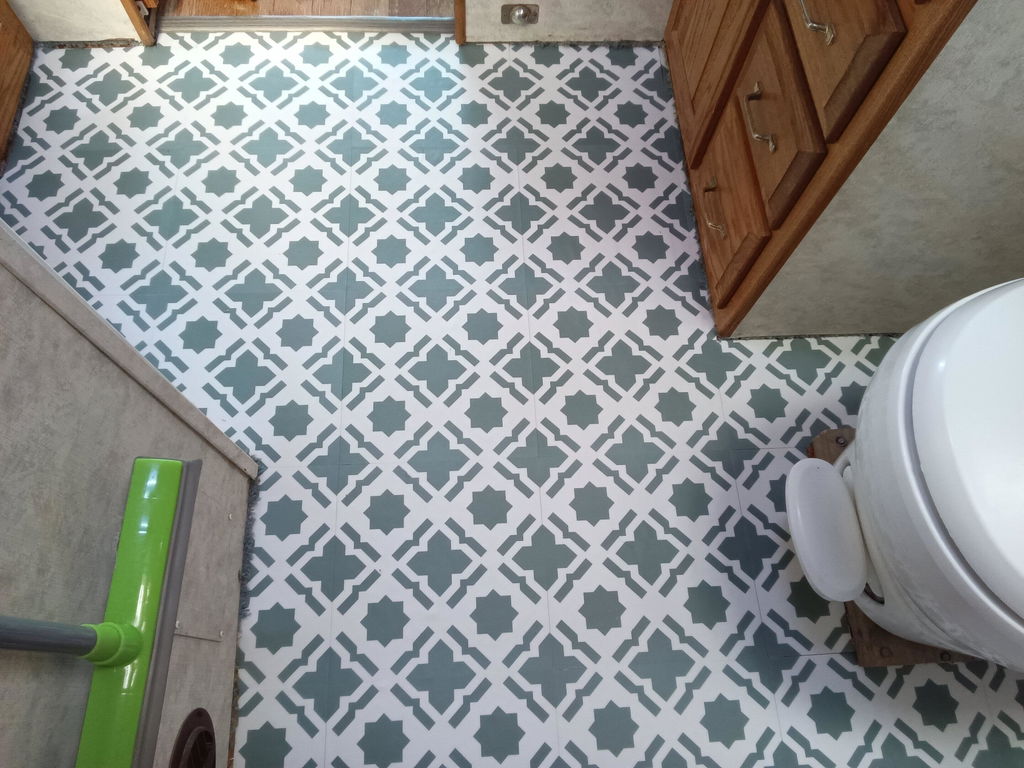
We wanted a revamp for the bathroom floor in our RV. These tiles are so easy to use and it looks really good. So happy with our purchase
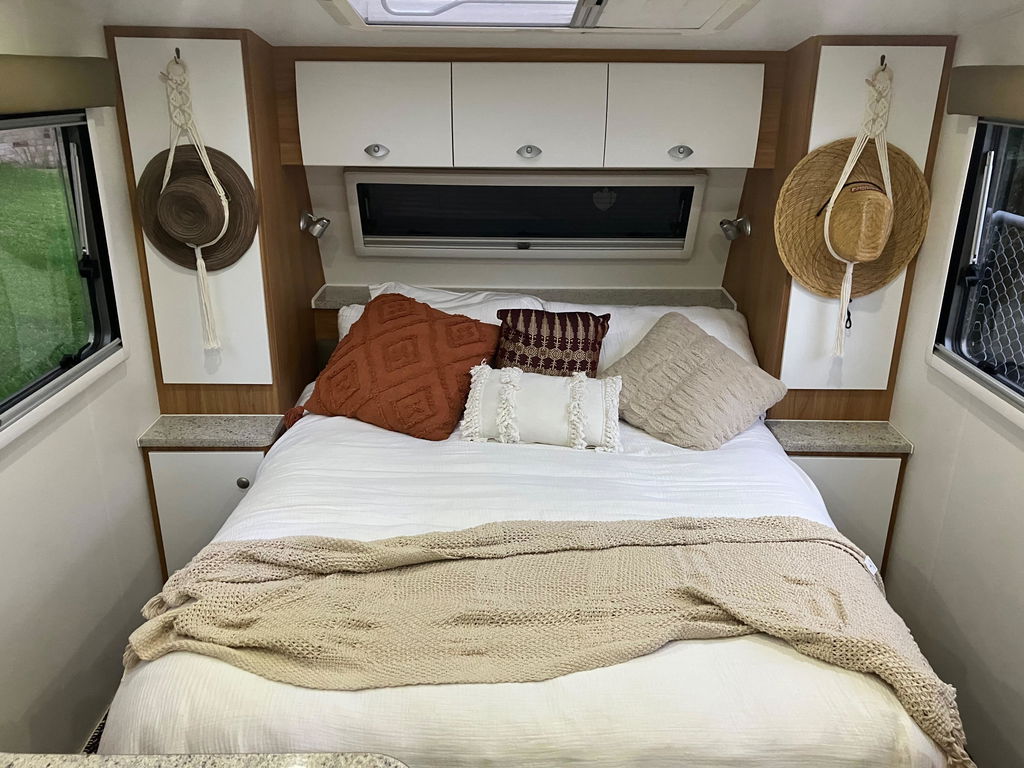
Wrapped the cupboards in my caravan to give it a fresh new look, excellent product 👍👍
Got the product for my Kitchen. Love how it has helped transform the look at an affordable price. Thank you
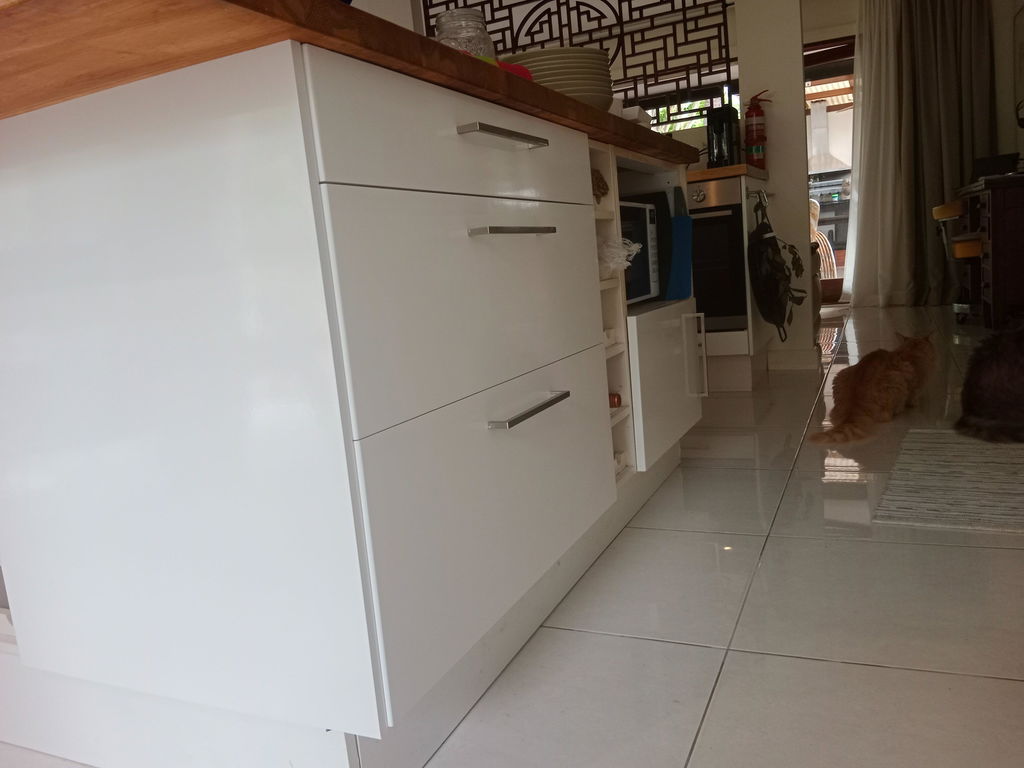
My Ikea kitchen started to fall apart, the bones of the kitchen are very good but the doors started to delaminate. I stripped the old coating off with a heat gun, gave doors and cupboards a light sand and recoated with White Gloss Vinyl from Vinyl Home NZ and the result is amazing, looks like it came straight out of the store.
Great product and very easy to install, this has saved me thousands and I would recommend this product, five stars from me.
Pete Miller - QLD Australia
5 Star product, love it, easy to use, looks incredible
Stunning product. Was so impressed with how easy and straightforward it was! It is such a high quality. I’m obsessed!
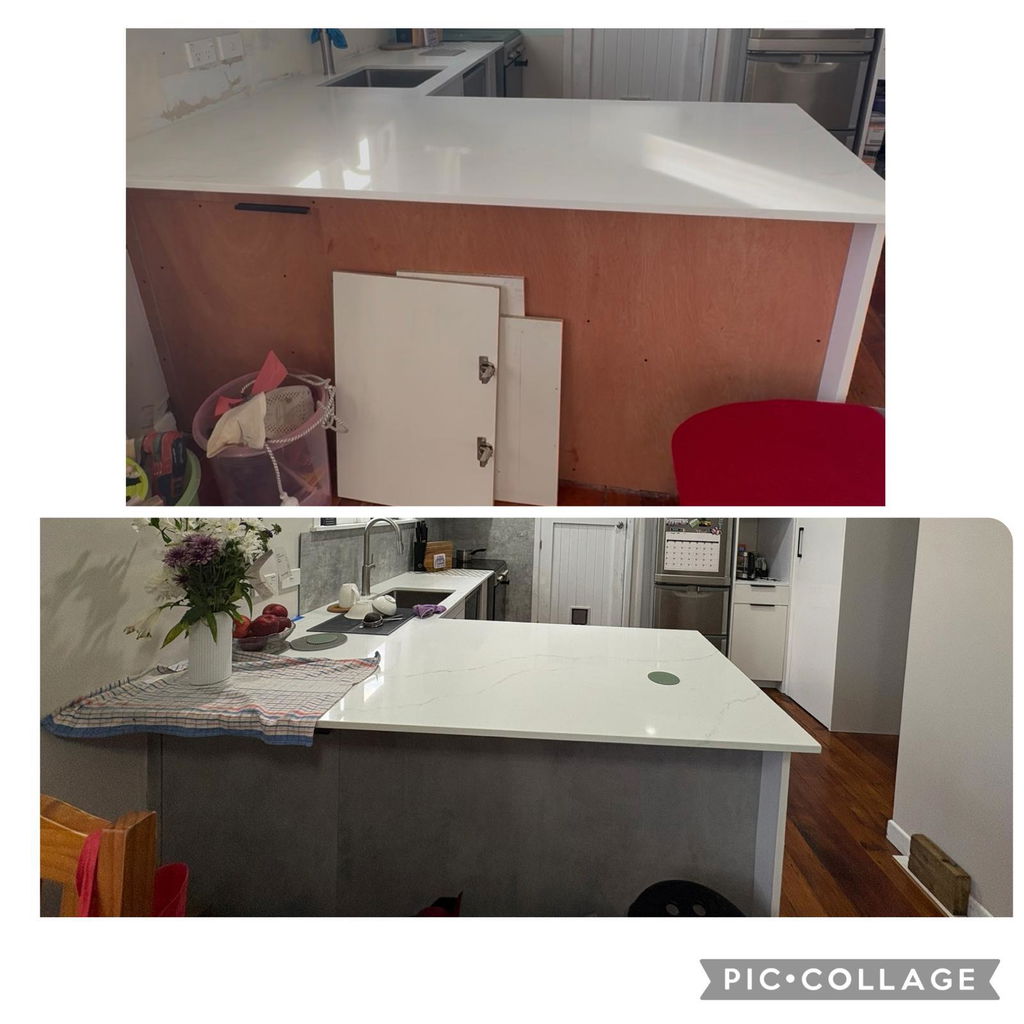
After purchasing many samples we landed on a beautiful bench top. We’re really looking forward to transforming our old outdated kitchen bench.
First time using adhesive vinyl to update some laminex cupboards and I was surprised how easy it was. Easy instructions included with the product, using basic tools at home to assist with application. Excellent quality, with a slight texture to feel like timber. A great way to update your home on a budget!
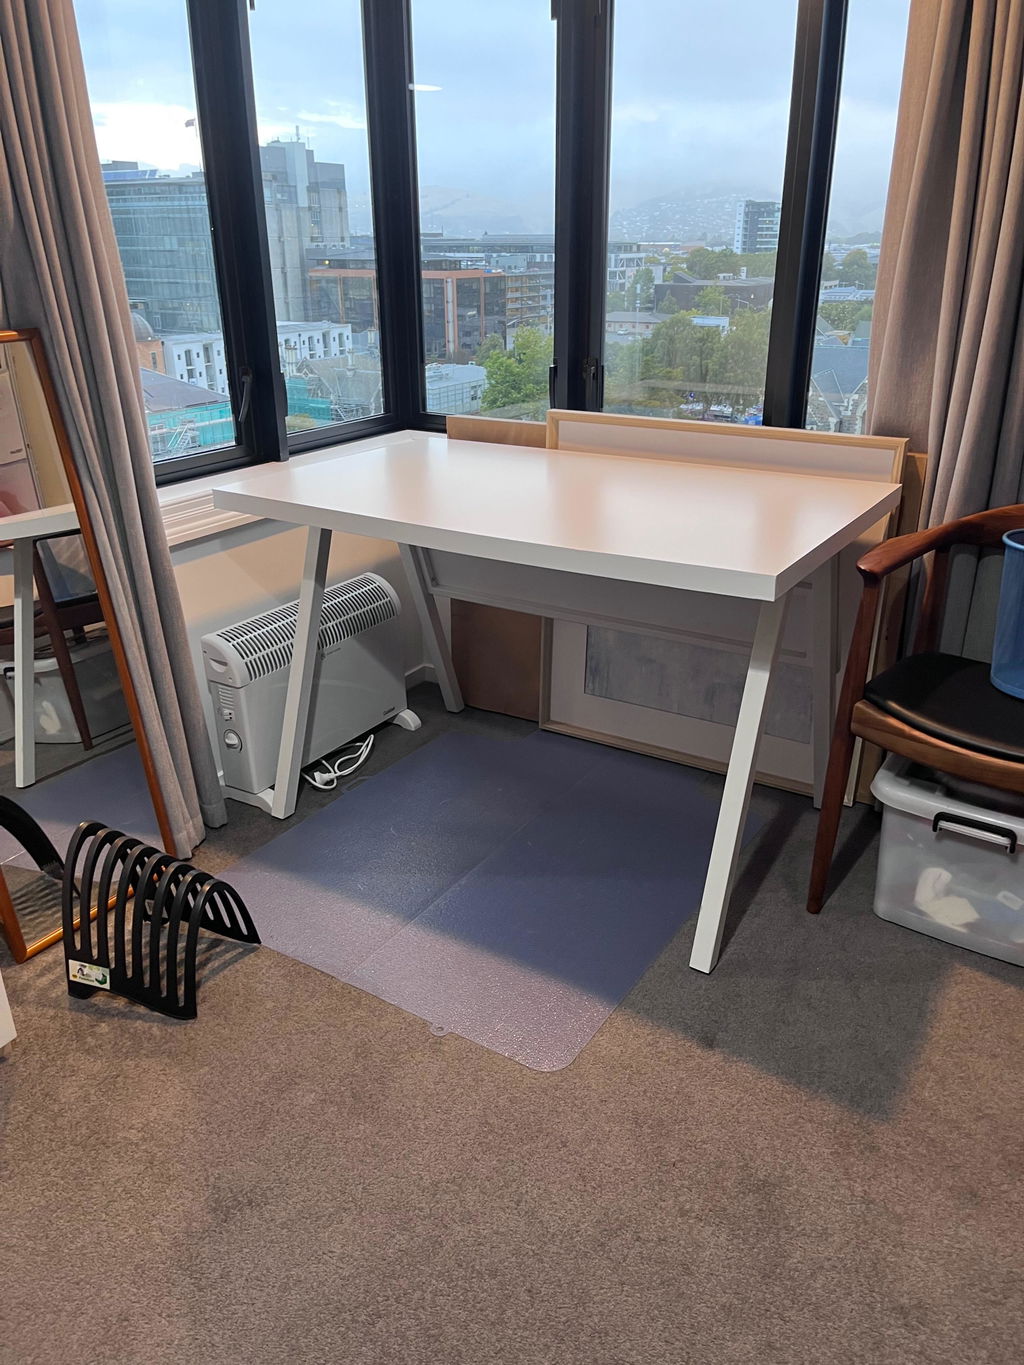
I bought a desk at an eco-store years ago. The surface was vinyl covered and damaged.
After extensive googling I found vinyl home and got a selection of vinyl samples. After a few more years I finally bought the white Matt vinyl adhesive.
The vinyl arrived in good time and after psyching myself up to finally do the recovering I have finished it today with the help of my husband.
Great to have the wide vinyl. Was able to reposition without damaging the vinyl
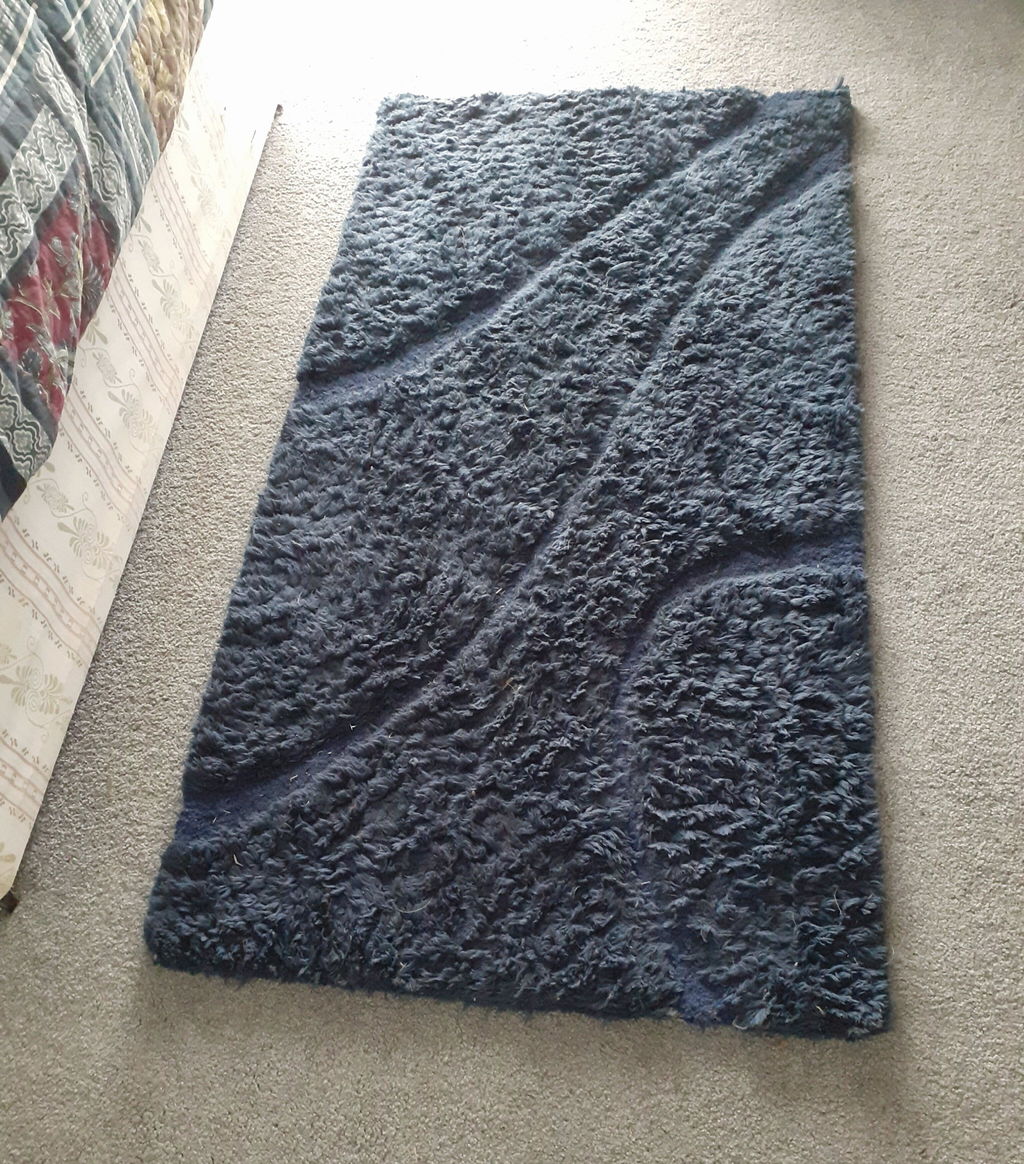
Worked really well on a cowhide rug over carpet, and this smaller much thicker rug. No more annoying adjusting the rugs anymore. Have purchased another pack for future use!
Good material quality. I’d choose a simpler pattern for a first project, but I’m happy with the result.
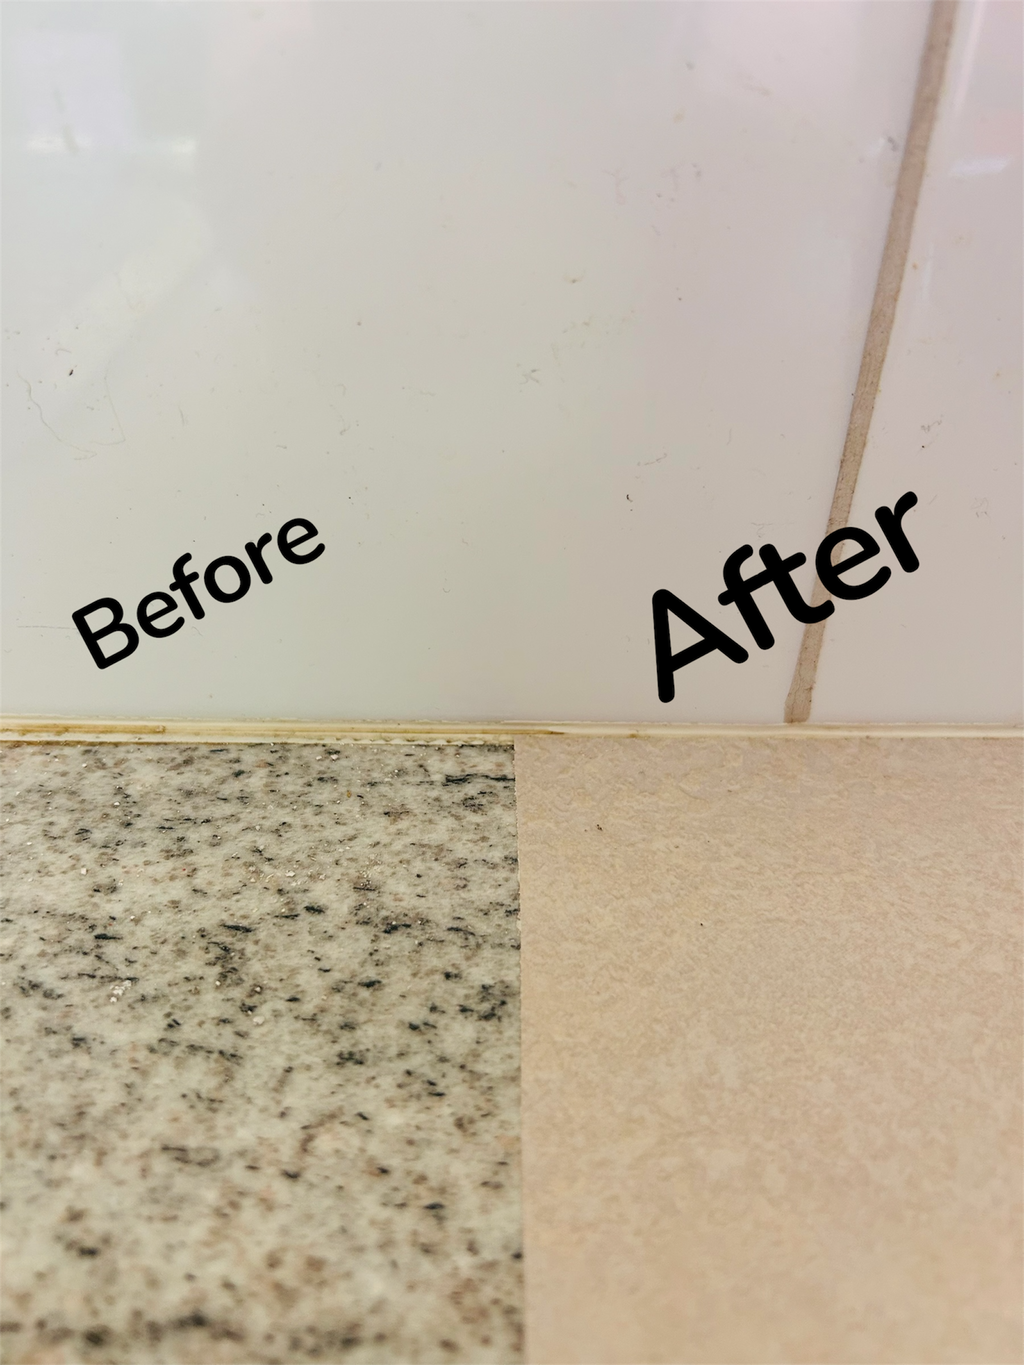
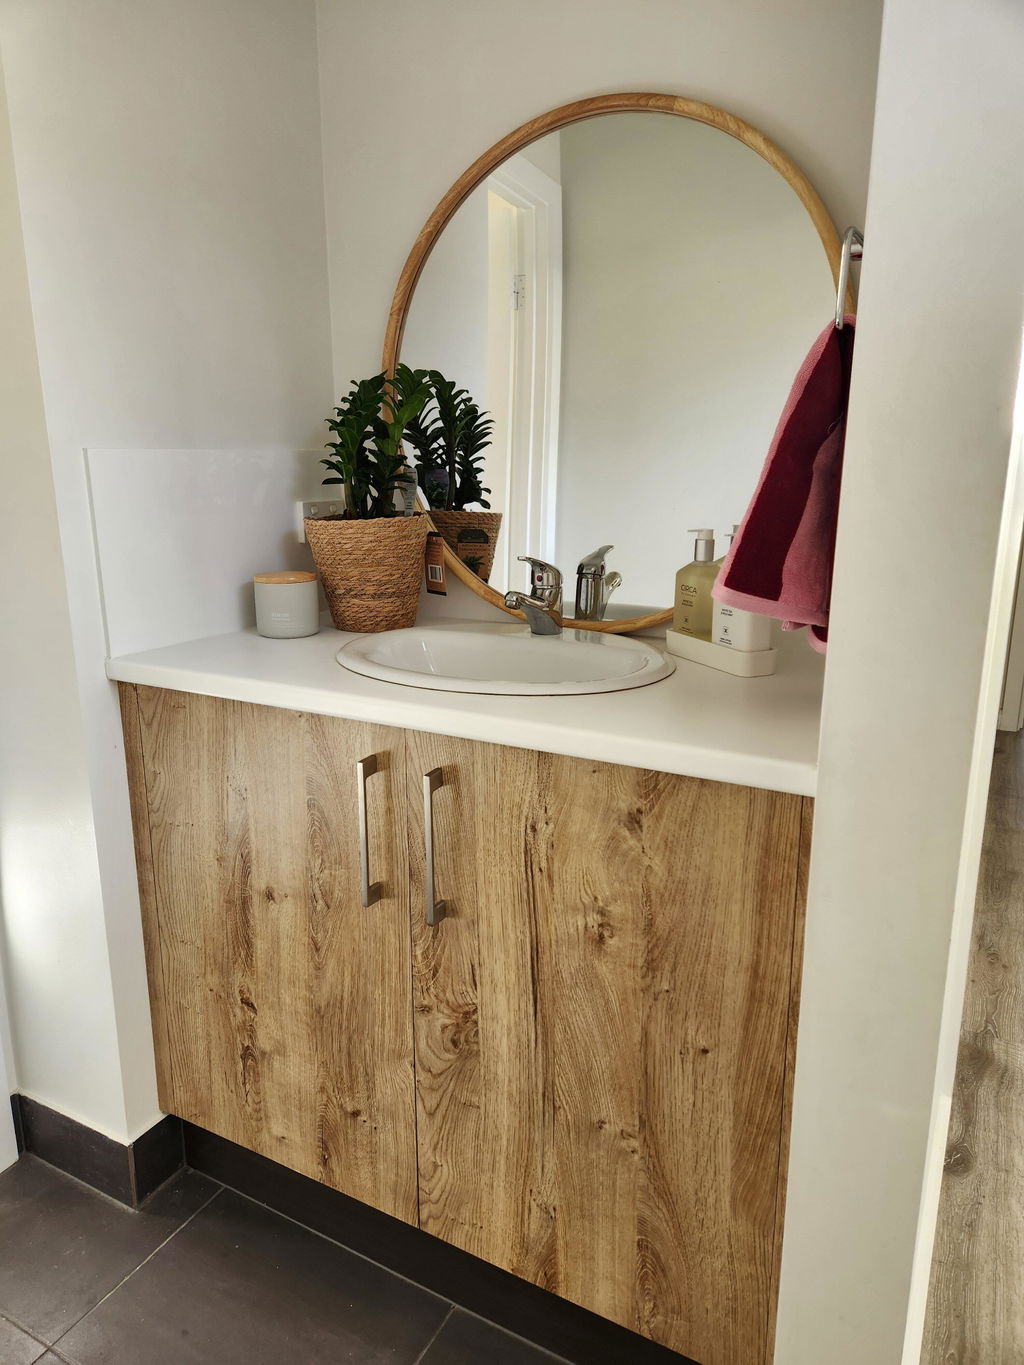
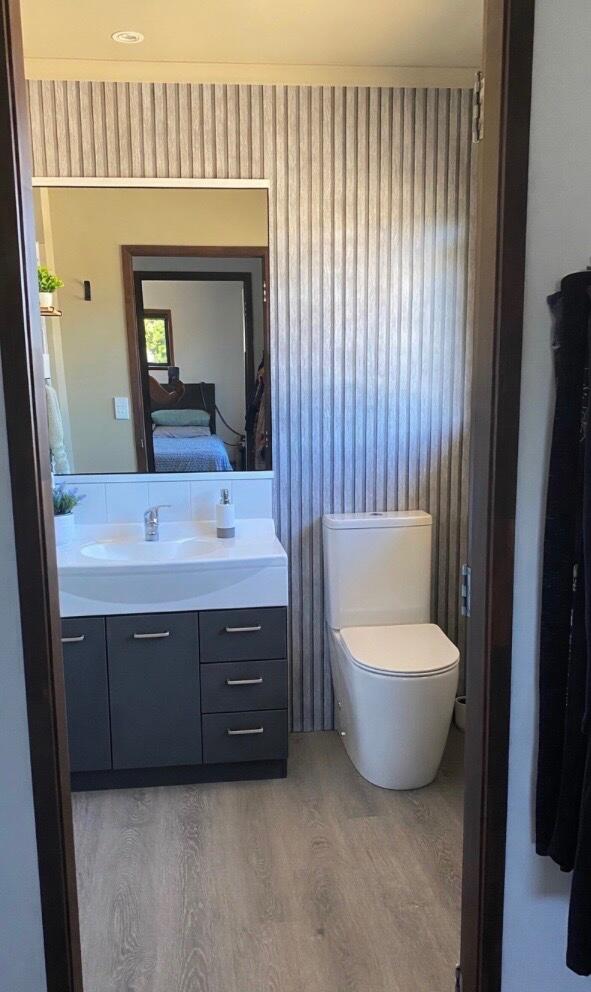
Used this to cover my vanity cupboards and drawers. It does take some skill, but what a result!!! Before was very white. Still need to paint the walls.
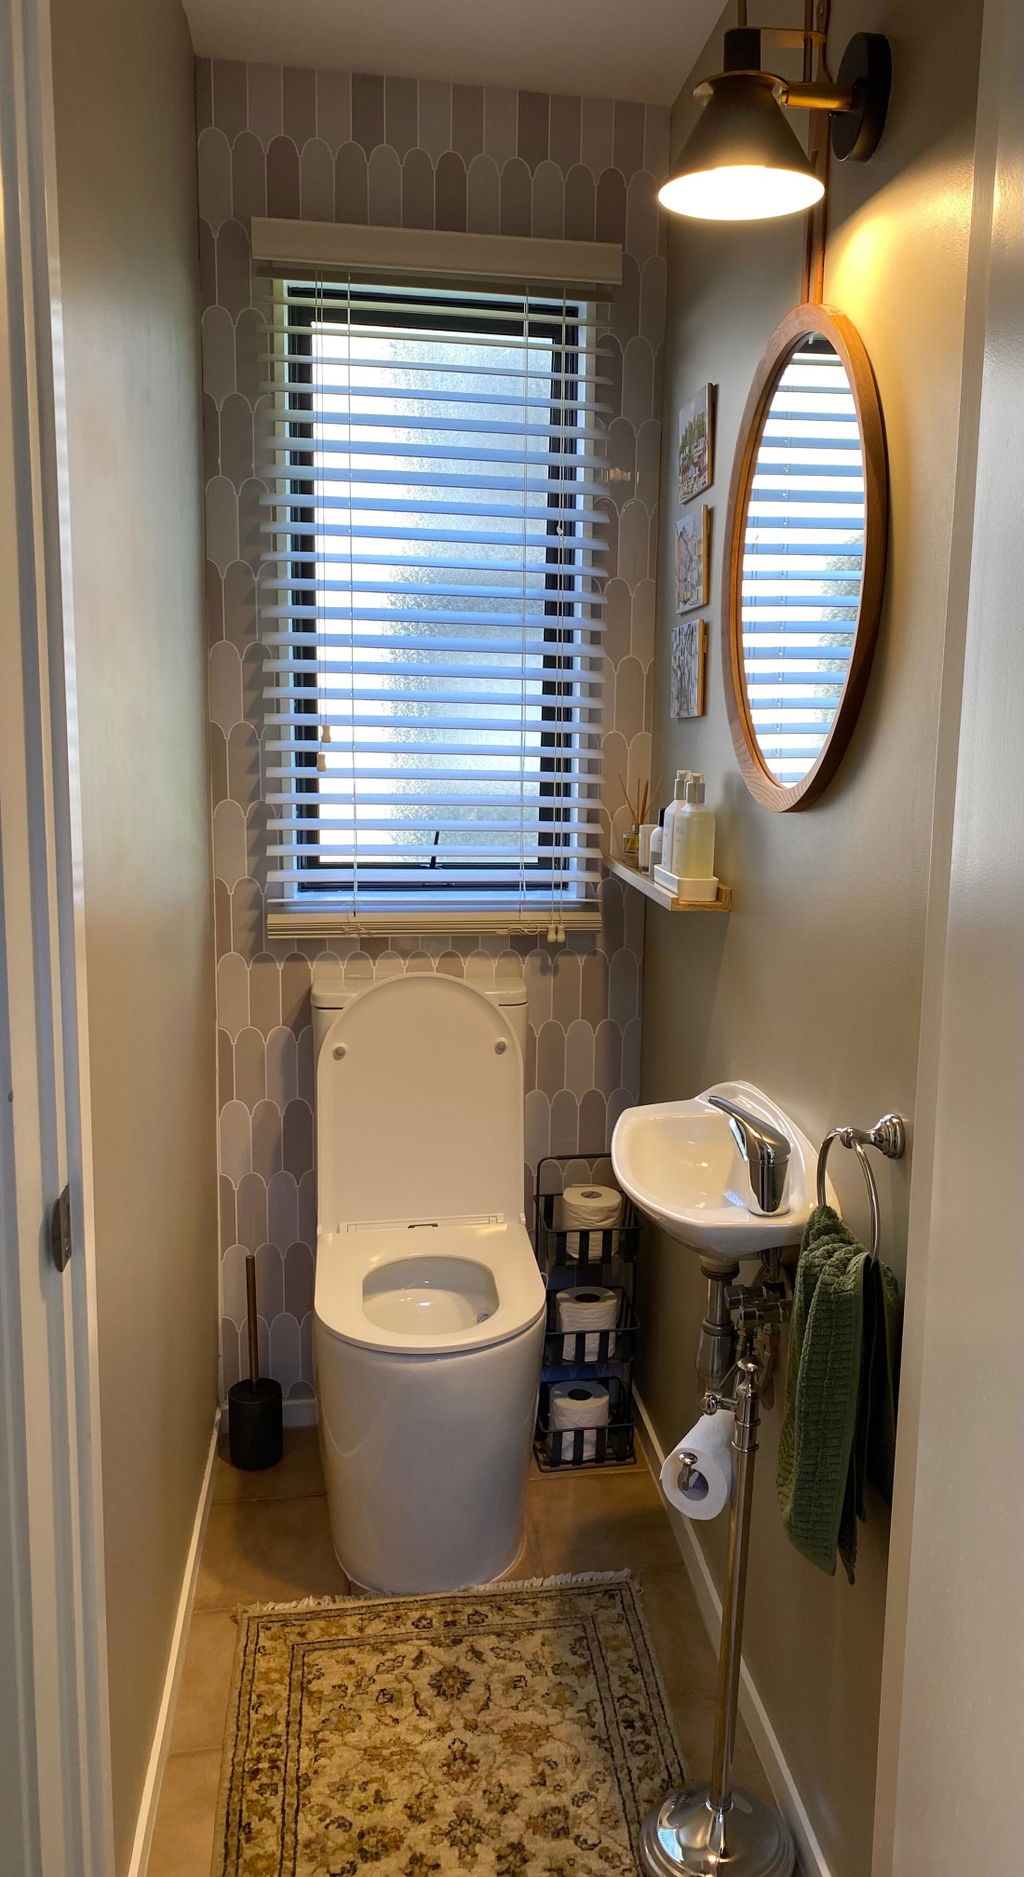
We love these wall tiles, they instantly gave our guest toilet an updated a luxurious look. They were an easy DIY project.
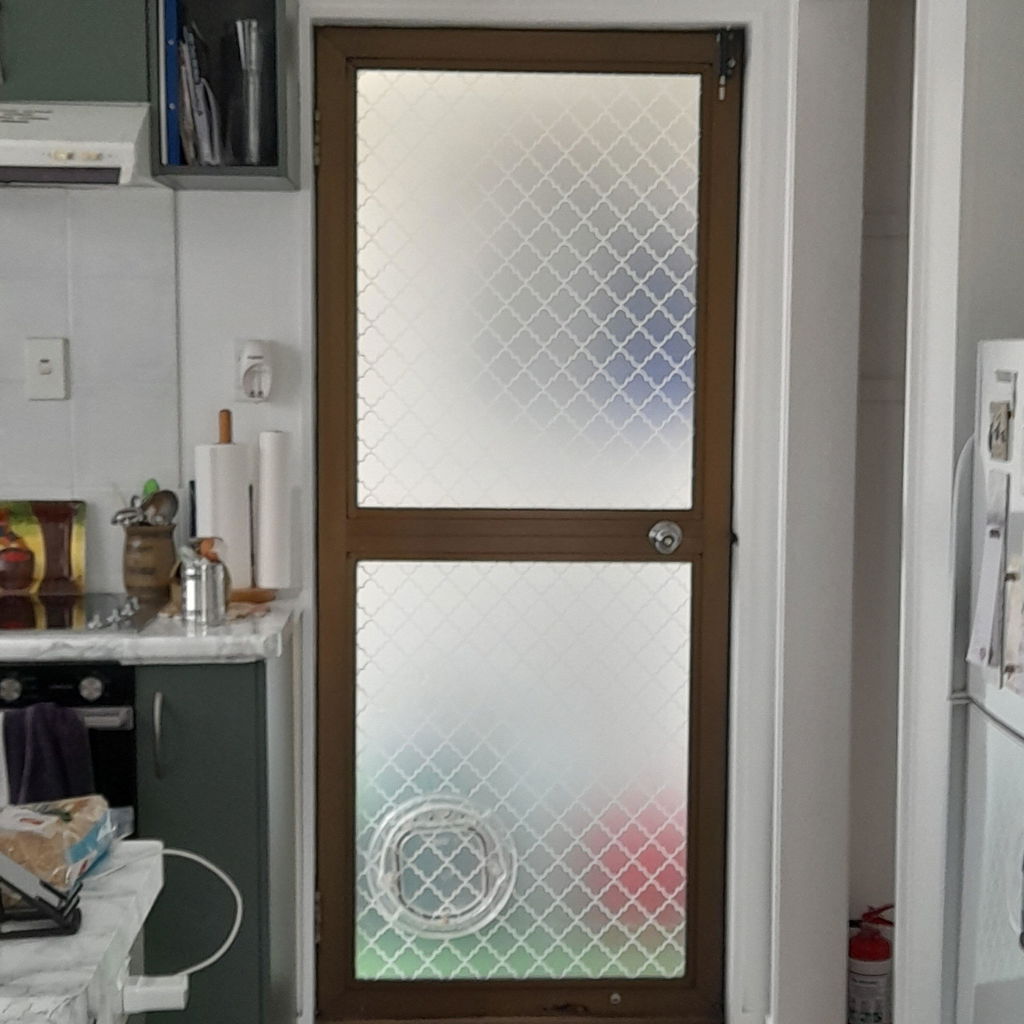
I just love this vinyl. It went on very smoothly and looks great. It looks a treat and now hides the stuff outside my back door. I just love your vinyls. Mary
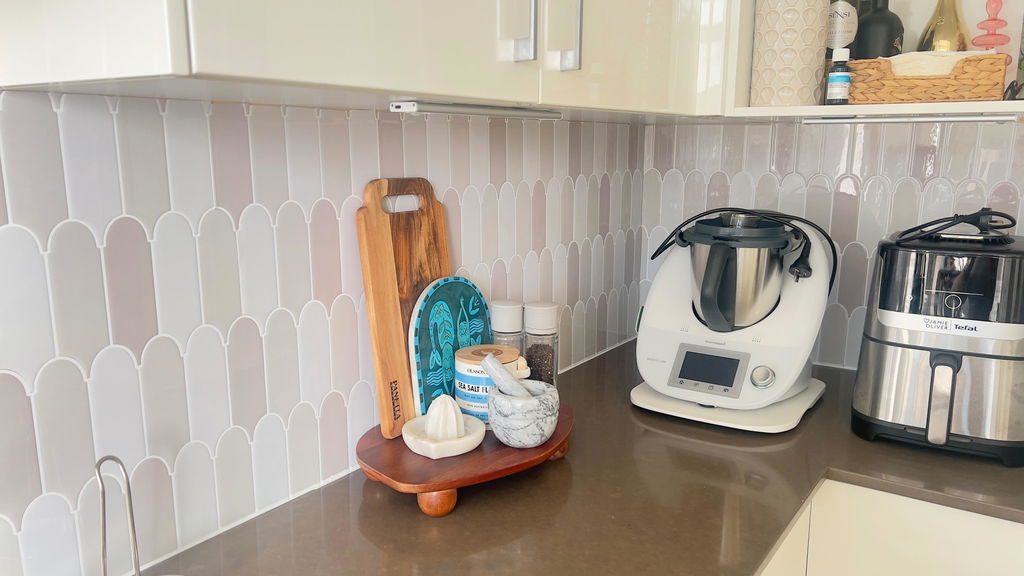
Brilliant solution to give your kitchen a face-lift without the cost of a full reno. I recovered my kitchen cabinets a year ago, and this time recovered the 20yr old formica bench and cream tiles. So easy to use and I love the green tiles (the photo makes them look a lot darker than they actually are, they're more of an emerald green)