Never before has it been so affordable to get a marble looking bench top. In this blog post I will take you through how you can get that look and feel in your own home.
For this project I picked out the wide Marble Marmi Black sticky back plastic. These rolls are 2m long and 67.5cm wide which make them suitable for a standard 60cm wide bench top.
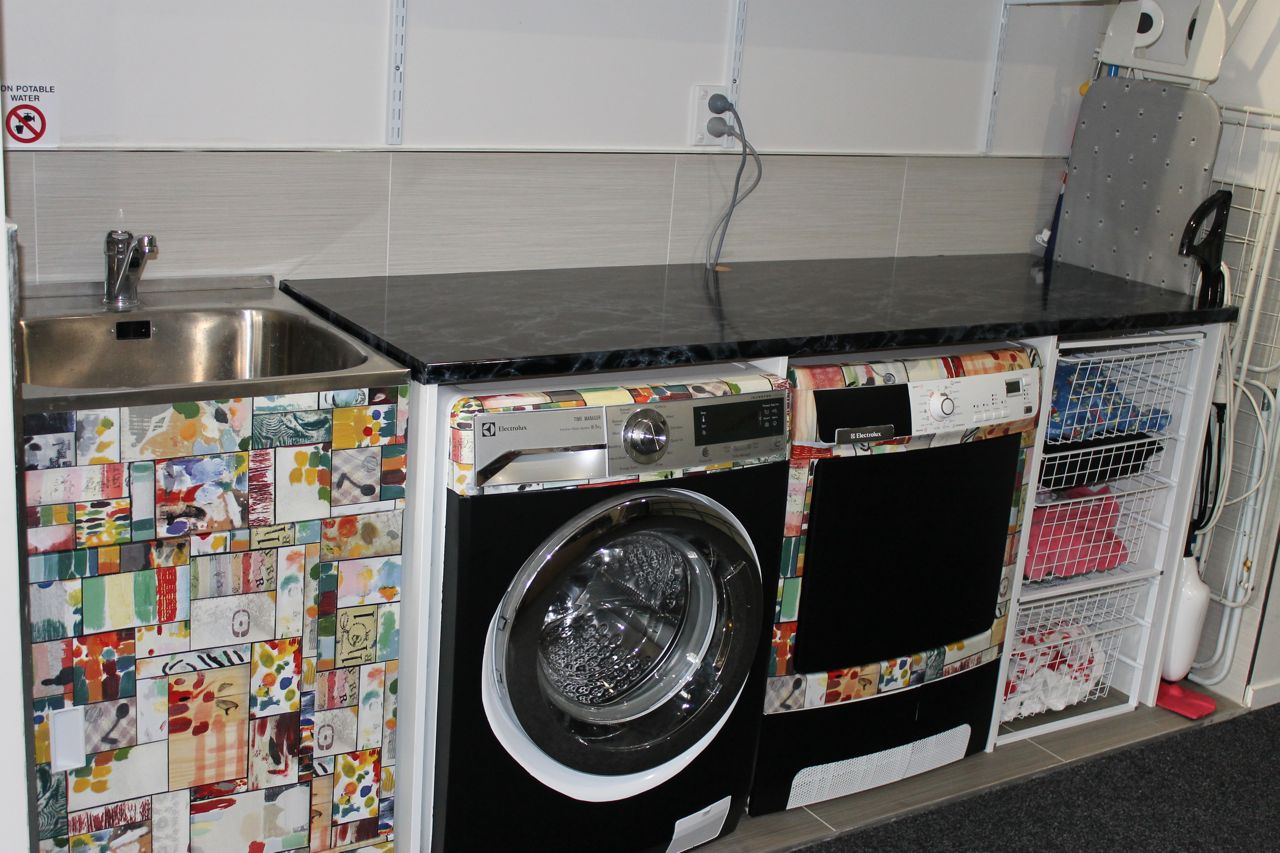
This is what my laundry bench top looked like before I started.

To make the application as easy as possible I removed everything I could out of the way. I followed the normal instructions and started in one of the corners. The window scrape is ideal to work with on a project like this (the wider the better).

For the sides of the bench top I used my hands to smoothen the film down. I started at the centre and worked my way out to both ends, to avoid ending up with excess film and bubbles in the middle.

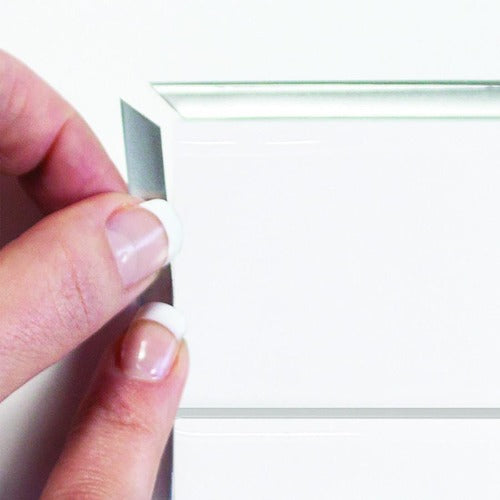
I pulled the excess film around the whole edge and smoothed it out underneath the bench. If you have cupboards underneath your bench top, you would like to make sure the film finishes where the cupboard starts.
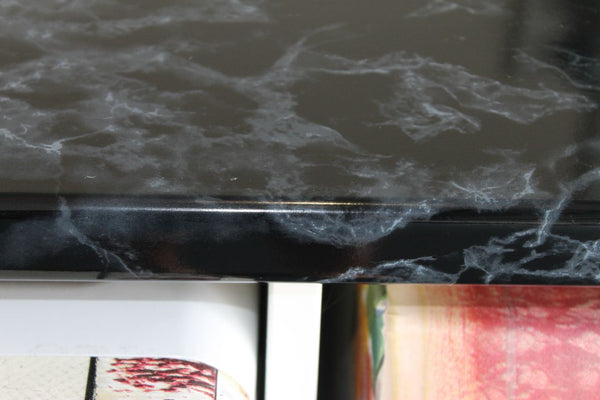
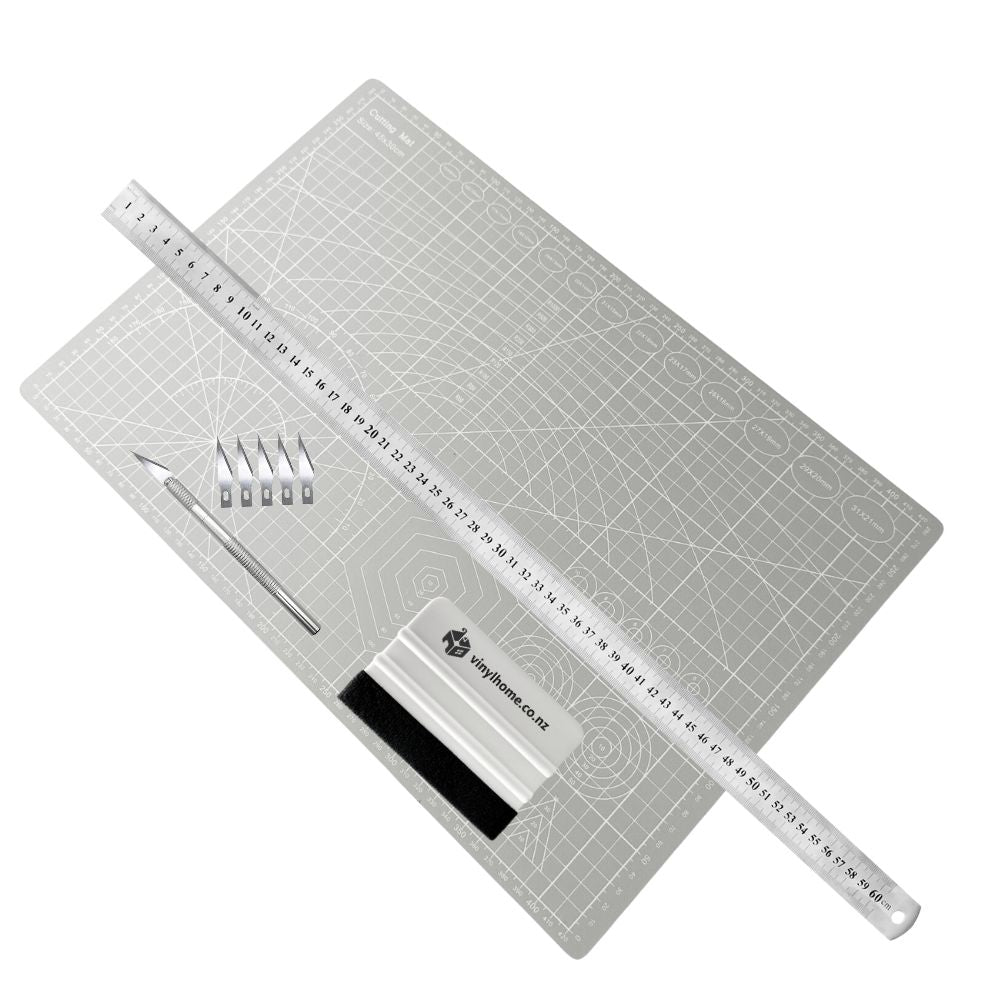
I made an overlap on all corners and cut off all the excess film with a sharp knife.

I'm very pleased with my new marble looking bench top. Now please tell me what you think or feel free to ask any questions you may have in relation to this project. :)

Lessons learned from this project
- remove everything that potentially may be in your way while working
- start in one corner on the top of the bench top
- work from the center and out on the edges of the bench top
- allow enough overflow on each side and then cut off excess film with a sharp knife to allow for a nice finish.
Skill level
Because the film is wider and bench tops are normally positioned a bit tricky (tucked into a corner, attached to cupboards etc) I categories this project as an intermediate level. As with any other project, go slowly and you will be fine. The glue doesn't reach its full adhesion until after several hours. You can easily start all over if things get messy.
Tips
- if you apply the film in areas that are likely to be highly exposed to water (e.g. bathroom and kitchen), make sure you seal all edges properly to avoid water finding its way underneath the film by time
- if used in the kitchen we recommend you to always use chopping boards and another surface to put your hot pots and pans on. The film can take up to 75°C for a shorter period of time but it's always best to avoid hot temperatures in contact with the film.


