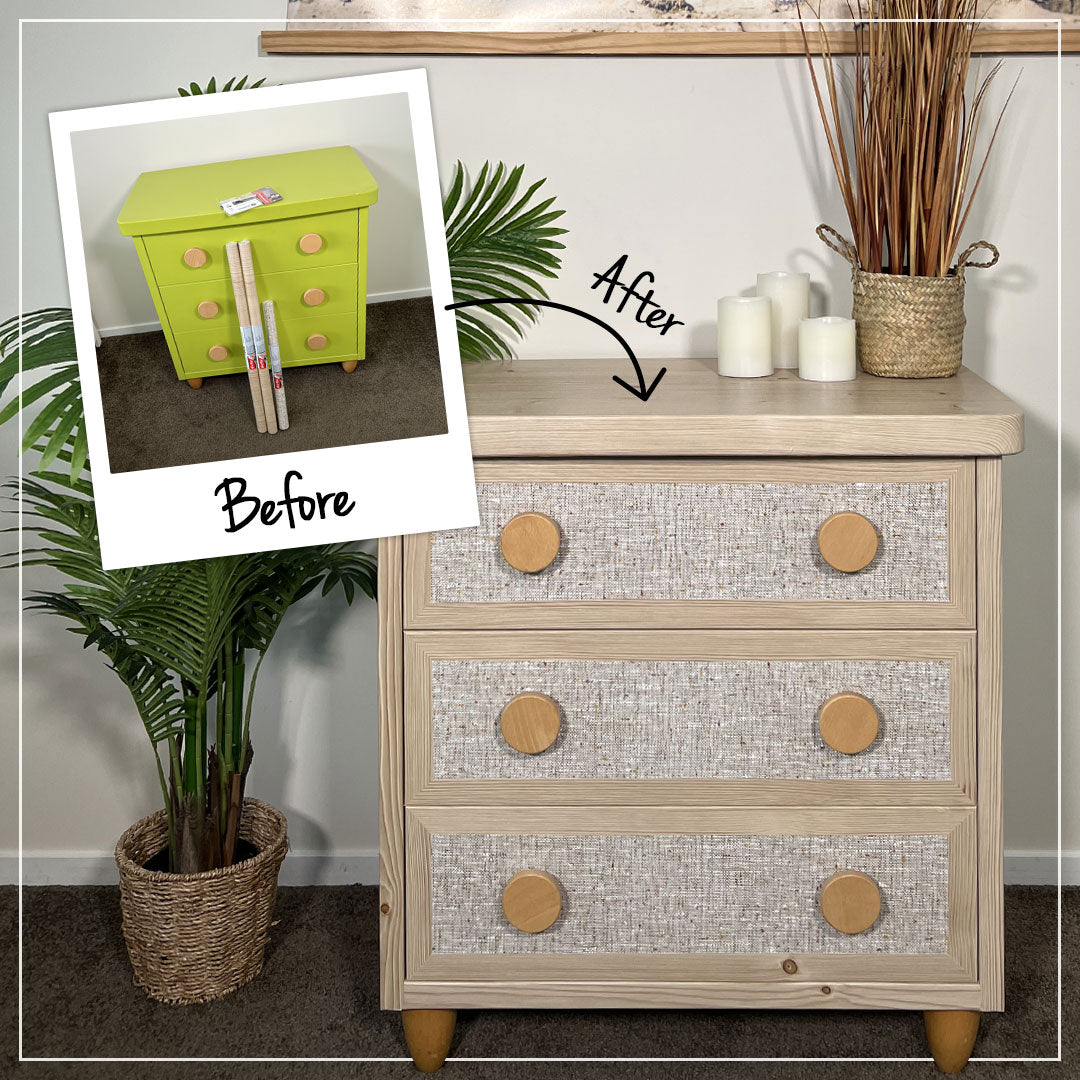
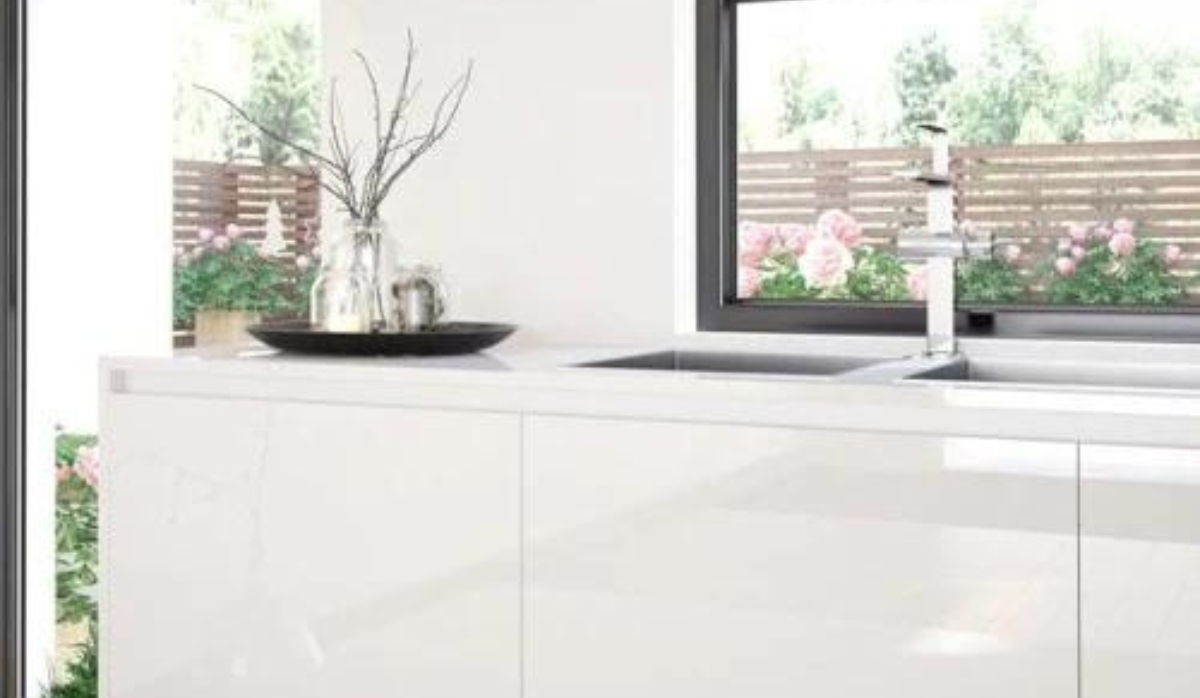
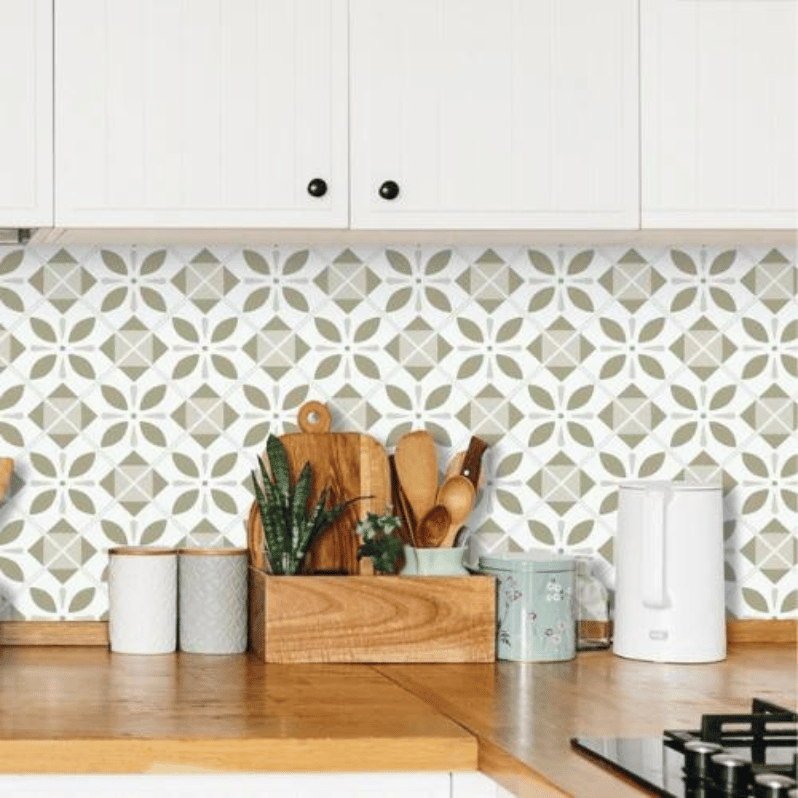
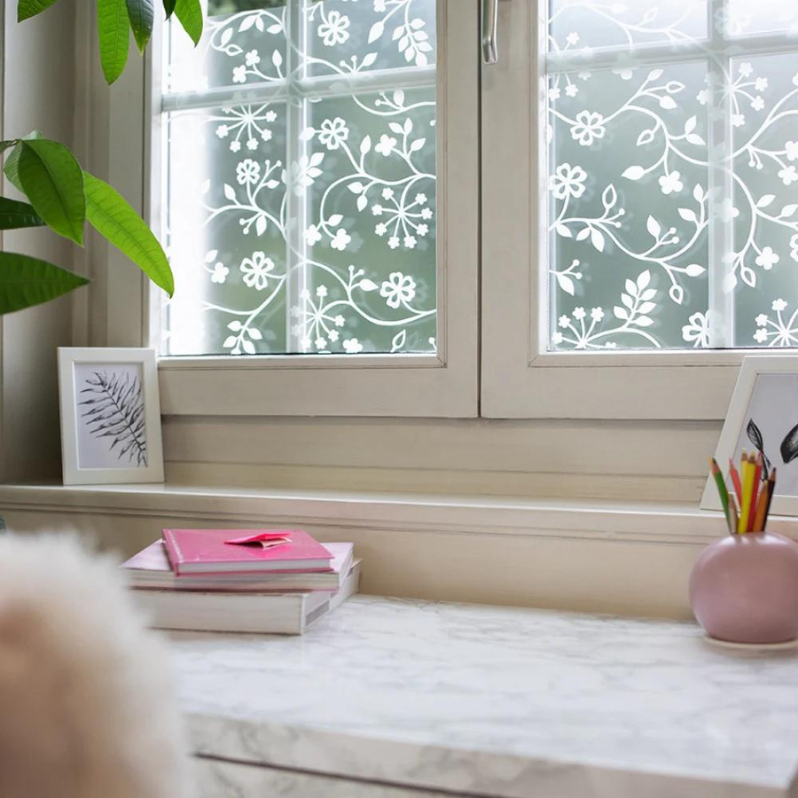
Do you dream of a home renovation but don’t have the time or resources to pull off a full renovation? Vinyl wrap is an easy, cost-effective solution to transform your kitchen cabinets and tabletops into something unique and special. It’s an easy way to give any room in your house a creative, customised look while still being an easy DIY solution. Let’s explore the benefits of vinyl wrap and how it can help you achieve the perfect kitchen space.

What is Vinyl Wrap?
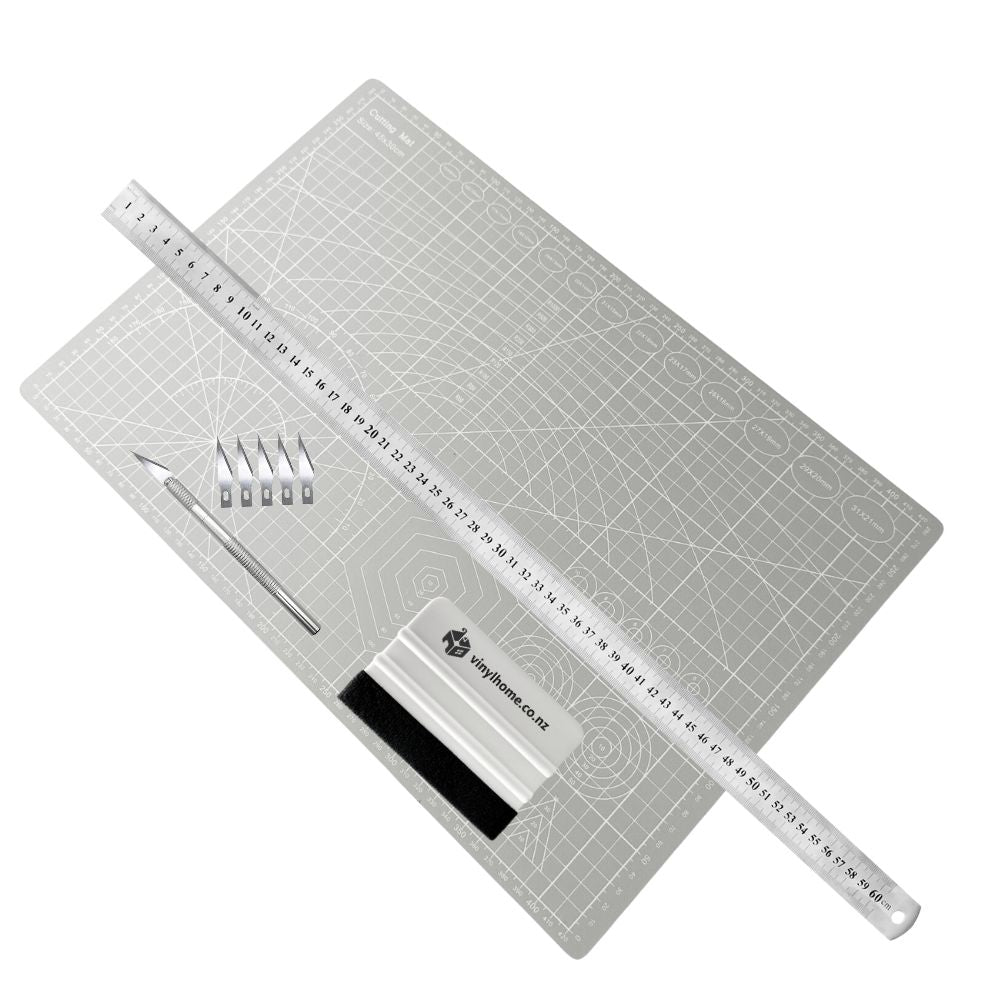
Vinyl wrap is a self-adhesive film that is designed to be applied directly onto surfaces such as kitchen and bathroom cabinets, benchtops and bedside tables. It comes in many different colours, printed textures, and finishes so you can create whatever look you desire for your home. The great thing about vinyl wrap is that it’s very user-friendly; all you need is some basic tools such as scissors and a craft knife, plus a little bit of patience and attention to detail!

Benefits of Vinyl Wrap
One of the major benefits of using vinyl wrap is that it is affordable and can easily transform a room in your home. It will make no to little damage to existing surfaces when removed (depending on the condition of the surface), which makes it perfect for temporary renovations or those who rent their homes. It also doesn’t require any special skills or training since it’s so simple to install, making it the perfect DIY solution. In addition, there are no harsh chemicals involved in its application; simply peel off the backing and stick! Lastly, because vinyl wrap is durable, water resistant, and takes heat up to 75°C, it may last longer or be a more suitable option than other materials like paint or wallpaper.
How to Install Vinyl Wrap
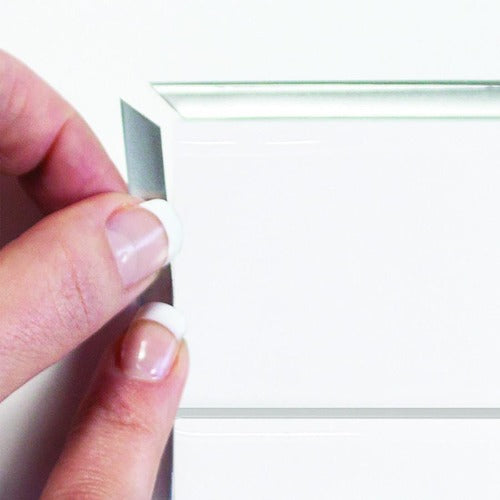
Installing vinyl wrap isn't difficult at all; simply measure out the area where you want to apply the wrap (using a measuring tape), allow for a few cm overhang on each side, then cut out pieces according to size with scissors or a craft knife. Once done cutting out each piece, peel off a small part of the backing paper and attach it to the surface. Use a squeegee tool or soft cloth to smooth down the vinyl wrap with one hand and pull the backing paper with the other in small sections at the time. Work your way from one end to the other so that all air bubbles are eliminated. Wrap the edges like a present or leave them blank. Trim off any excess vinyl with a sharp craft knife before finally admiring your work!

Different Grades of Vinyl
Vinyl wrap has become increasingly popular amongst homeowners looking for ways to upgrade their homes without spending too much time or money on renovations. But be aware there are different grades of vinyl in the marketplace so take care when choosing your products. The cheaper versions are usually thinner and have a glue that instantly bonds with the surface making the vinyl much harder to apply with no room for errors so it’s worth investing in a well known brand and quality product. At Vinyl Home we use a European brand called d-c-fix® which has stood the test of time and is easy to adjust during application, giving you a bubble free surface and a smoother finish. The d-c-fix® brand is free from heavy metals, is colorfast and wear- and abrasion-resistant. It has a solvent-free adhesive and if used according to instructions is safe to even install in childrens’ rooms.
Get Renovating
The great things about this material are its ease of installation and durability - plus it’s easy to remove when you wish to jump on the next design trend! So if you're looking for an easy way to customise your kitchen cabinets or tabletops without breaking the bank - why not try using vinyl wraps today? You'll be sure to love the results!
Take a look at our range of vinyl wraps or get some inspiration with our 25 different ways to use vinyl wrap.


