The Ultimate Guide to Renter-Friendly Makeovers – No Drills, No Damage
The Ultimate Guide to Renter-Friendly Makeovers – No Drills, No Damage
Love where you live—even if you don’t own it. Whether you're freshening up a tired kitchen, modernising your bathroom, or adding privacy to your windows, renter-friendly vinyl solutions make it easy to personalise your space without risking your bond.
What’s Possible with Adhesive Vinyl
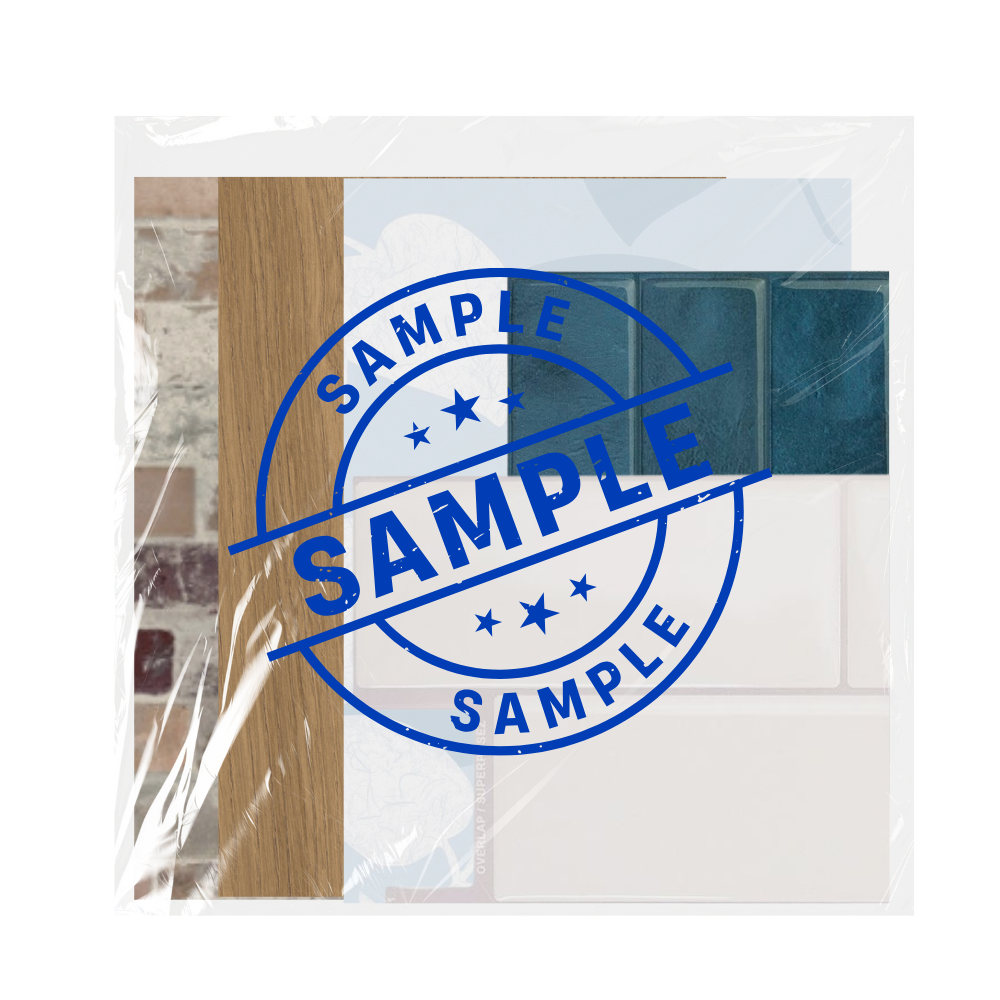
Vinyl products like peel-and-stick tiles, adhesive benchtop wraps, and static cling window film offer high-impact design—without any lasting damage.
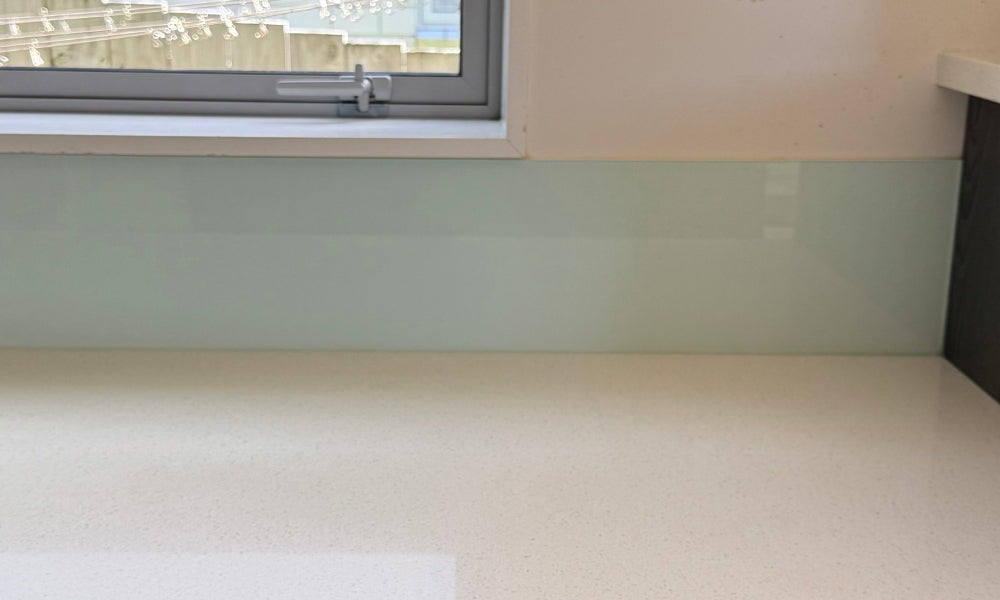
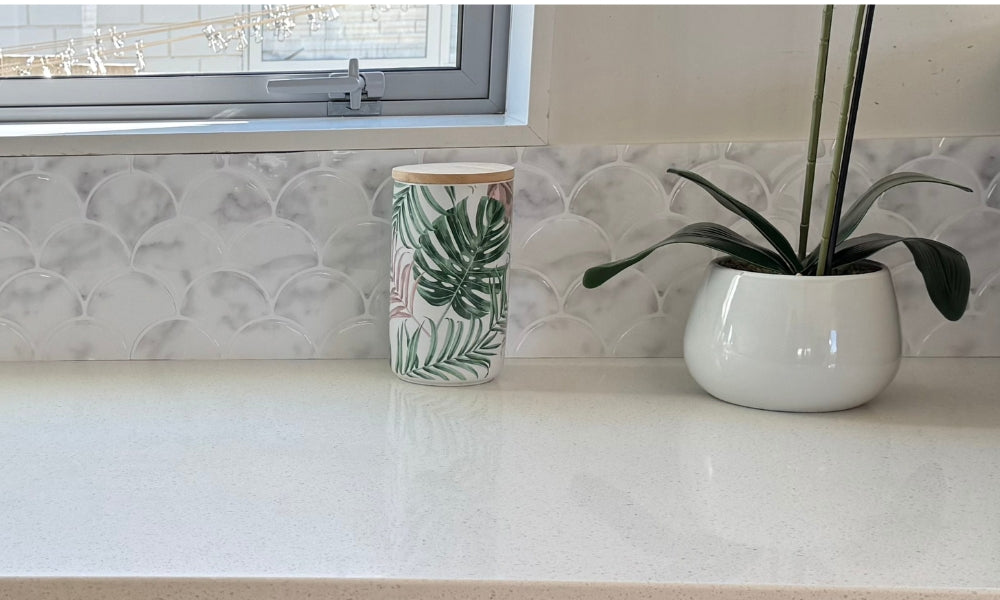
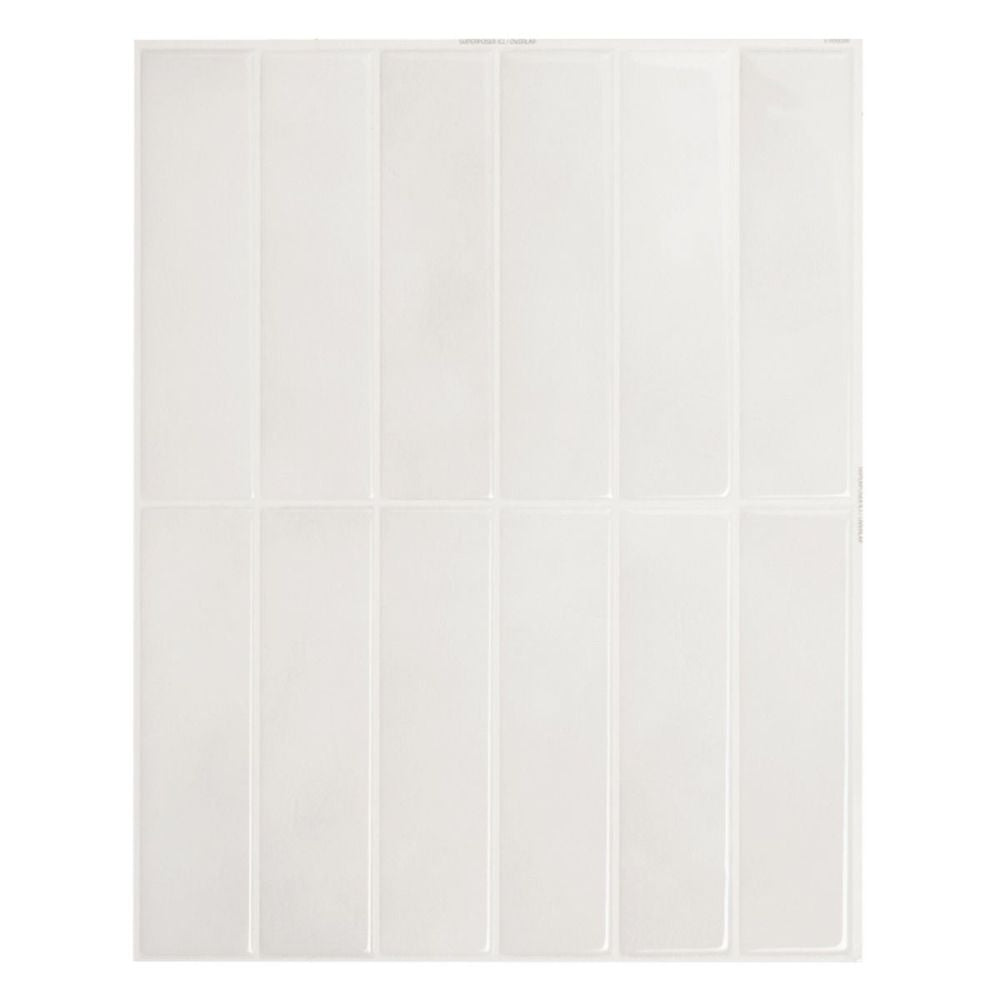
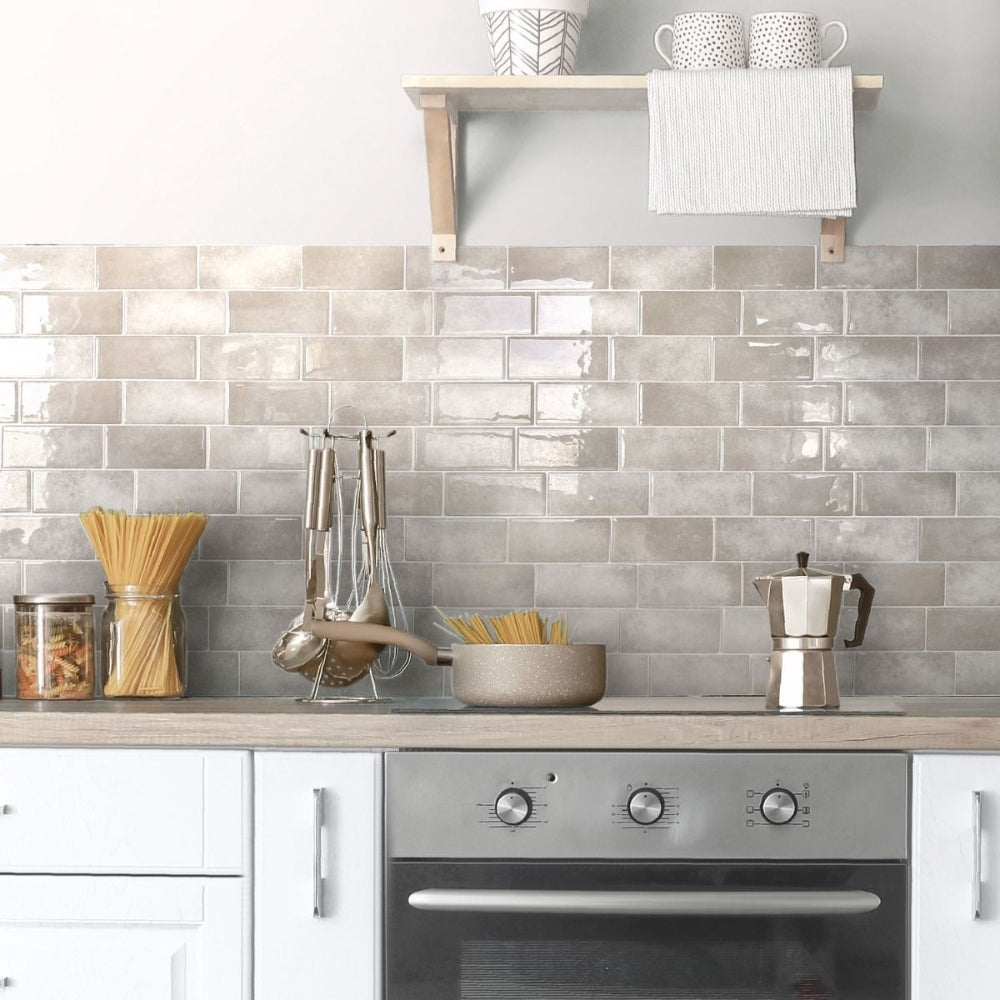
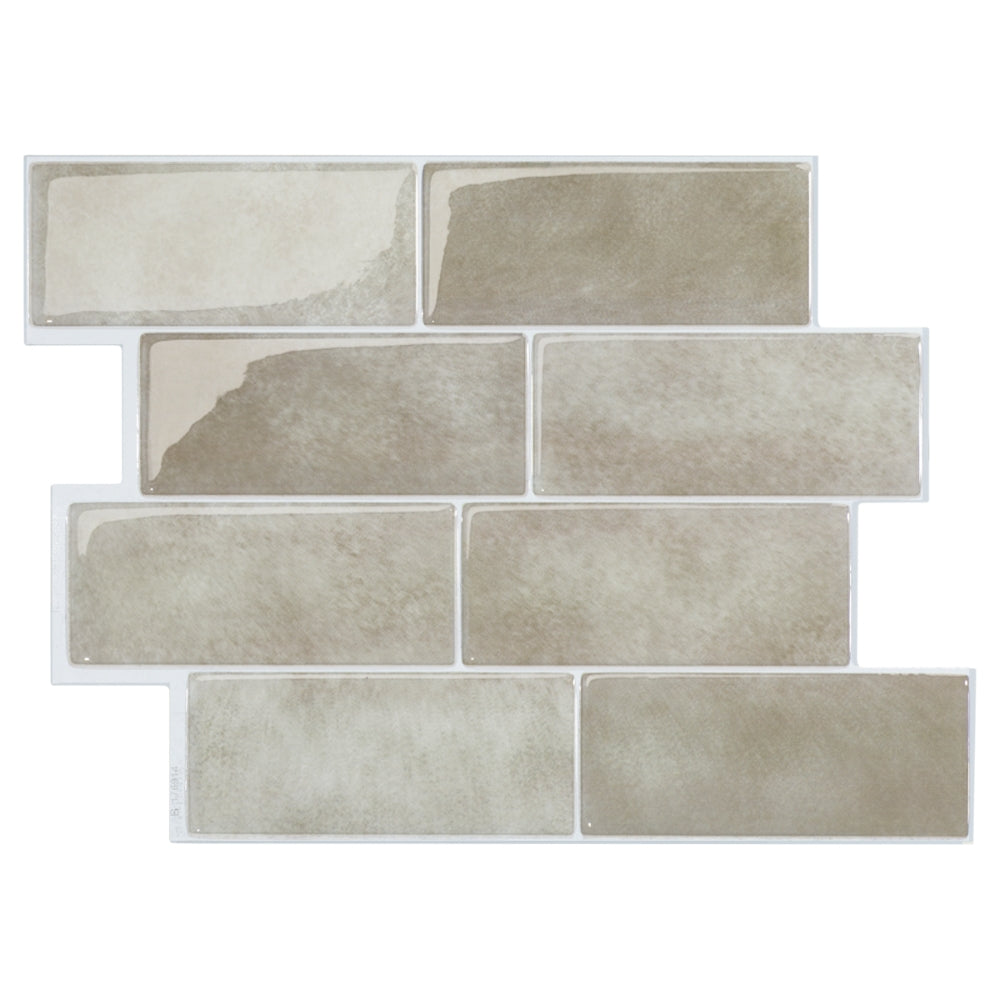
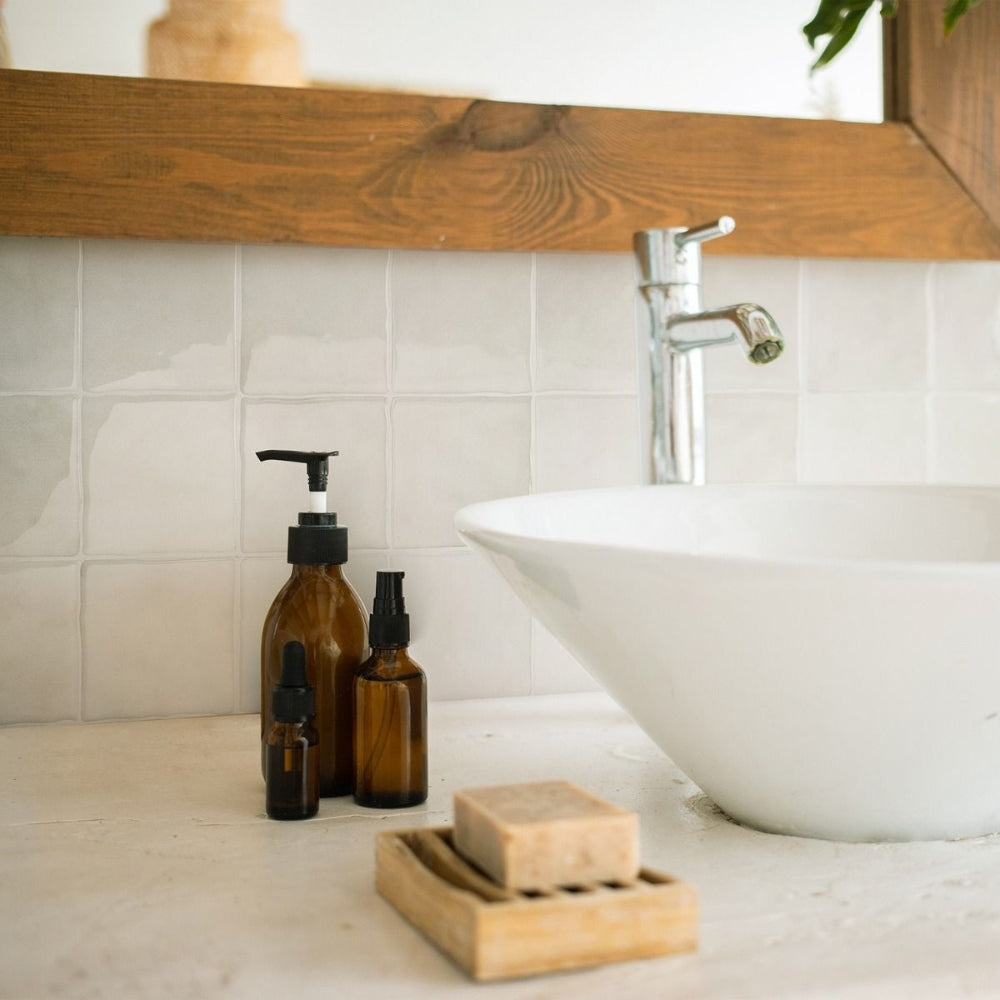
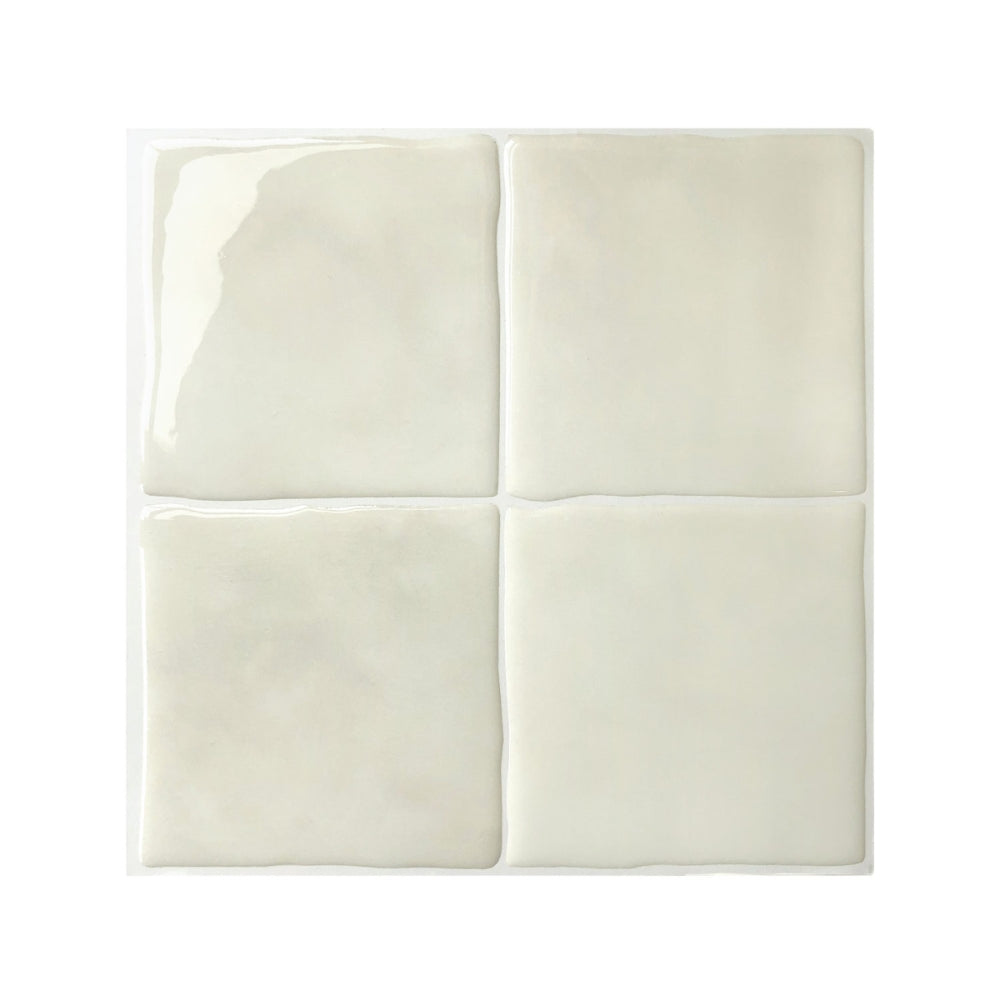
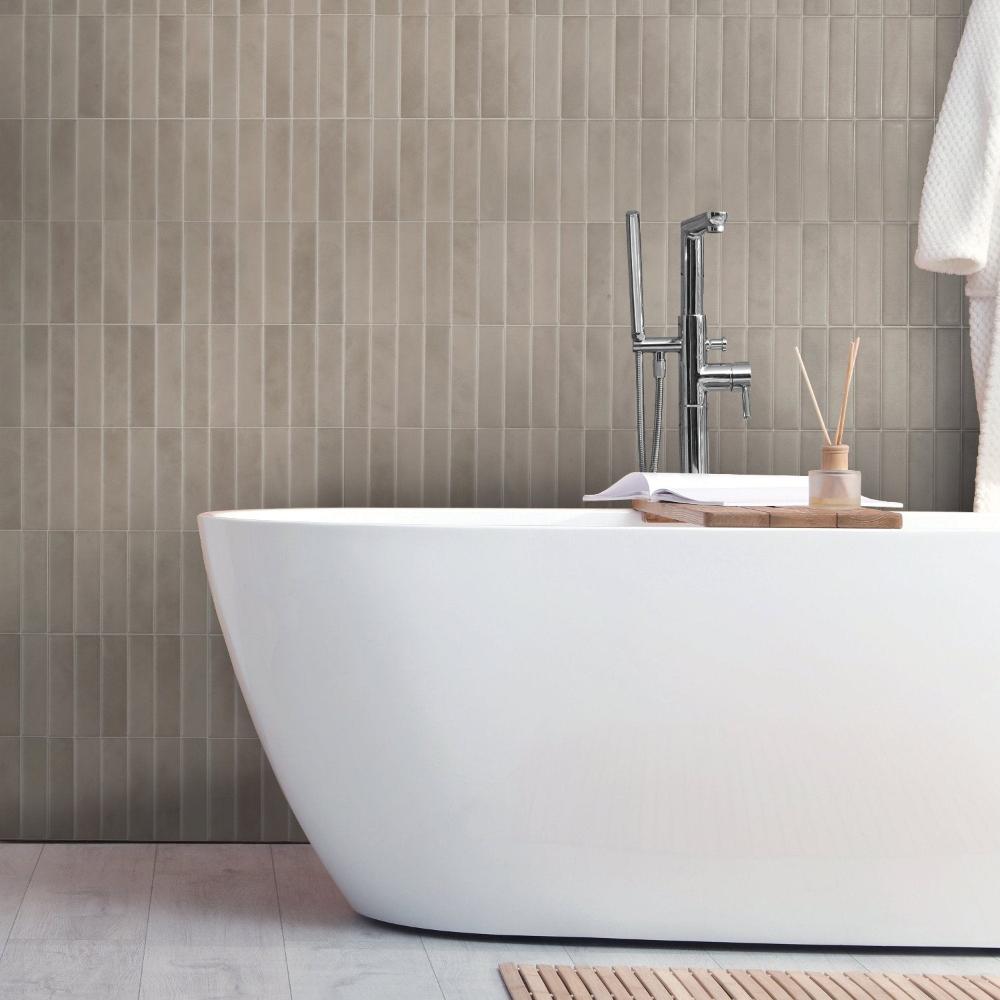
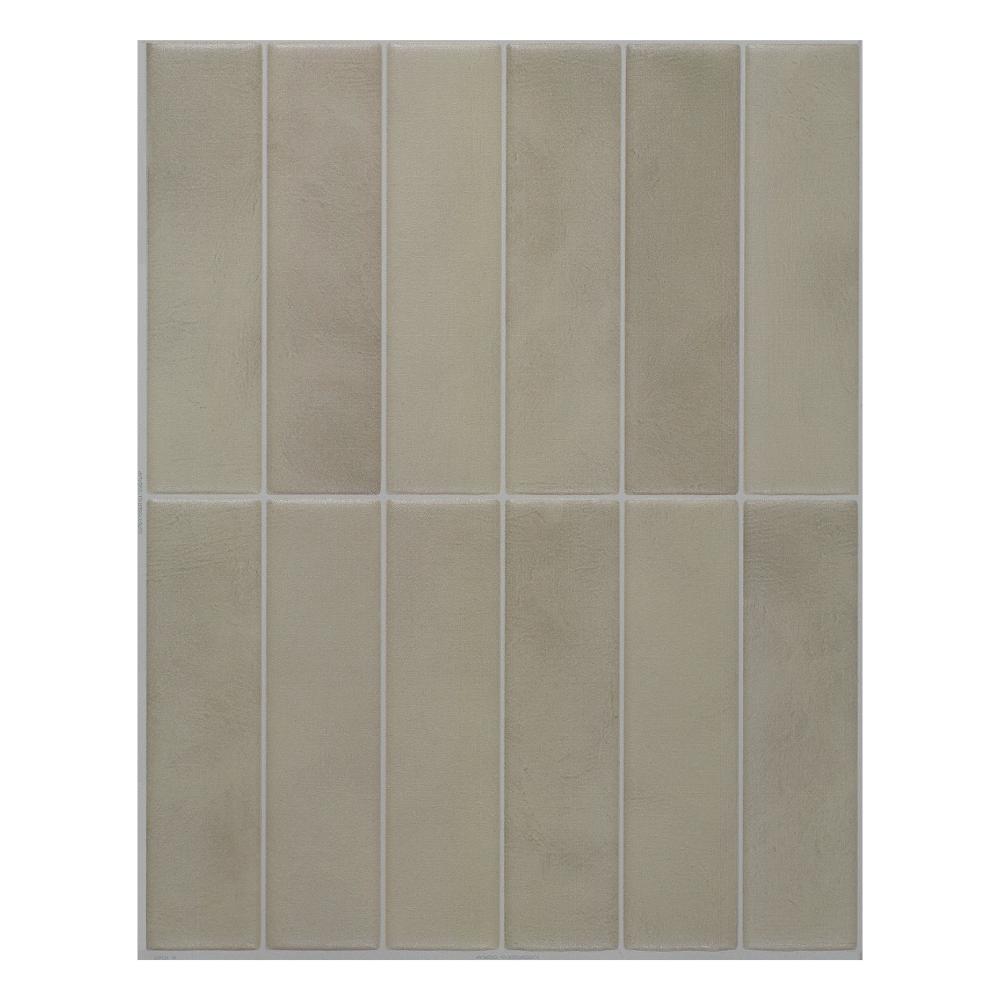
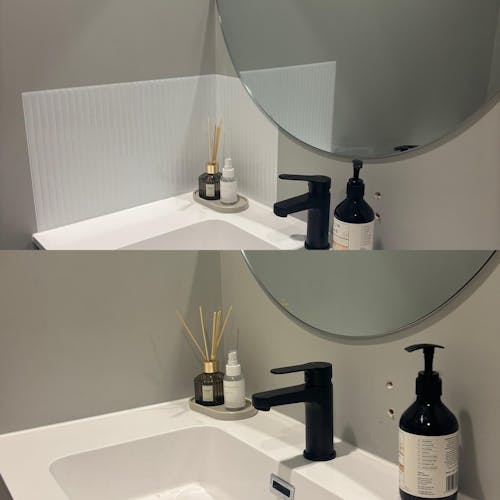
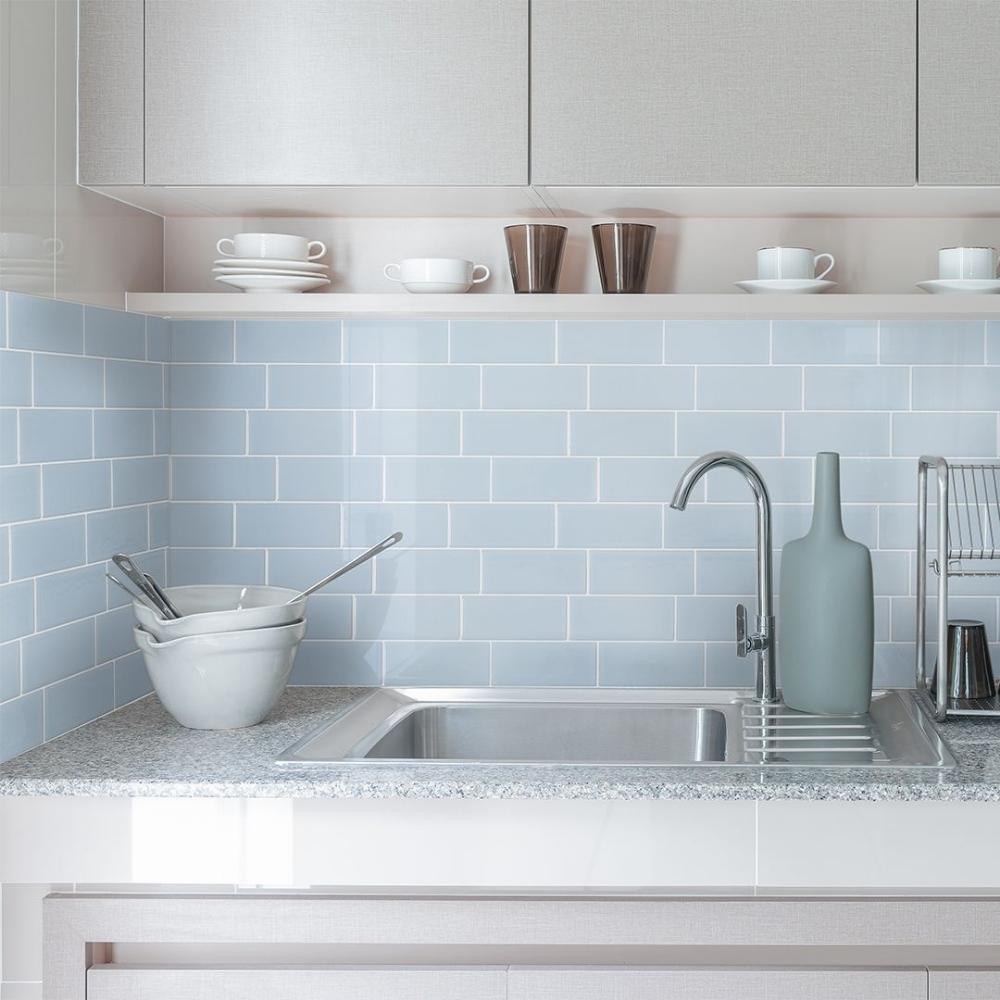
- Peel & Stick Tiles– Ideal for splashbacks in kitchens, bathrooms, and laundries.
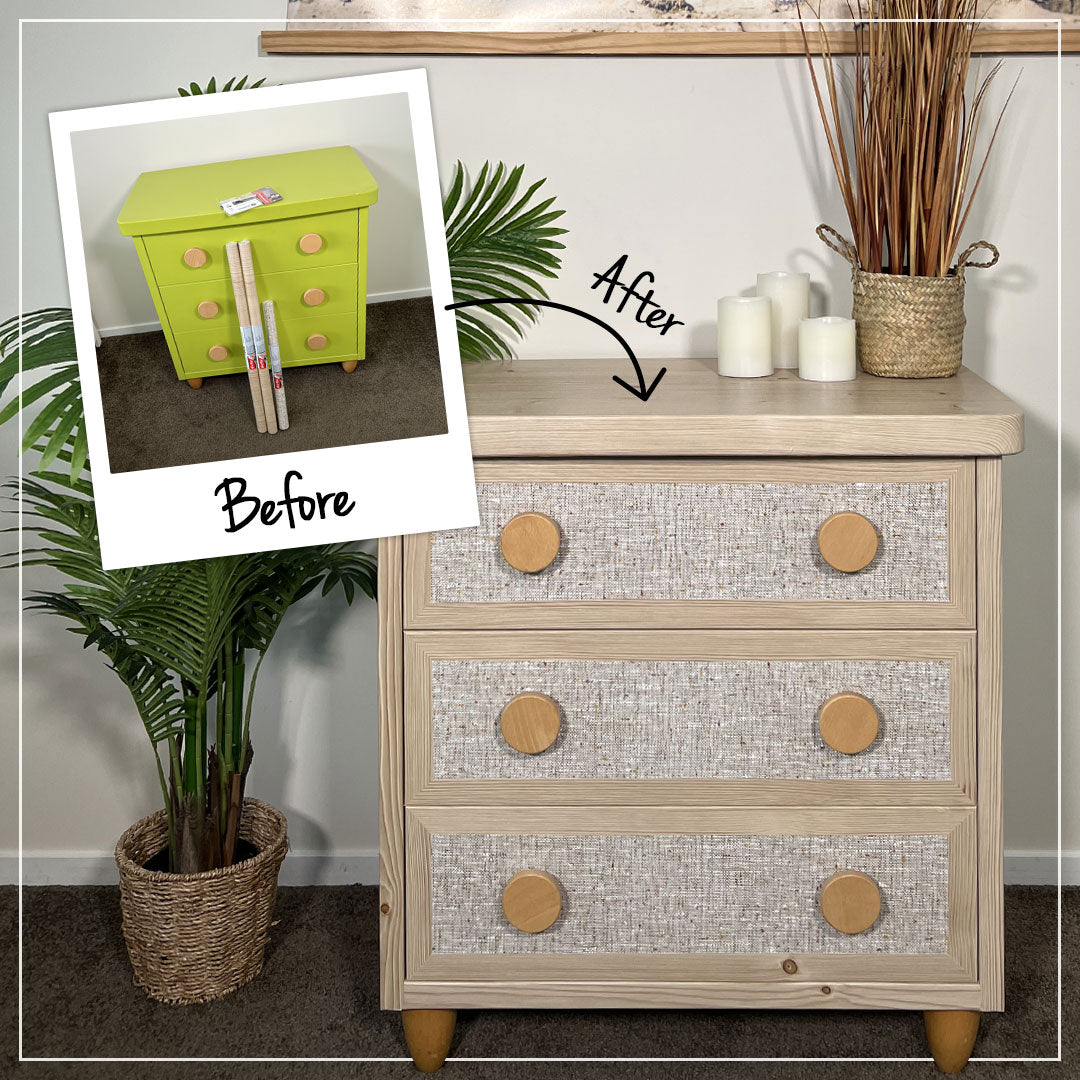
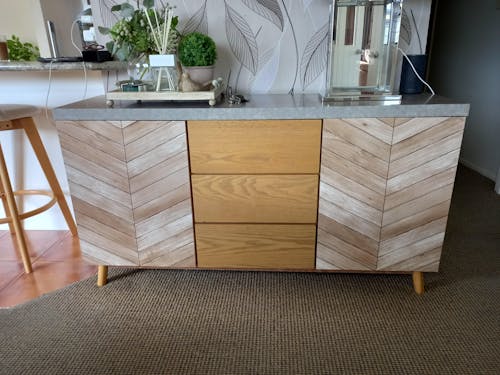
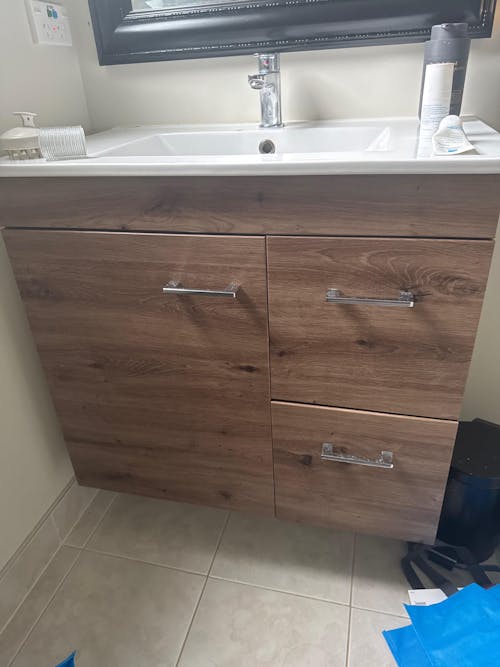
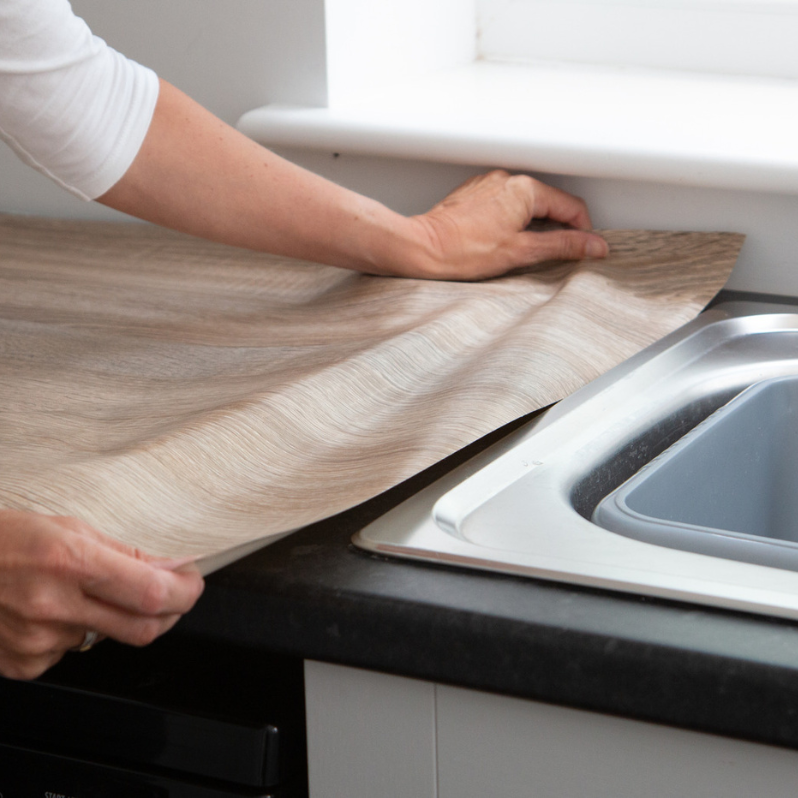
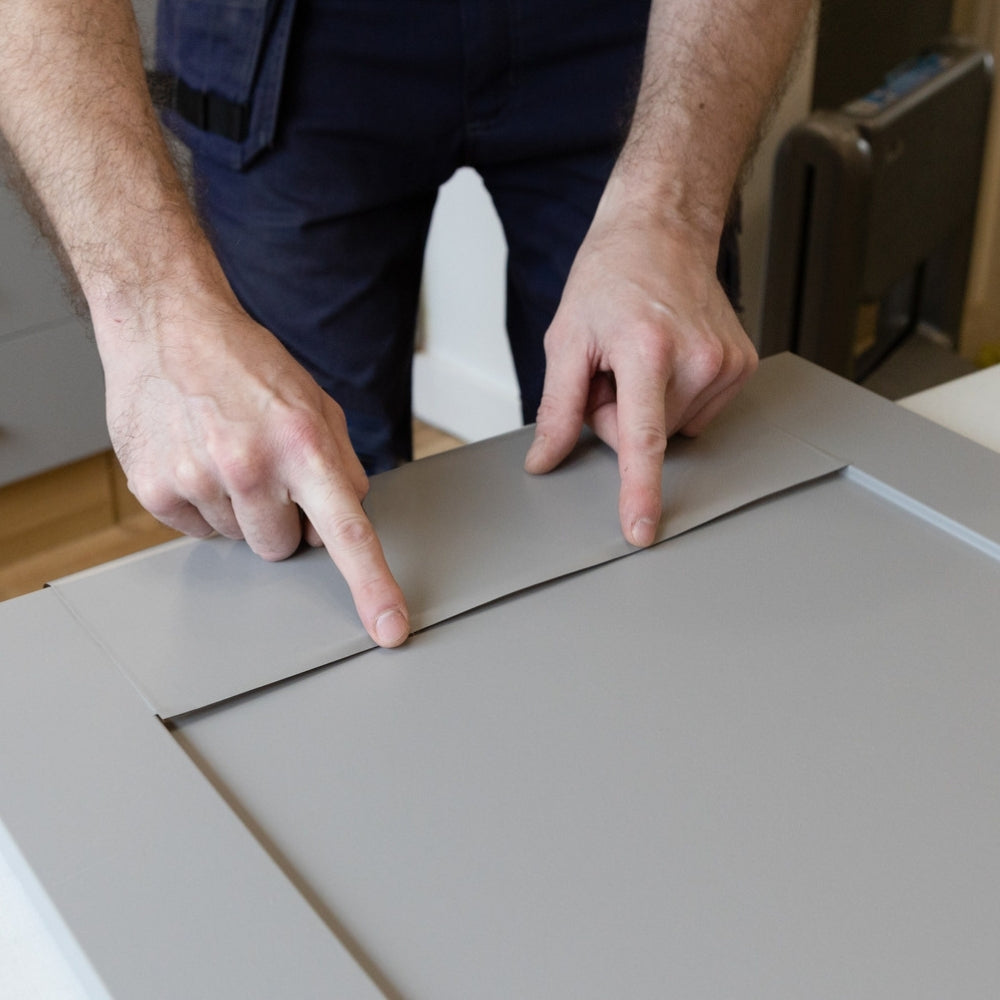
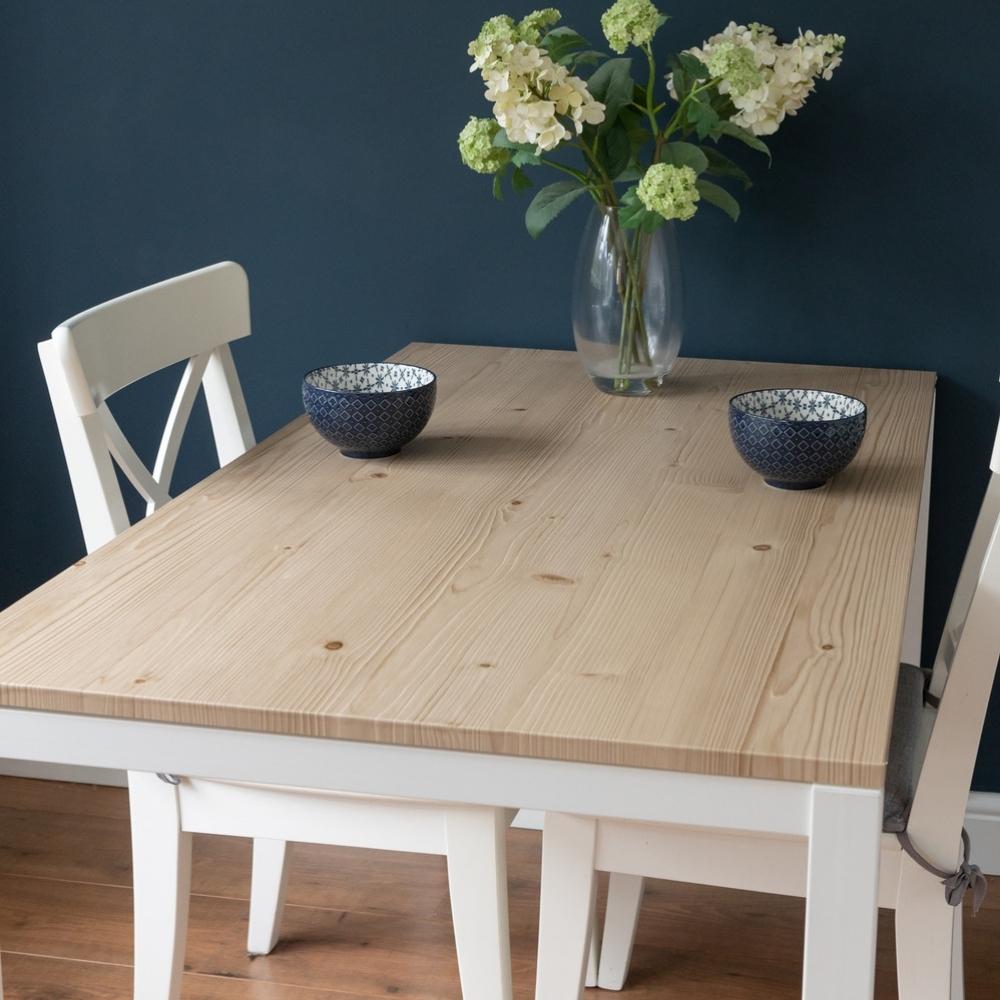
- Adhesive Vinyl for Benchtops & Cabinets– A quick way to update tired countertops and cupboard doors.
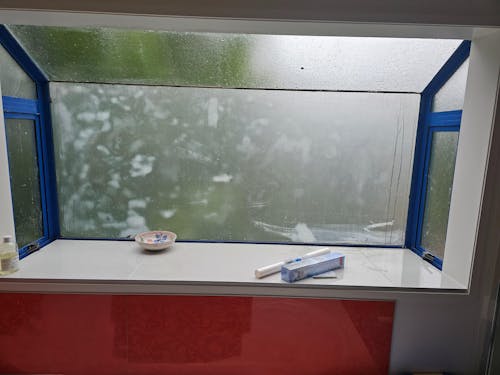
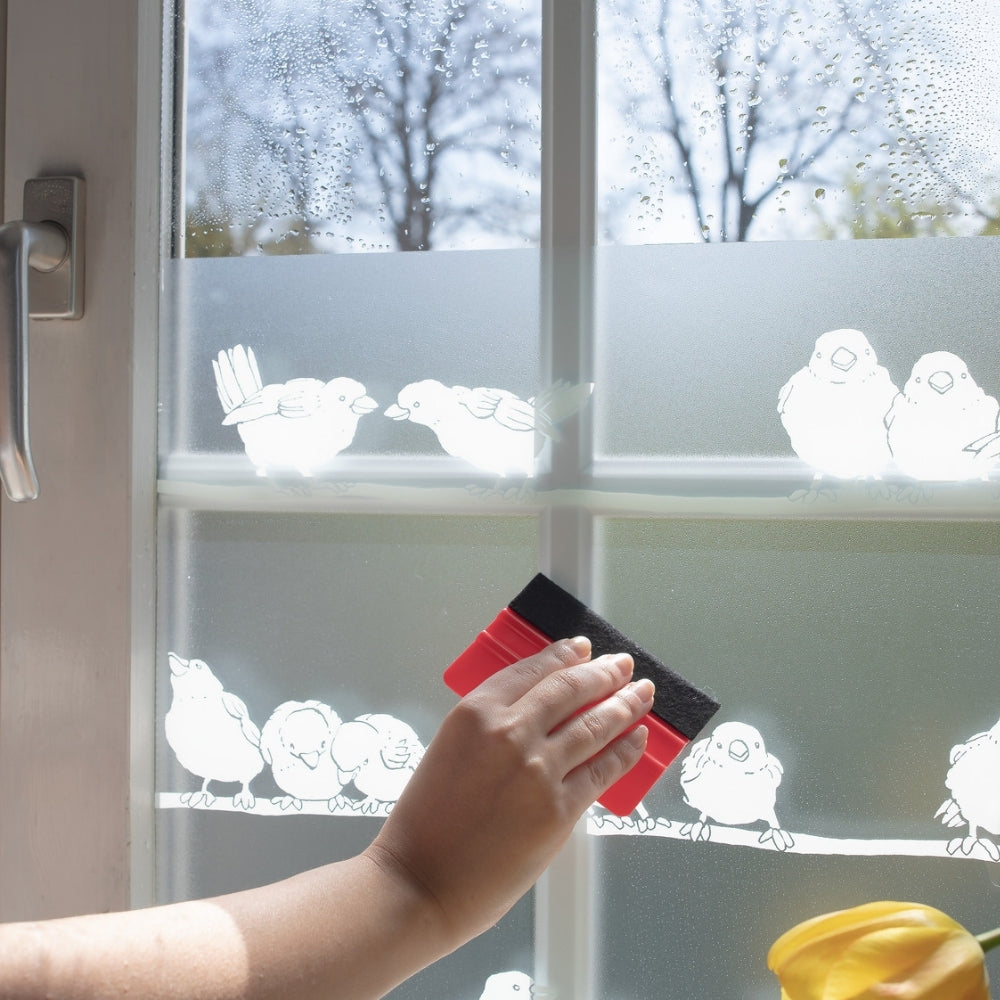
- Static Cling Window Film– Great for privacy or light control, no glue required.
What Surfaces Are Safe?
Not all surfaces are created equal. When renting, it's crucial to choose materials that allow for clean, damage-free removal.
✅ Best Surfaces for Clean Removal:
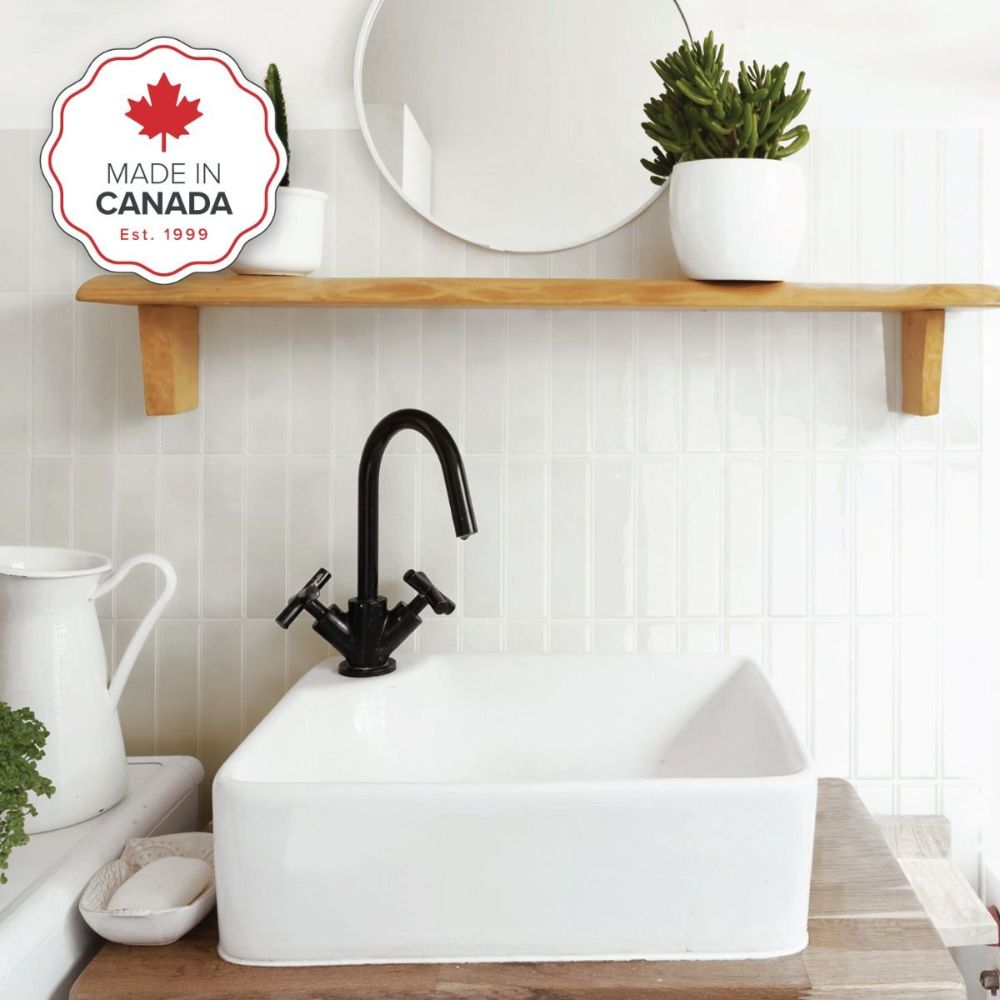
- Ceramic tiles (gloss or semi-gloss)
- Laminated benchtops and cabinetry
- Glass, mirrors, or acrylic panels
- Plastic or metal surfaces
These are your safest bets for mess-free removal.
⚠️ Be Cautious With Painted Surfaces
Painted walls can be tricky. Even high-quality vinyl may lift paint during removal—especially if the paint job wasn’t done well. Here’s what to watch for:
- Flaky, uneven, or poorly bonded paint
- Paint applied too thickly or without enough drying time between coats
- Matte, chalky, or soft finishes
- Paint that hasn’t fully cured (allow at least 4 weeksafter painting before applying anything sticky)
In general, we recommend avoiding painted walls in rentals unless you’re confident about the paint condition—or you’ve checked with your landlord.
Ask Before You Stick
Even if your project is reversible, it's best to run it past your landlord or property manager first. A quick message and a photo can go a long way in keeping everyone happy.
Bonus tip: Landlords often appreciate thoughtful upgrades. If you’re planning to stay long-term, they might even chip in.
If you're looking for the most renter-friendly peel-and-stick tiles on the market, Smart Tiles consistently come out on top. They’re durable, easy to install, and engineered for clean removal—ideal for rental splashbacks or bathroom walls.
Install Tips for a Seamless Finish
- Clean thoroughly: Use sugar soap, isopropyl alcohol, or warm soapy water to prep the surface.
- Dry completely: Surfaces should be bone-dry before applying any adhesive vinyl.
- Press firmly: Use a cloth or squeegee to smooth out bubbles as you go.
- Measure twice, stick once: Dry-fit your layout to avoid waste.
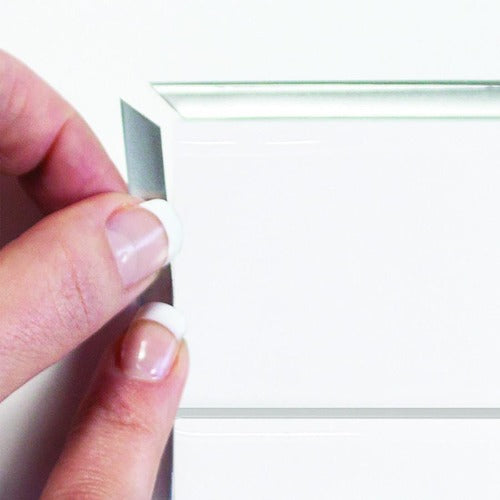
How to Remove Vinyl Cleanly
When it’s time to move out or refresh your look:
- Warm the vinyl with a hairdryer to soften the adhesive.
- Peel gently from one corner.
- Remove any leftover residue using De-Solv-it or methylated spirits. Always patch test first.
Love where you live—even if you don’t own it. Whether you're freshening up a tired kitchen, modernising your bathroom, or adding privacy to your windows, renter-friendly vinyl solutions make it easy to personalise your space without risking your bond.
What’s Possible with Adhesive Vinyl
Vinyl products like peel-and-stick tiles, adhesive benchtop wraps, and static cling window film offer high-impact design—without any lasting damage.
- Peel & Stick Tiles– Ideal for splashbacks in kitchens, bathrooms, and laundries.
- Adhesive Vinyl for Benchtops & Cabinets– A quick way to update tired countertops and cupboard doors.
- Static Cling Window Film– Great for privacy or light control, no glue required.
What Surfaces Are Safe?
Not all surfaces are created equal. When renting, it's crucial to choose materials that allow for clean, damage-free removal.
✅ Best Surfaces for Clean Removal:
- Ceramic tiles (gloss or semi-gloss)
- Laminated benchtops and cabinetry
- Glass, mirrors, or acrylic panels
- Plastic or metal surfaces
These are your safest bets for mess-free removal.
⚠️ Be Cautious With Painted Surfaces
Painted walls can be tricky. Even high-quality vinyl may lift paint during removal—especially if the paint job wasn’t done well. Here’s what to watch for:
- Flaky, uneven, or poorly bonded paint
- Paint applied too thickly or without enough drying time between coats
- Matte, chalky, or soft finishes
- Paint that hasn’t fully cured (allow at least 4 weeksafter painting before applying anything sticky)
In general, we recommend avoiding painted walls in rentals unless you’re confident about the paint condition—or you’ve checked with your landlord.
Ask Before You Stick
Even if your project is reversible, it's best to run it past your landlord or property manager first. A quick message and a photo can go a long way in keeping everyone happy.
Bonus tip: Landlords often appreciate thoughtful upgrades. If you’re planning to stay long-term, they might even chip in.
If you're looking for the most renter-friendly peel-and-stick tiles on the market, Smart Tiles consistently come out on top. They’re durable, easy to install, and engineered for clean removal—ideal for rental splashbacks or bathroom walls.
Install Tips for a Seamless Finish
- Clean thoroughly: Use sugar soap, isopropyl alcohol, or warm soapy water to prep the surface.
- Dry completely: Surfaces should be bone-dry before applying any adhesive vinyl.
- Press firmly: Use a cloth or squeegee to smooth out bubbles as you go.
- Measure twice, stick once: Dry-fit your layout to avoid waste.
How to Remove Vinyl Cleanly
When it’s time to move out or refresh your look:
- Warm the vinyl with a hairdryer to soften the adhesive.
- Peel gently from one corner.
- Remove any leftover residue using De-Solv-it or methylated spirits. Always patch test first.