The Ultimate Guide to giving your Motorhome a makeover on a budget
The Ultimate Guide to giving your Motorhome a makeover on a budget
Ready to refresh your motorhome, caravan, or boat without the cost or hassle of a full renovation? With peel-and-stick tiles, adhesive vinyl, and wallpaper, you can create a stylish, durable interior that suits your space and lifestyle — all on a budget.
Step 1: Plan Your Makeover
Start by deciding which areas you want to update — walls, cupboards, benchtops, drawers, steps, even ceilings. Consider how much moisture or movement each surface is exposed to. Not all materials are suitable for every area, but we’ve got something for almost every need.
Step 2: Choose Your Products
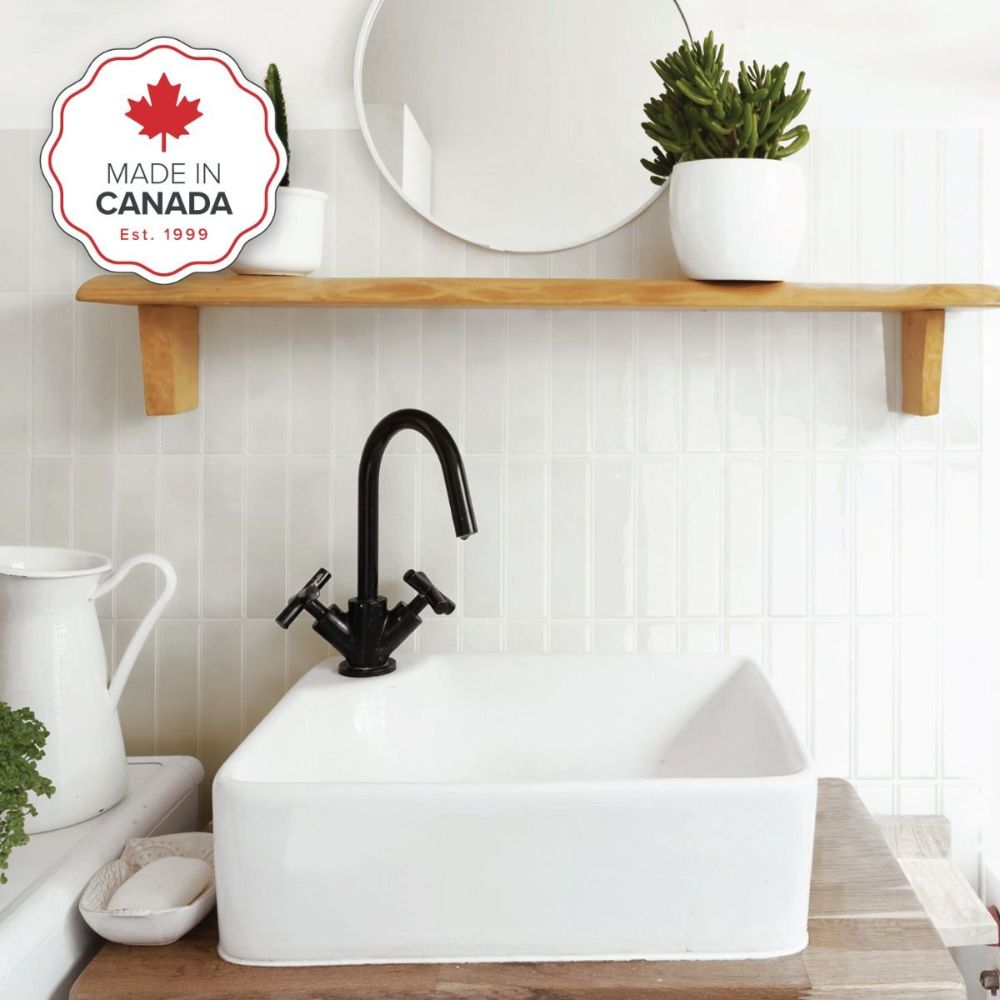
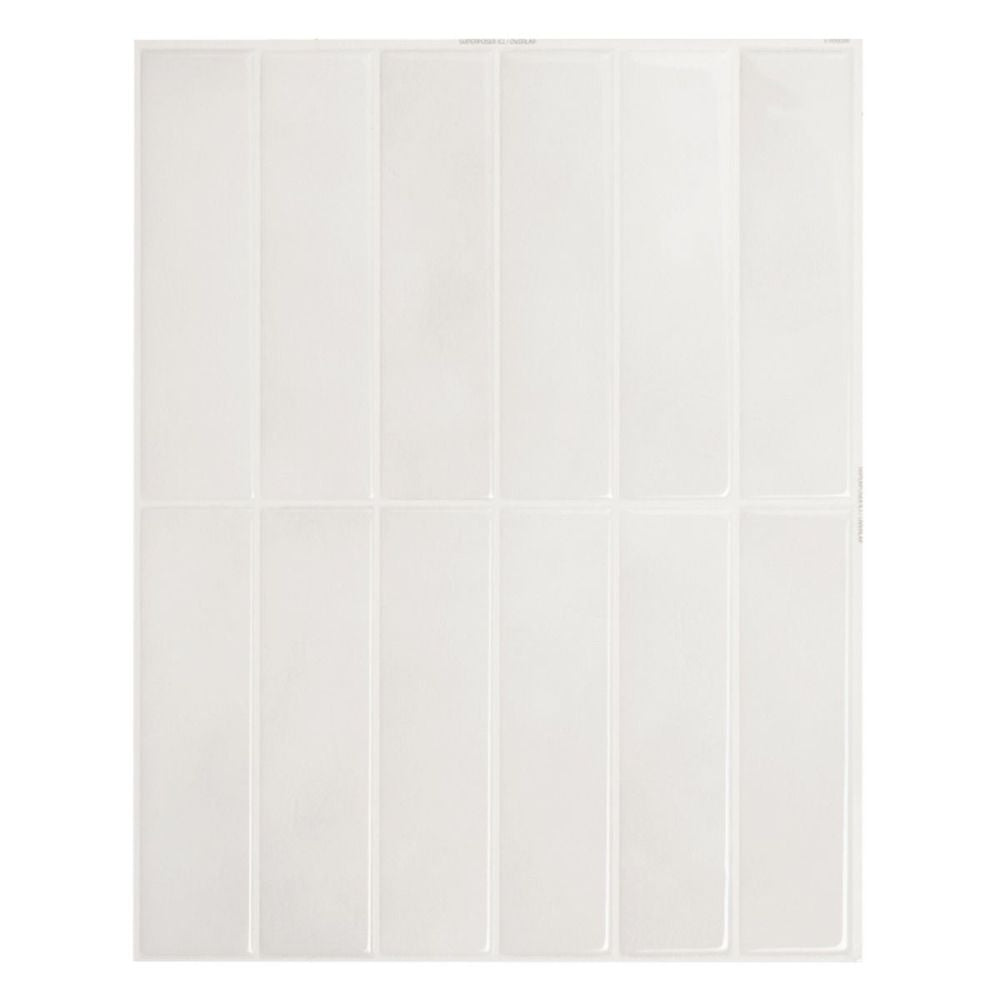
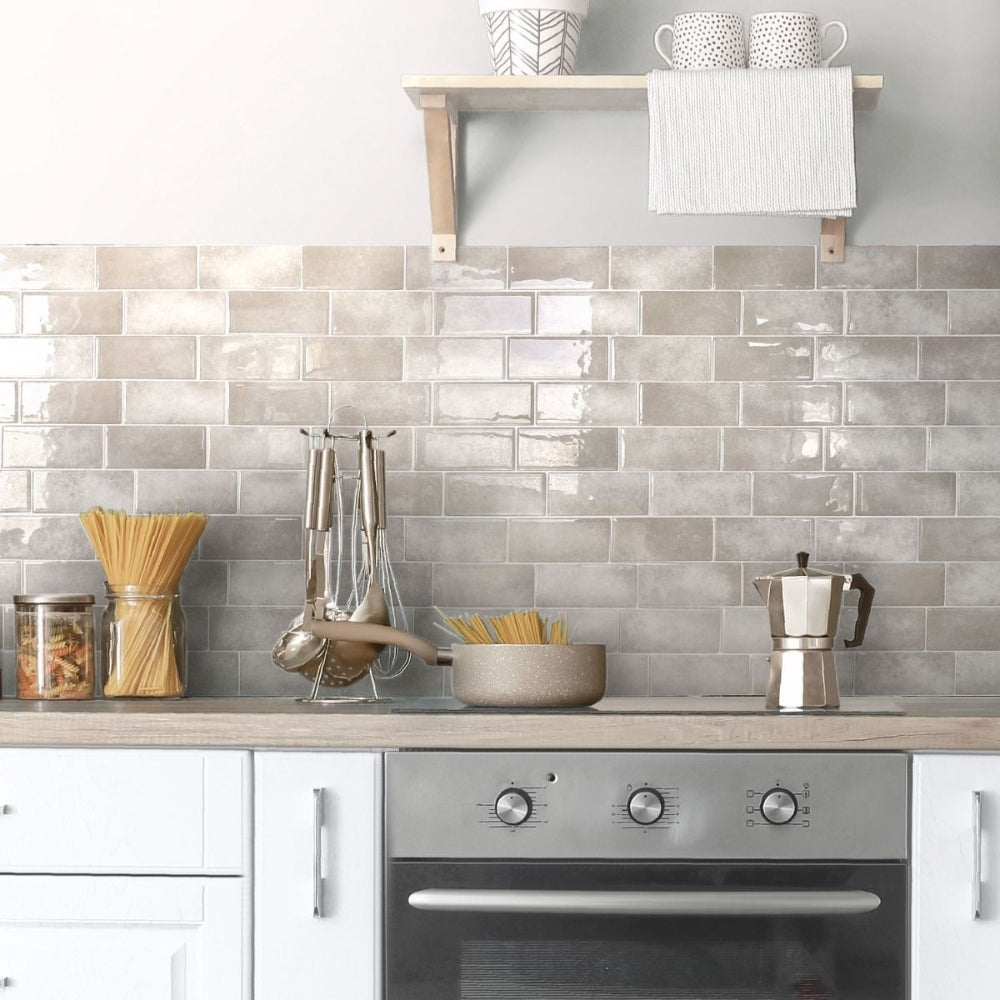
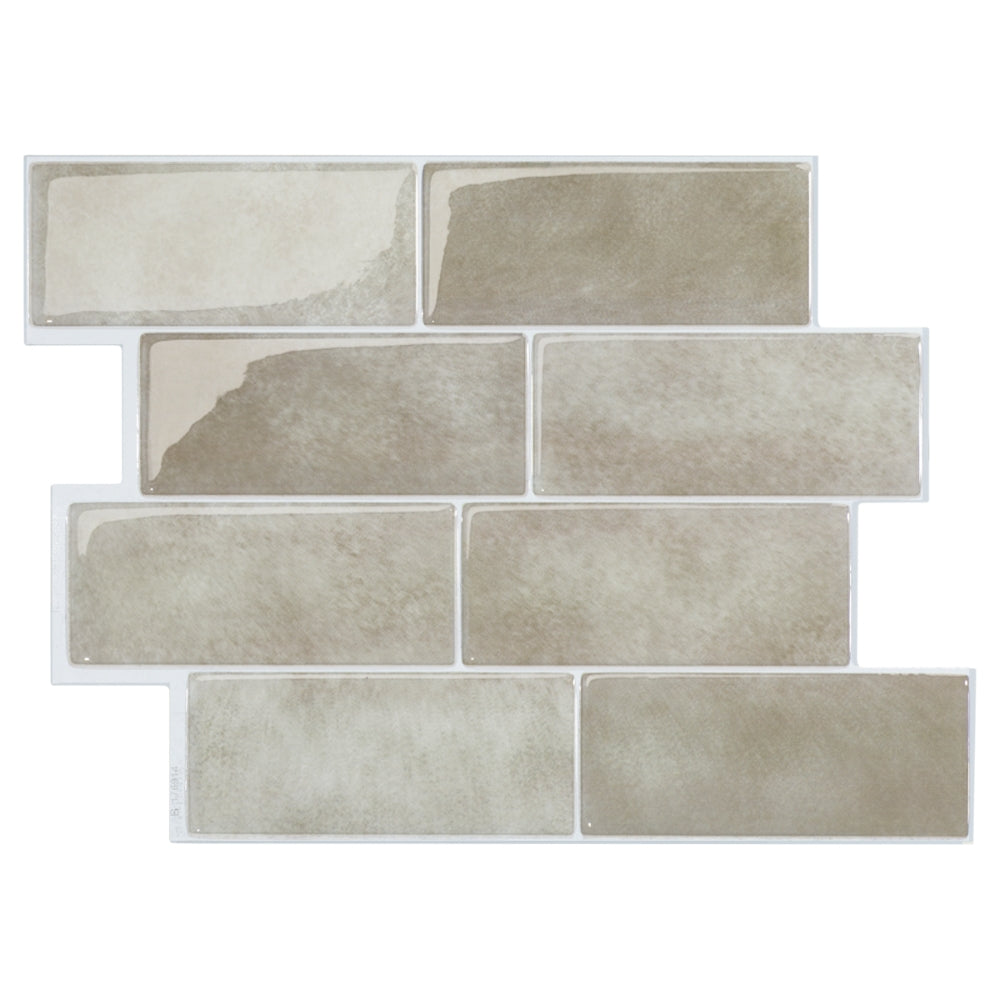
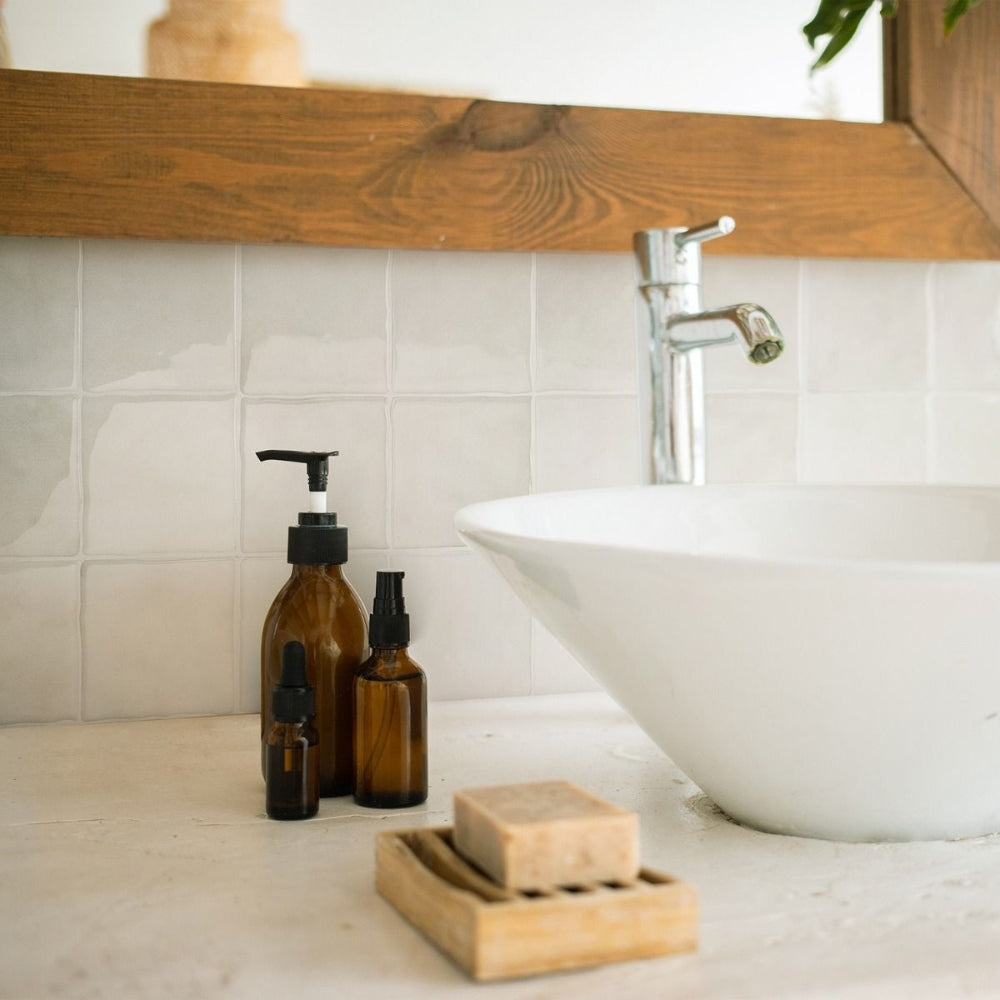
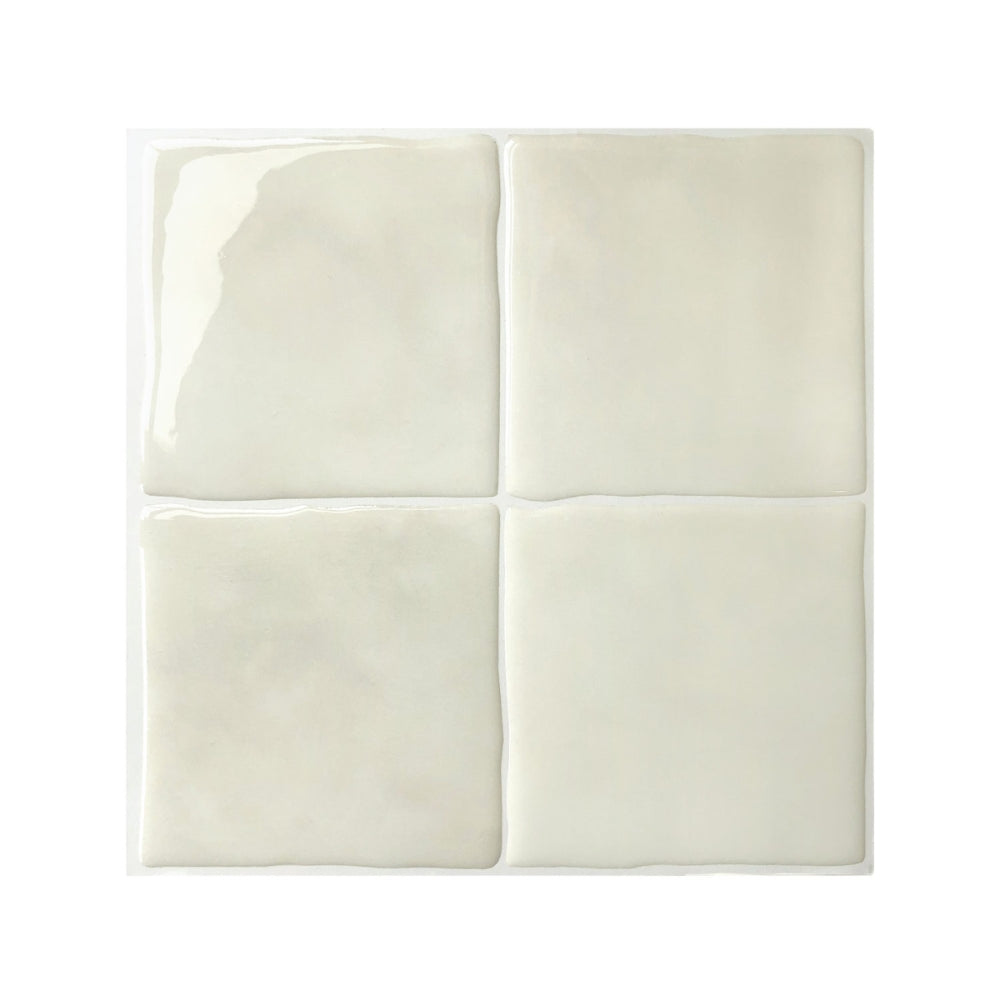
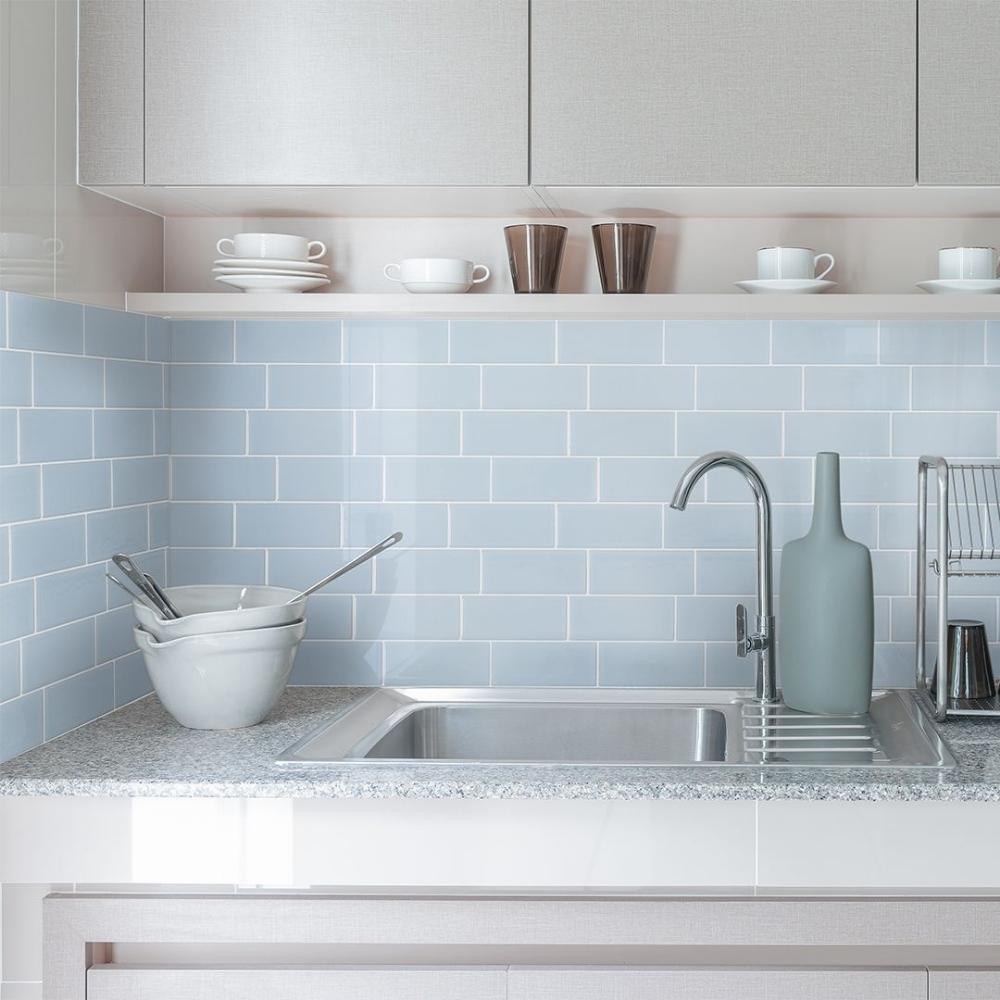
- Peel & Stick Wall Tiles: Lightweight and flexible, perfect for curved motorhome walls. Use them around windows, kitchenettes, and splash zones.
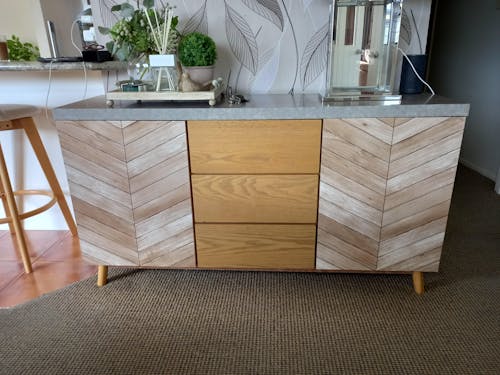
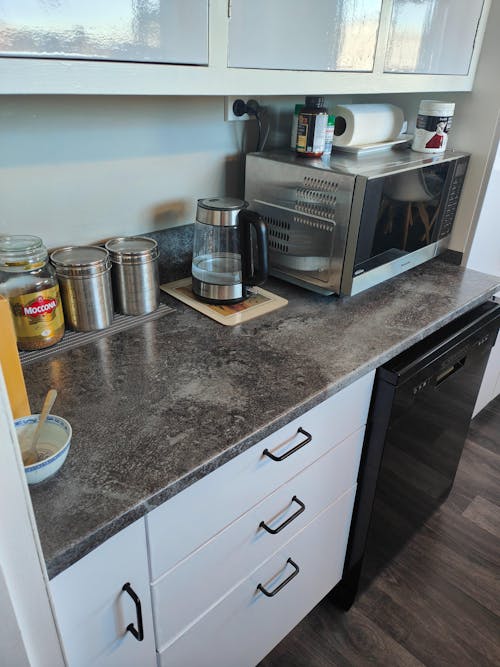
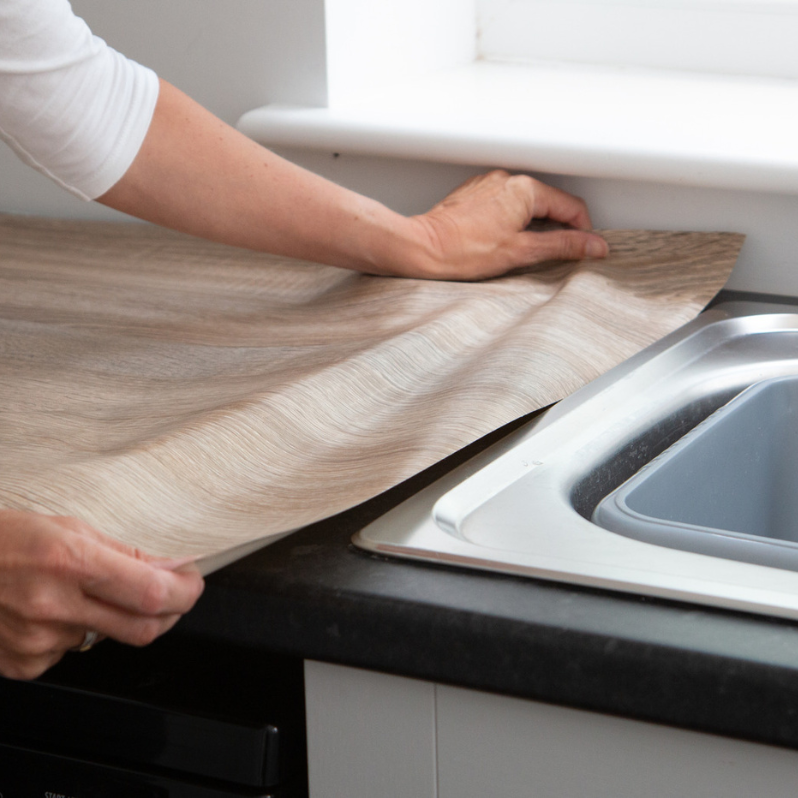
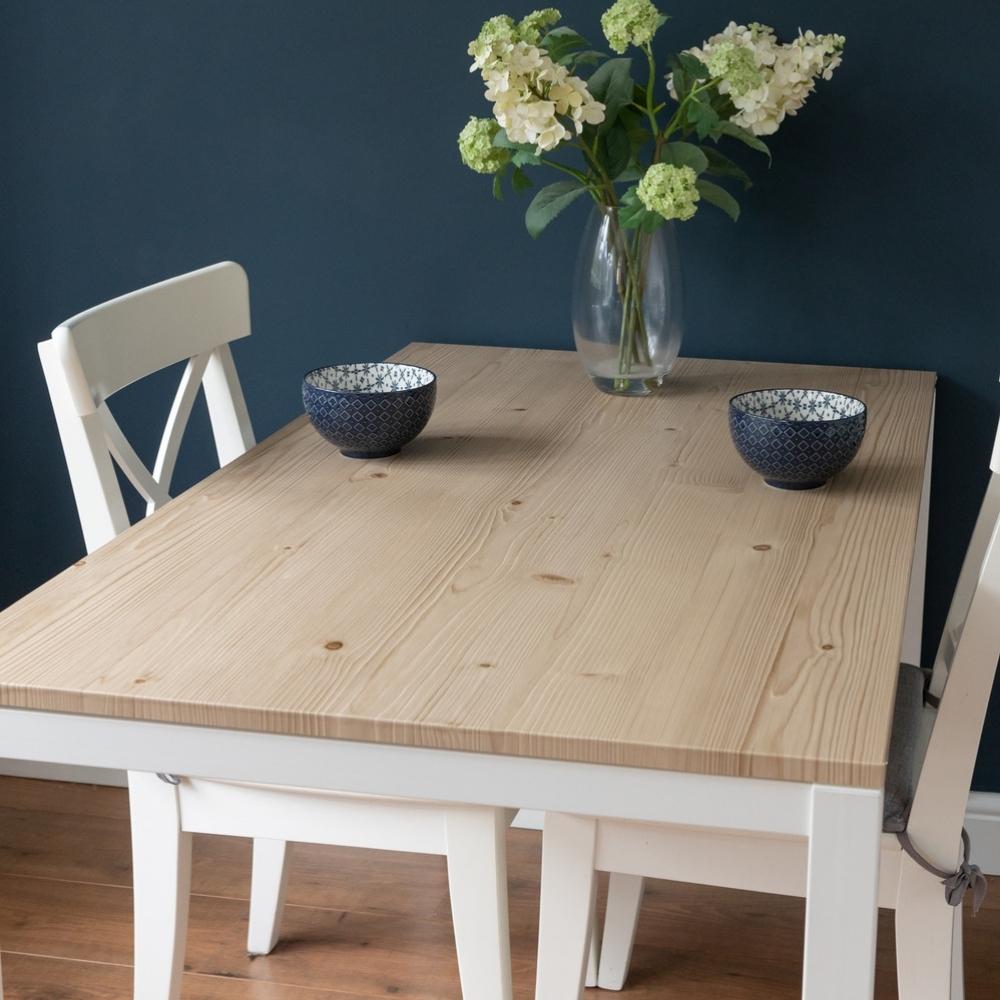
➤ See our splashback installation guide - Adhesive Vinyl: Ideal for benchtops, cupboards, tables, and drawer fronts. Choose from plain colours, marble-look, or woodgrain. Can even be used on ceilings for a sleek finish.
➤ View our Benchtop Guide
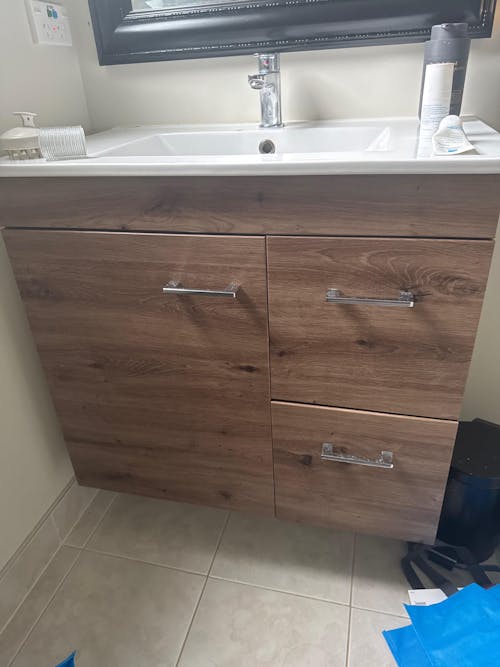
➤ View our Cupboard Guide
➤ View our Furniture Guide - Vinyl Wallpaper: Great for covering larger wall areas. Apply with wallpaper glue and butt join the edges. It works even over tiles if grout lines are filled.
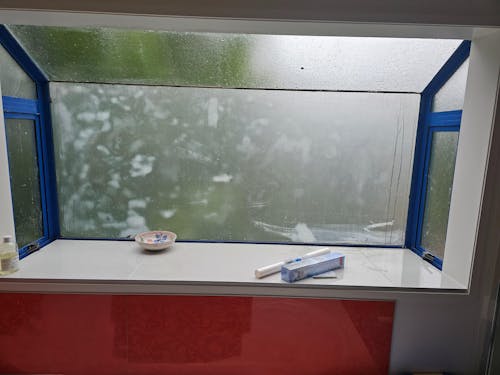
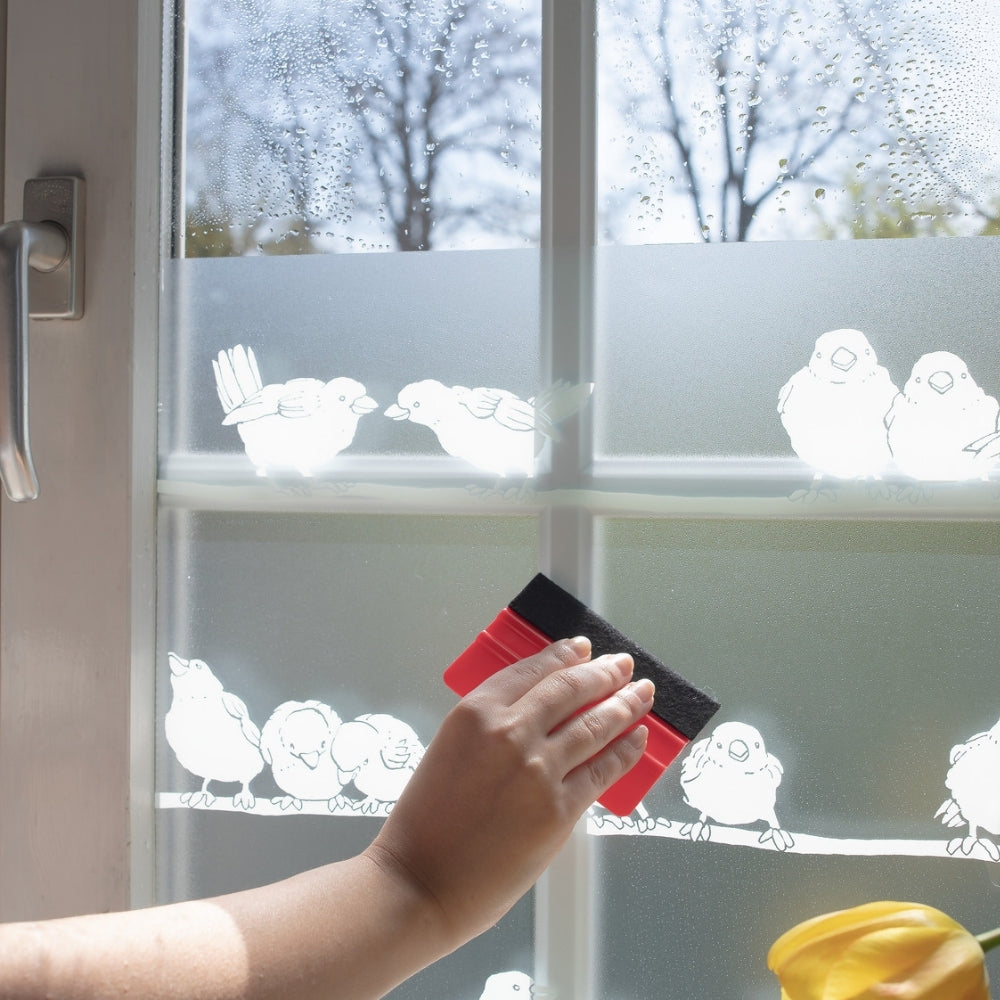
- Window Film: For flat camper or boat windows, our static cling and self-adhesive window films offer added privacy and style.
➤ Explore our Window Film Guide - Finishing Touches: Add grip tape to steps and non-slip liners inside drawers and cupboards for safety and practicality on the move.
Step 3: Measure Carefully
Motorhomes and caravans often have narrower benchtops and cupboards, so in many cases 45cm wide vinyl is all you need — perfect for drawers and smaller cabinetry. For larger surfaces like tables or splashbacks, 67.5cm or 90cm rolls might be better.
Be sure to:
- Measure the full width and height of each surface, including edges.
- Add extra margin for wrapping around sides or lips.
- Use one continuous piece where possible for a seamless finish.
- Choose woodgrain vinyl for easier, less noticeable joins.
Step 4: Prep the Surface
Clean all surfaces thoroughly with sugar soap or similar degreaser. Dry well. Fill any holes (especially if replacing handles or knobs), sand smooth, and remove silicone. For cupboard doors, some designs have clip-on hinges — remove the doors without unscrewing the hardware if possible.
Step 5: Apply Your Products
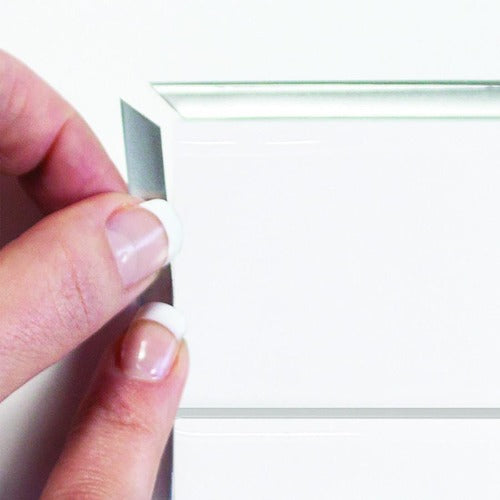
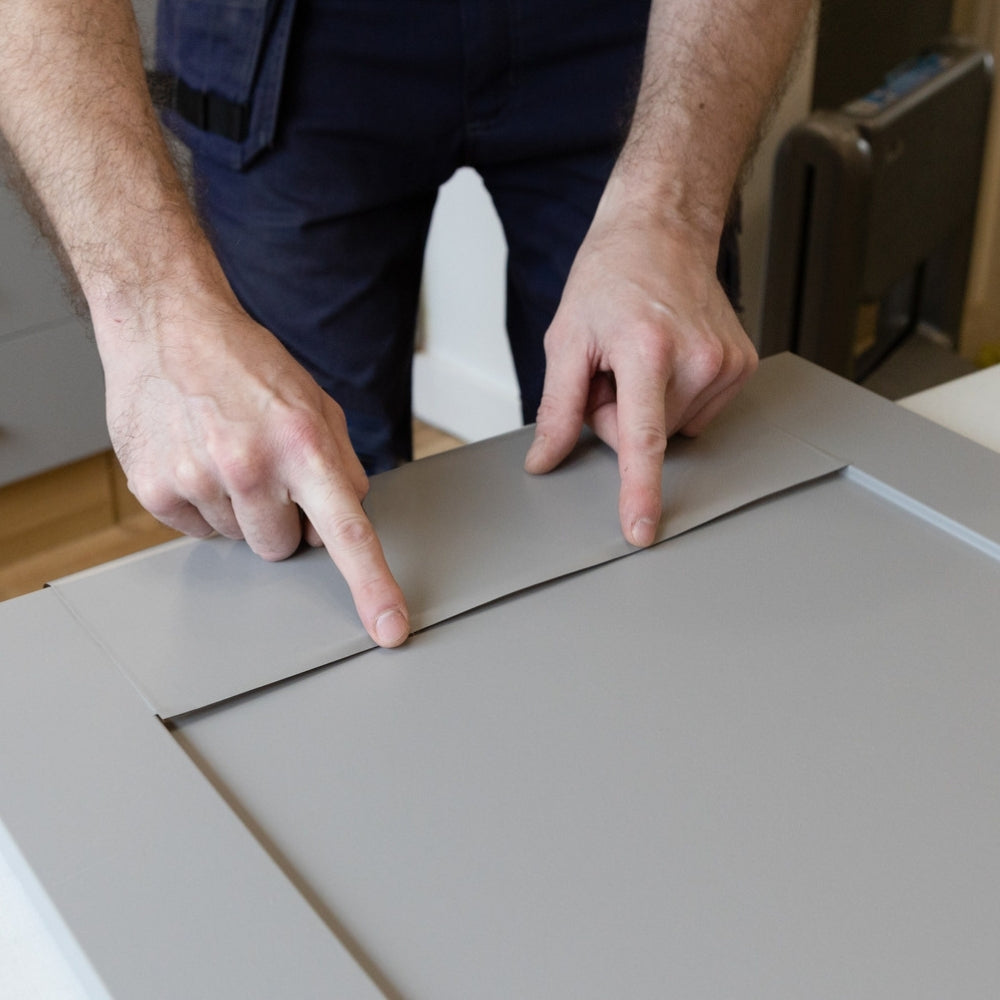
- Vinyl & Tiles: Peel back a small section of backing paper and apply gradually, smoothing with a squeegee. Use a hairdryer to activate glue on edges, especially narrow ones.
- Wallpaper: Use wallpaper glue (we recommend a premixed vinyl-safe adhesive). Butt join the edges, and seal all joins with silicone.
- Window Film: Use plenty of water during application, squeeze out all bubbles, and leave a 2–5mm gap around the edges to prevent peeling.
Extra Tips for Motorhome Installations
- Curved Walls: Our Smart Tiles, Value Peel & Stick Hub range and vinyl flex easily around curves.
- Water-Exposed Areas: Use silicone to seal tile joins, especially in splash zones.
- Adhesive Vinyl or Tiles on Ceilings: A second set of hands can help with overhead applications.
- Joining Pieces: Always overlap slightly and trim neatly for a seamless look.
- Safety First: Add anti-slip grips to steps and keep your belongings in place with non-slip liners.
With a bit of planning and creativity, your camper, caravan or boat can feel brand new — without breaking the bank. Whether you're hitting the open road or staying docked, our range of DIY-friendly products make it easy to love your space again.
Ready to refresh your motorhome, caravan, or boat without the cost or hassle of a full renovation? With peel-and-stick tiles, adhesive vinyl, and wallpaper, you can create a stylish, durable interior that suits your space and lifestyle — all on a budget.
Step 1: Plan Your Makeover
Start by deciding which areas you want to update — walls, cupboards, benchtops, drawers, steps, even ceilings. Consider how much moisture or movement each surface is exposed to. Not all materials are suitable for every area, but we’ve got something for almost every need.
Step 2: Choose Your Products
- Peel & Stick Wall Tiles: Lightweight and flexible, perfect for curved motorhome walls. Use them around windows, kitchenettes, and splash zones.
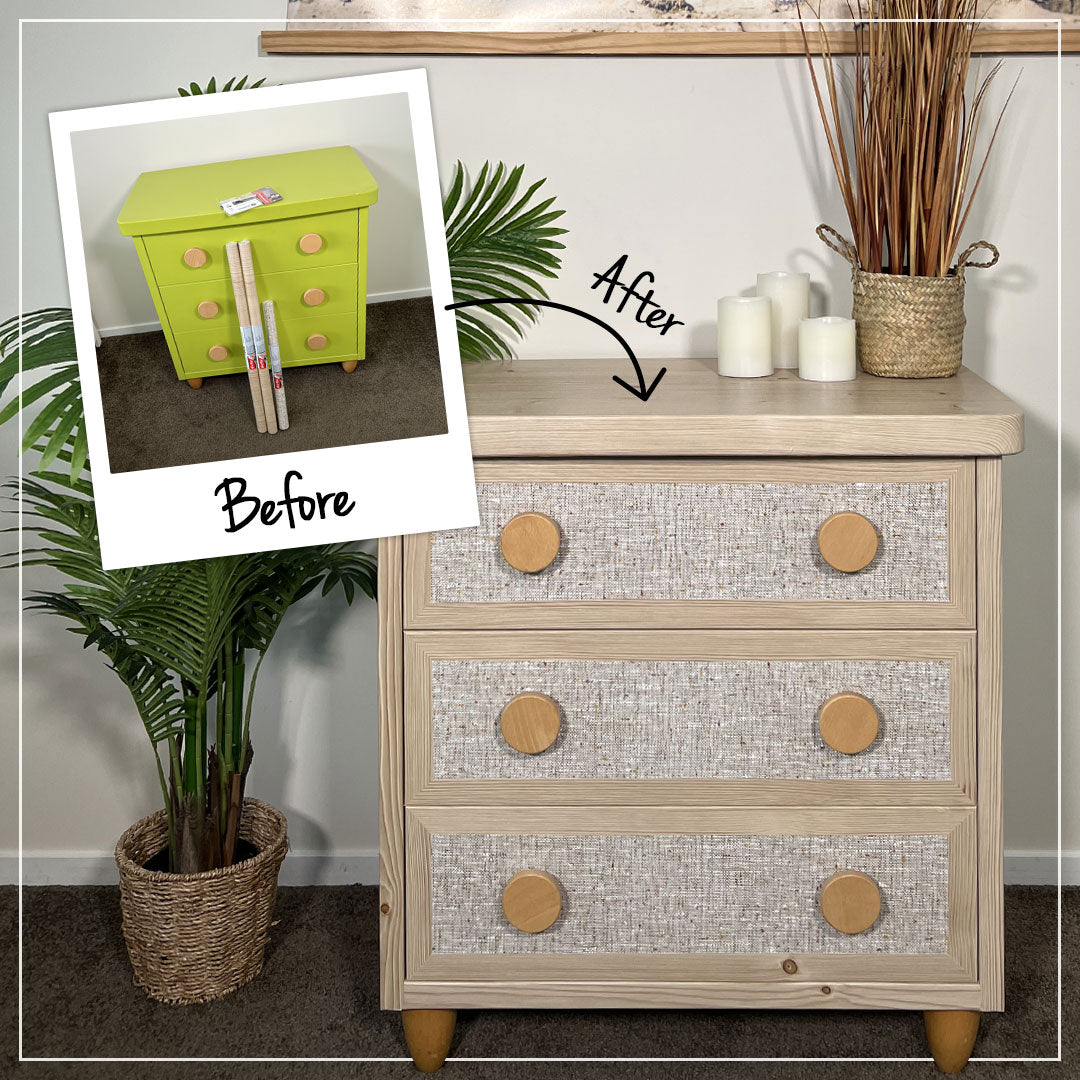
➤ See our splashback installation guide - Adhesive Vinyl: Ideal for benchtops, cupboards, tables, and drawer fronts. Choose from plain colours, marble-look, or woodgrain. Can even be used on ceilings for a sleek finish.
➤ View our Benchtop Guide
➤ View our Cupboard Guide
➤ View our Furniture Guide - Vinyl Wallpaper: Great for covering larger wall areas. Apply with wallpaper glue and butt join the edges. It works even over tiles if grout lines are filled.
- Window Film: For flat camper or boat windows, our static cling and self-adhesive window films offer added privacy and style.
➤ Explore our Window Film Guide - Finishing Touches: Add grip tape to steps and non-slip liners inside drawers and cupboards for safety and practicality on the move.
Step 3: Measure Carefully
Motorhomes and caravans often have narrower benchtops and cupboards, so in many cases 45cm wide vinyl is all you need — perfect for drawers and smaller cabinetry. For larger surfaces like tables or splashbacks, 67.5cm or 90cm rolls might be better.
Be sure to:
- Measure the full width and height of each surface, including edges.
- Add extra margin for wrapping around sides or lips.
- Use one continuous piece where possible for a seamless finish.
- Choose woodgrain vinyl for easier, less noticeable joins.
Step 4: Prep the Surface
Clean all surfaces thoroughly with sugar soap or similar degreaser. Dry well. Fill any holes (especially if replacing handles or knobs), sand smooth, and remove silicone. For cupboard doors, some designs have clip-on hinges — remove the doors without unscrewing the hardware if possible.
Step 5: Apply Your Products
- Vinyl & Tiles: Peel back a small section of backing paper and apply gradually, smoothing with a squeegee. Use a hairdryer to activate glue on edges, especially narrow ones.
- Wallpaper: Use wallpaper glue (we recommend a premixed vinyl-safe adhesive). Butt join the edges, and seal all joins with silicone.
- Window Film: Use plenty of water during application, squeeze out all bubbles, and leave a 2–5mm gap around the edges to prevent peeling.
Extra Tips for Motorhome Installations
- Curved Walls: Our Smart Tiles, Value Peel & Stick Hub range and vinyl flex easily around curves.
- Water-Exposed Areas: Use silicone to seal tile joins, especially in splash zones.
- Adhesive Vinyl or Tiles on Ceilings: A second set of hands can help with overhead applications.
- Joining Pieces: Always overlap slightly and trim neatly for a seamless look.
- Safety First: Add anti-slip grips to steps and keep your belongings in place with non-slip liners.
With a bit of planning and creativity, your camper, caravan or boat can feel brand new — without breaking the bank. Whether you're hitting the open road or staying docked, our range of DIY-friendly products make it easy to love your space again.