Heat Resistance
Our peel-and-stick tiles are heat resistant once applied. Allow approximately 48 hours for the adhesive to fully bond before using your cooktop. They are not easily damaged by splashes of hot oil.
Fire Safety
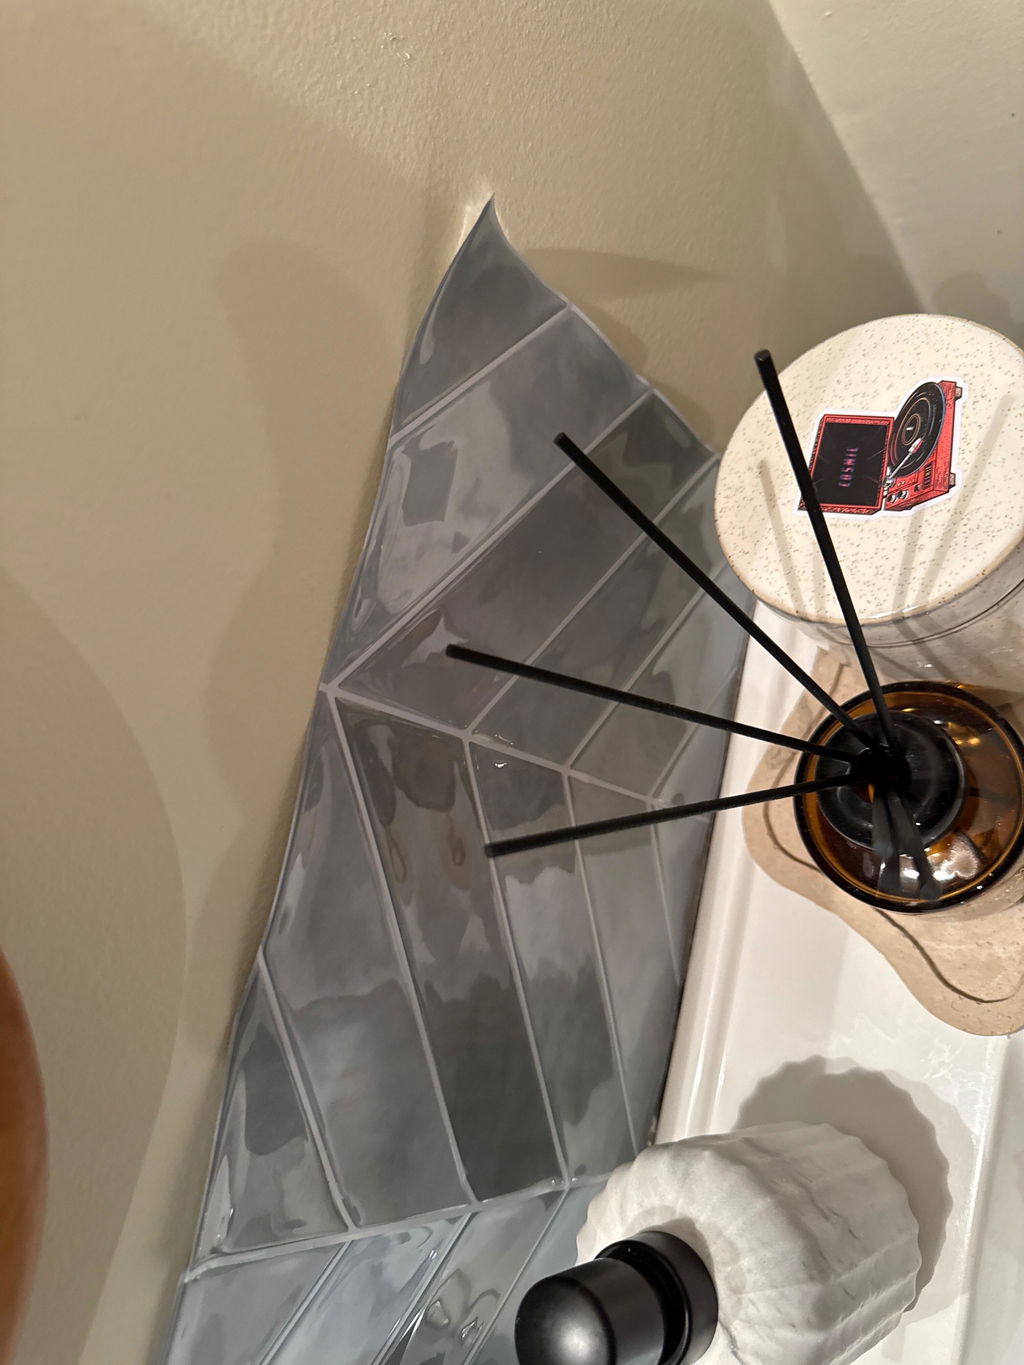
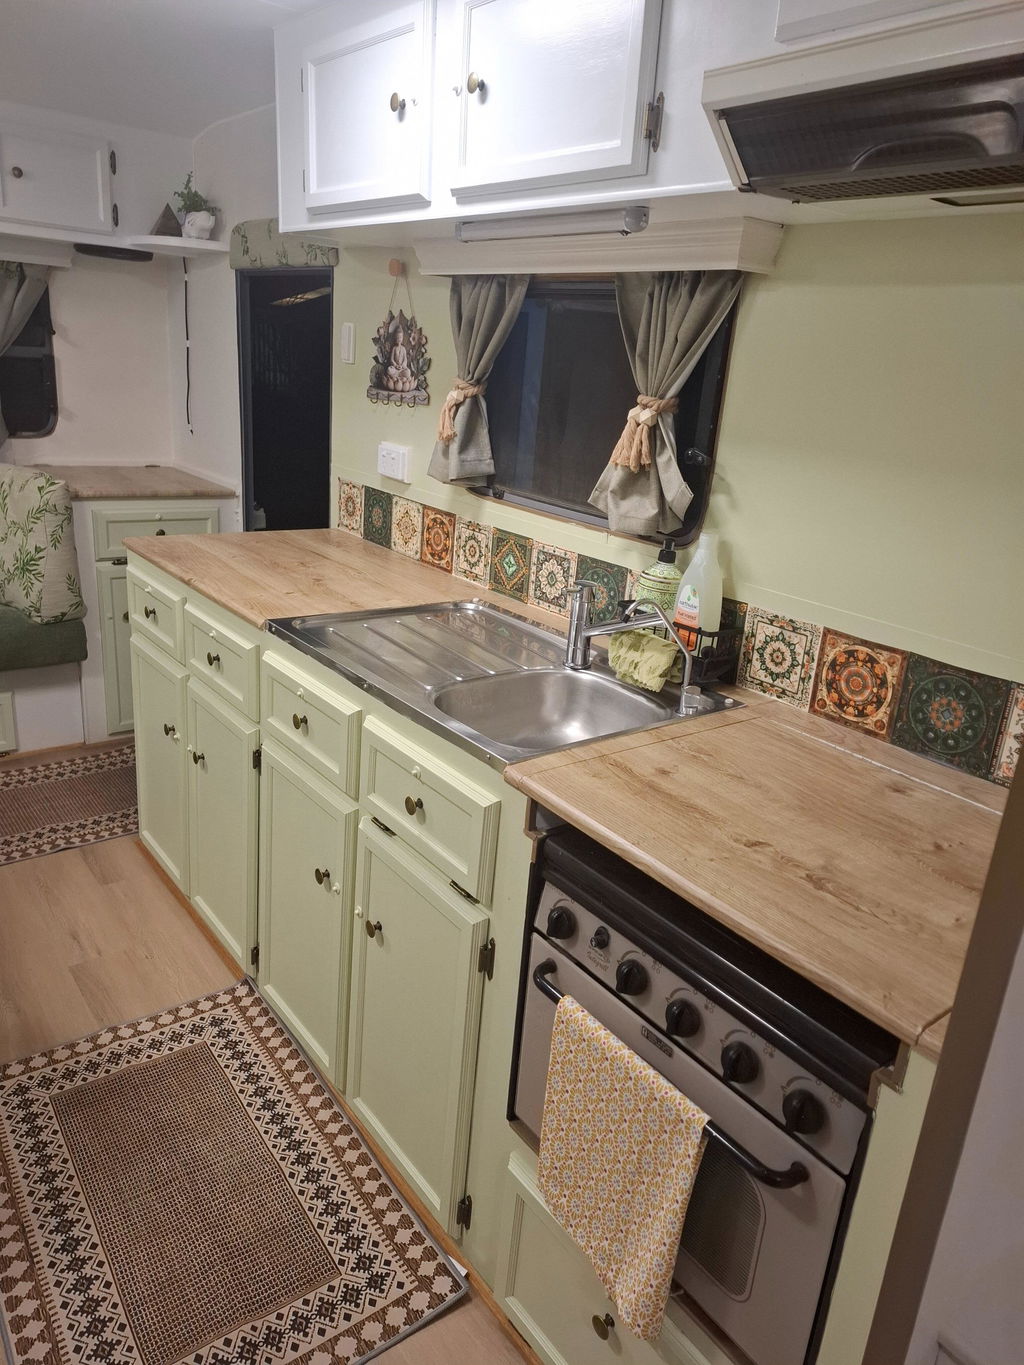
These tiles are not fire resistant. Peel-and-stick wall tiles should not be installed directly behind or beside a gas cooktop without a protective non-combustible panel such as glass, stainless steel, or ceramic tile.
Clearance Requirements
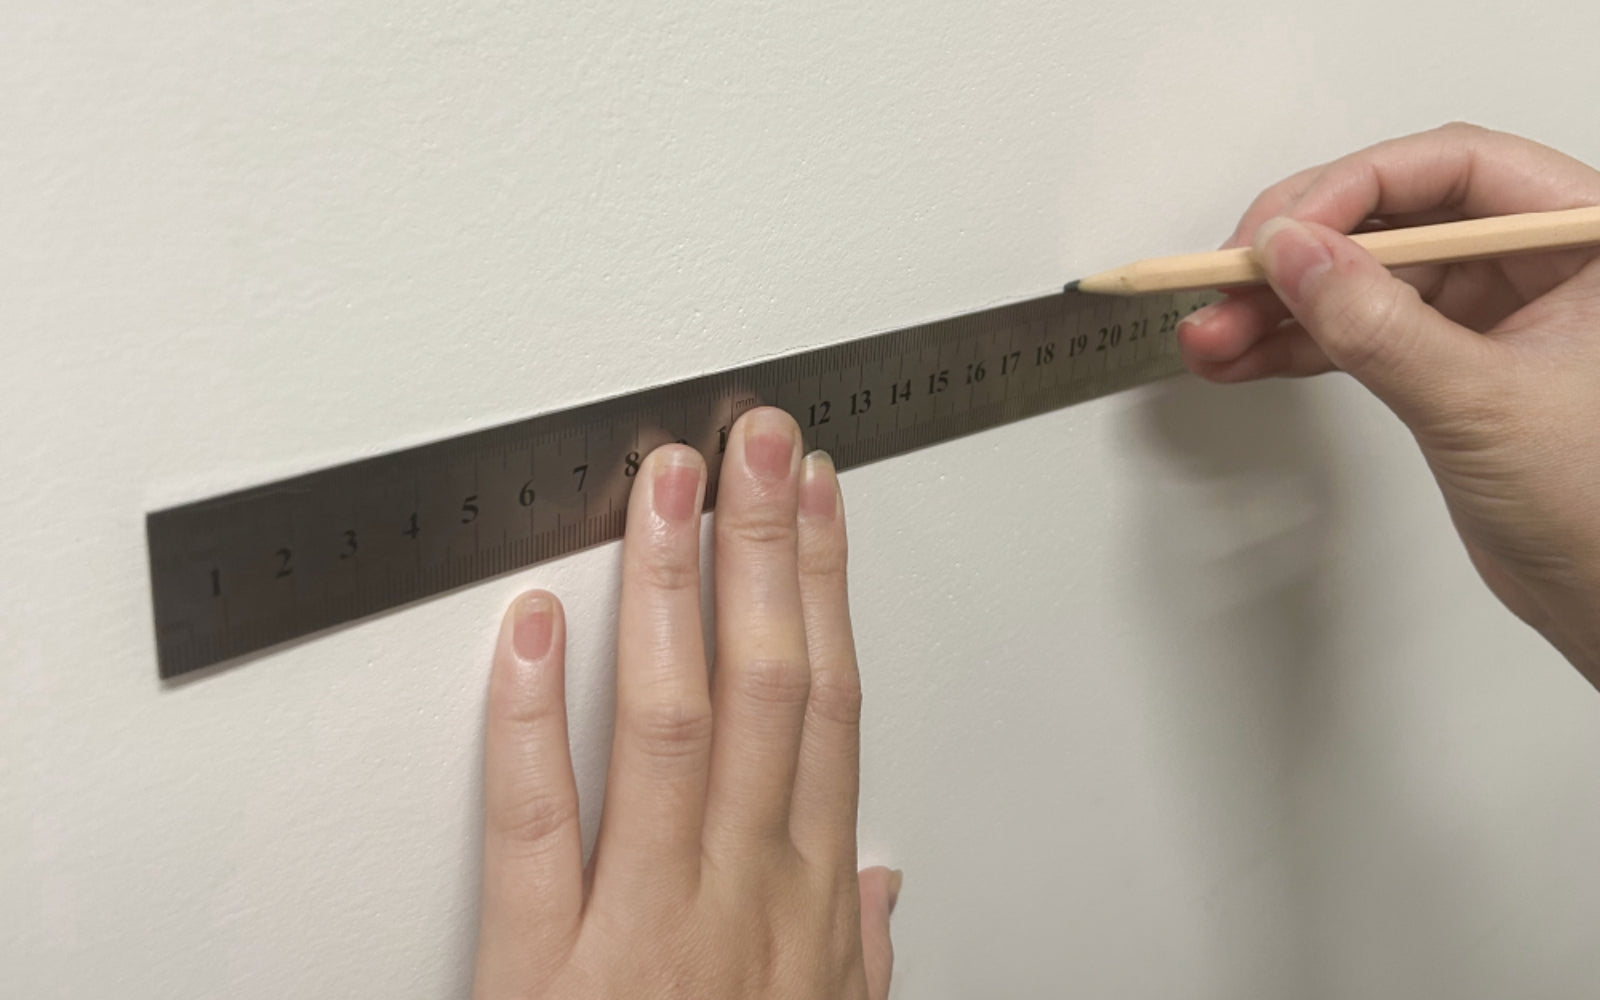
According to AS/NZS 5601.1:2022 Gas Installations – Part 1: General Installations, the following minimum clearances apply for combustible materials such as vinyl wall tiles:
- Above the burners: at least 650 mm vertical clearance from the highest burner to any downward-facing combustible surface in new installations.
- Beside the burners: a minimum 200 mm horizontal clearance between the edge of the nearest burner and any vertical combustible wall or surface.
- Where these clearances cannot be met, the surface must be protected using a non-combustible material covering the full width and depth of the cooking zone.
These distances are required to maintain compliance and fire safety around gas appliances.
Official references:
Standards New Zealand – AS/NZS 5601.1:2022
Energy Safe Victoria Guidance
Additional Safety Tips
- Keep high-heat appliances such as air fryers and toasters 10–15 cm away from walls to prevent discolouration, bubbling, or lifting of tiles.
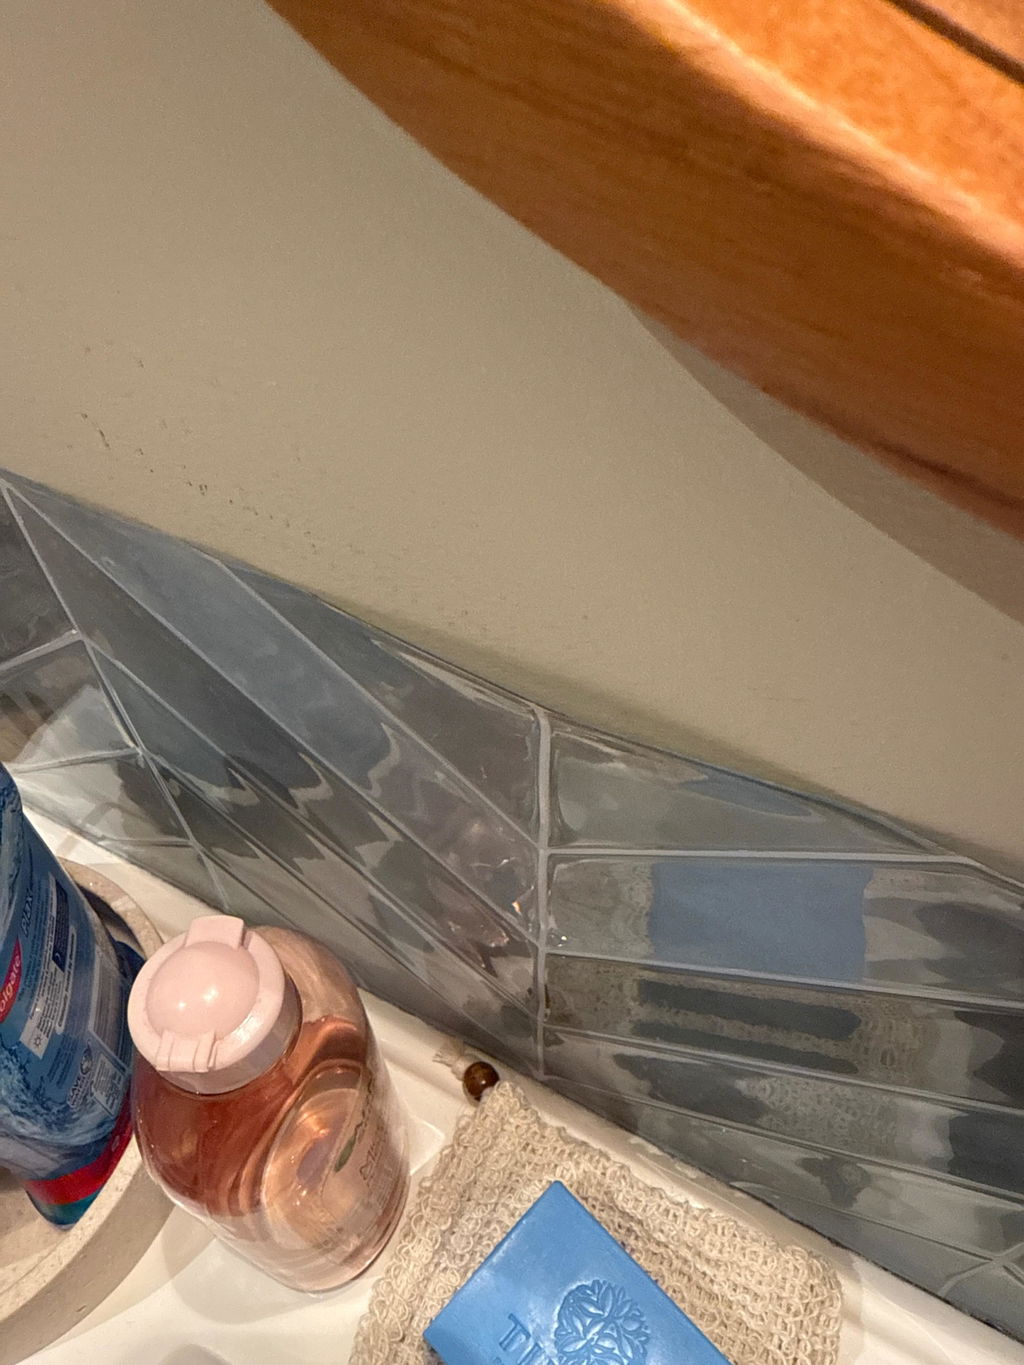
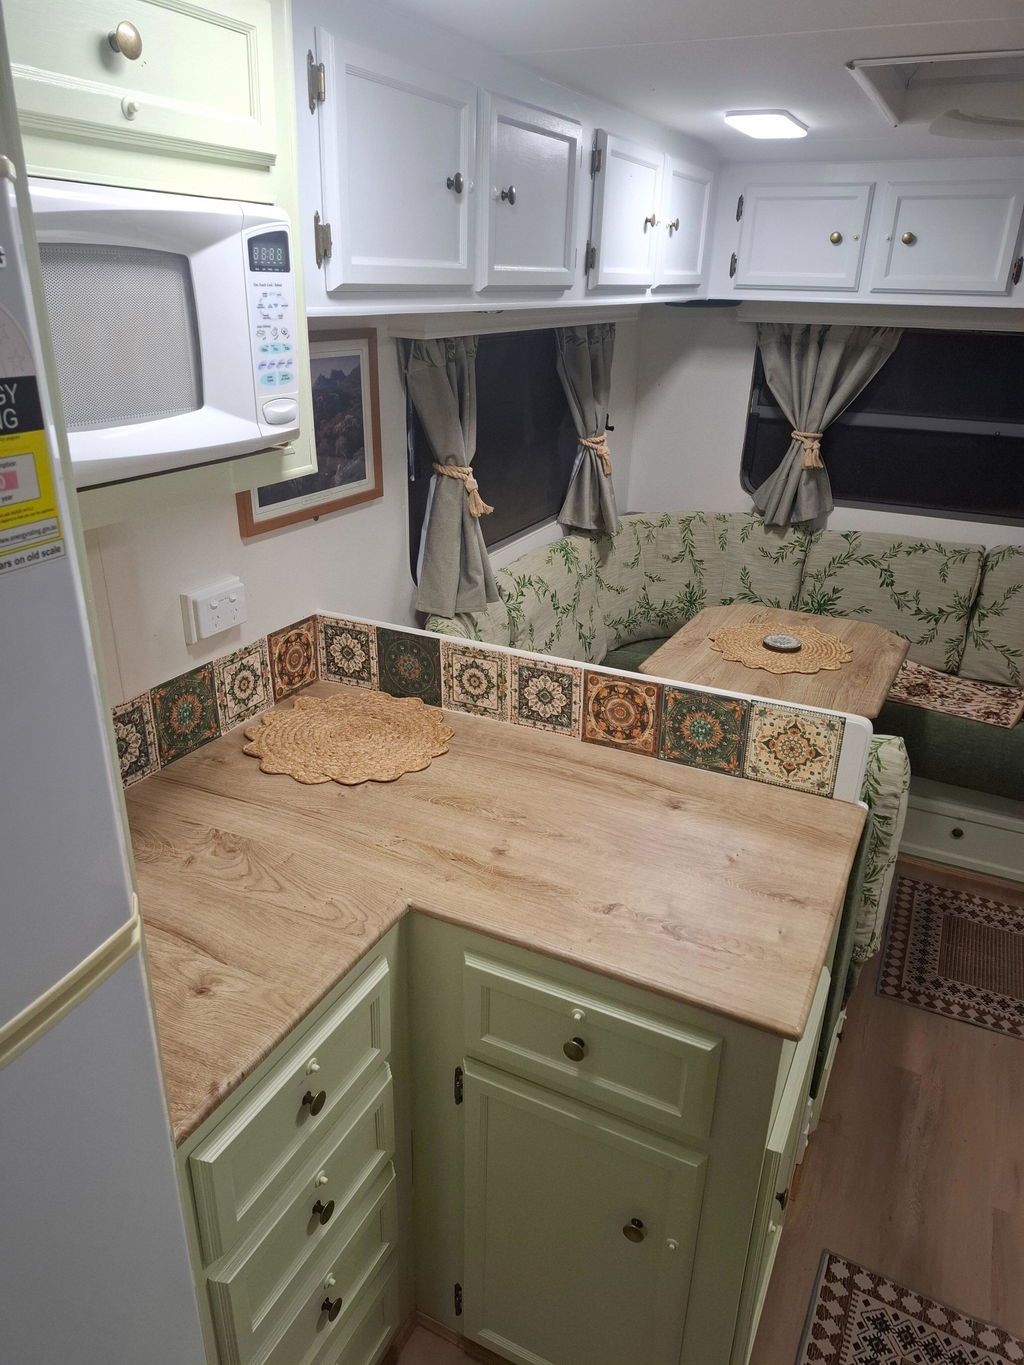
- Avoid placing tiles in areas exposed to direct steam (e.g. from ovens) as they are not steam resistant.
- Always follow your cooktop manufacturer’s installation instructions for specific safety and clearance requirements.
Summary
While our adhesive vinyl tiles are heat- and humidity-resistant, they are a cosmetic finish only. They do not substitute for structural or fire-safety measures required by building codes. Always ensure proper clearances or use protective panels when installing near open flames.