Before you start"
✔️ Are your surfaces and hands clean?
✔️ Go through your tool kit and make sure everything listed in the guide is there
✔️ On a clean flat surface, test how to lay the tiles. The wide grout line side interlocks with the side with less grout.
This is how you install the self-adhesive Quality tiles. Make sure that you follow all the instructions carefully:
- Clean: To ensure the tile adhesive sticks, clean the surface with a gentle cleaner to remove dirt, dust, or debris, and wait until it's touch dry before proceeding.
- Measure: Use a level/ruler to draw a straight line on the wall at the height of the first row of tiles, marking where the top edge of the tiles will align.
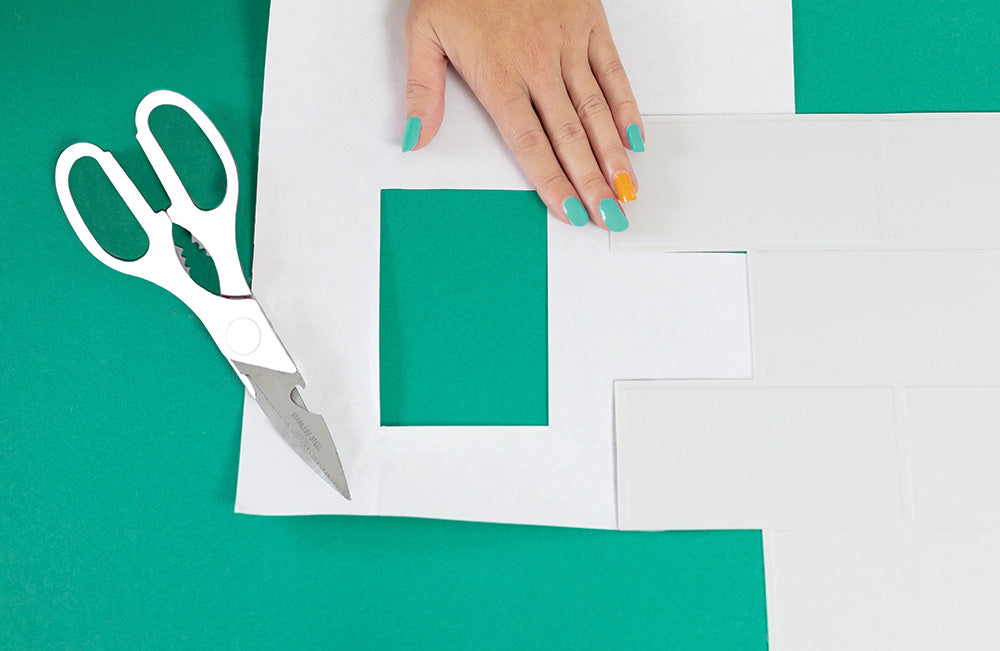
- Cut: The first tile needs to be cut on the starting side to get a straight edge. Put the off cuts to the side and save them for later.
Use a metal edge ruler and craft knife to make the cut. It is sometimes easier to draw a line with a pen first. - Control Check: Test the size and shape of the first tile by holding it up on the wall without removing the backing paper. Cut off anything additional that may be required for a perfect start. Remember cutting adjustments are easier to make before applying the tile to the surface.
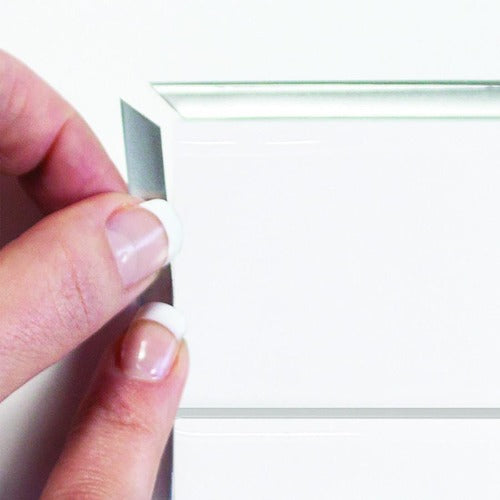
- Peel: Peel away a small section (5-10cm) of the backing paper and take care not to touch the adhesive (we know it’s tempting to see just how sticky it is - but believe us when we say it’s sticky!). Touching the sticky back can weaken the adhesion.
- Stick:Align the tile on the wall. When you are happy with the positioning, peel away the remaining part of the backing paper whilst keeping the tile in the correct position. Press firmly on the tile to smooth it down. Start from one end and work your way out to the edges to make sure all the air is removed.
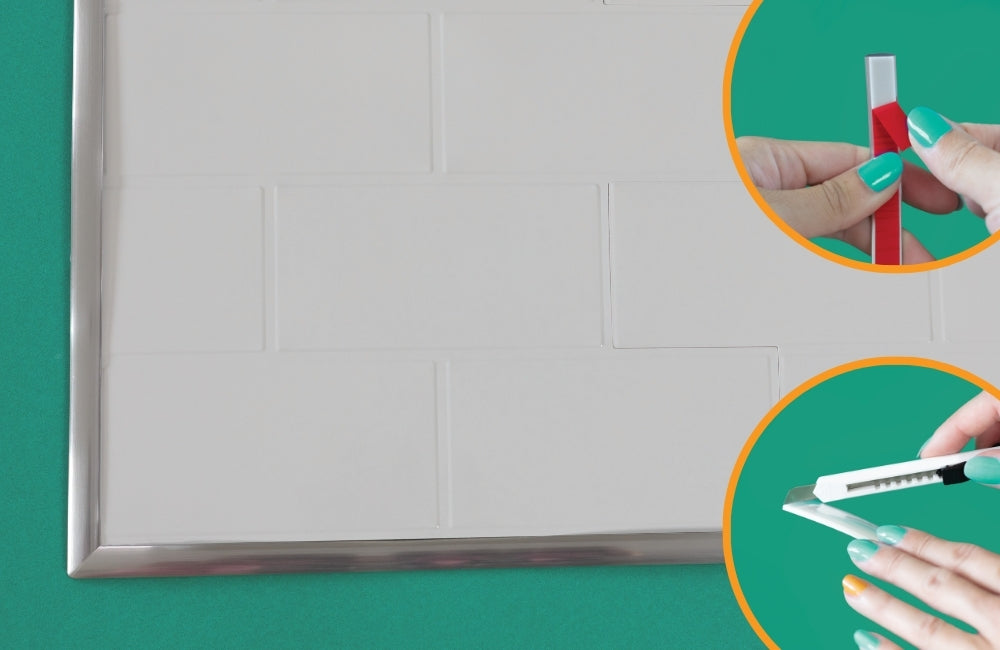
- Interlock:All the tiles have one side with a wider grout line and another side with less grout. Make sure you always position the tiles in the same direction, or else you will end up with gaps between the tiles.
Butt join the rest of the tiles like a jigsaw puzzle, leaving no gaps between the tiles. We recommend that once you've found the correct interlocking position, give the tile an extra little push towards the tile it interlocks with before removing the rest of the backing paper. Skipping this step could lead to small gaps between the tiles showing the underneath surface. - Finish: Finish your row of tiles by cutting off the outer edge of the last tile.
Alternatively, if your space allows it, you can reuse the flaps you initially cut off and overlap the grout lines of your last tile.
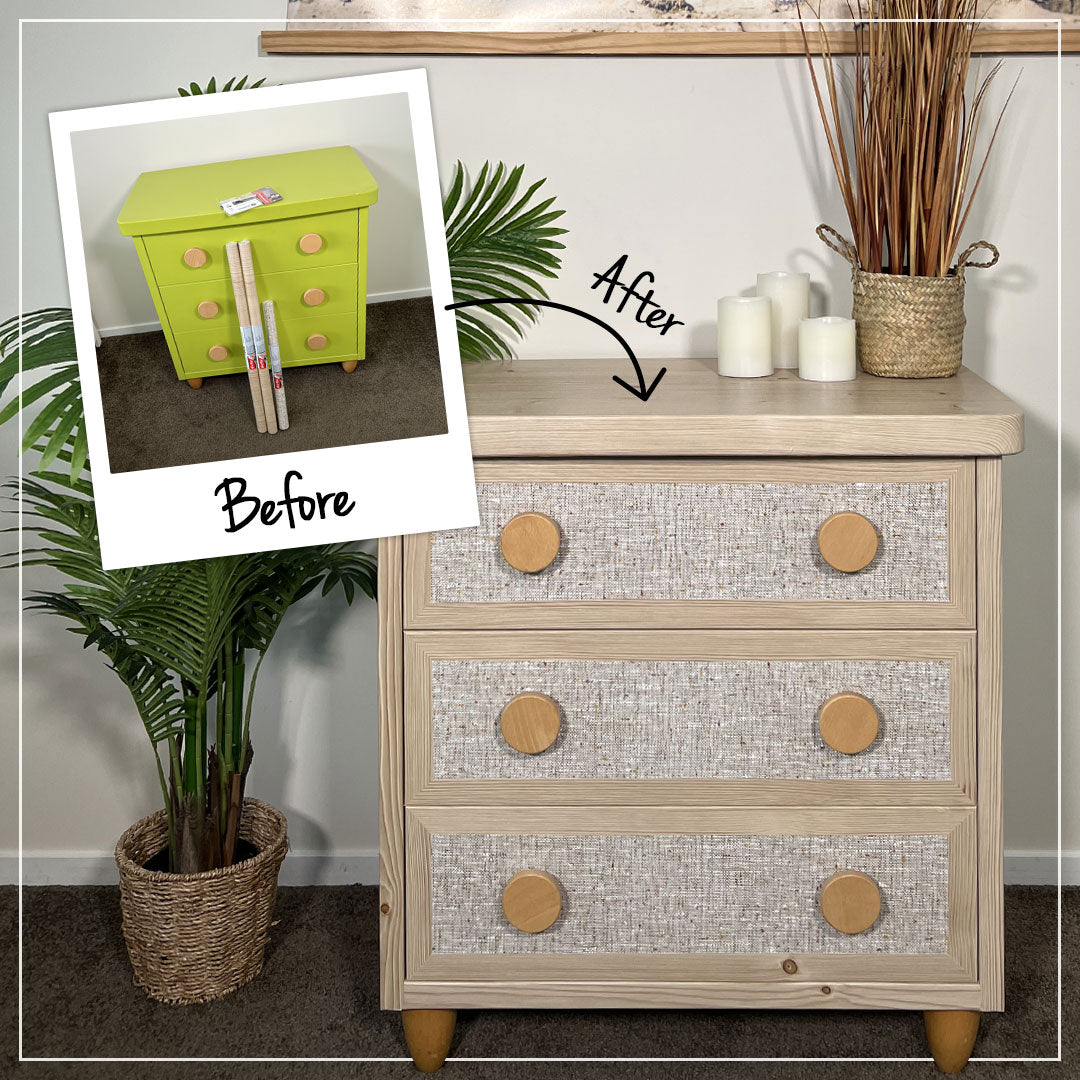
After 48 hours, your DIY wall tiles are permanently secured to the wall.
Scroll down for a full video tutorial.