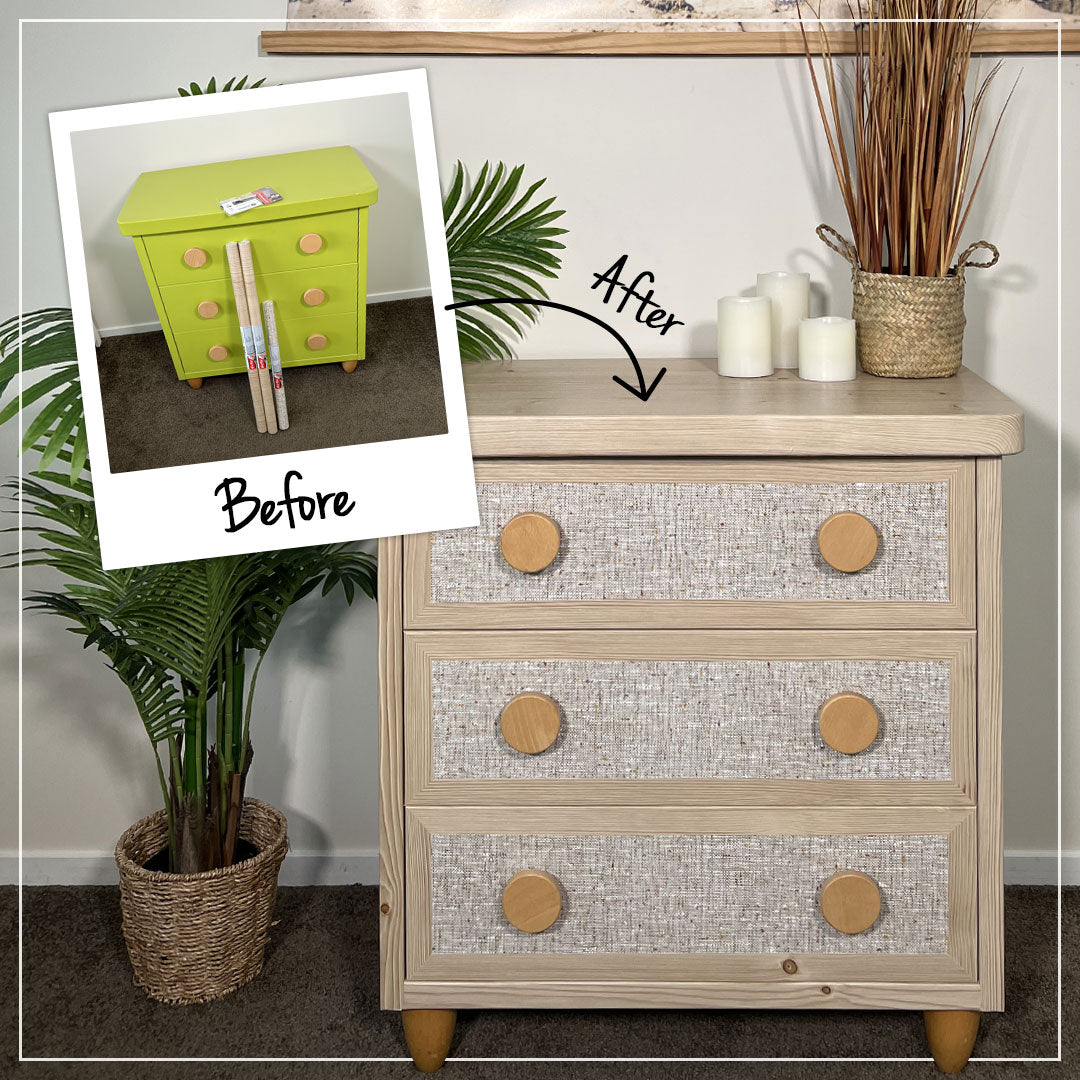
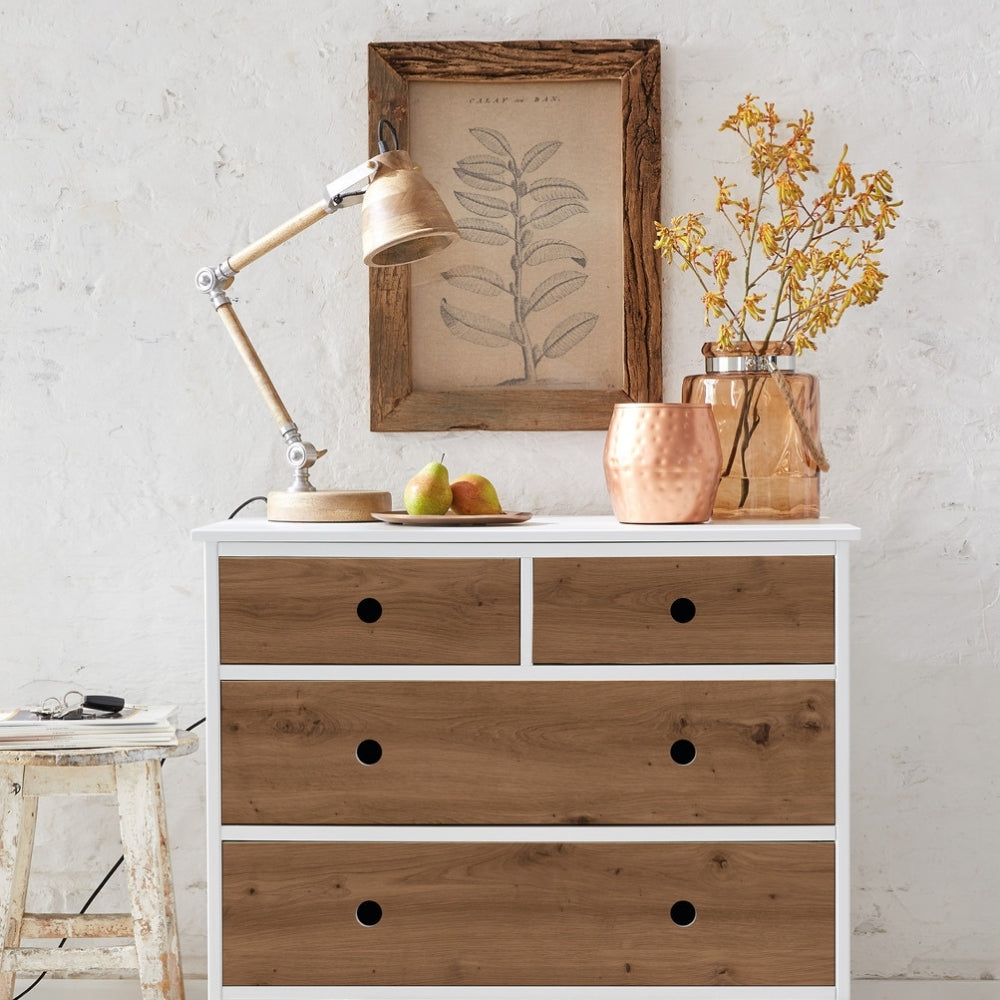
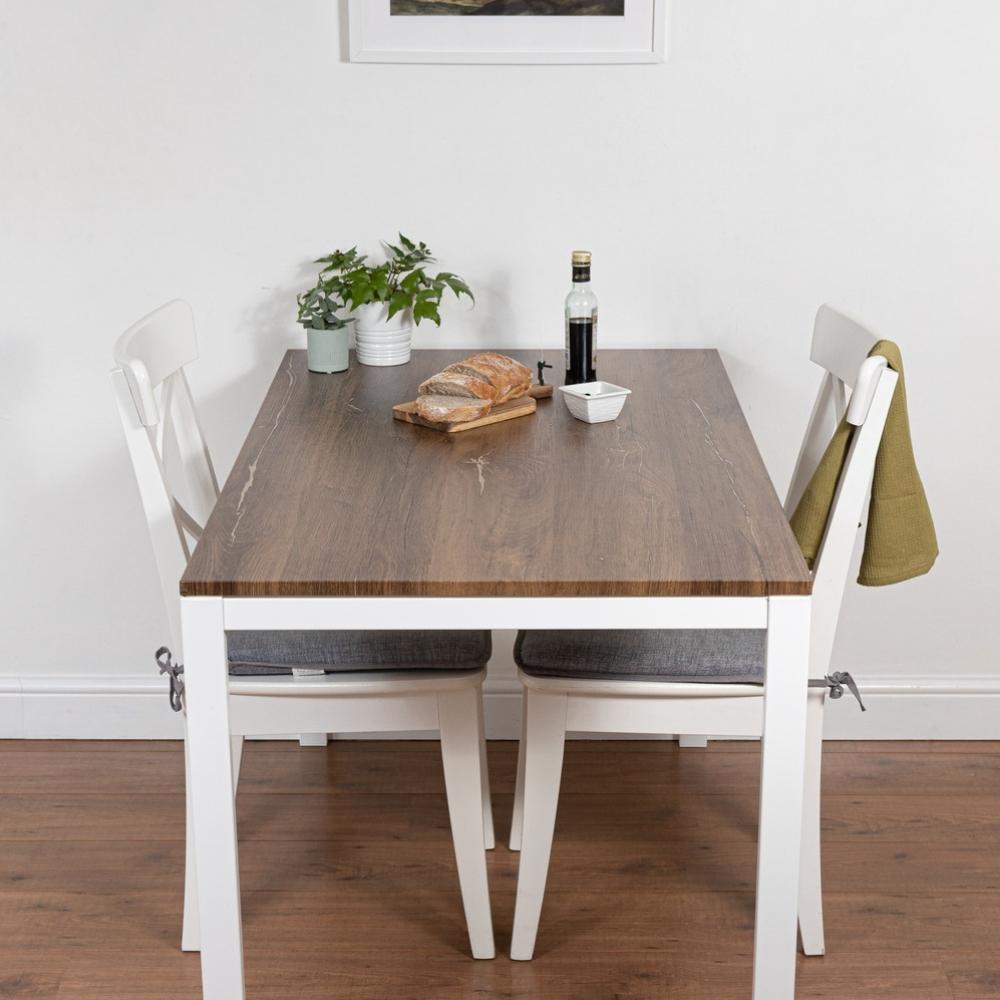
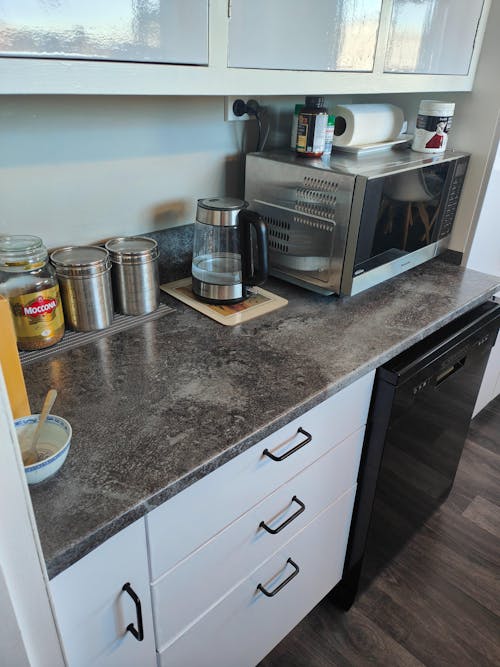
Looking for an easy, affordable way to upgrade tired furniture? Adhesive vinyl is the perfect first-time project — ideal for refreshing dated tables, mismatched drawers, or furniture pieces that just don’t match your style. Whether you’re renting, redecorating on a budget, or just ready for a change, this guide will show you how to do it with confidence — no DIY background needed.
What You’ll Need
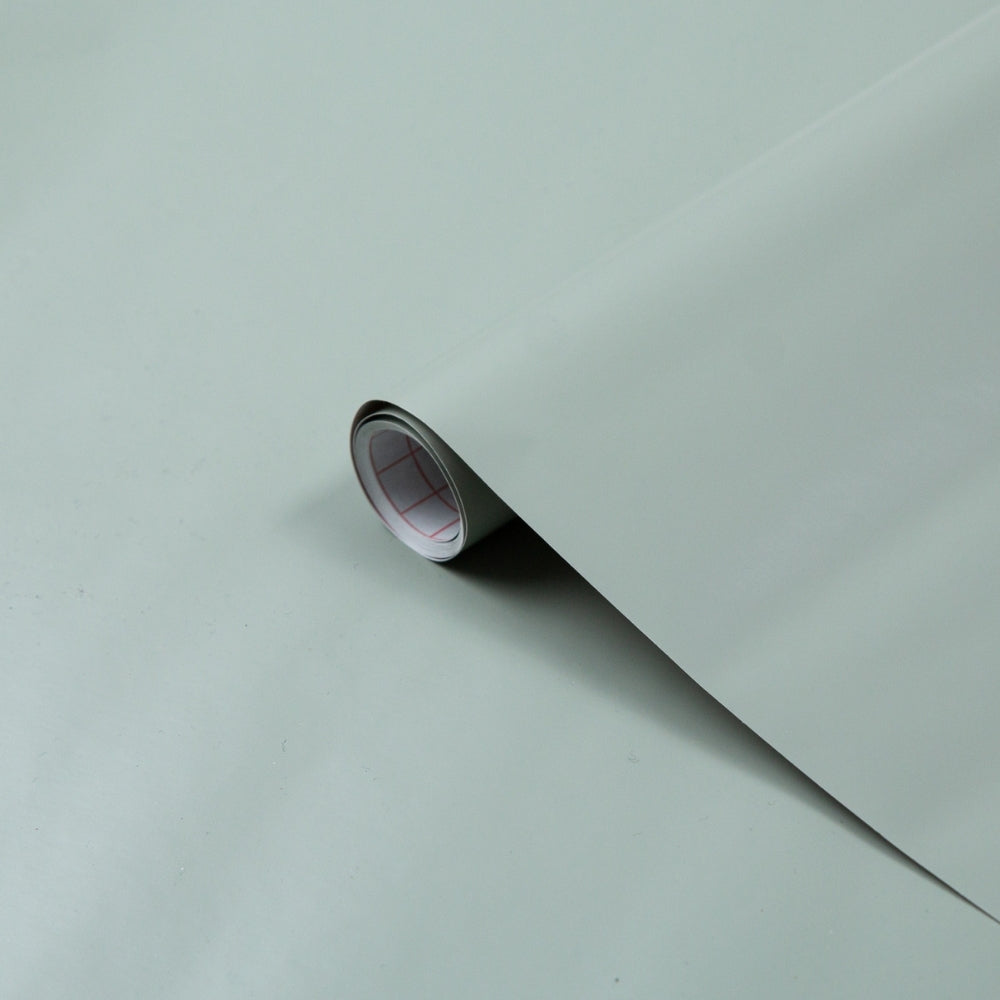
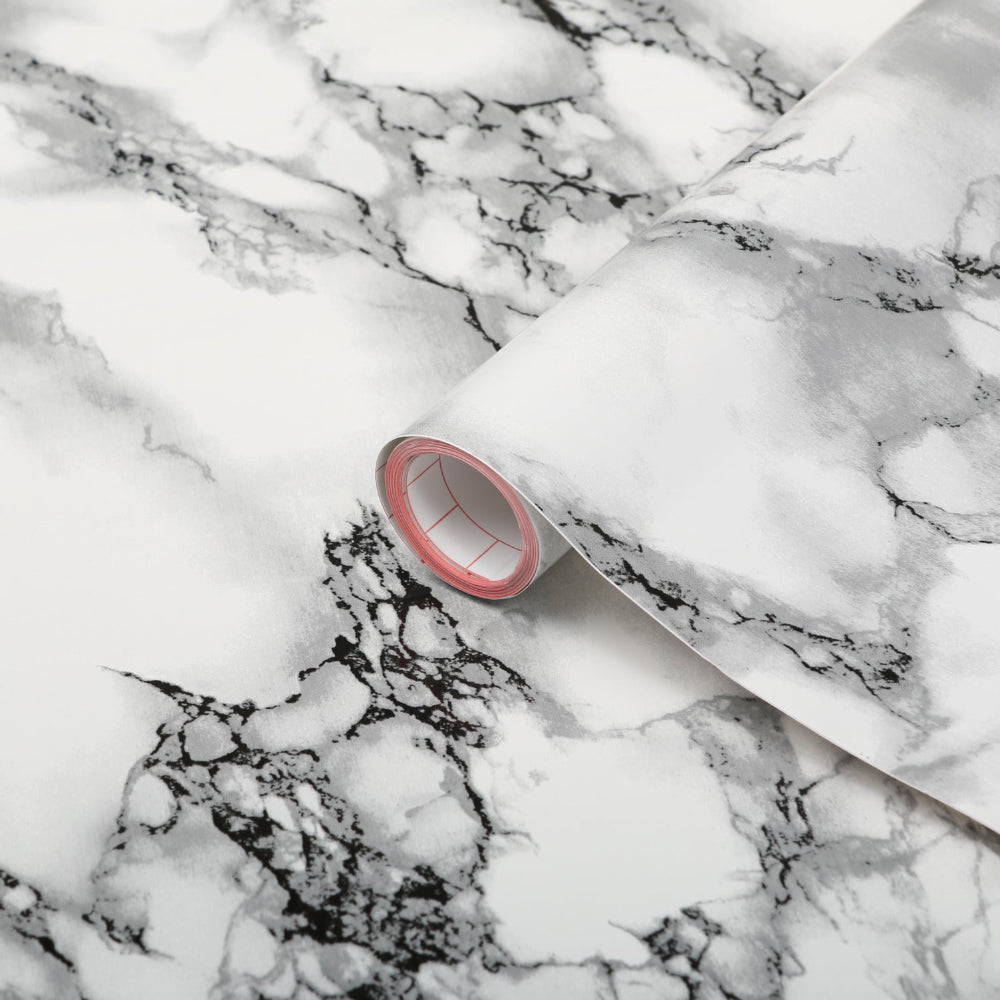
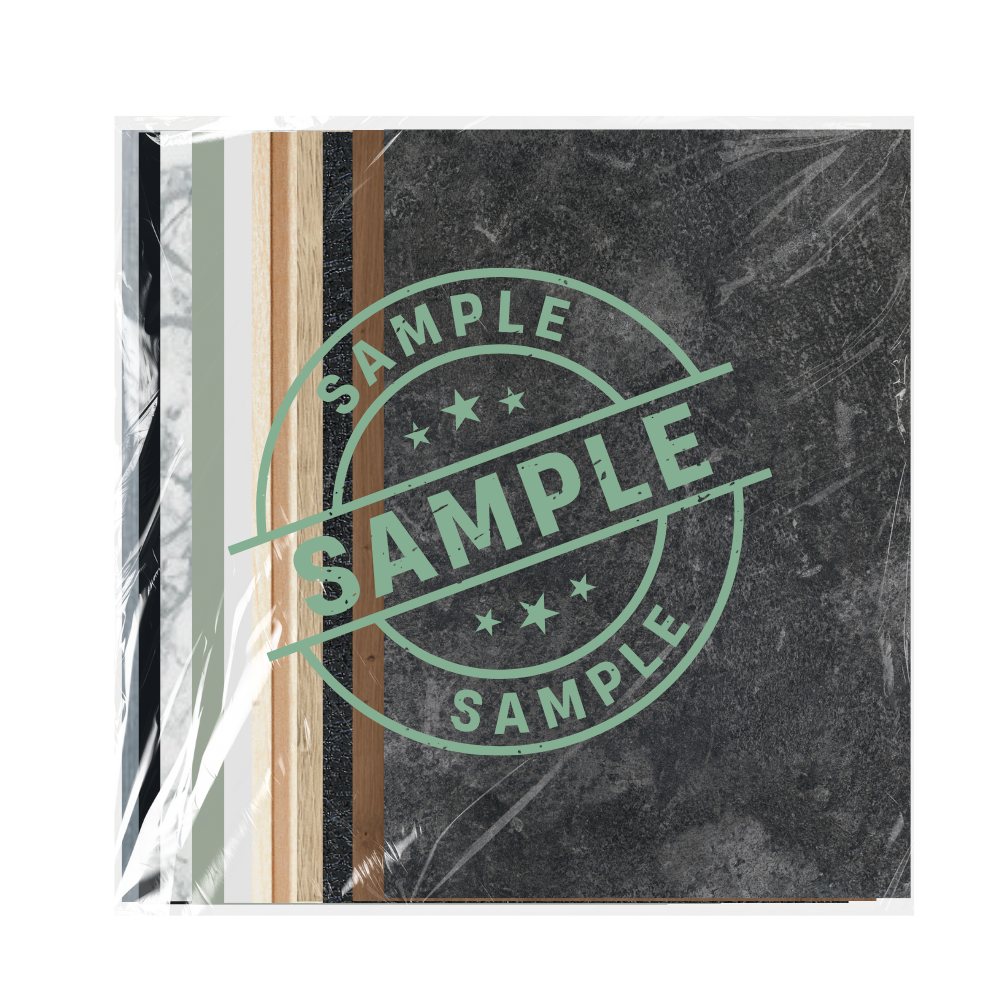
- d-c-fix adhesive vinyl
- Measuring tape
- Scissors
- Application kit including a Craft knife and Squeegee (with felt edge)
- Hairdryer or heat gun
- Sugar soap or degreaser + cloth
- Optional: filler and sandpaper for old handle holes
Step 1: Measure & Plan Your Makeover
Drawers usually only need our 45cm wide vinyl, which is easy to handle and great for small, flat surfaces.
Tables typically need 67.5cm or 90cm wide vinyl, depending on the size of the tabletop.
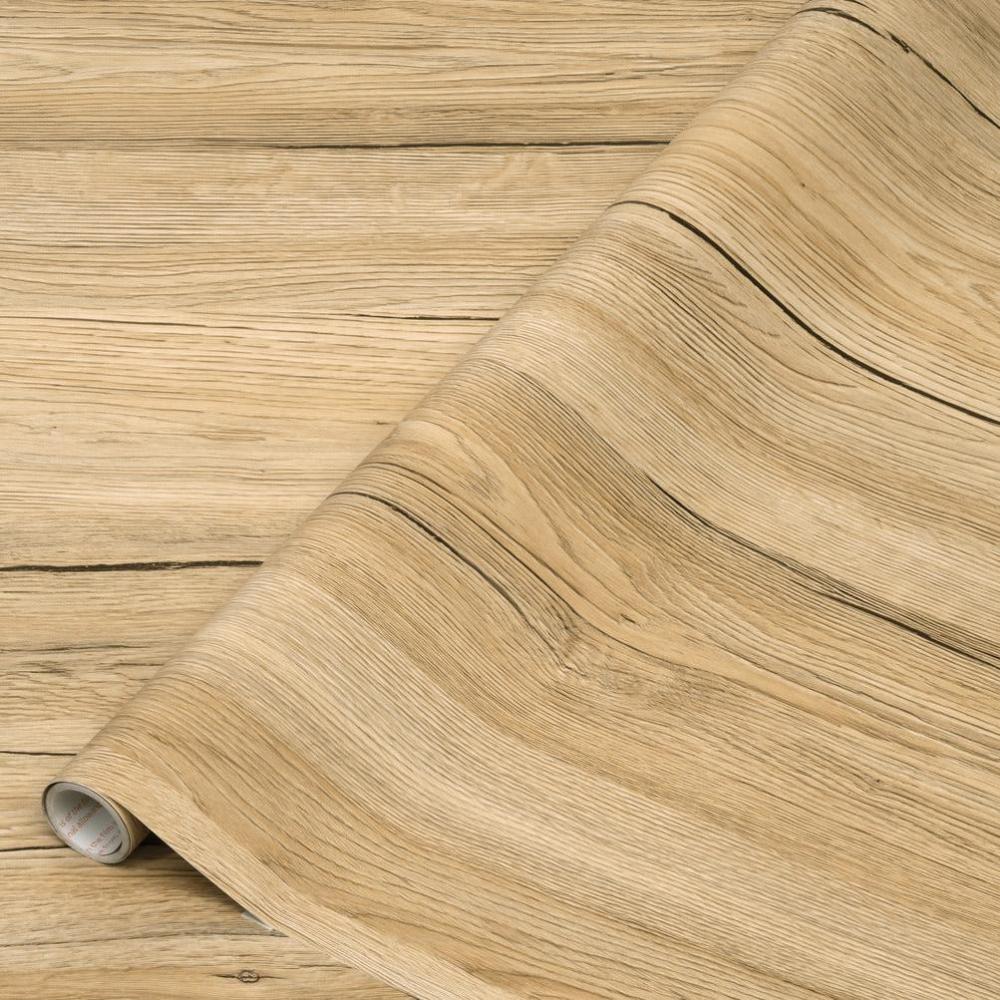
If your table is wider than the vinyl, choose a woodgrain finish — the natural pattern makes any small overlaps blend in seamlessly.
Take accurate measurements of each surface you plan to cover, and don’t forget to add 3-4cm extra around the edges for wrapping and trimming. For tables with bevelled or rounded edges, you may want slightly more overhang to wrap fully.
Step 2: Choose a Vinyl Design That Works for Furniture
- Matte finishesoffer a soft, modern look that hides fingerprints and suits minimalist spaces.
- Glossy vinylsreflect light and create a polished feel but can show more imperfections.
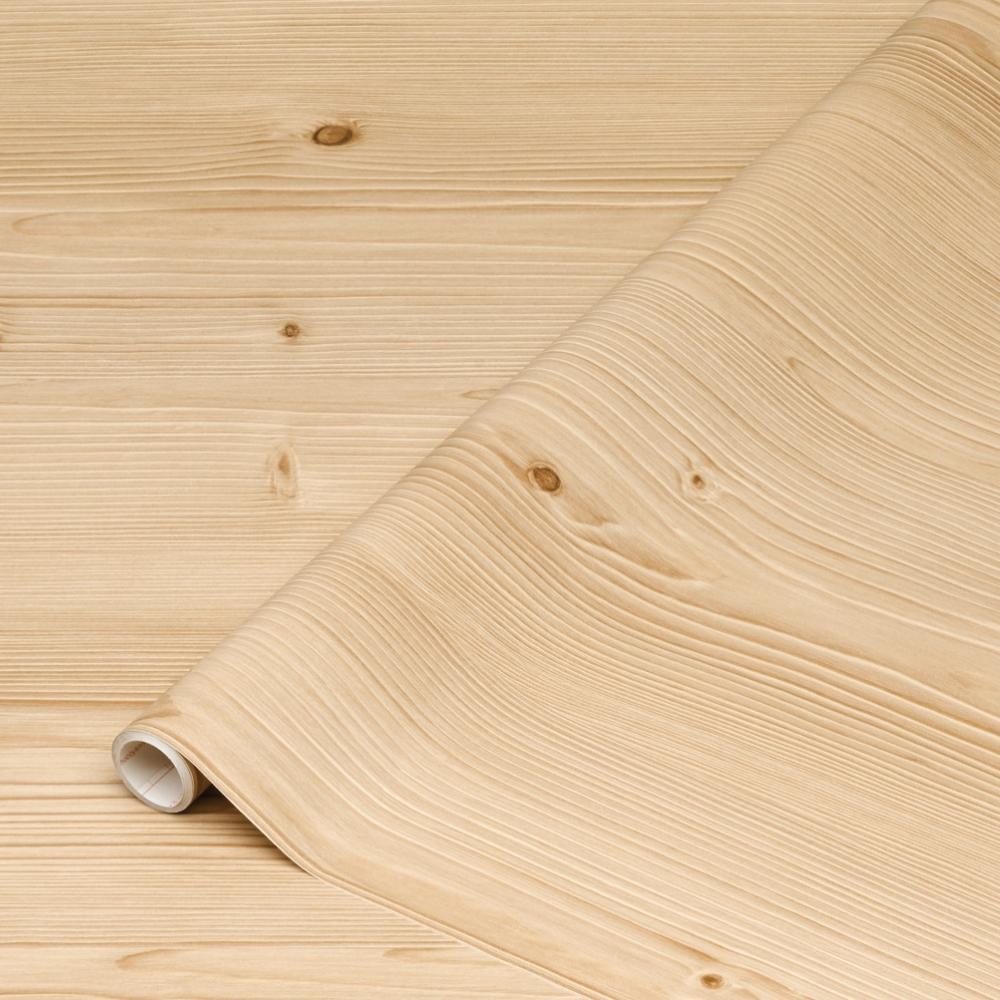
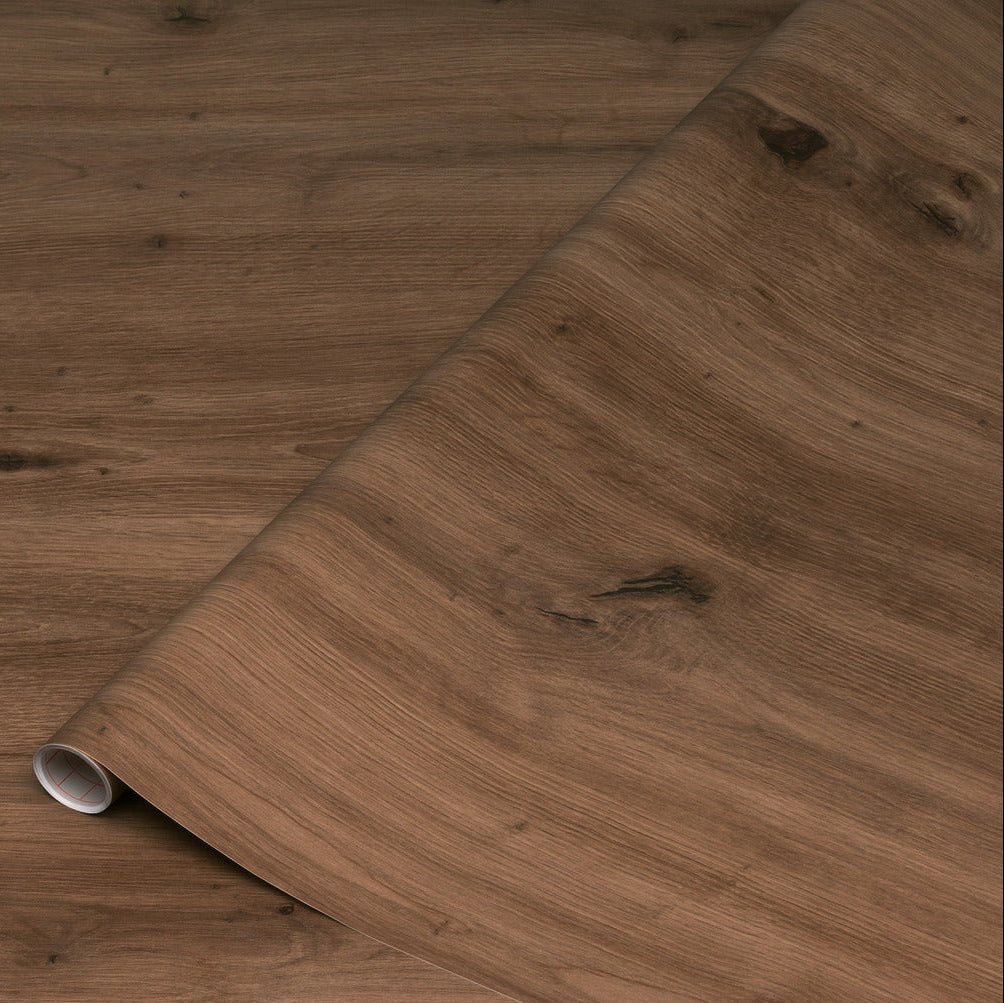
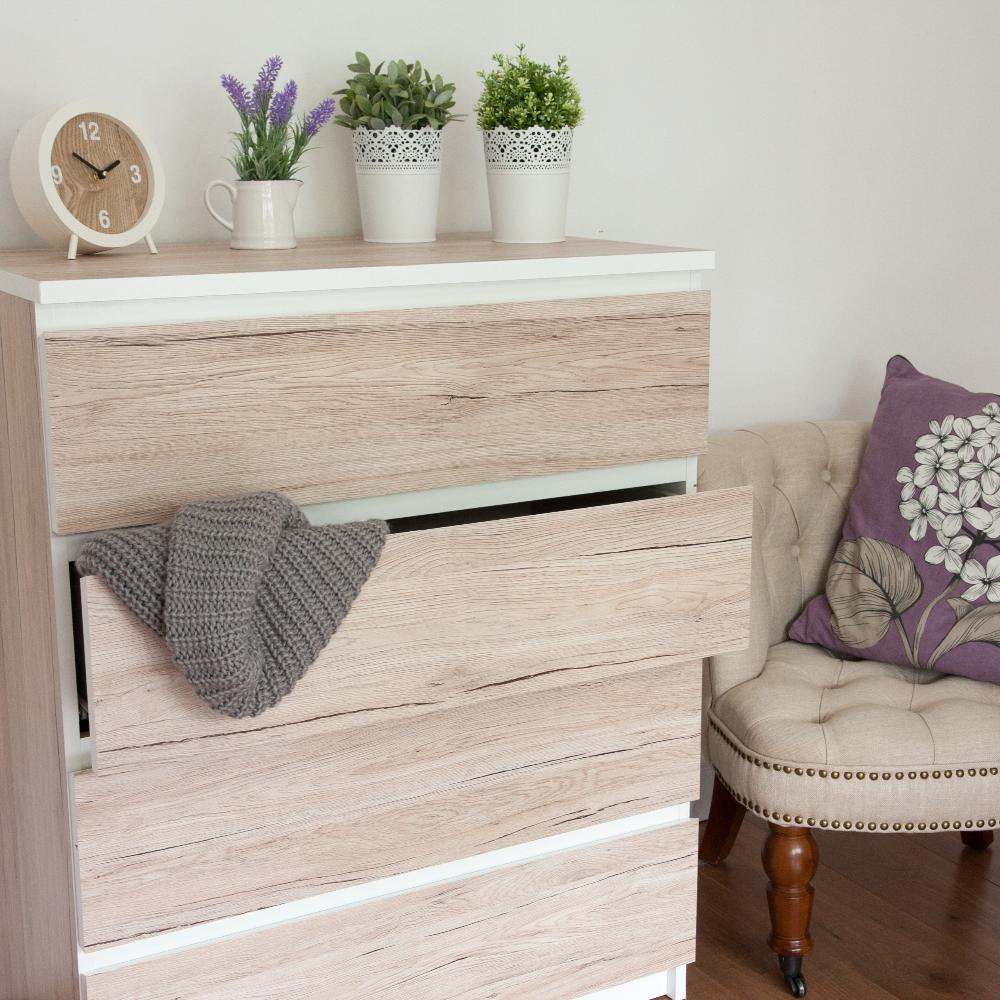
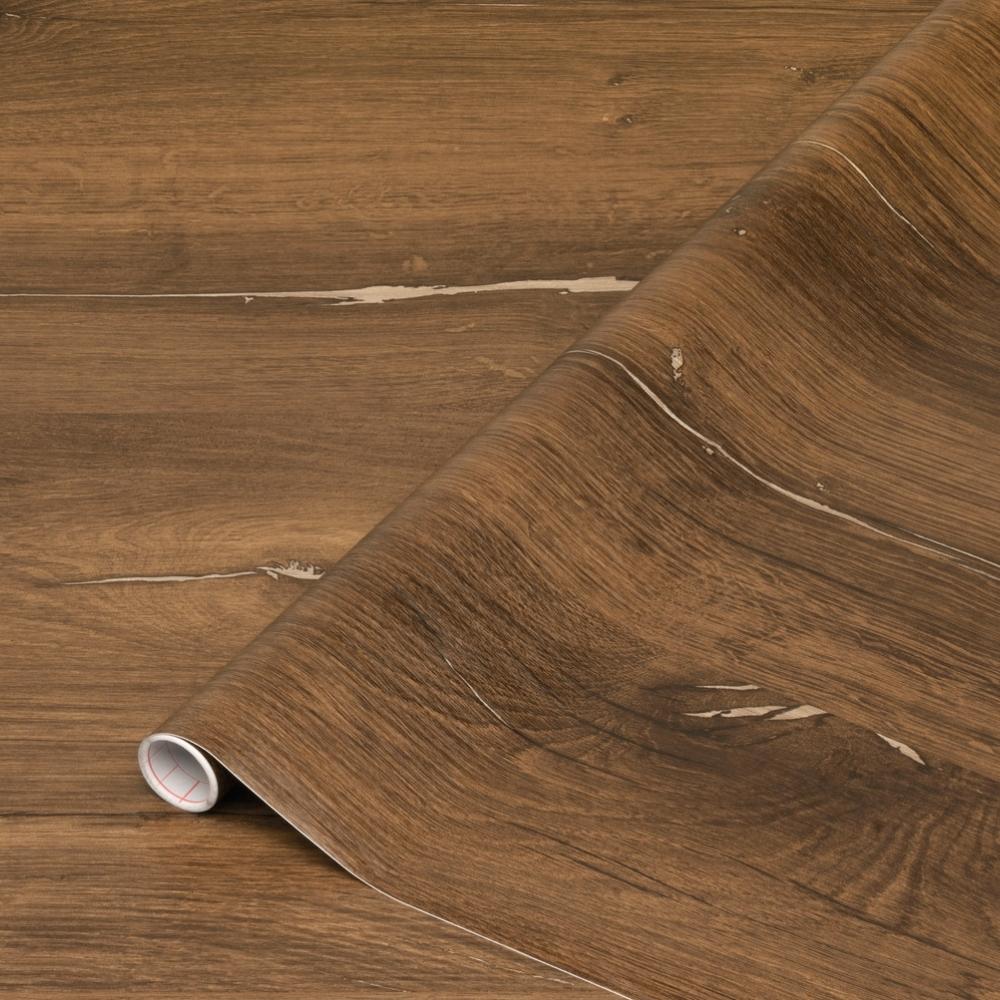
- Woodgrainvinyls are perfect for hiding flaws, wrapping around corners, and giving furniture a warm, natural look — especially if you're joining two pieces on a wider surface.
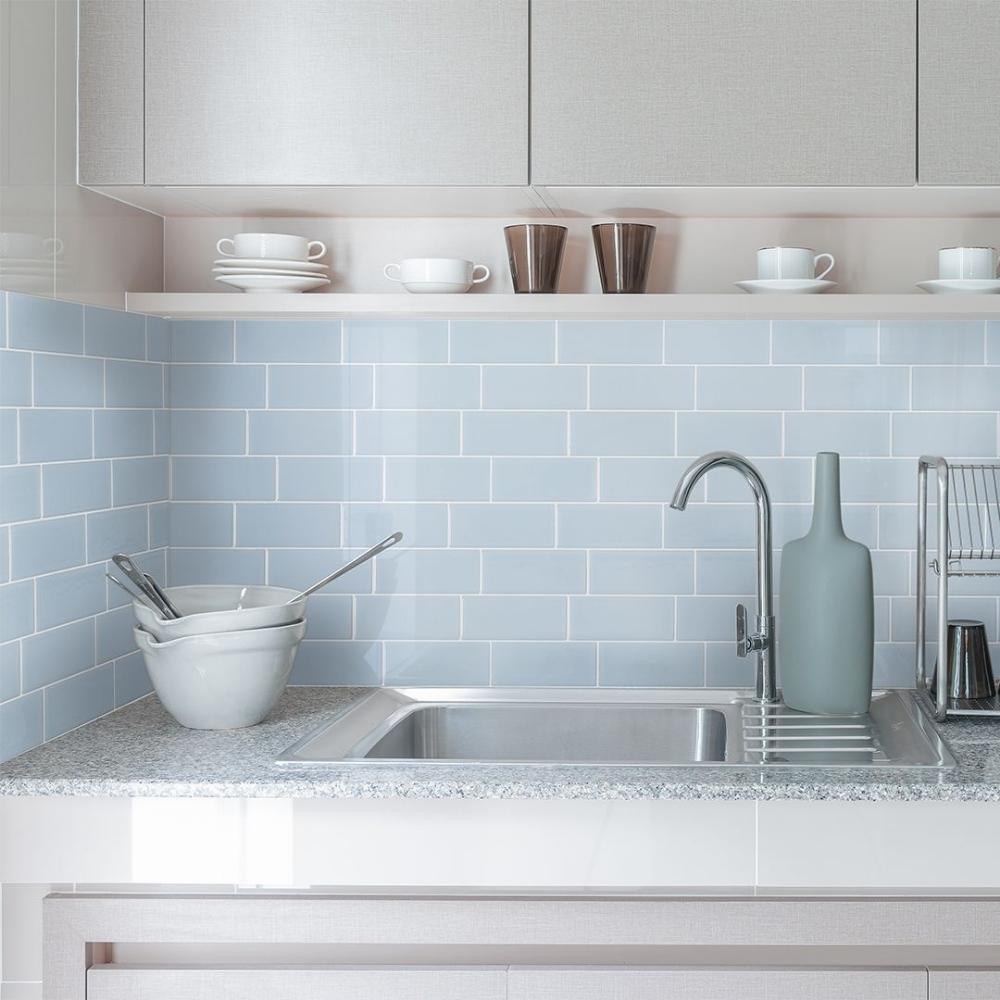
Want a coordinated home? Try wrapping multiple pieces — like a table, desk, or drawer unit — in the same vinyl to create a cohesive, designer look across your space.
Step 3: Prep the Surface
Clean thoroughly with sugar soap or a degreasing cleaner, and make sure the surface is dry and free from dust or grime.
If you're replacing handles or knobs, now is the time to fill in the old holes with wood filler and lightly sand them smooth before wrapping. This gives you a clean surface for applying the vinyl and lets you reposition the new hardware wherever you like.
For damaged or chipped areas, sand or fill as needed — particularly if you're using thin or glossy vinyls that might highlight imperfections.
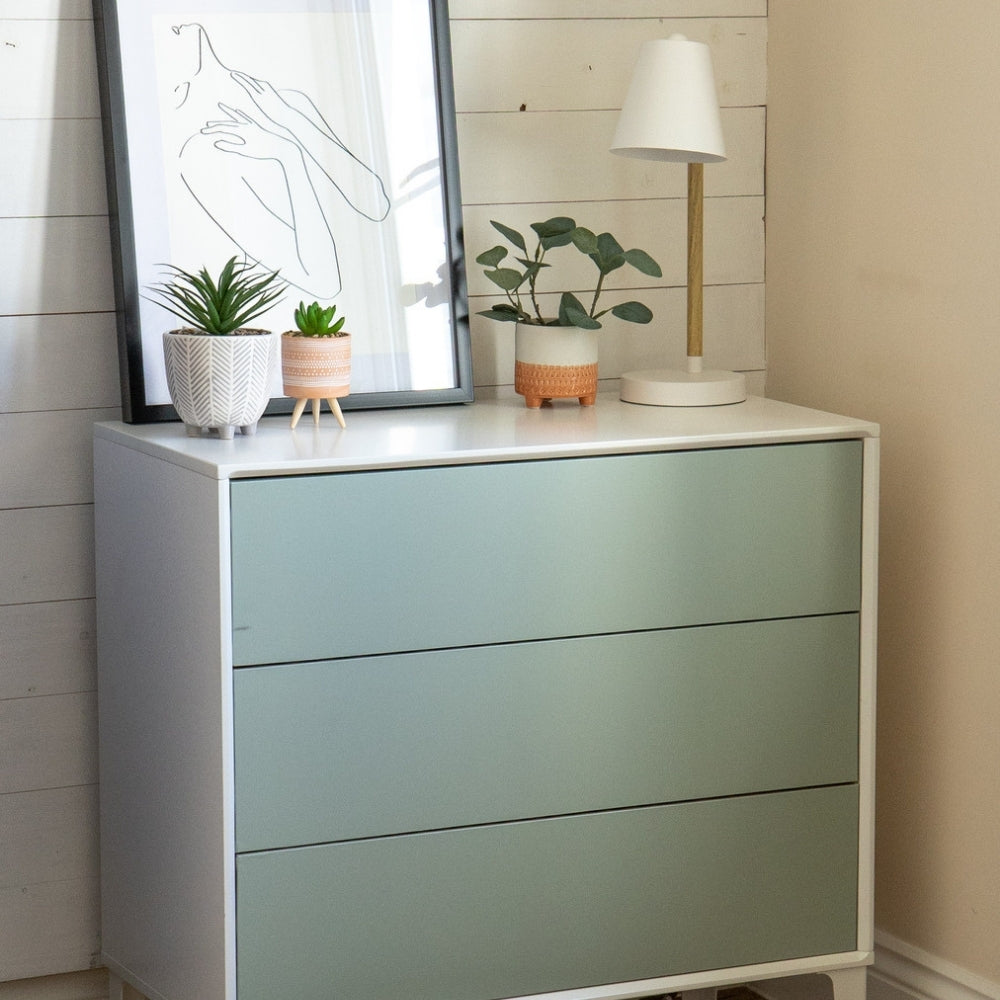
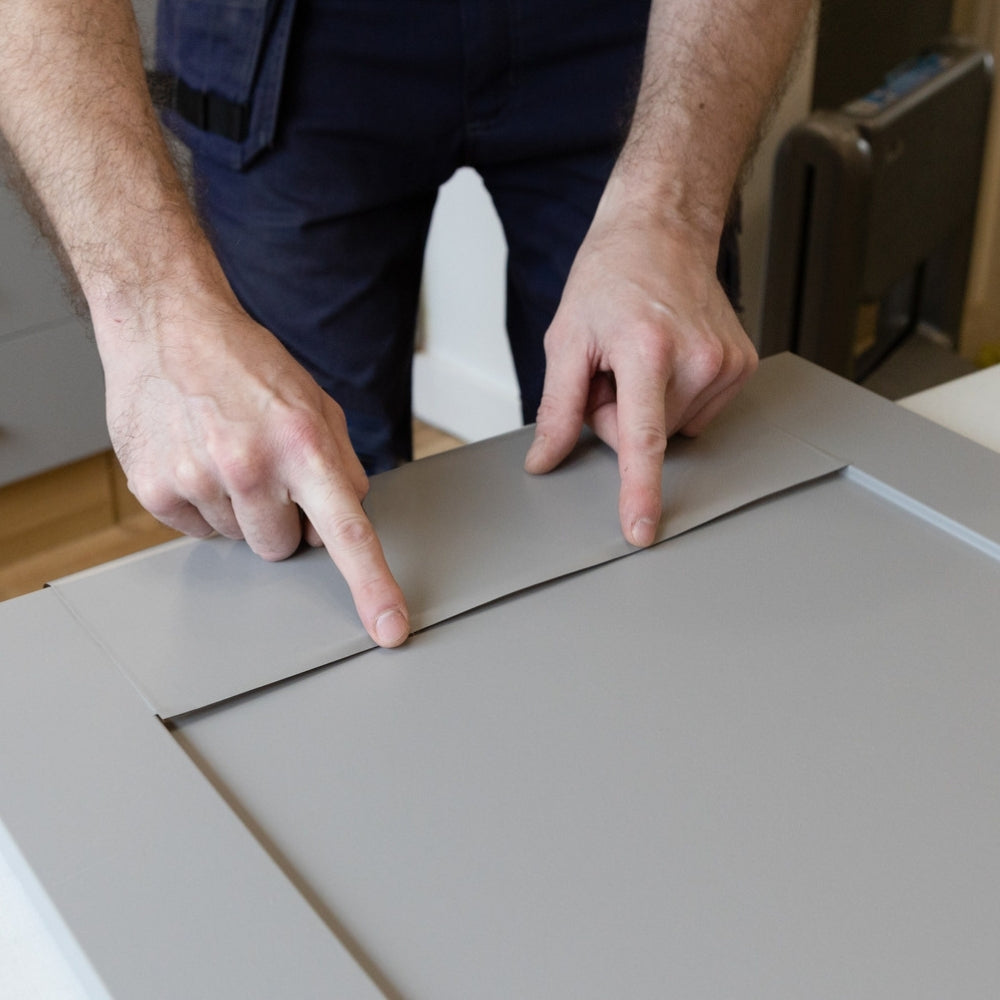
Step 4: Wrapping Drawer Fronts
- Cut a piece of vinyl slightly larger than the drawer front.
- Peel back 10–15cm of the backing paper and stick down the top edge.
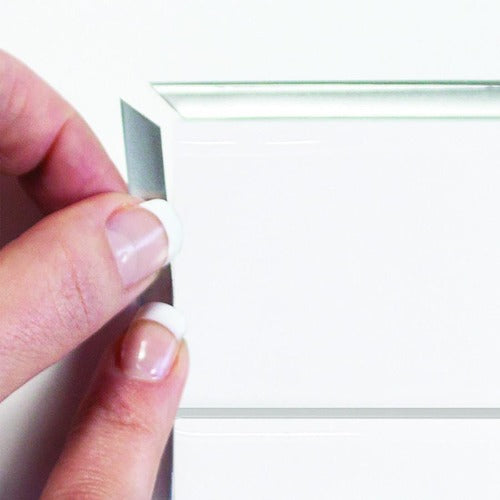
- Smooth with a squeegee from the centre outward as you peel away the rest of the backing.
- Wrap the vinyl around the edges and trim neatly with a craft knife. Refer to our corner guide below.
- Use a hairdryer on the edgesto activate the adhesive instantly and help the vinyl stay put.
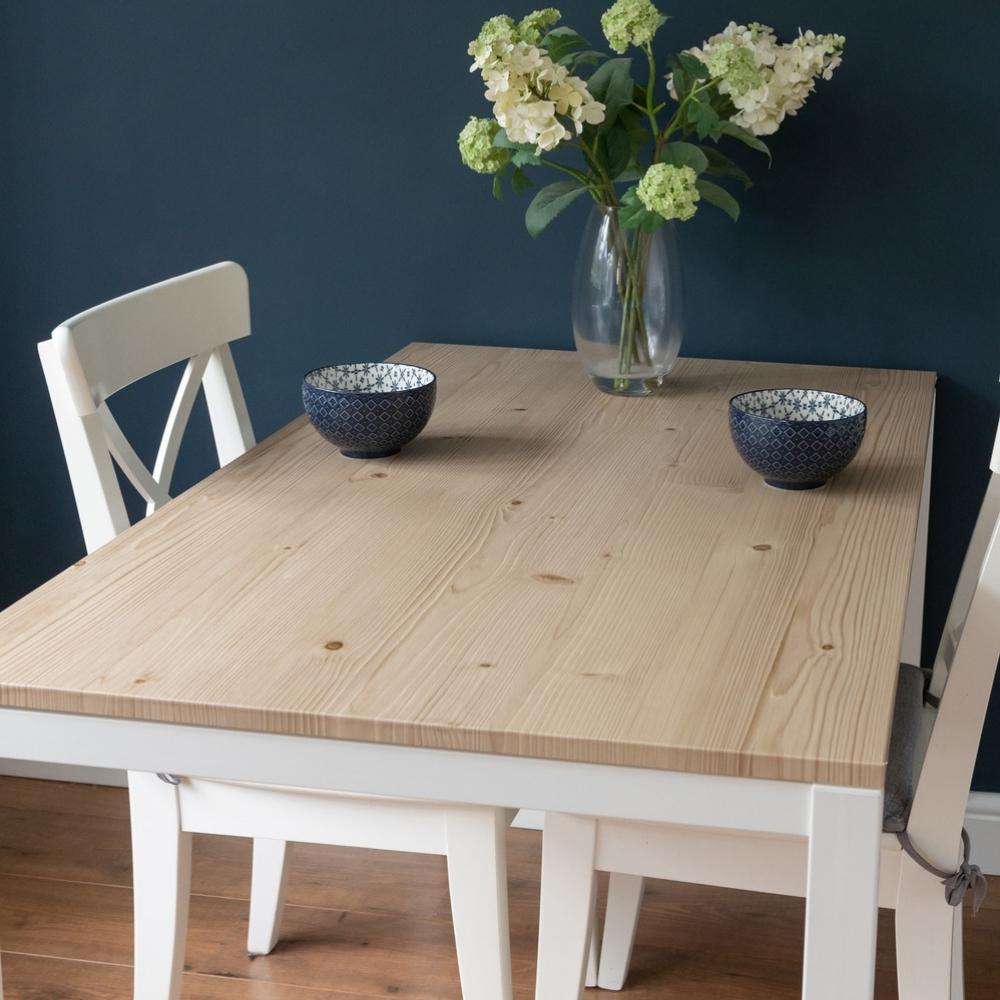
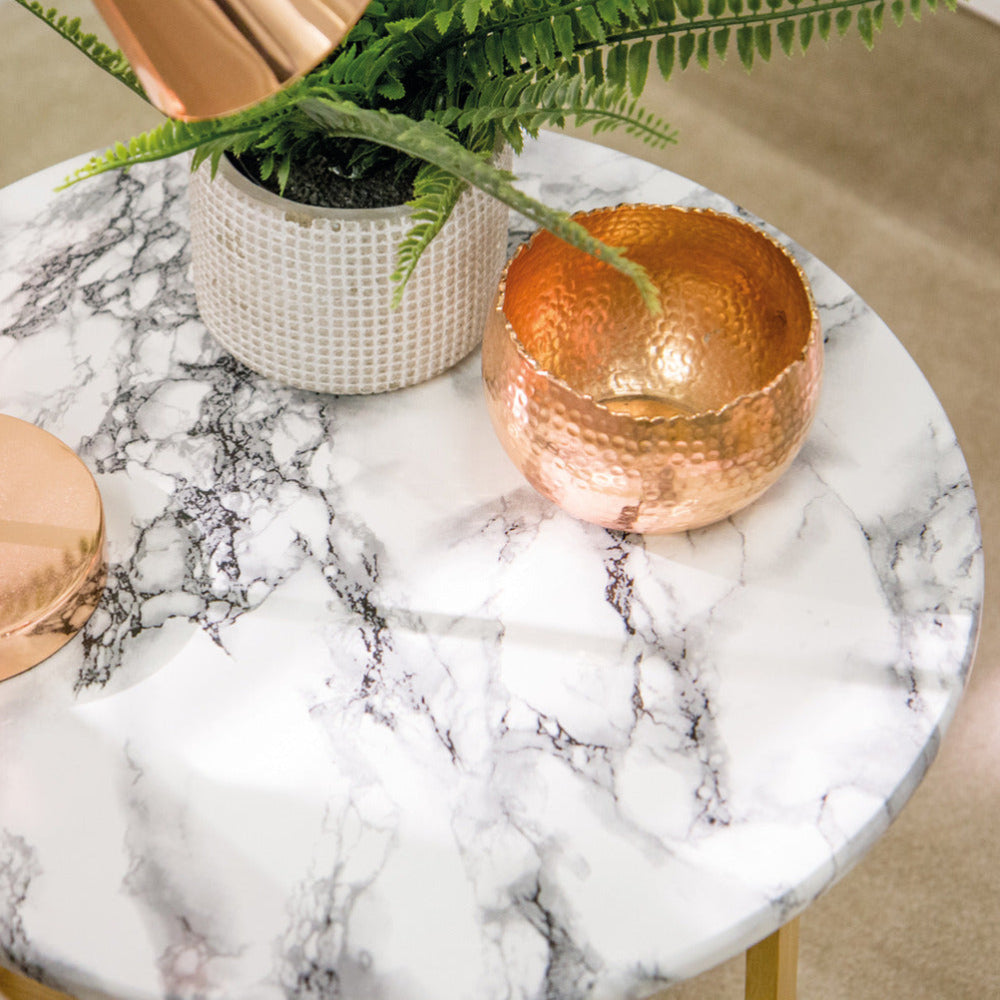
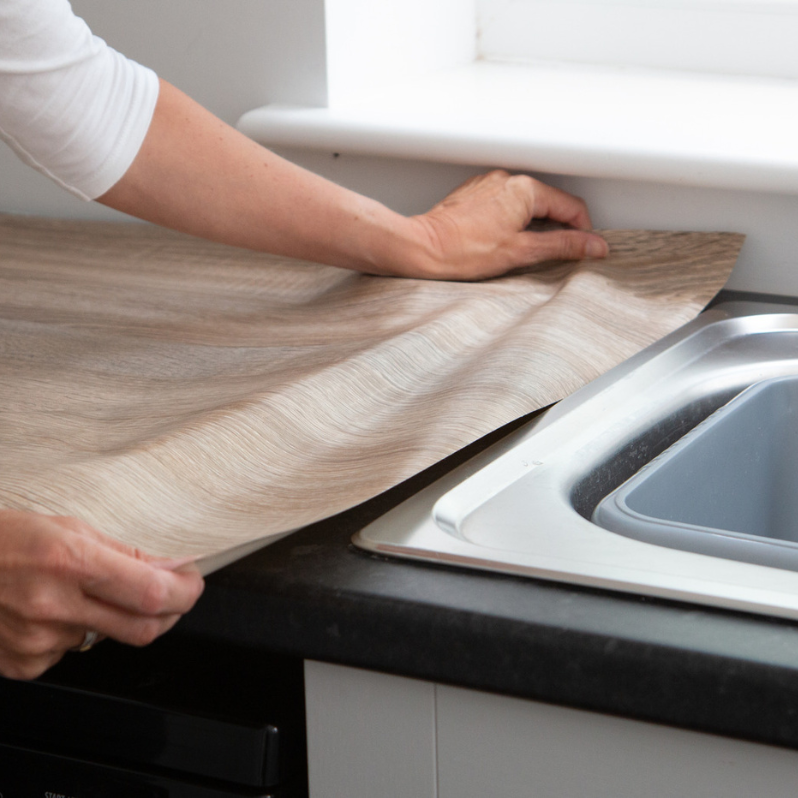
Step 5: Wrapping Tabletops
- Cut the vinyl to size, allowing for 3–4cm overhang on each edge.
- Secure one end using a weight or a second pair of hands.
- Peel and apply the vinyl slowly, smoothing as you go to avoid air bubbles.
- When wrapping corners, use relief cuts and a hairdryer to shape the vinyl smoothly. See our complete corner guide below.
- For rounded or bevelled edges, heat gently and stretch the vinyl over for a seamless finish.
Tips for a Professional Finish
- Use heaton the edges for an instant bond and to prevent lifting.
- Overlap seamsslightly if you're joining two pieces — 5mm is enough to avoid visible gaps.
- Choose patterns with flow, like woodgrain, when joining vinyl for wide surfaces.
- Coordinate your furnitureby wrapping different items in the same vinyl for a cohesive look across rooms.
- Take your timeon the first piece — most people find it much easier after the first drawer or corner!
Looking for an easy, affordable way to upgrade tired furniture? Adhesive vinyl is the perfect first-time project — ideal for refreshing dated tables, mismatched drawers, or furniture pieces that just don’t match your style. Whether you’re renting, redecorating on a budget, or just ready for a change, this guide will show you how to do it with confidence — no DIY background needed.
What You’ll Need
- d-c-fix adhesive vinyl
- Measuring tape
- Scissors
- Application kit including a Craft knife and Squeegee (with felt edge)
- Hairdryer or heat gun
- Sugar soap or degreaser + cloth
- Optional: filler and sandpaper for old handle holes
Step 1: Measure & Plan Your Makeover
Drawers usually only need our 45cm wide vinyl, which is easy to handle and great for small, flat surfaces.
Tables typically need 67.5cm or 90cm wide vinyl, depending on the size of the tabletop.
If your table is wider than the vinyl, choose a woodgrain finish — the natural pattern makes any small overlaps blend in seamlessly.
Take accurate measurements of each surface you plan to cover, and don’t forget to add 3-4cm extra around the edges for wrapping and trimming. For tables with bevelled or rounded edges, you may want slightly more overhang to wrap fully.
Step 2: Choose a Vinyl Design That Works for Furniture
- Matte finishesoffer a soft, modern look that hides fingerprints and suits minimalist spaces.
- Glossy vinylsreflect light and create a polished feel but can show more imperfections.
- Woodgrainvinyls are perfect for hiding flaws, wrapping around corners, and giving furniture a warm, natural look — especially if you're joining two pieces on a wider surface.
Want a coordinated home? Try wrapping multiple pieces — like a table, desk, or drawer unit — in the same vinyl to create a cohesive, designer look across your space.
Step 3: Prep the Surface
Clean thoroughly with sugar soap or a degreasing cleaner, and make sure the surface is dry and free from dust or grime.
If you're replacing handles or knobs, now is the time to fill in the old holes with wood filler and lightly sand them smooth before wrapping. This gives you a clean surface for applying the vinyl and lets you reposition the new hardware wherever you like.
For damaged or chipped areas, sand or fill as needed — particularly if you're using thin or glossy vinyls that might highlight imperfections.
Step 4: Wrapping Drawer Fronts
- Cut a piece of vinyl slightly larger than the drawer front.
- Peel back 10–15cm of the backing paper and stick down the top edge.
- Smooth with a squeegee from the centre outward as you peel away the rest of the backing.
- Wrap the vinyl around the edges and trim neatly with a craft knife. Refer to our corner guide below.
- Use a hairdryer on the edgesto activate the adhesive instantly and help the vinyl stay put.
Step 5: Wrapping Tabletops
- Cut the vinyl to size, allowing for 3–4cm overhang on each edge.
- Secure one end using a weight or a second pair of hands.
- Peel and apply the vinyl slowly, smoothing as you go to avoid air bubbles.
- When wrapping corners, use relief cuts and a hairdryer to shape the vinyl smoothly. See our complete corner guide below.
- For rounded or bevelled edges, heat gently and stretch the vinyl over for a seamless finish.
Tips for a Professional Finish
- Use heaton the edges for an instant bond and to prevent lifting.
- Overlap seamsslightly if you're joining two pieces — 5mm is enough to avoid visible gaps.
- Choose patterns with flow, like woodgrain, when joining vinyl for wide surfaces.
- Coordinate your furnitureby wrapping different items in the same vinyl for a cohesive look across rooms.
- Take your timeon the first piece — most people find it much easier after the first drawer or corner!