FREE NZ SHIPPING OVER $199

FREE NZ SHIPPING OVER $199

Search

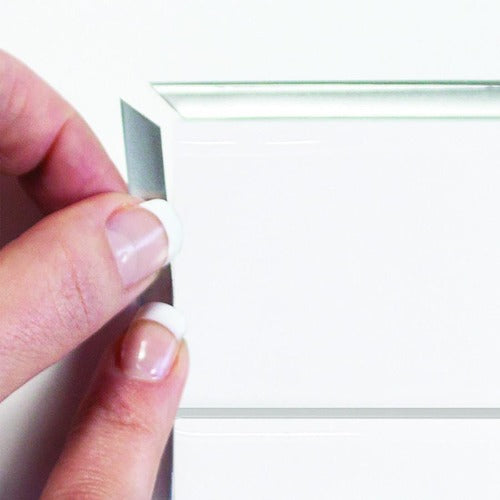
Edge Trims for Wall Tiles

Complete your self-adhesive wall tiling job with smart accessories.

Vinyl Home -Gift Card

Shopping for someone else? Treat them with a DIY gift card and let them select their favourite design.

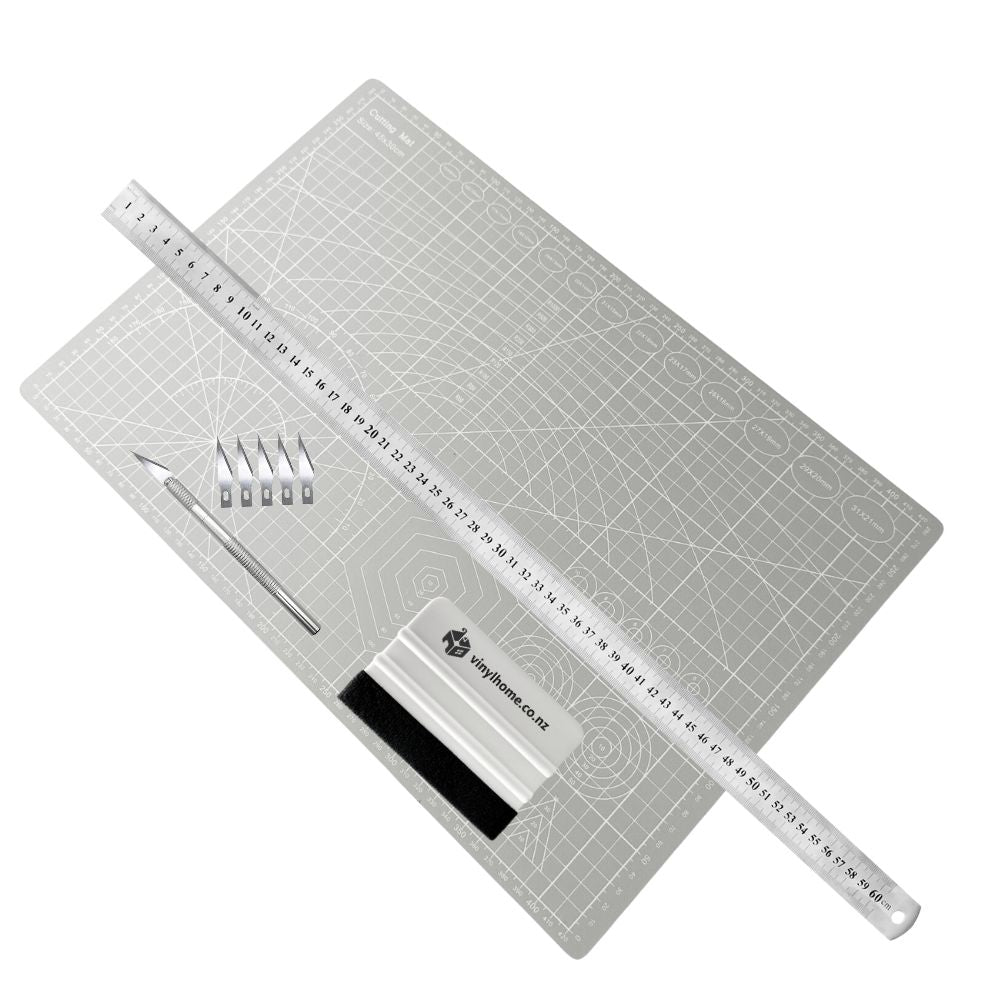
Tool Bundle
Get all the tools you need for your project

Equip yourself with the right tools and take your DIY project to the next level!

Ready to make your splashback dreams come true?

- Just peel & stick over your existing tiles!

Size: 1 Sheet

4 items left

FREE SHIPPING over $199 in NZ
PROUDLY NZ owned & operated
ORDERS SHIP in 1 business day
EASY RETURNS within 30 days
Read full policy: * conditions apply

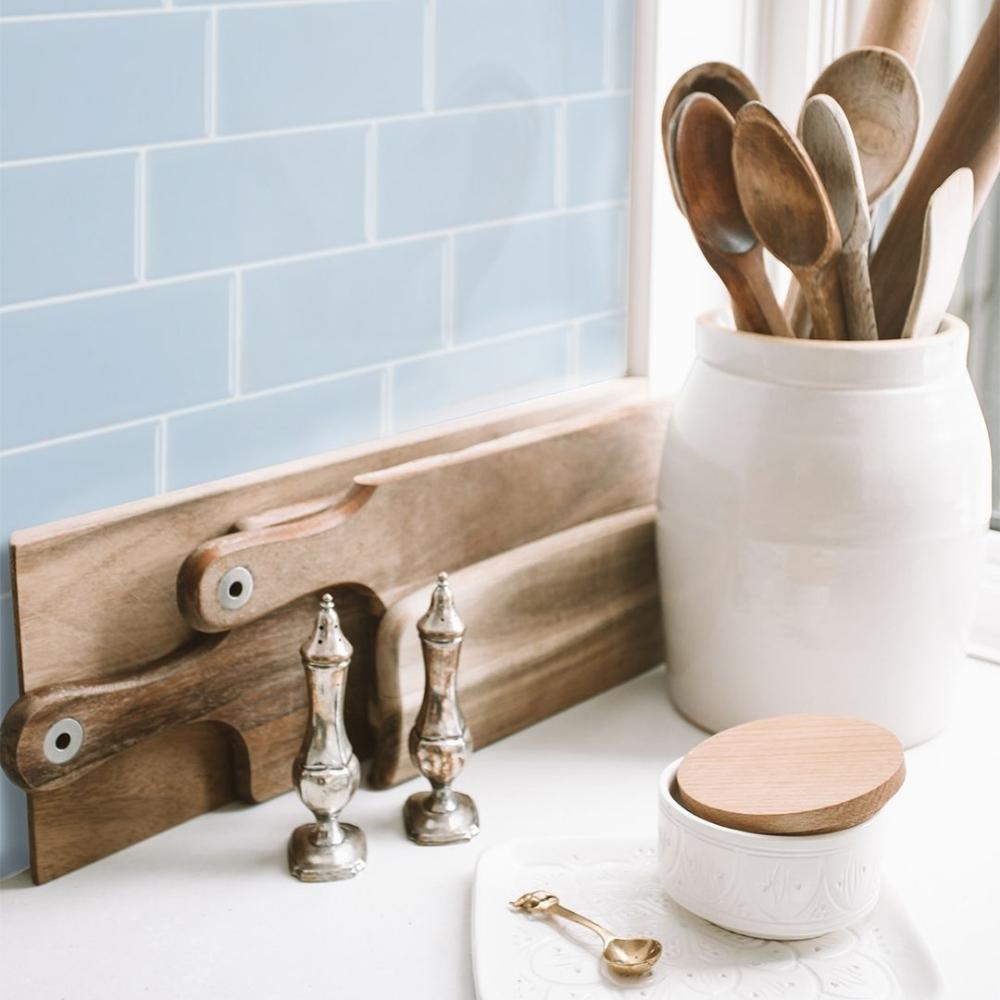
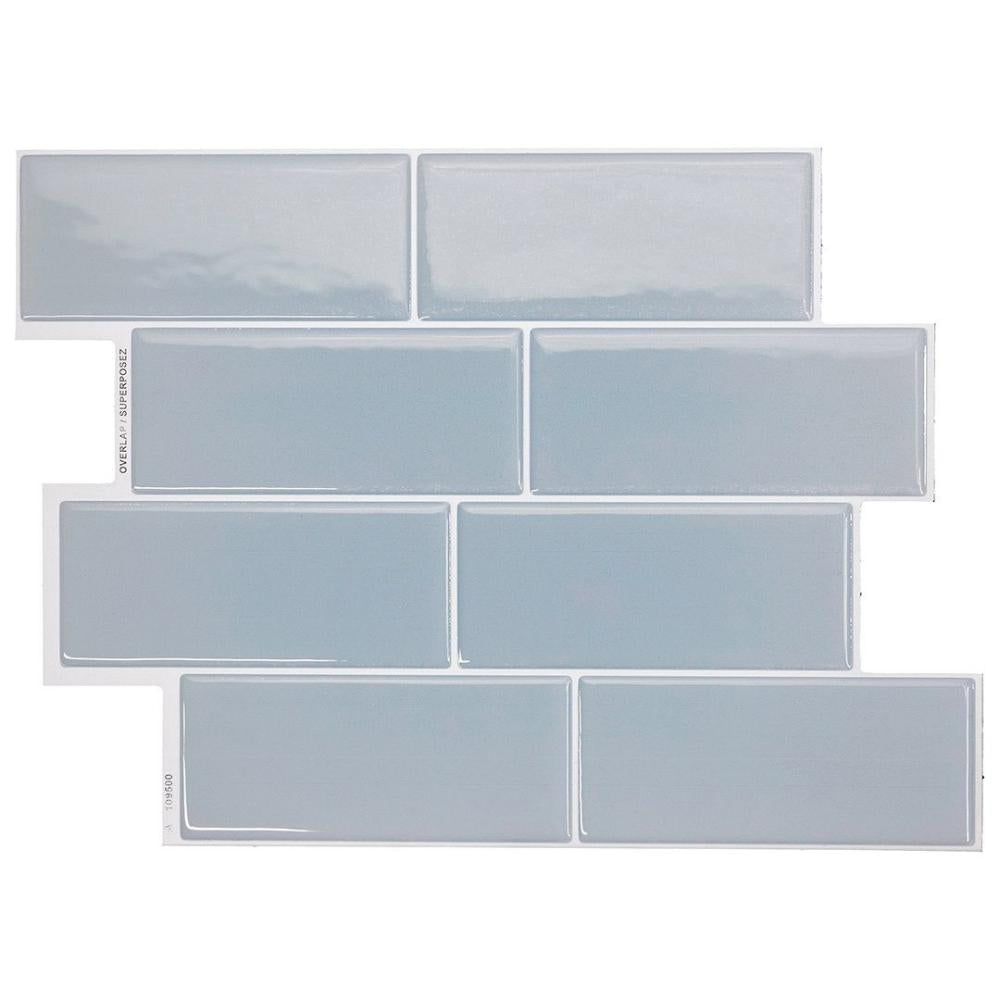
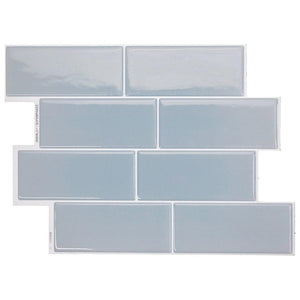
Metro Babe Blue | Self-adhesive 3D Tiles

Metro Babe Blue | Self-adhesive 3D Tiles

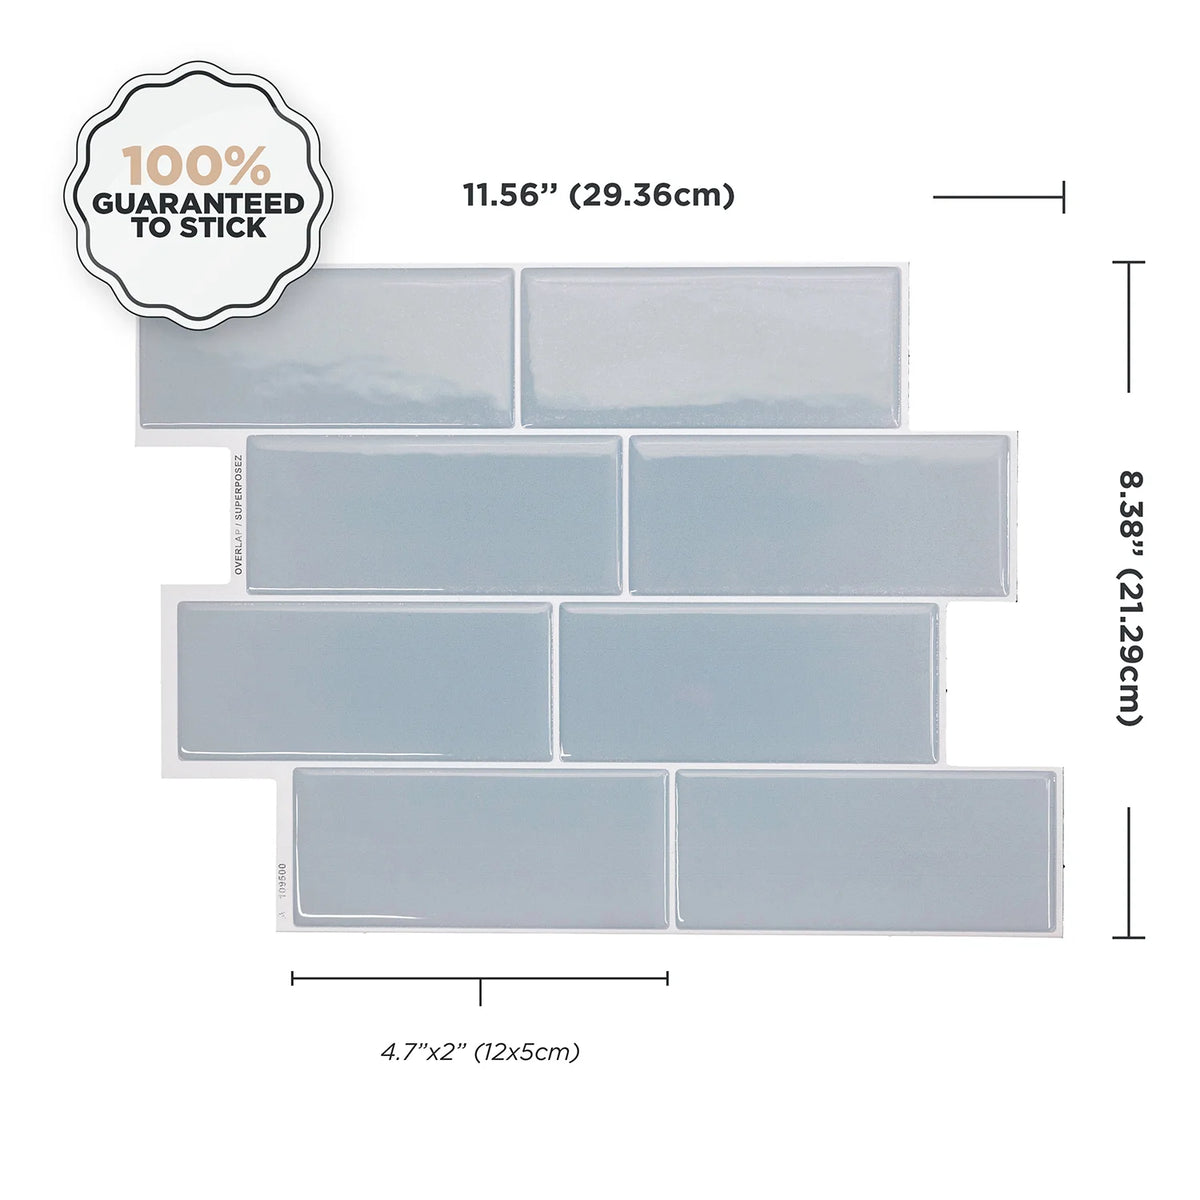
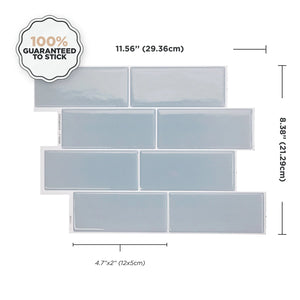
Sheet Size: 29.36cm (W) x 21.29cm (H)
Thickness: 1.8mm
Coverage: 0.21m2
Colour: Blue
Grout Colour:
White
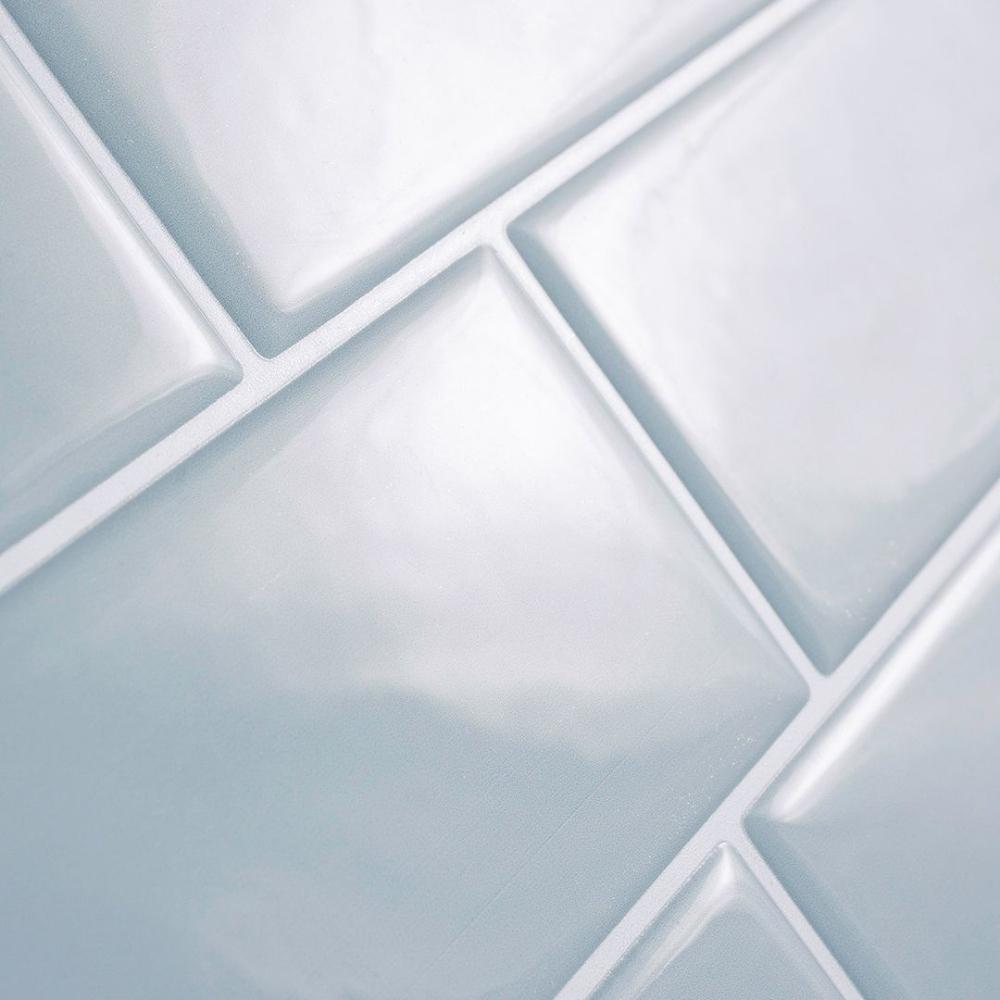
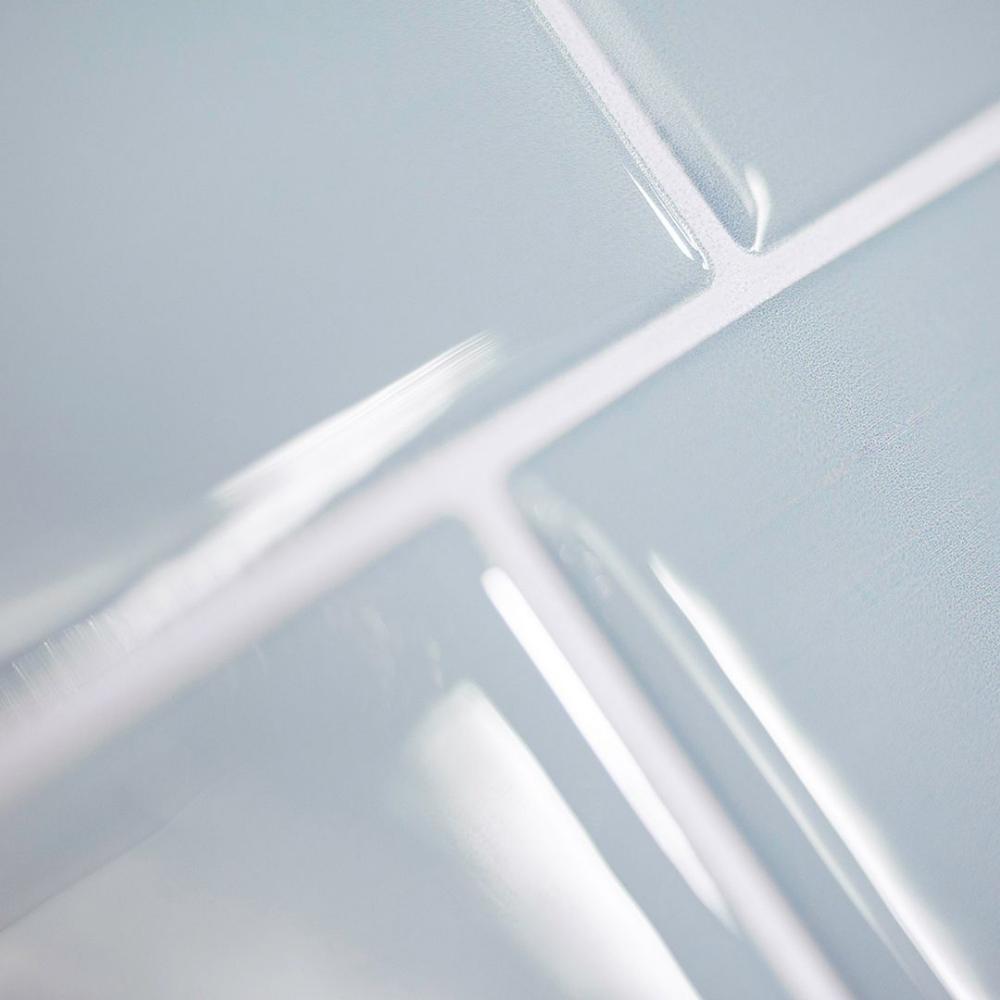
Material: Gel-O™ (3D effect), Adhesive substrate, Backing release paper

Sheet Size: 29.36cm (W) x 21.29cm (H)
Thickness: 1.8mm
Coverage: 0.21m2
Colour: Blue
Grout Colour:
White
Material: Gel-O™ (3D effect), Adhesive substrate, Backing release paper


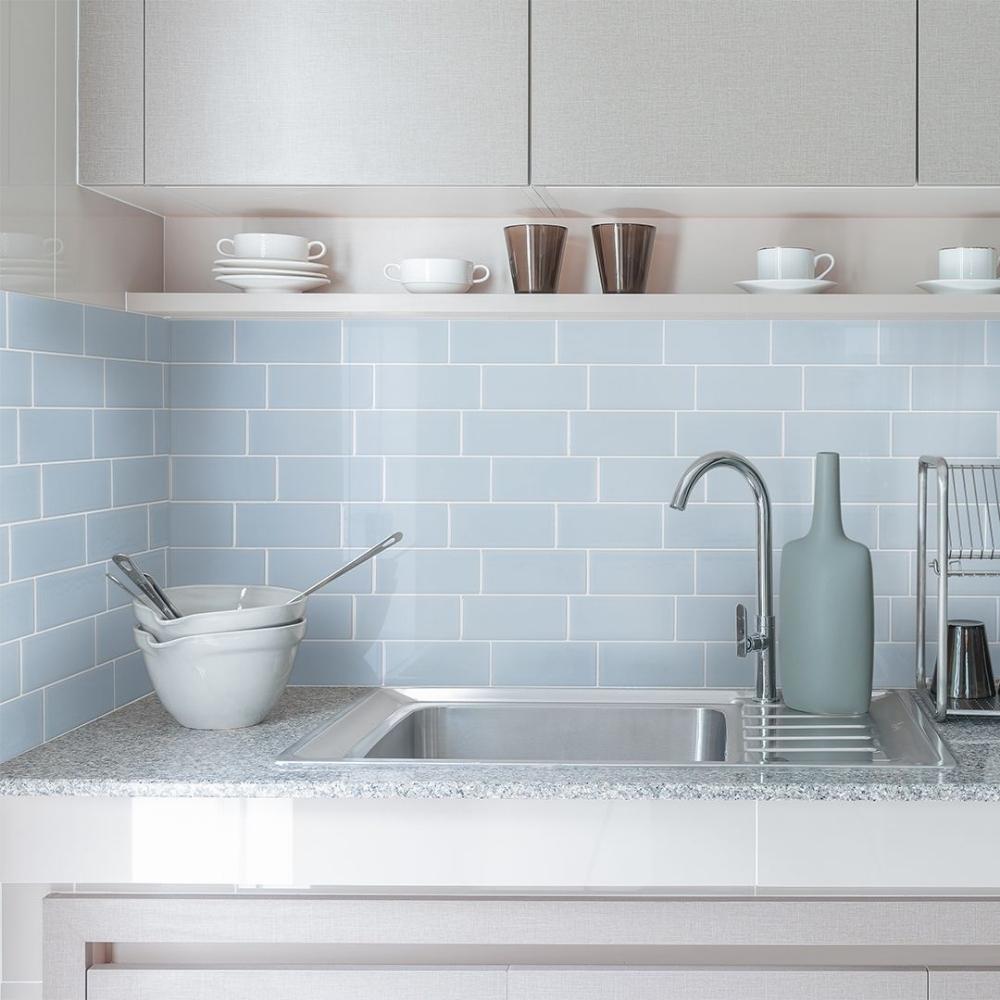
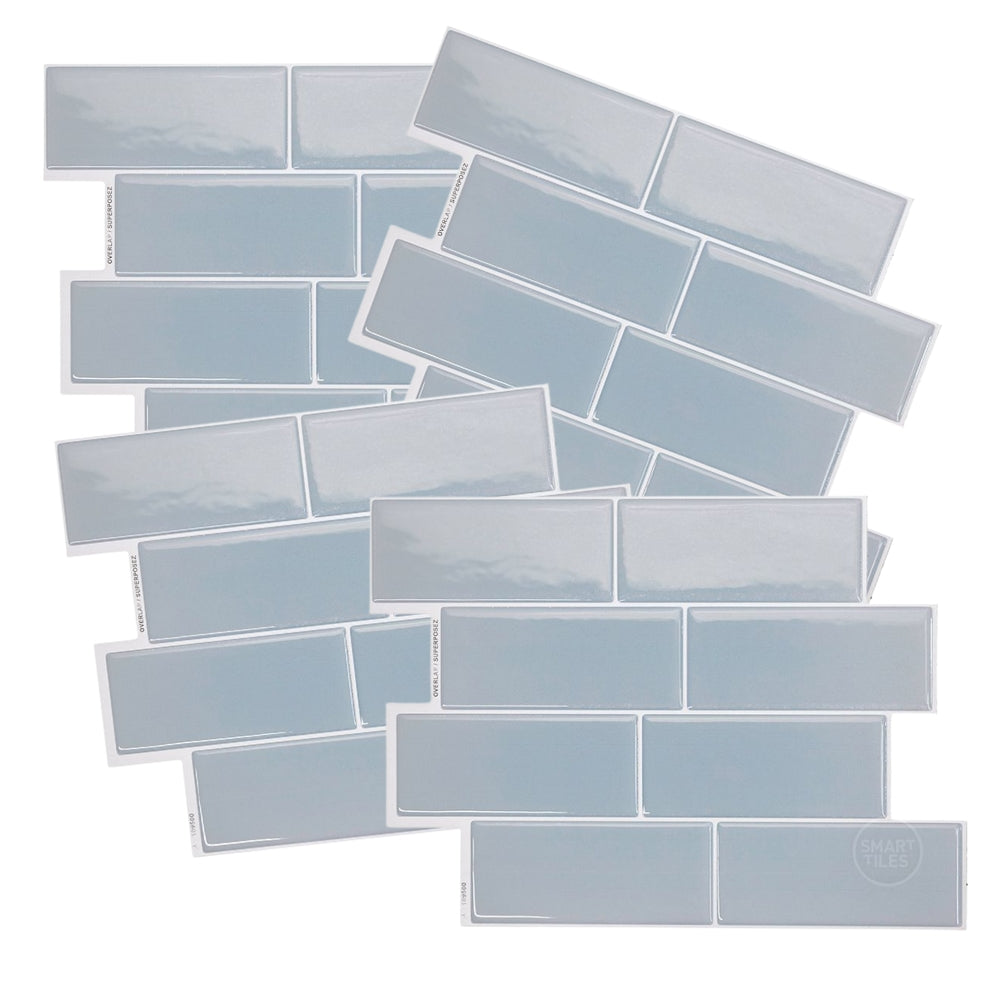
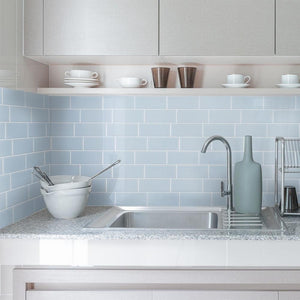
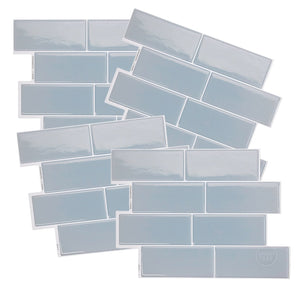
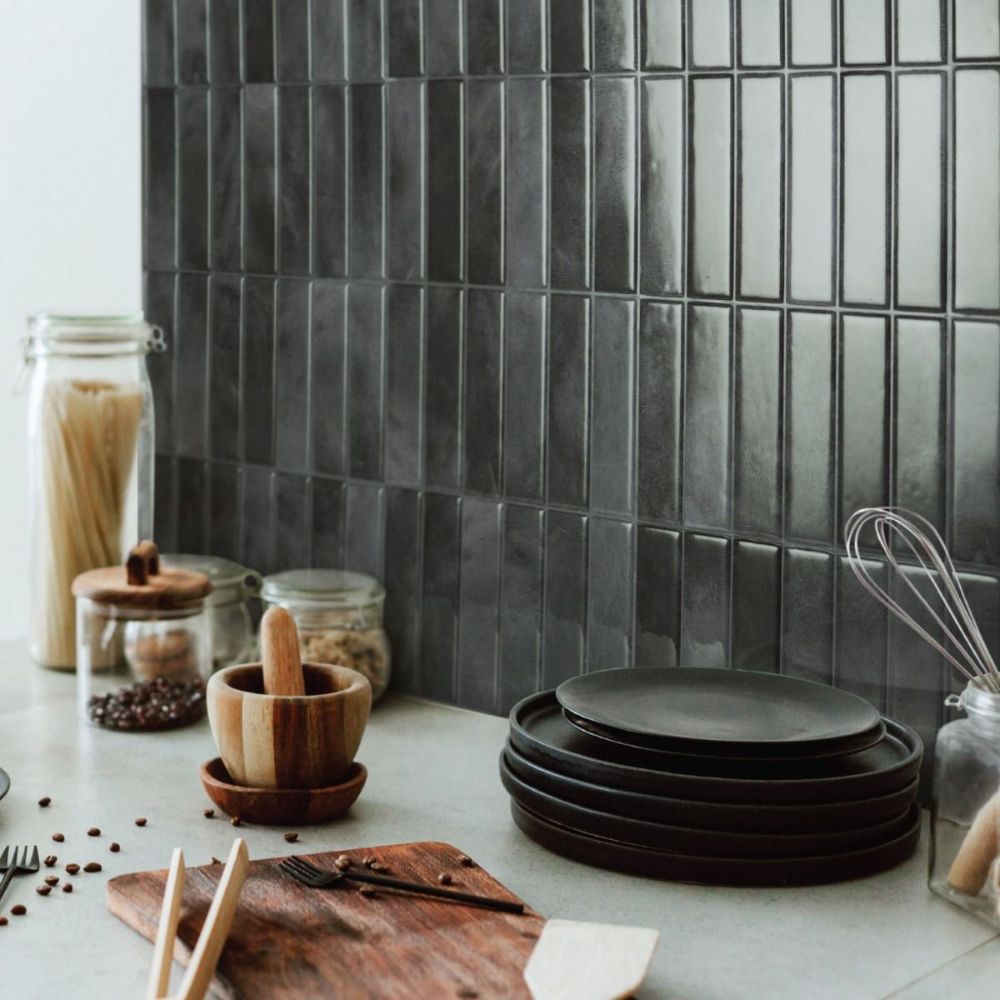
These stunning baby blue subway, easy-to-apply self-adhesive tiles come in a 4-sheet package. Cut, peel, and stick for a quick and cost-effective way to revamp a kitchen, bathroom, laundry, or even a camper van or bach. The individual tile size is 12cm x 5cm with a 5cm overlapping area.  The special glue technology allows for tiles to be repositioned during application. Ready to make your splashback dreams come true? Look no further than Metro Babe Blue!


Premium trusted brand
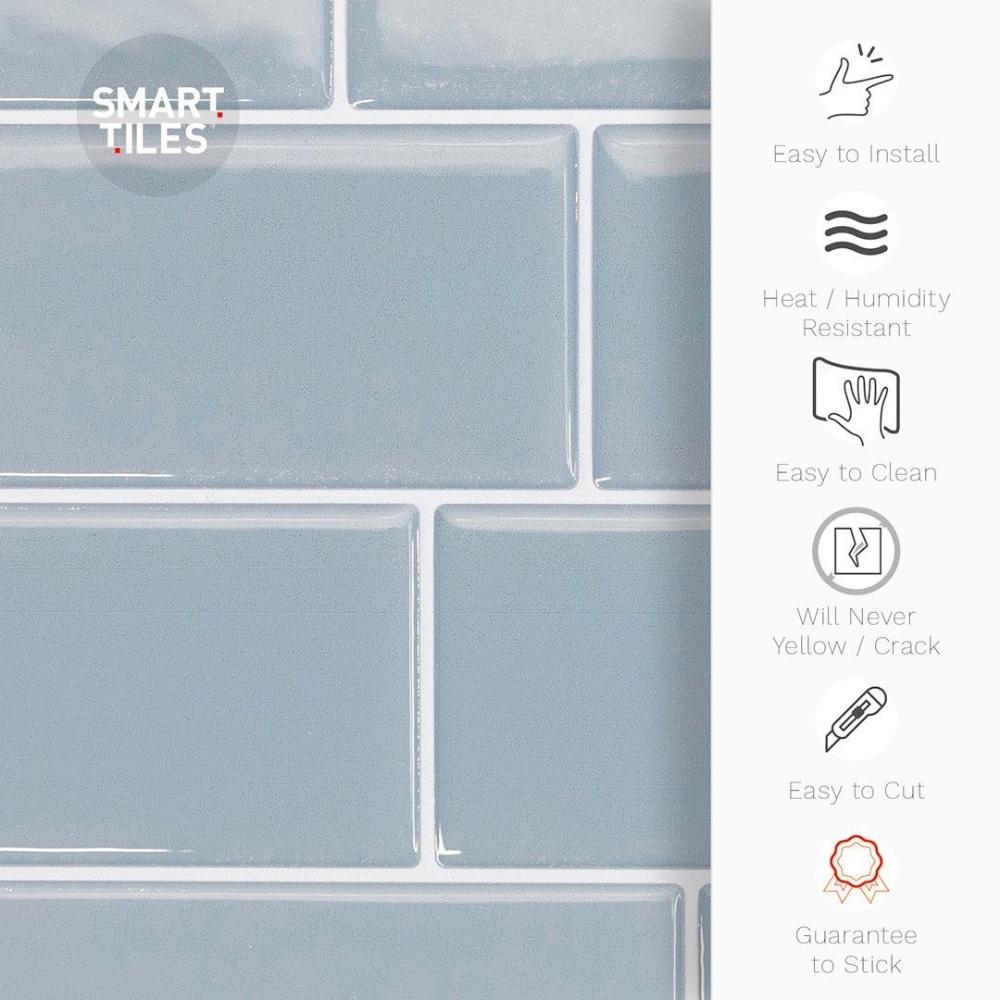
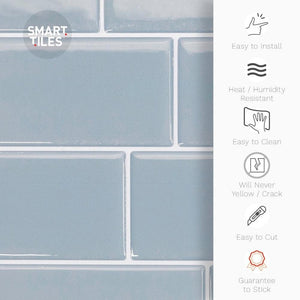
Easy installation
Reposition-able
No grout needed
Easy to clean
Heat & humidity resistant
Apply over existing tiles
Cut with craft knife
Guaranteed to stick
  • just cut, peel and stick
  • easy to wipe clean
  • humidity and heat resistant 48 hours after application
  • anti-bacterial and anti-mould
  • will never yellow or crack
  • lightweight - ideal for the motorhome!
  • special glue technology which allows for the tiles to be re-positioned during application


These premium self-adhesive 3D wall tiles are designed to be used as a splash back. They are of high quality and ideal for renovating the kitchen, bathroom, laundry room and even the camper van or the bach.

You don't need to worry about special tools, grout and mess. This is a quick and cost effective way to DIY your own splash back or give your existing one a makeover.

If you are unsure of what design is most suitable for your project, we recommend that you order a single sheet first.

Important:If your installation surface is not listed below, please contact us for advice before you purchase.

Recommended surfaces

Self-adhesive tiles can be installed on smooth and undamaged surfaces like:

  • painted gib (after a 21-day curing time for fresh paint)
  • smooth ceramic tile
  • wall panel (acrylic)
  • wall linoleum
  • mirror
  • wallpaper

Not suitable surfaces

It is not recommended to install self-adhesive tiles on the following surfaces:

  • porous wood
  • relief ceramic tiles
  • textured wallpaper
  • unpainted gib
  • inside shower
  • floors
  • bench tops
  • ceilings
  • brick
  • stone

For a successful installation you will need:

  • grease remover (e.g. sugar soap)
  • cutting mat
  • metal edge ruler
  • tape measure
  • craft knife
  • pen
  • level

Save time and order from our carefully selected tools.

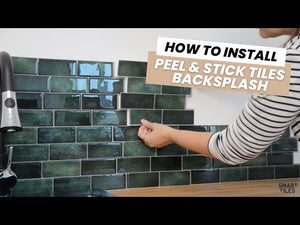
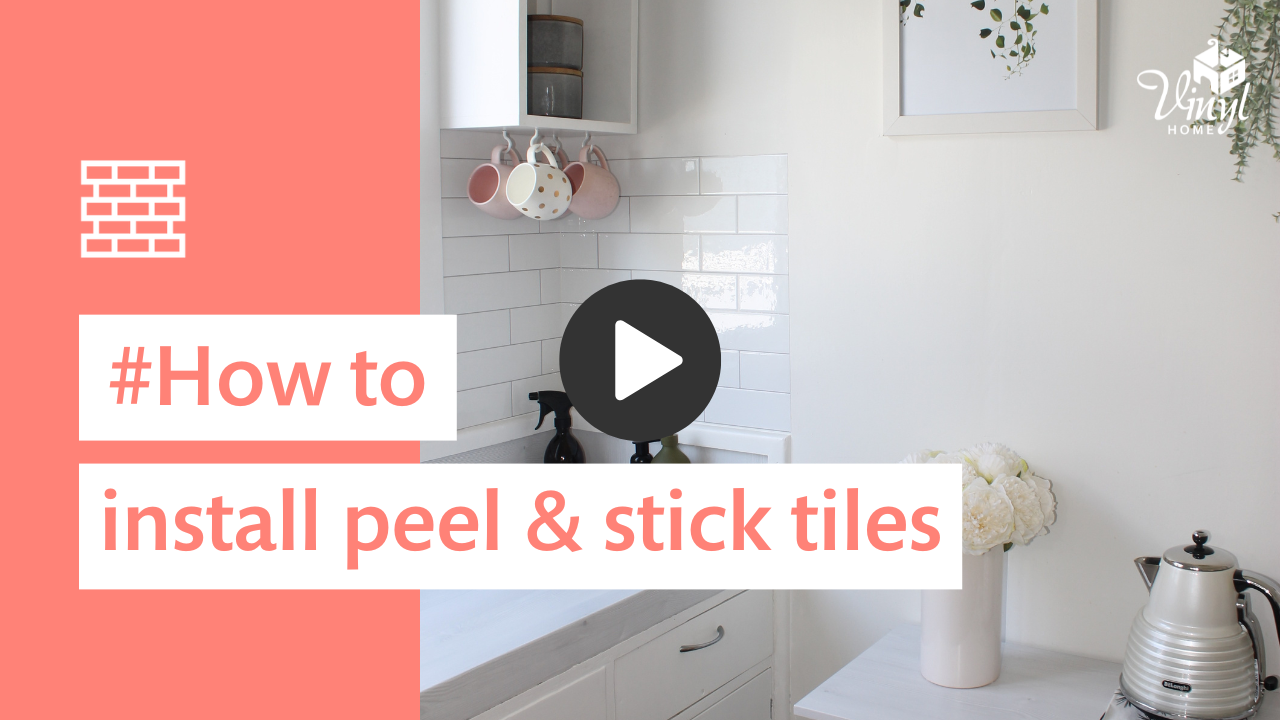
This is how you install the self-adhesive tiles. Make sure that you follow all the instructions carefully:

  1. Cleaning: Wash the surface with a powerful grease-remover such as sugar soap. Make sure you allow enough time for the surface to dry properly.
  2. Guideline: using a level or chalk line, trace a guideline to ensure perfect alignment using a tile sheet to mark the height of your guideline on the lowest side of the bench top
  3. Measuring & Cutting: use a utility knife and a metal ruler to trim and shape your tiles around electrical outlets or other irregularities. Measure and mark your tiles and then lay it on a cutting mat to cut off the unwanted portion.
  4. Peel: Fold back half of the protective paper in the back without touching the adhesive portion with your fingers. We strongly recommend you wash your hands before you start the installation to ensure no dust particles or greasy residue are transferred to the adhesive.
  5. Align & Stick: Now align the adhesive portion with your guideline and apply a light pressure. This will allow you to validate the positioning of your tiles. Once you are satisfied with it's placement and alignment, you may remove the rest of the protective paper and apply a firm pressure across the entire surface.
  6. Overlapping: Once you've successfully installed the first sheet of tiles, you may continue the process making sure you overlap all the grout lines as you go. This will result in a continuous and even layout of the entire project.

Scroll down for a full video tutorial.

Smart Tiles® will stick on your walls for as long as you wish them to. That's our guarantee! We offer replacement of defective Smart Tiles following file investigation and depending on certain conditions. Smart Tiles® also guarantee the products for a period of thirty (30) days starting from the date of purchase and applies only to design or manufacture defects, excluding any hue or colour change and labour expenses. For the warranty to be valid, the manufacturer installation recommendations must be followed.

  • Wait a period of three weeks before affixing Smart Tiles on a freshly painted wall to allow the paint to penetrate and dry thoroughly.
  • The surface must be smooth and undamaged.
  • The surface must be clean and dry.
  • You should clean the surface with a degreaser such as sugar soap.
  • During installation, the ambient temperature must be at least 18°C and should not exceed 35°C.
  • Smart Tiles should not be exposed to direct steam, or be in direct contact with a heat source and should not be submerged in water (do not install in the shower).
  • To install behind a gas range without a protective rear panel, allow a height of 20 centimetres above the surface to prevent the tiles from coming in contact with open flame and we recommend installing our Smart Panel. If there is a wall to the right or left side of the range, Smart Tiles must be installed at least six centimetres away.
  • Keep a distance of at least six centimetres between an oven toaster grill and wall covered with Smart Tiles.
  • If you decide to remove the Smart Tiles once they have been firmly applied, they cannot be reused.
  • Smart Tiles are not designed to cover floors, countertops or work surfaces, or to serve as a trivet.
  • For maintenance, you should only use a mild non-abrasive product.

Avoid cleaning products containing bleach. Avoid food with strong colouring like turmeric and curry spices, grinded coffee, food colouring and tomato sauce as they may stain the surface

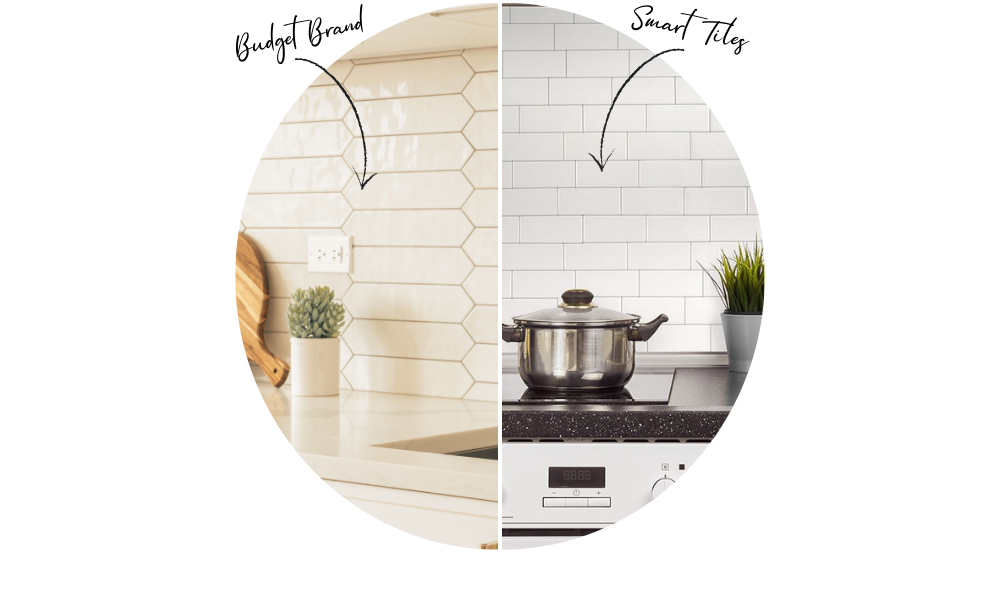
Know what you are buying!

Know what you are buying!

Say goodbye to low quality and hello to a tile that will last

  • Budget stick on tiles tend to yellow after a few months - Smart Tiles don't
  • Budget stick on tiles usually have an instant bonding glue and therefore can't be repositioned - Smart Tiles can.
    The adhesive cures fully after 24-48h
  • Budget stick on tiles usually don't come with any warranty - Smart Tiles have a lifetime warranty.
    They will never crack or yellow and stick to the walls as long as you want them to

Customer Reviews

Based on 1 review
100%
(1)
0%
(0)
0%
(0)
0%
(0)
0%
(0)
M
Marcela Palomino

Metro Babe Blue | Self-adhesive 3D Tiles

Search

FREE SHIPPING over $199 in NZ
PROUDLY NZ owned & operated
ORDERS SHIP in 1 business day
EASY RETURNS within 30 days
Read full policy: * conditions apply
EASY INSTALLATION FREE tutorials
PROUDLY NZ owned & operated
ORDERS SHIP in 1 business day
EASY RETURNS within 30 days
PREMIUM TRUSTED BRAND
EASY INSTALLATION
REPOSITION-ABLE
NO GROUT NEEDED
EASY TO CLEAN
HEAT & HUMIDITY RESISTANT
APPLY OVER EXISTING TILES
GUARANTEED TO STICK
AFFORDABLE AND HASSLE-FREE
EASY INSTALLATION
REPOSITION-ABLE
EASY TO CLEAN
RESISTANT TO MOISTURE & HEAT
CUT WITH CRAFT KNIFE
Premium trusted brand
Easy installation
Reposition-able
No grout needed
Easy to clean
Heat & humidity resistant
Apply over existing tiles
Cut with craft knife
Guaranteed to stick
Affordable & Hassle-free Solution
Easy installation
Reposition-able
Easy to clean
Resistant to moisture & heat
Cut with craft knife
Easy installation
95% UV protection
Privacy film
Remove & Reuse
Easy installation
99% UV protection
45% protection against direct heat radiation
Remove & Reuse
Easy installation
99% UV protection
60% protection against direct heat radiation
Privacy & Glare protection
Remove & Reuse
Easy installation
Apply over existing tiles
Easy to clean
3D design
Suitable for wet areas when sealed
Easy installation
Waterproof
Skidproof
Strong Viscosity
Easy installation
Waterproof
Skidproof
Food safe
Dishwasher safe
Easy installation
Waterproof
Skidproof
Laundry safe