FREE NZ SHIPPING OVER $199

FREE NZ SHIPPING OVER $199

Search

Edge Trims for Wall Tiles

Complete your self-adhesive wall tiling job with smart accessories.

Vinyl Home -Gift Card

Shopping for someone else? Treat them with a DIY gift card and let them select their favourite design.

Tool Bundle
Get all the tools you need for your project

Equip yourself with the right tools and take your DIY project to the next level!

New

Introducing FLEXI Rectangular Green Gloss

– Tropical Vibes, Glossy Finish, No Grout Required

PREMIUM

Pick a Pack to Save

Savings on selected packs – not multiple individual tiles.

1 Tile $6.00
24-Pack $144.00 $129.00 Save 10% or $0.63 per tile

Single tiles are non-returnable

Size: 1 Tile

FREE SHIPPING over $199 in NZ
PROUDLY NZ owned & operated
ORDERS SHIP in 1 business day
EASY RETURNS within 30 days
Read full policy: * conditions apply

FLEXI Rectangular Green Gloss | Self-adhesive PREMIUM Composite Tiles

FLEXI Rectangular Green Gloss | Self-adhesive PREMIUM Composite Tiles

Tile Sheet Size: 30cm (W) x 7.5cm (H)
Thickness: 3.3mm
Coverage/Pack: 0.54m2
Colour: Green
Grout Colour:
White
Material: SPC, aluminium, SPC mixed with stone powder, strong PE adhesive, backing paper

Tile Sheet Size: 30cm (W) x 7.5cm (H)
Thickness: 3.3mm
Coverage/Pack: 0.54m2
Colour: Green
Grout Colour:
White
Material: SPC, aluminium, SPC mixed with stone powder, strong PE adhesive, backing paper

Premium thickness
Easy installation
Cut with craft knife
No grout or mortar needed
Apply over existing tiles
Hides old grout lines
Heat & humidity resistant
Easy to clean
Extra strong glue

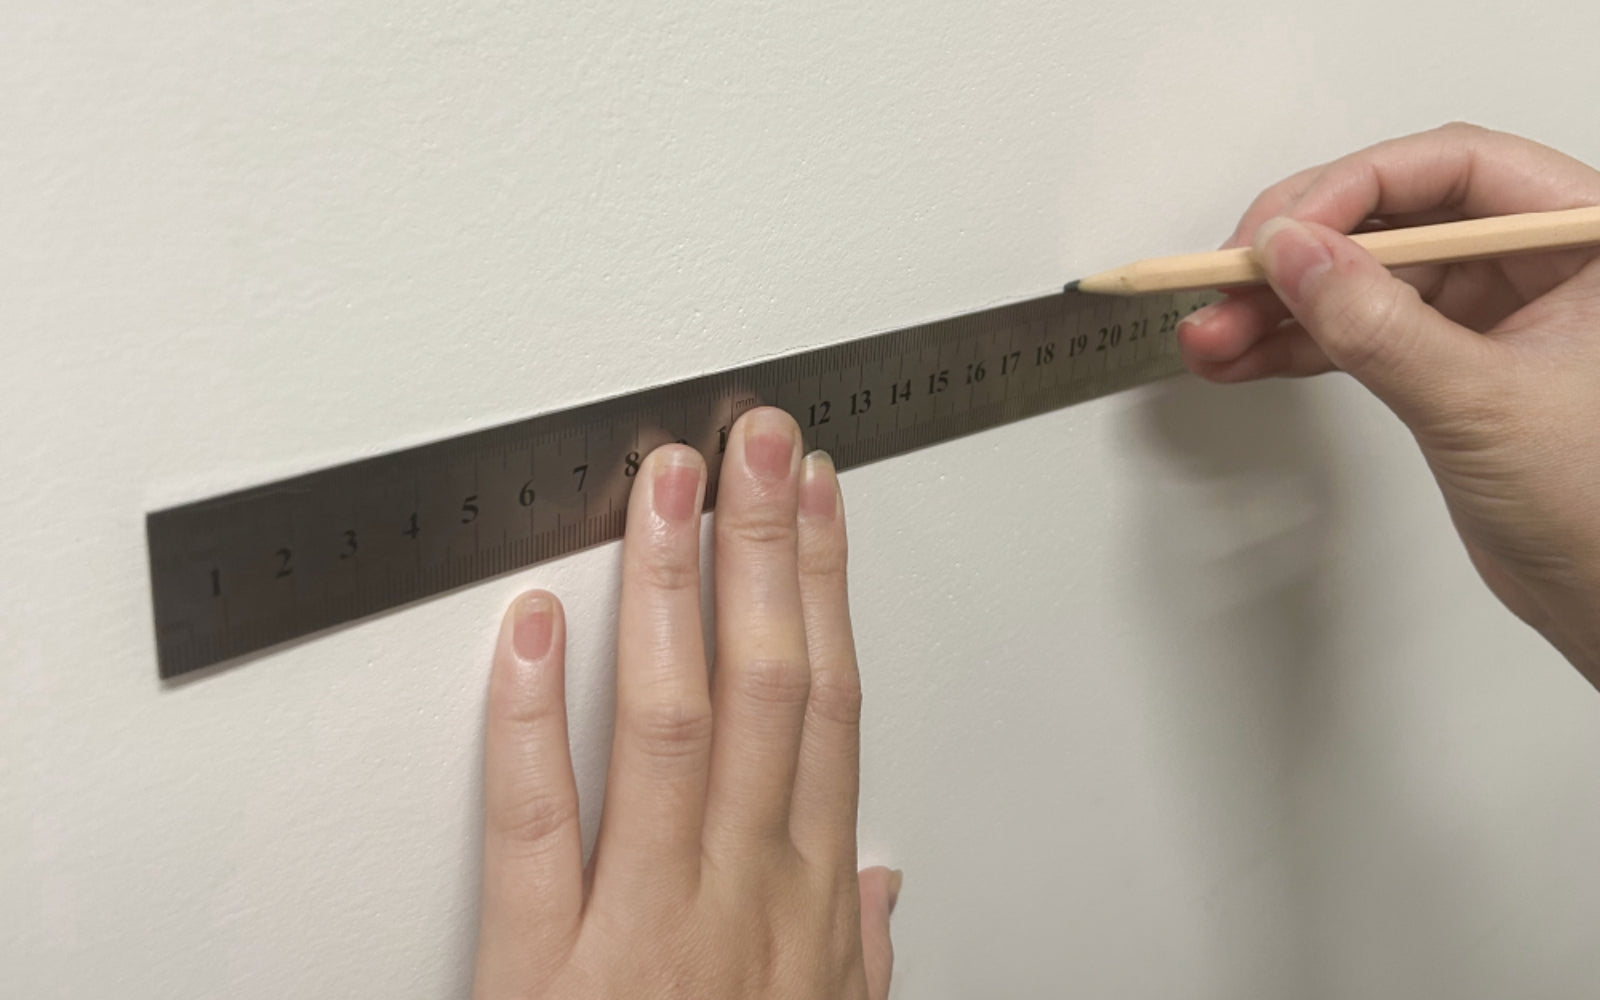
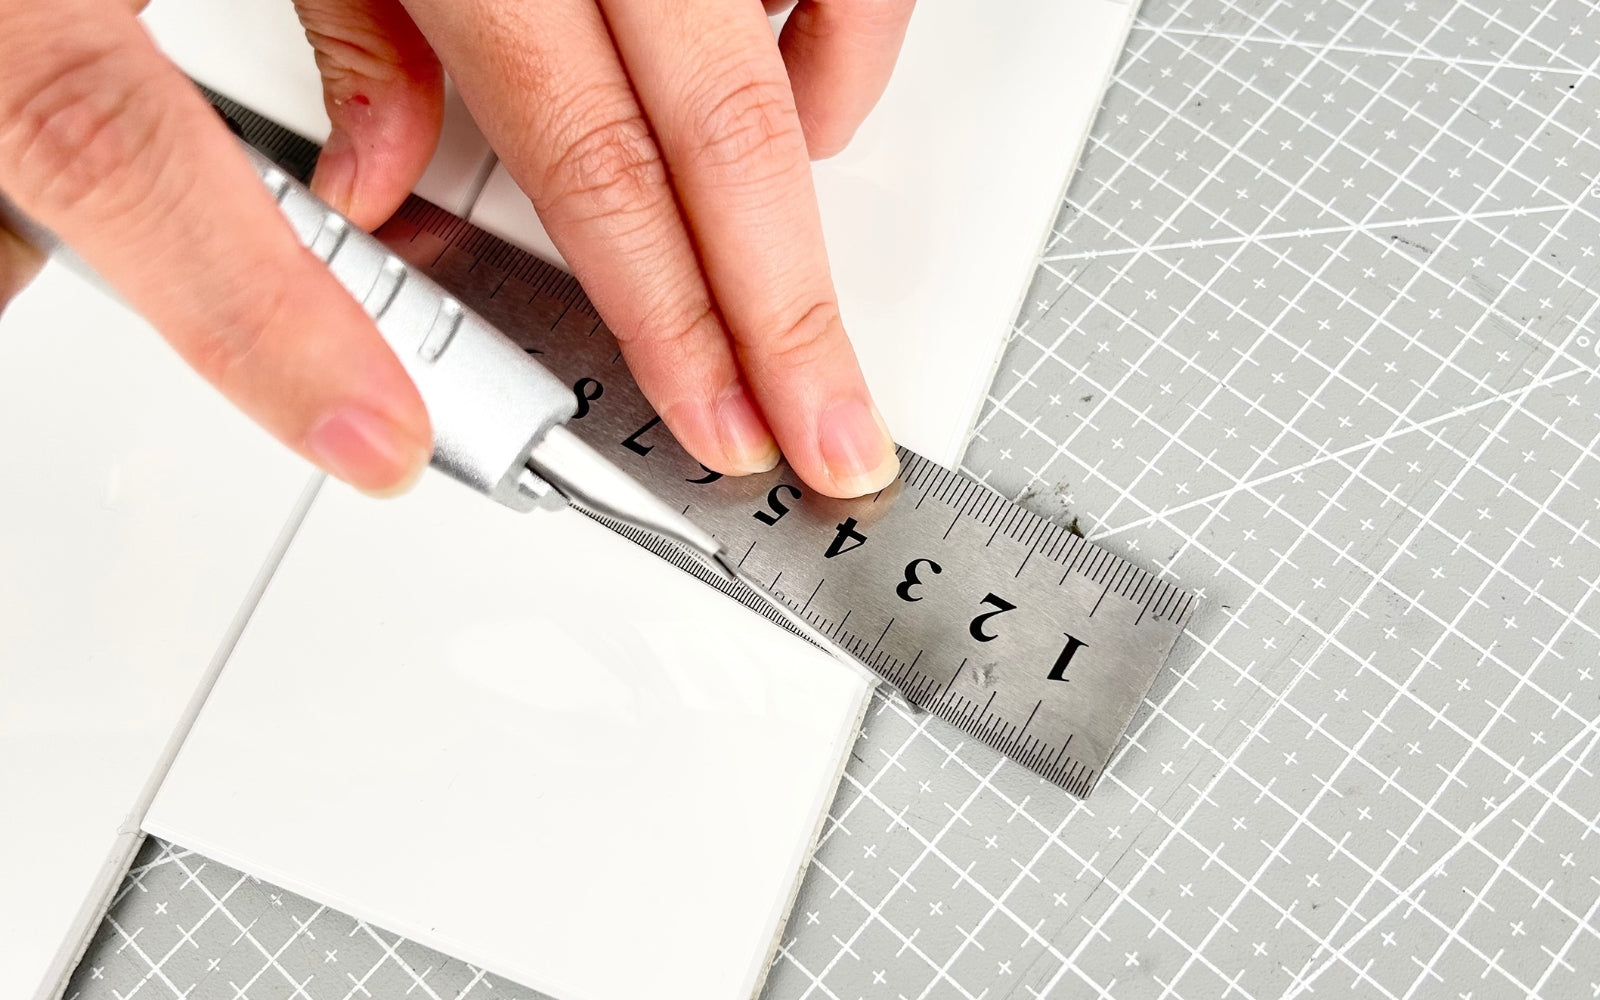
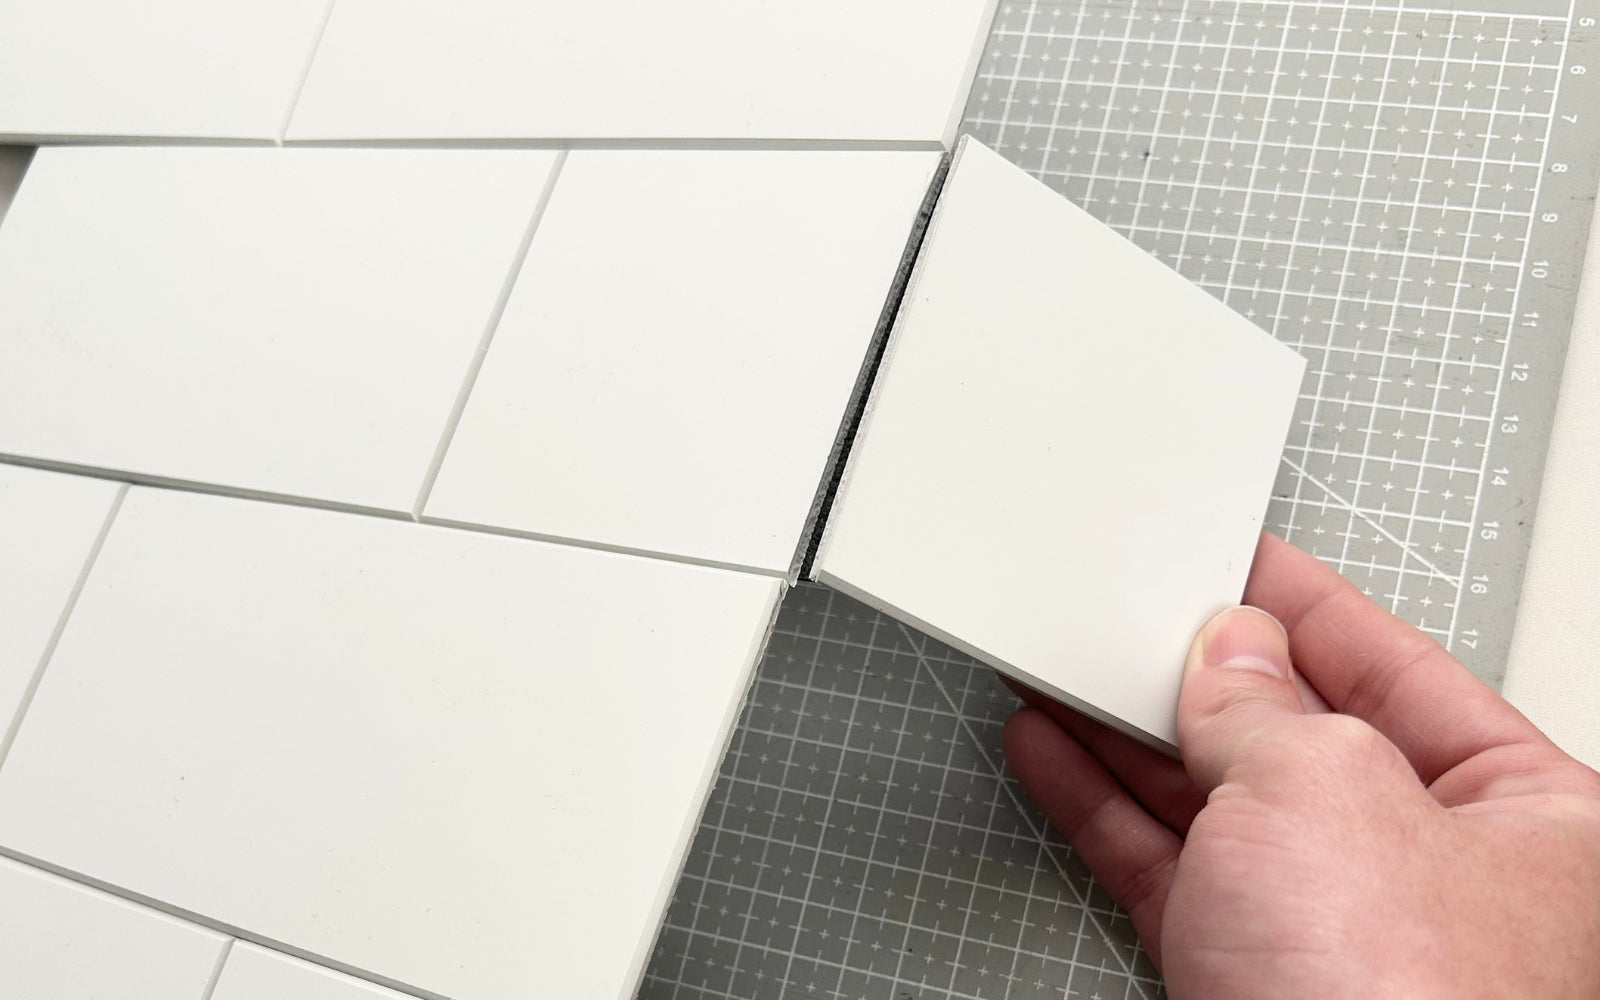
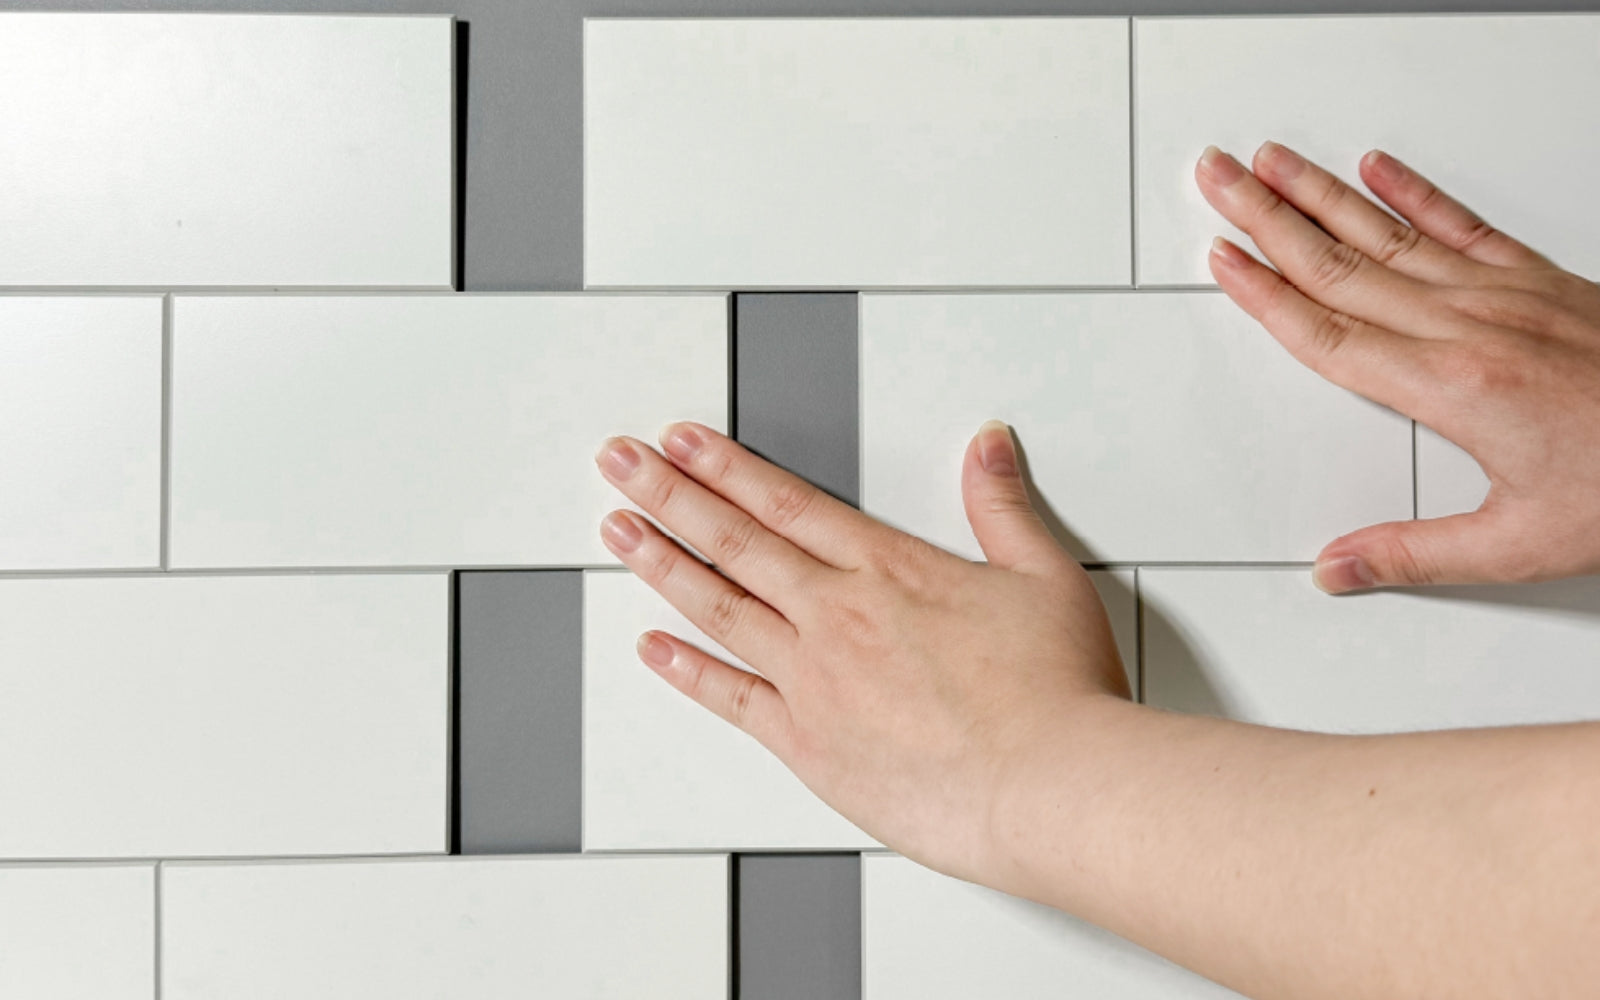
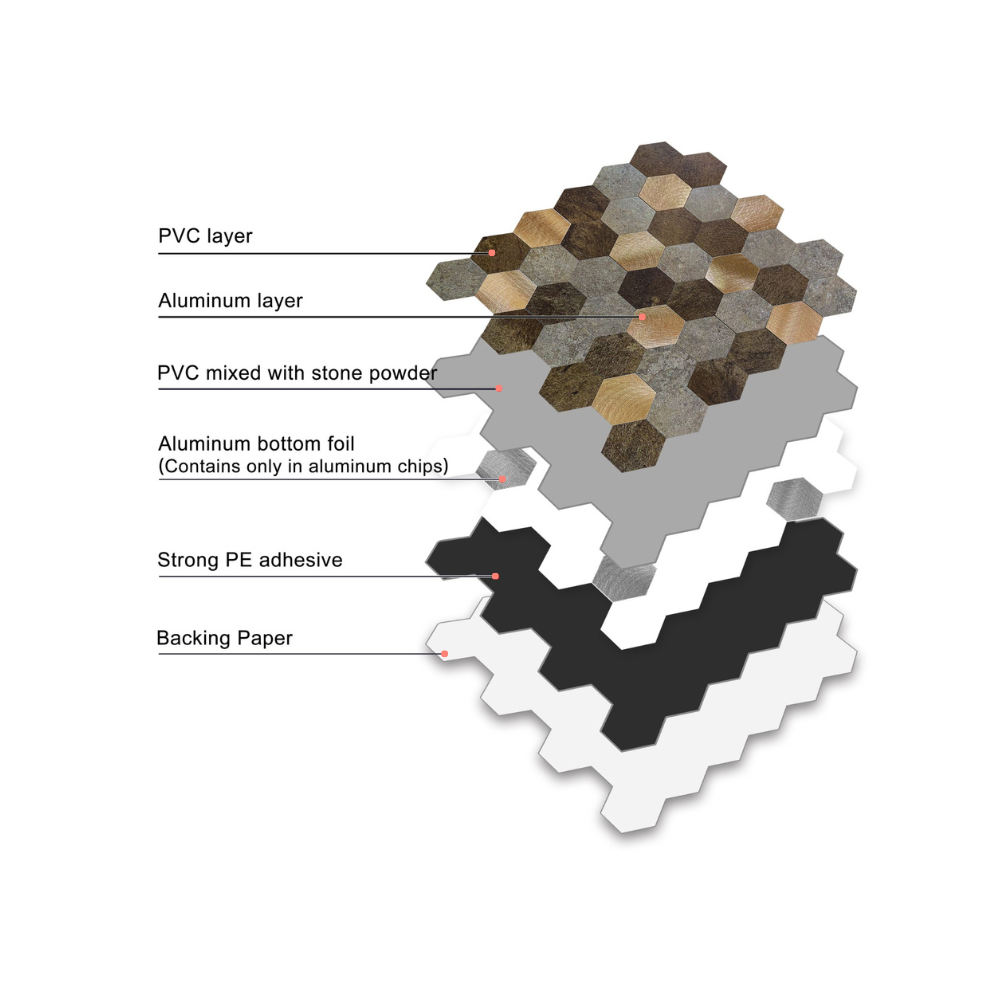
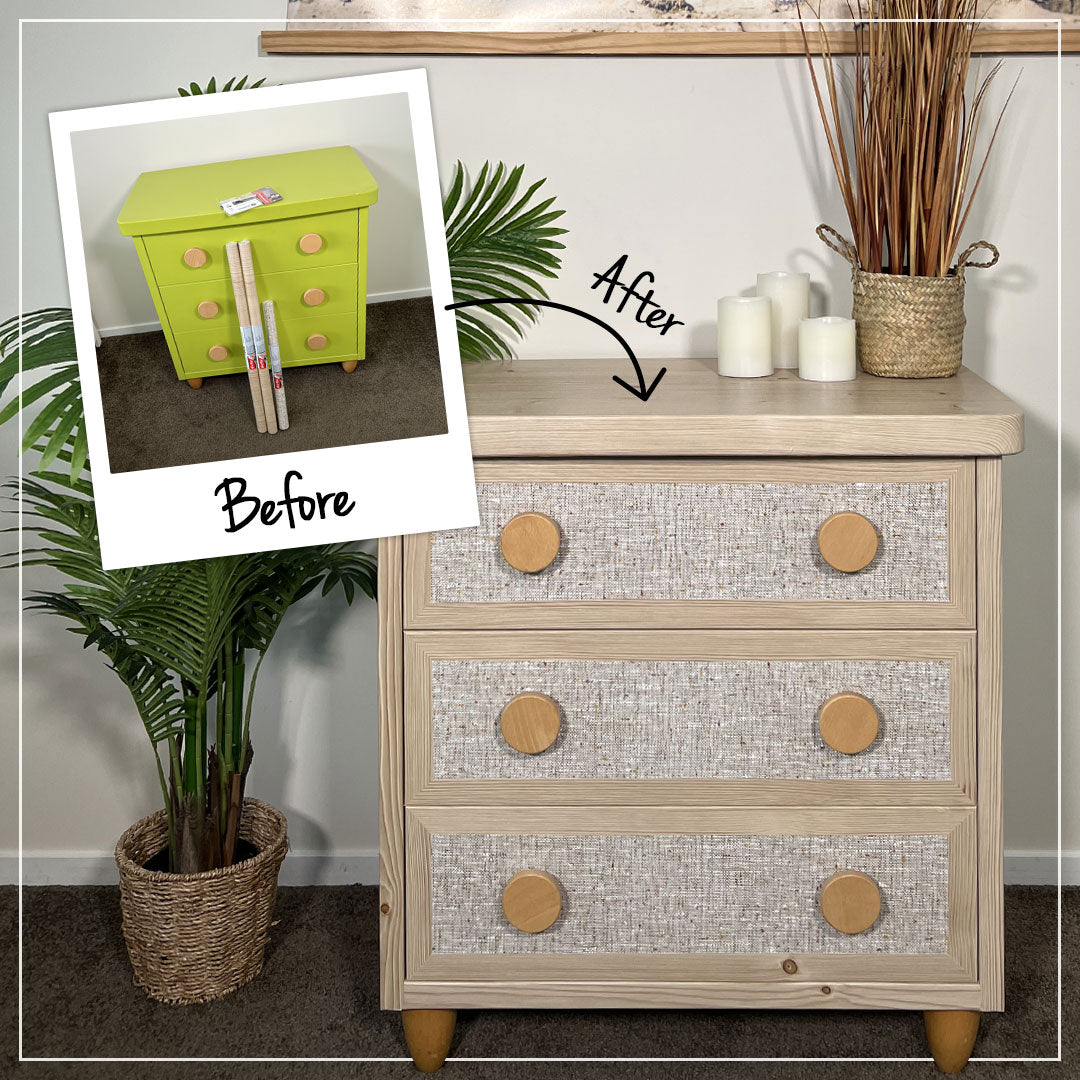
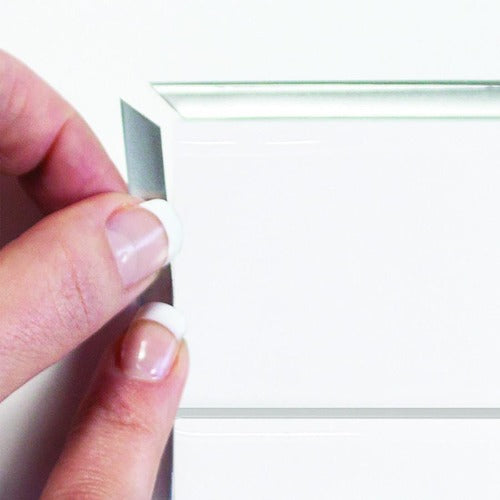
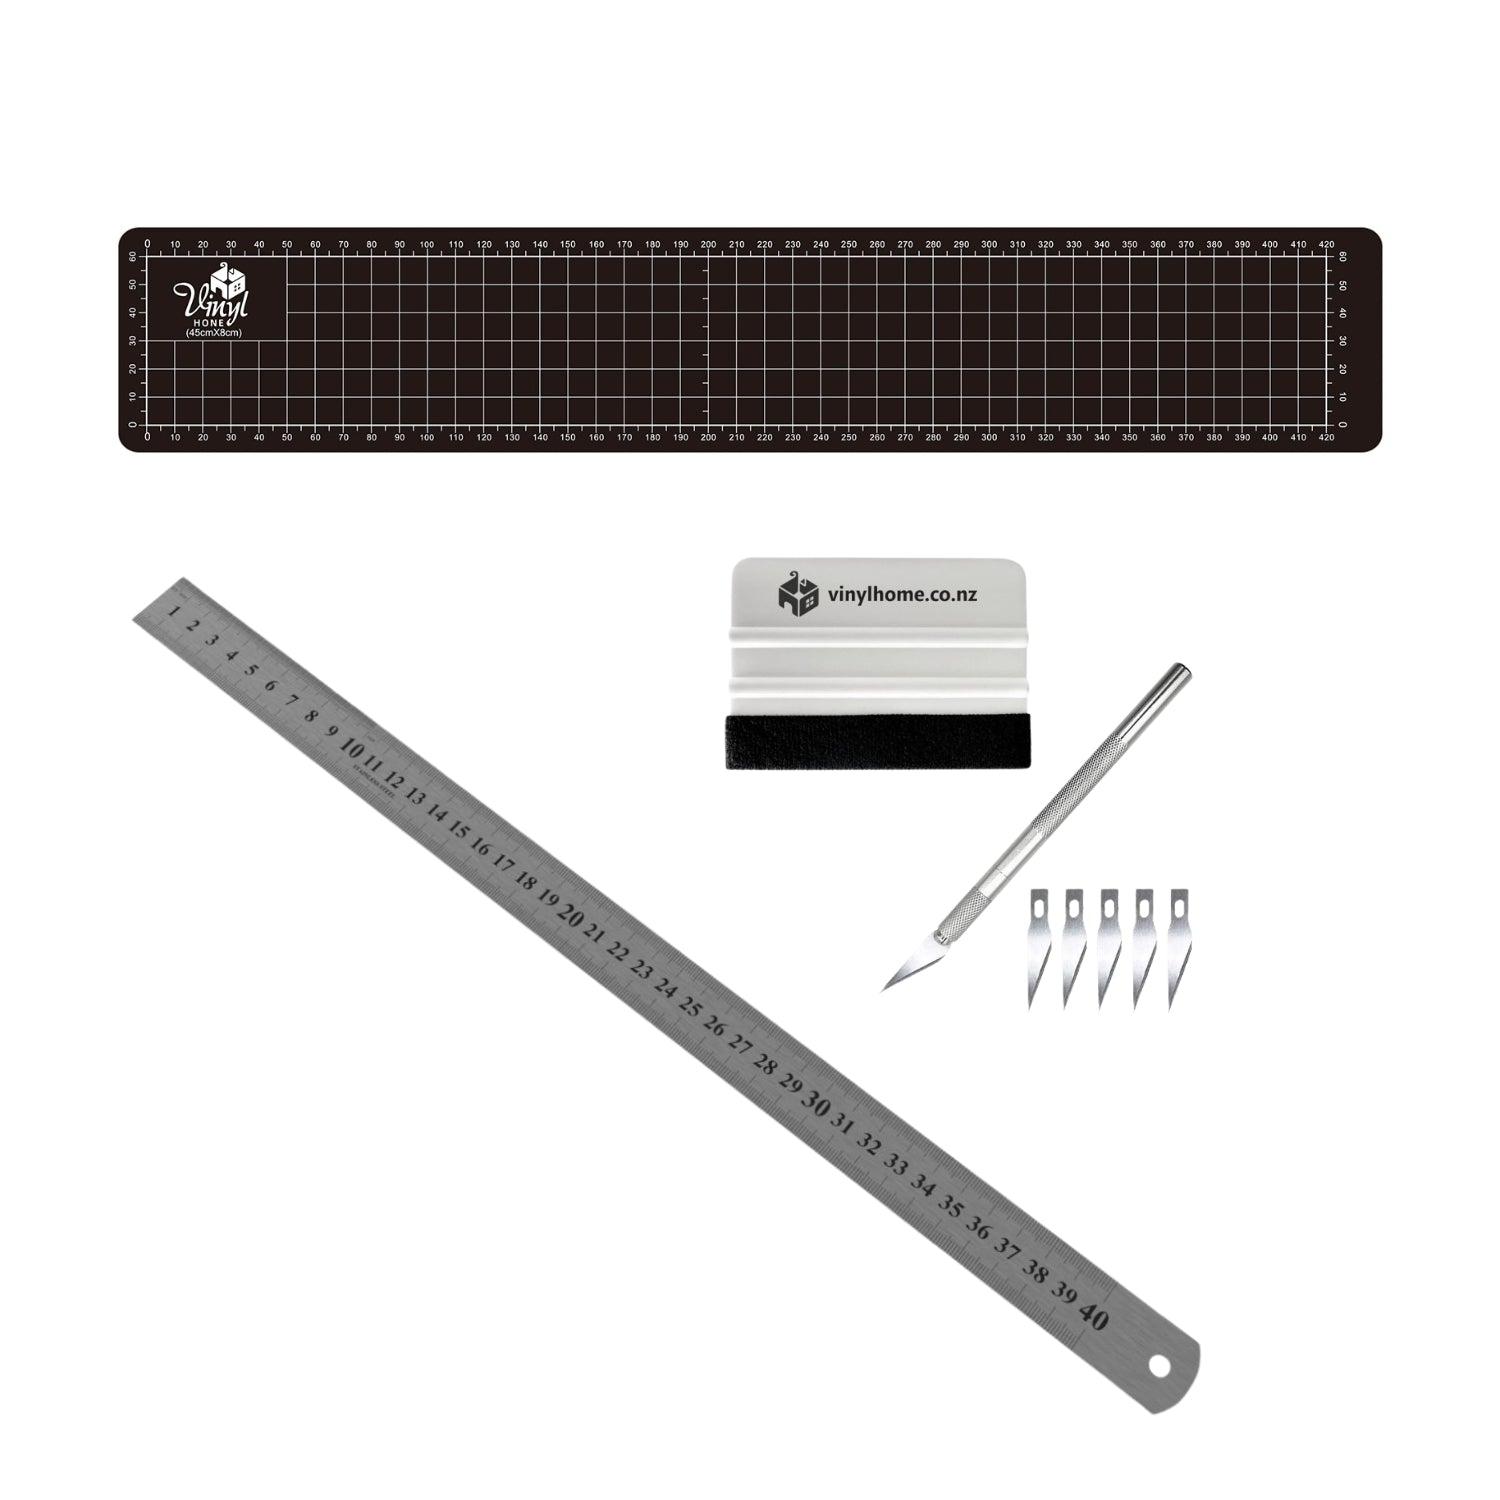
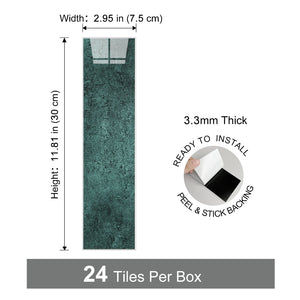
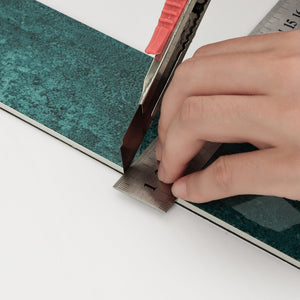
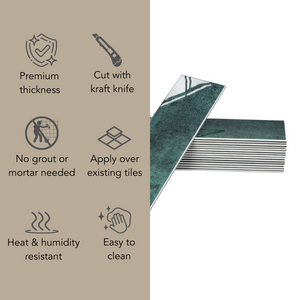
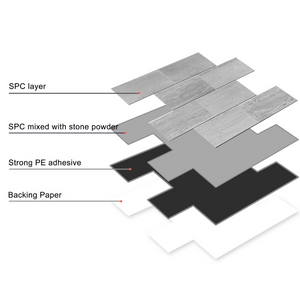
  • just cut, peel and stick
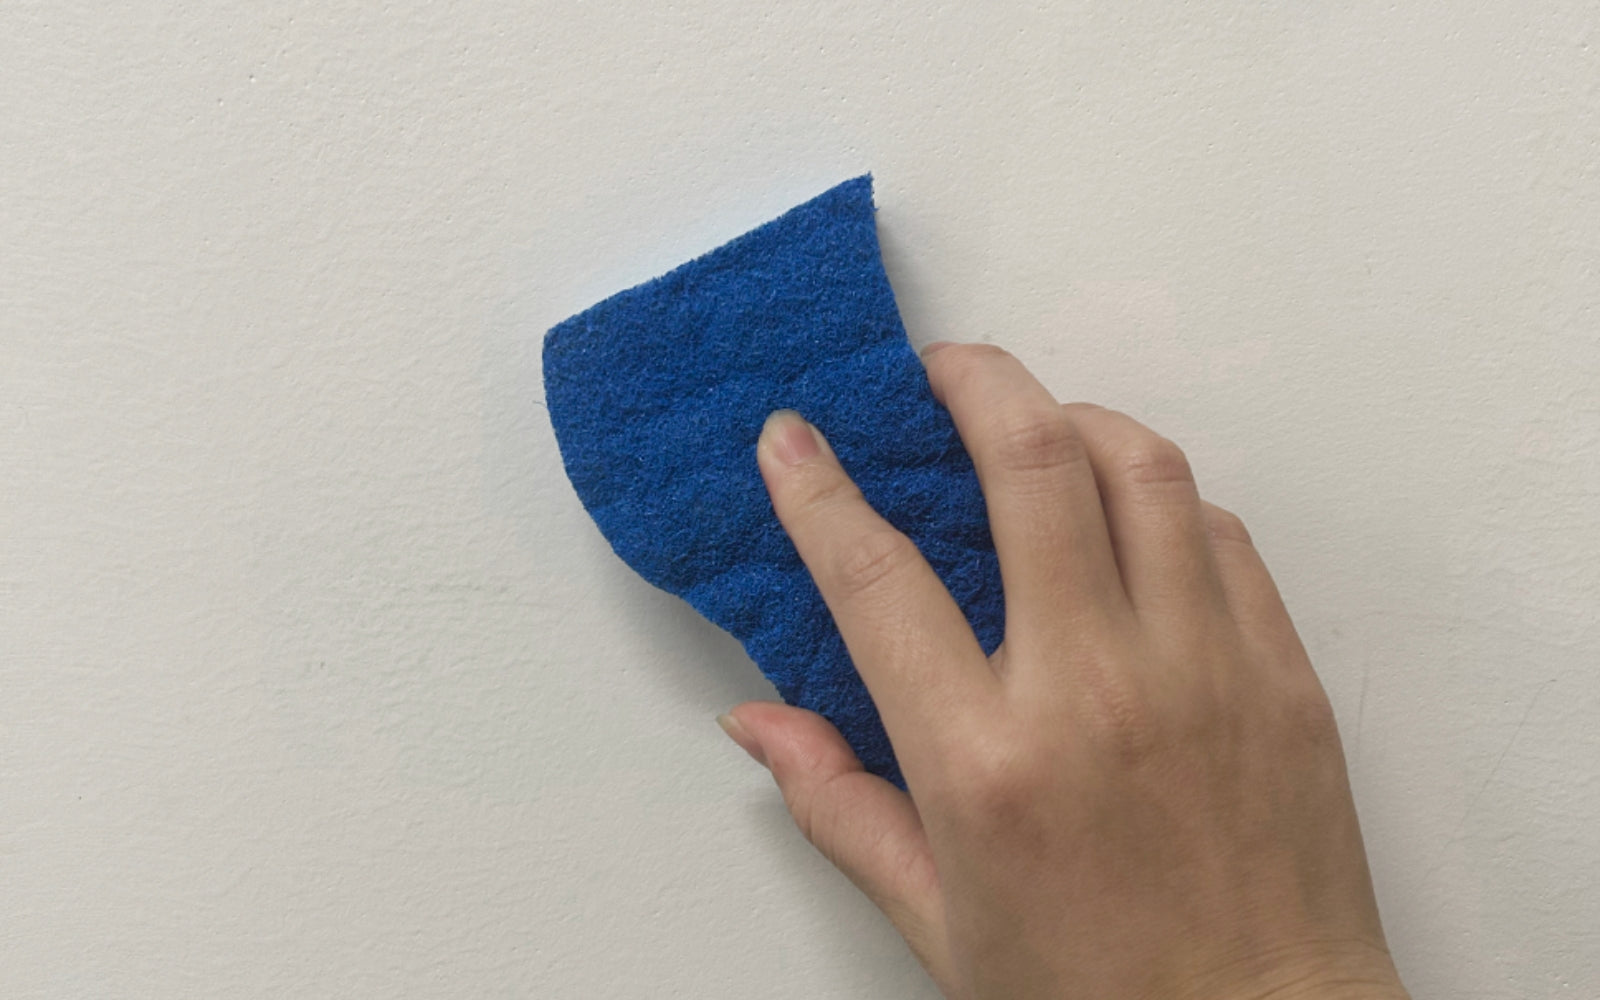
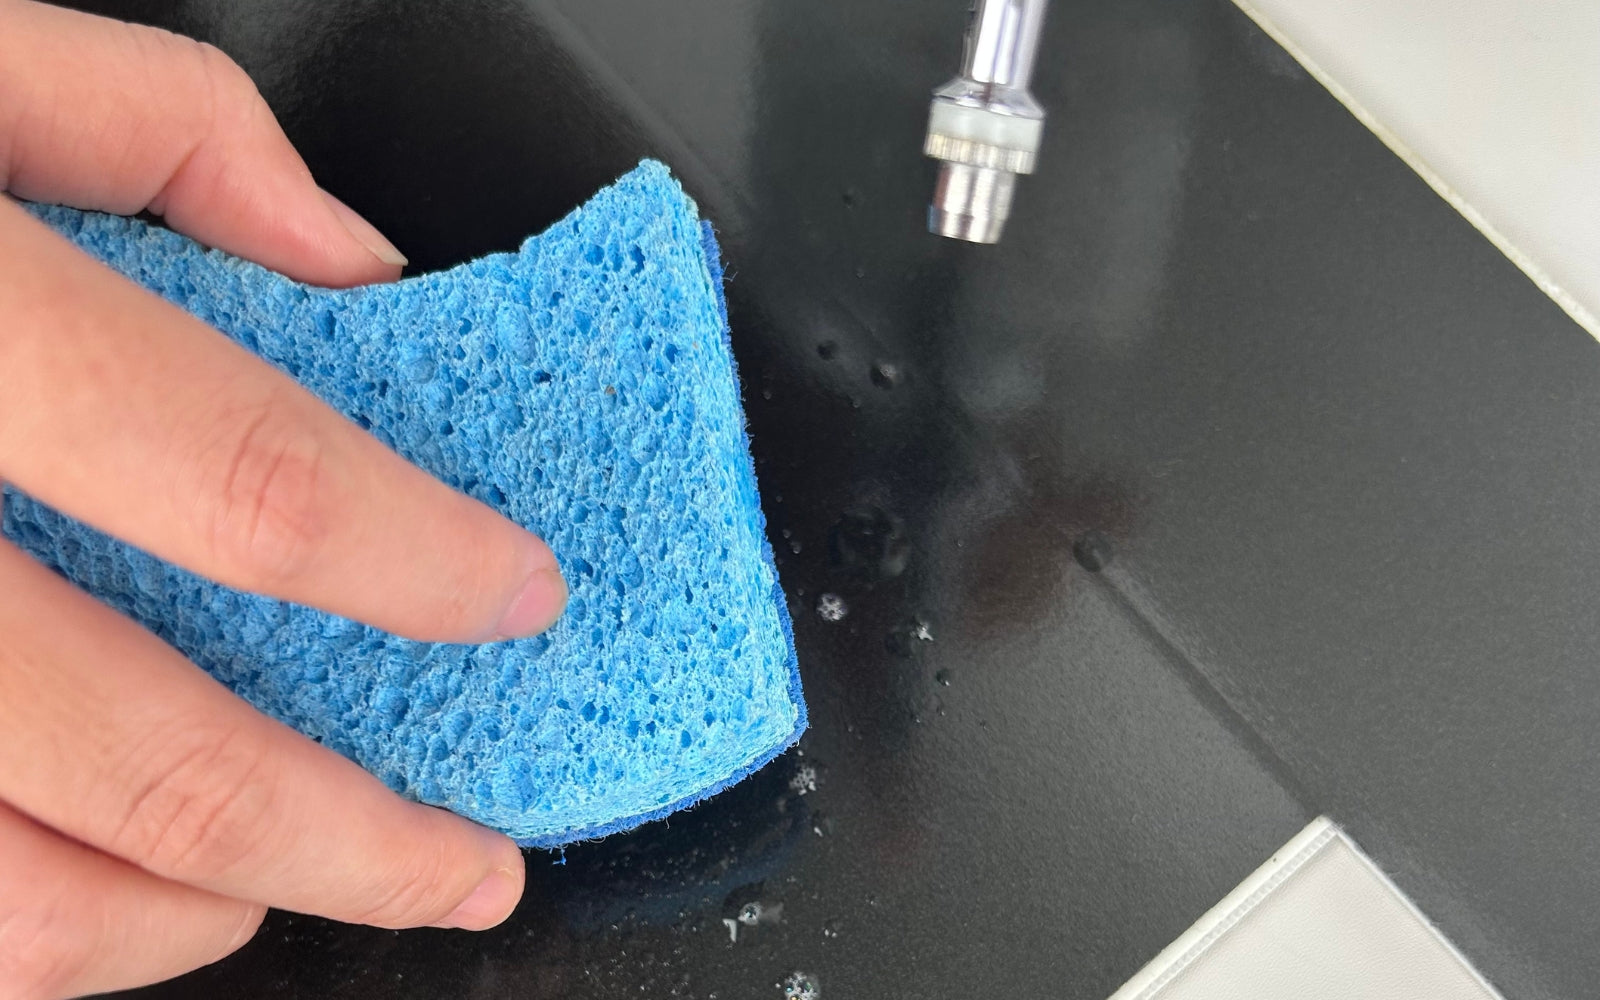
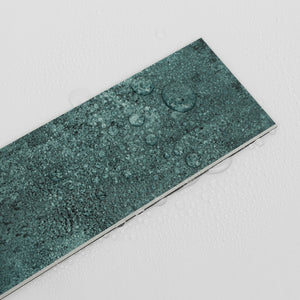
  • easy to wipe clean
  • humidity and heat resistant 48 hours after application
  • anti-bacterial and anti-mould
  • will never yellow or crack
  • lightweight - ideal for the motorhome!
  • special glue technology which allows for the tiles to be re-positioned during application


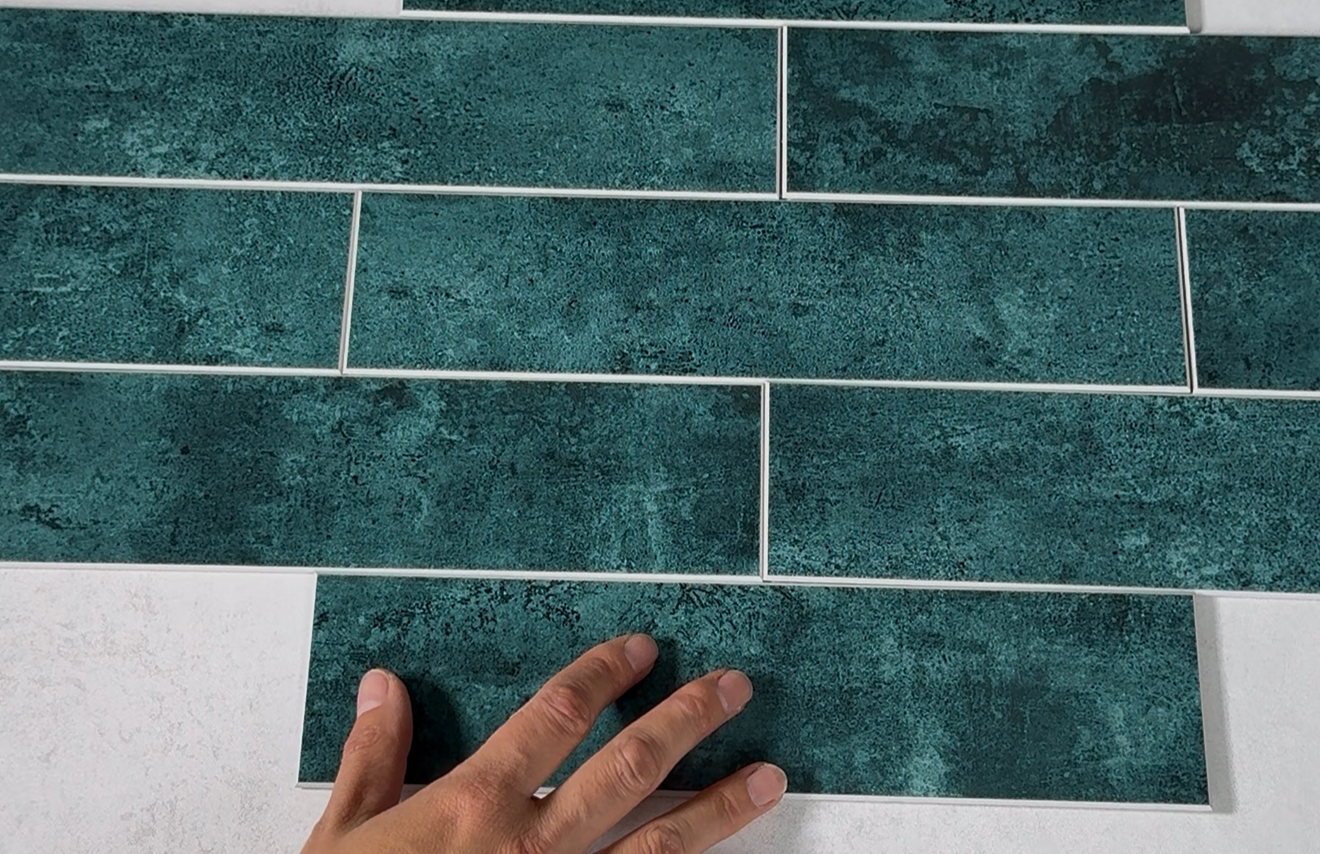
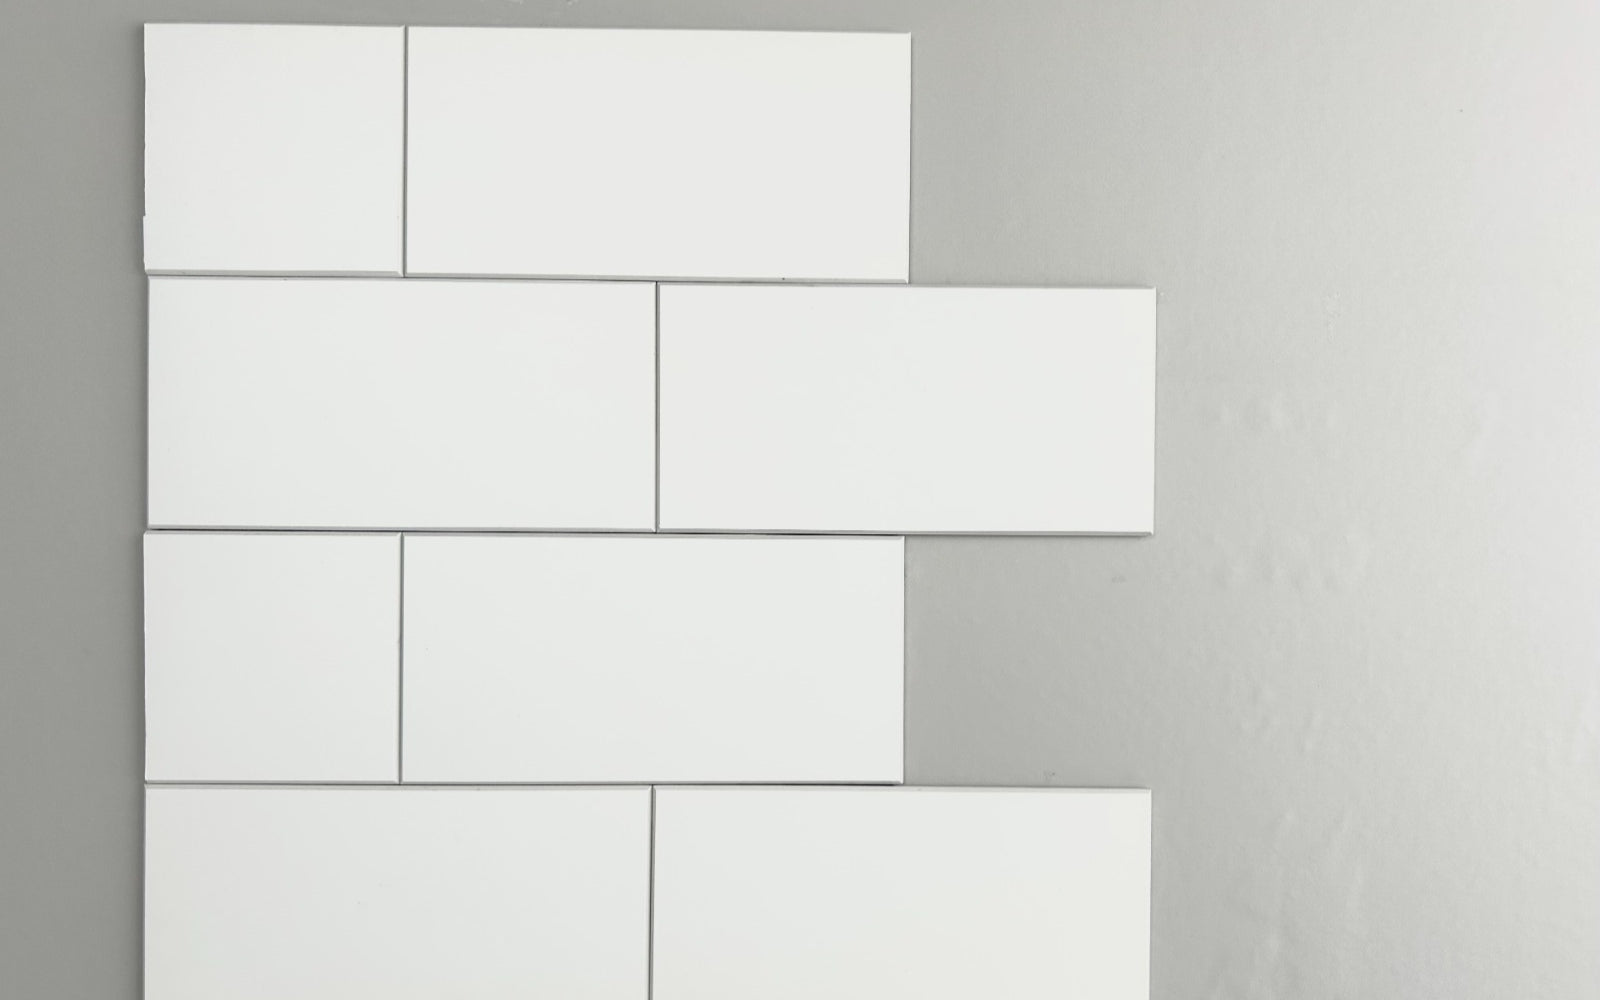
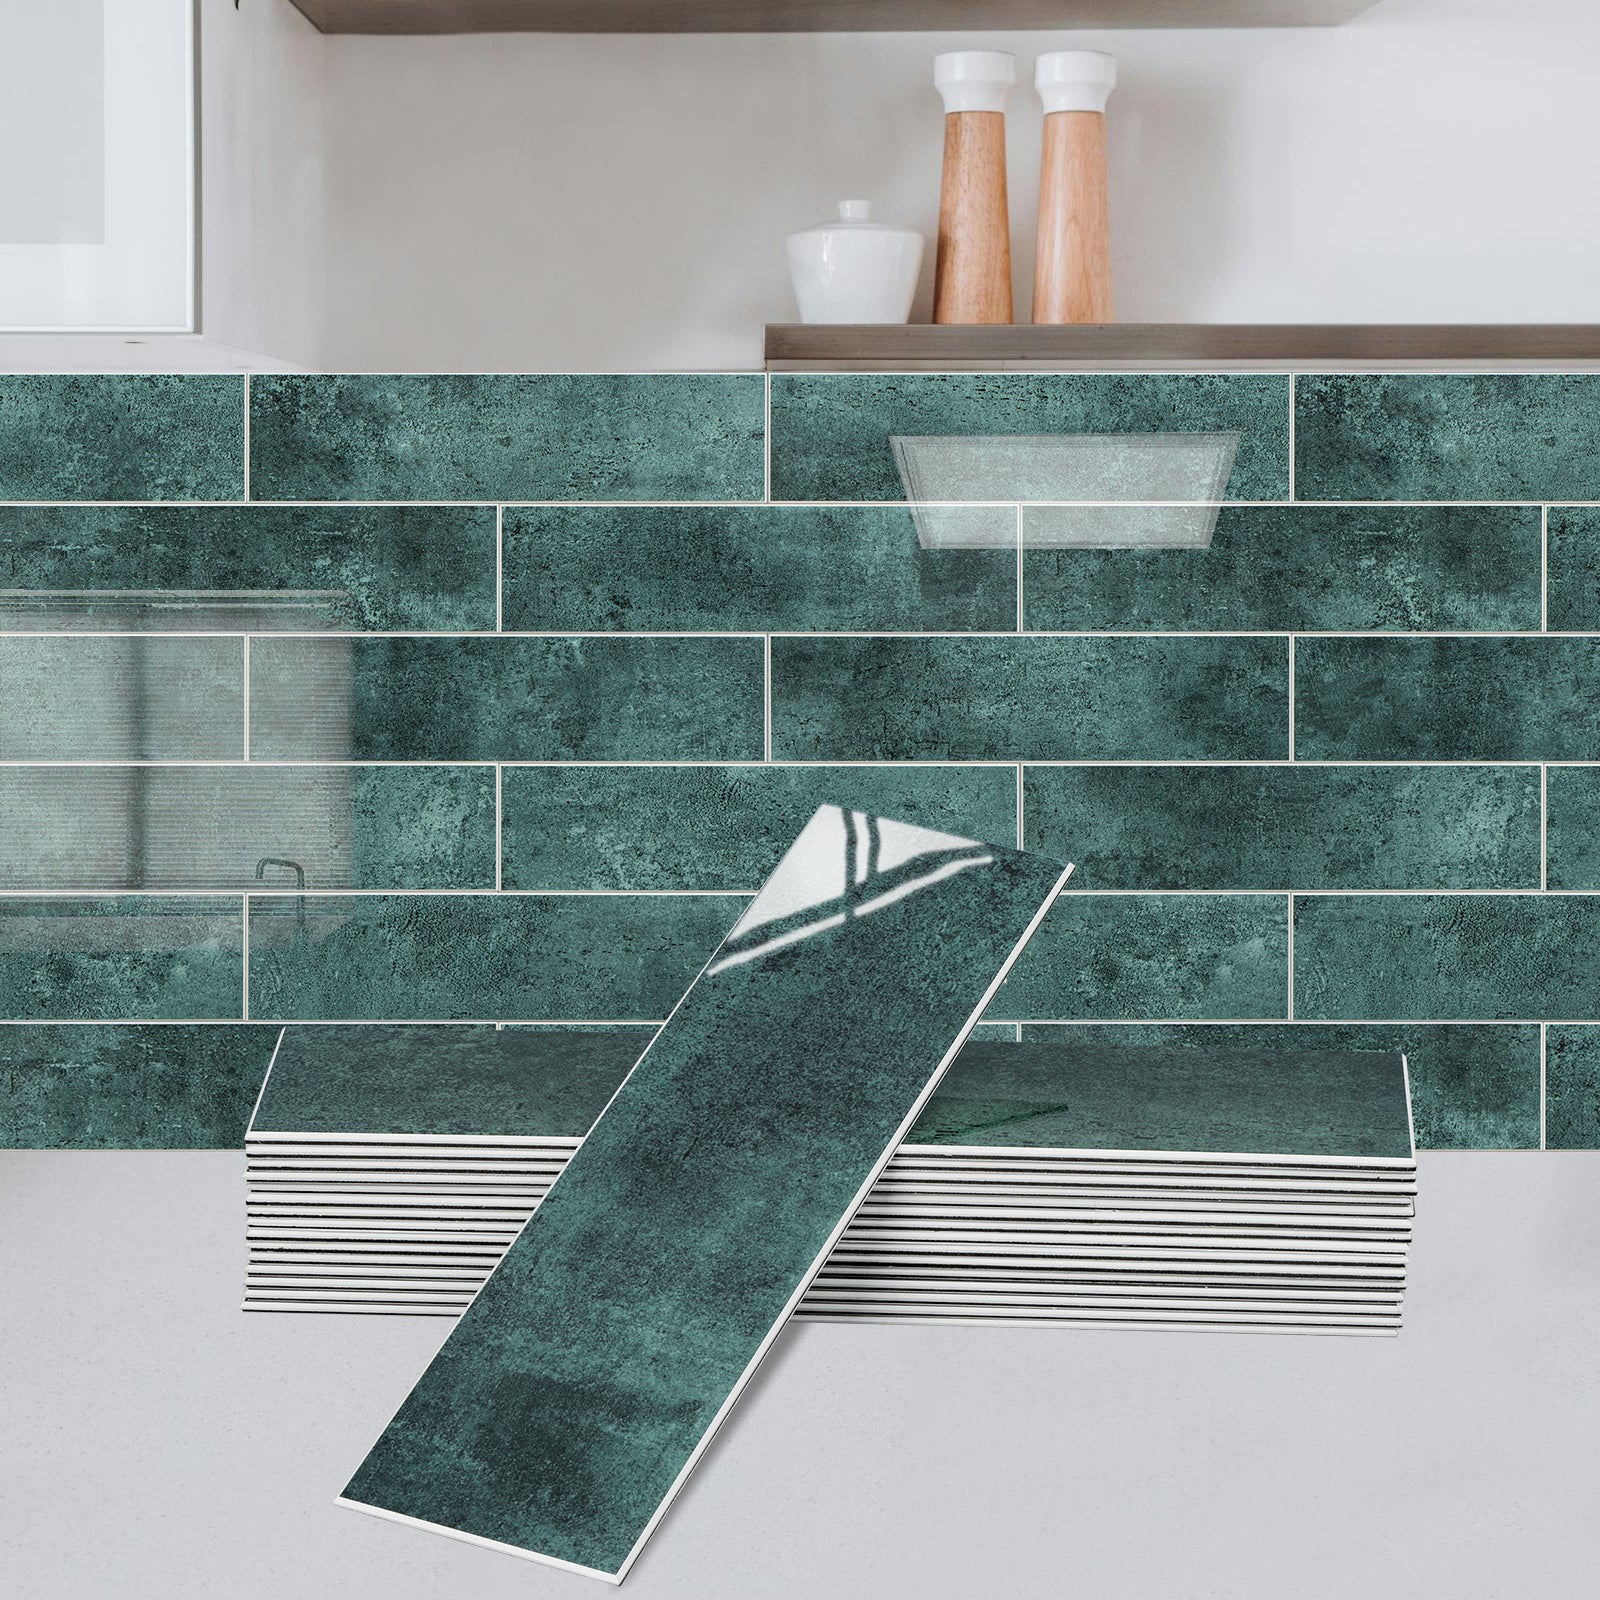
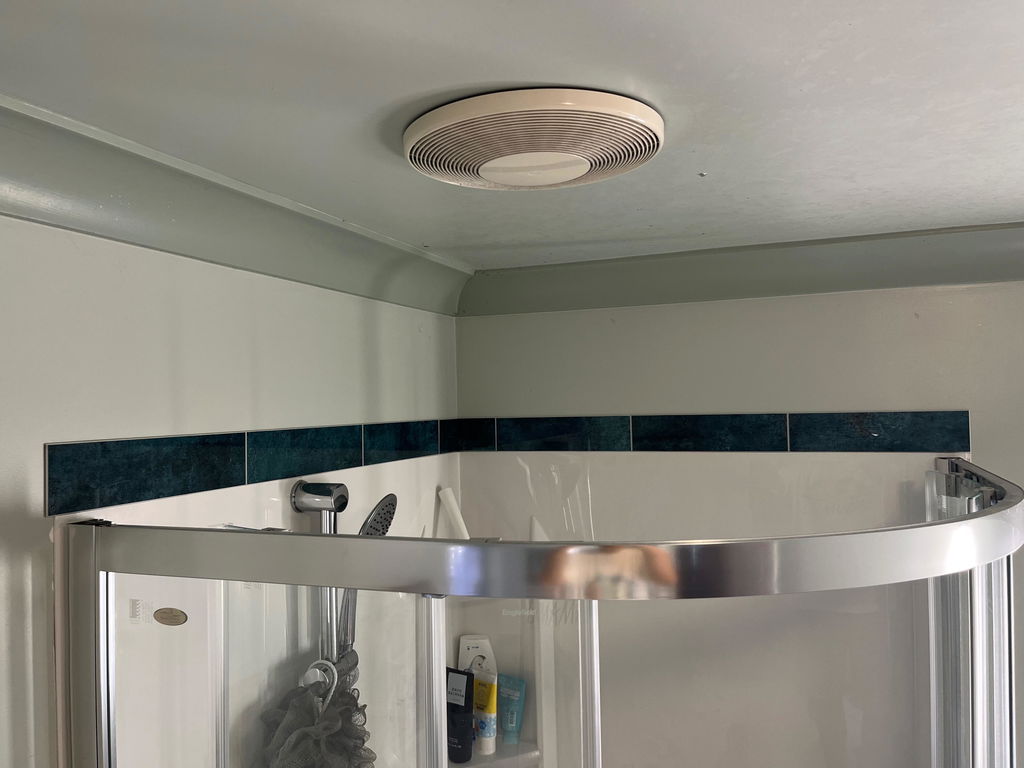
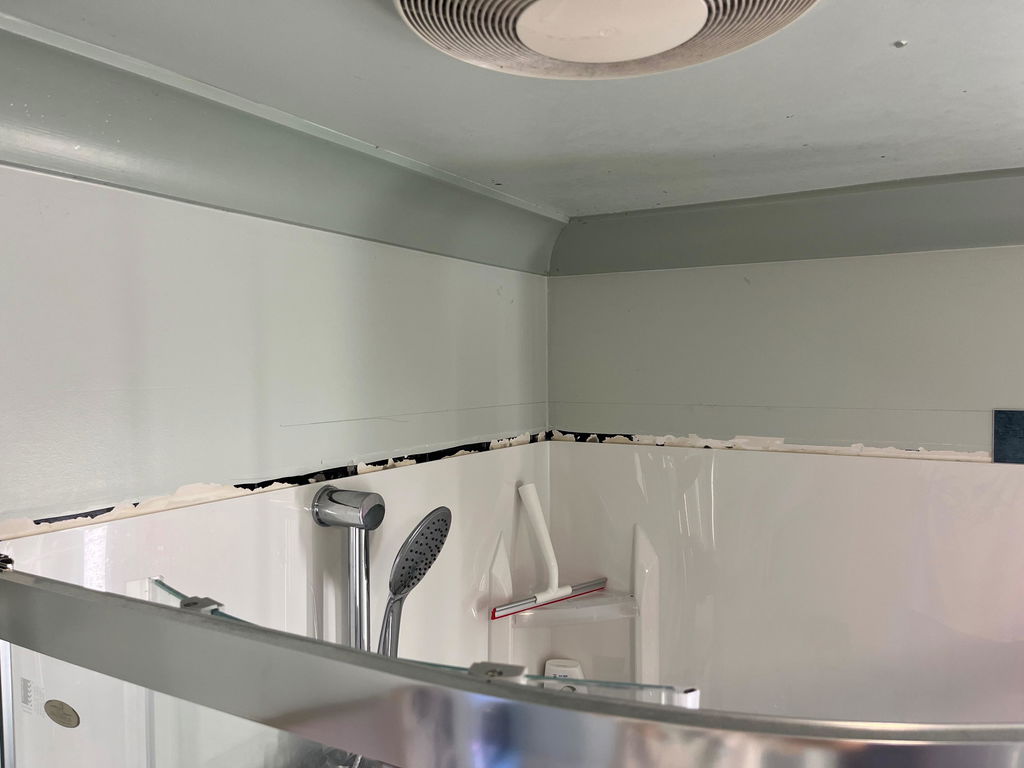
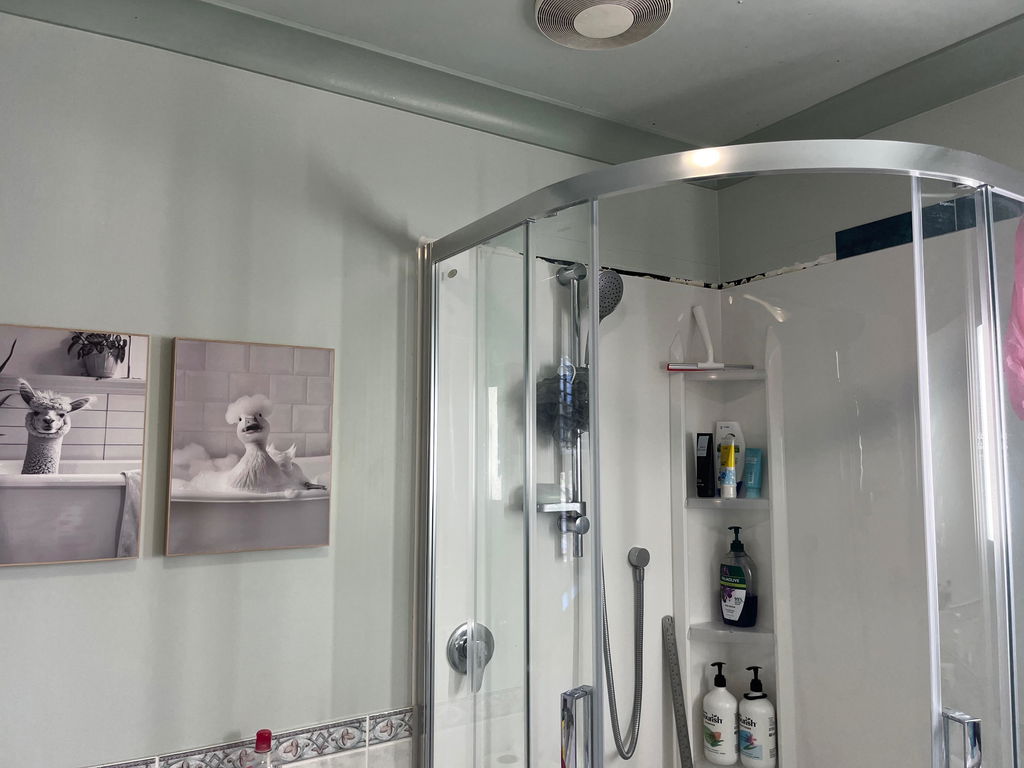
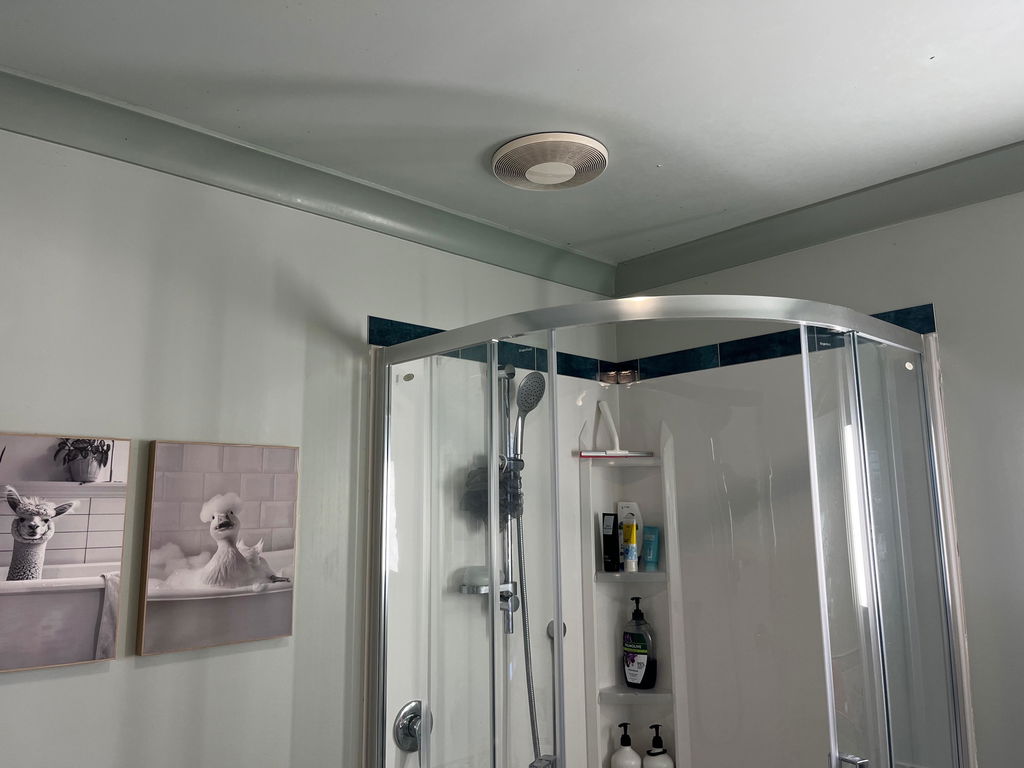
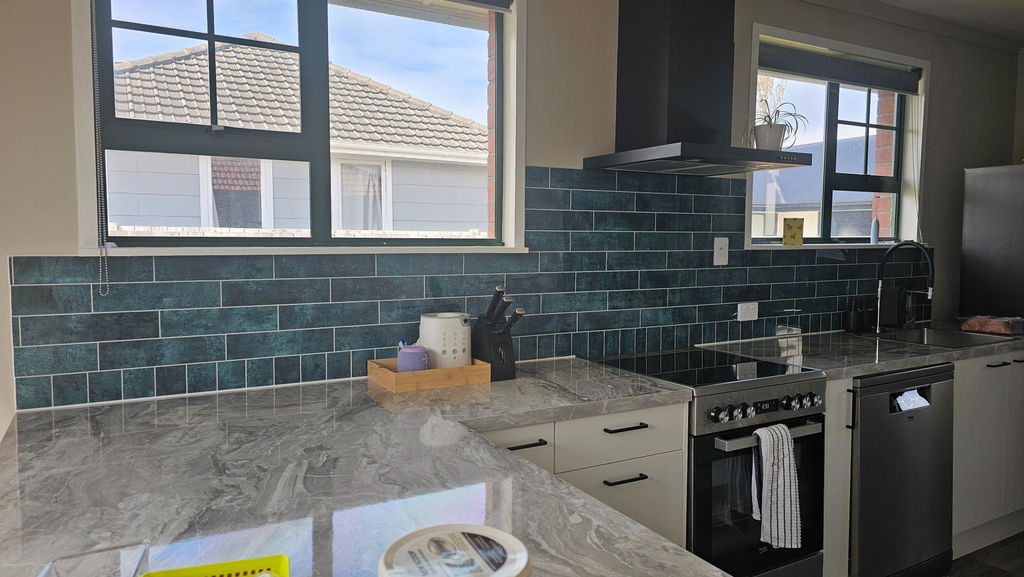
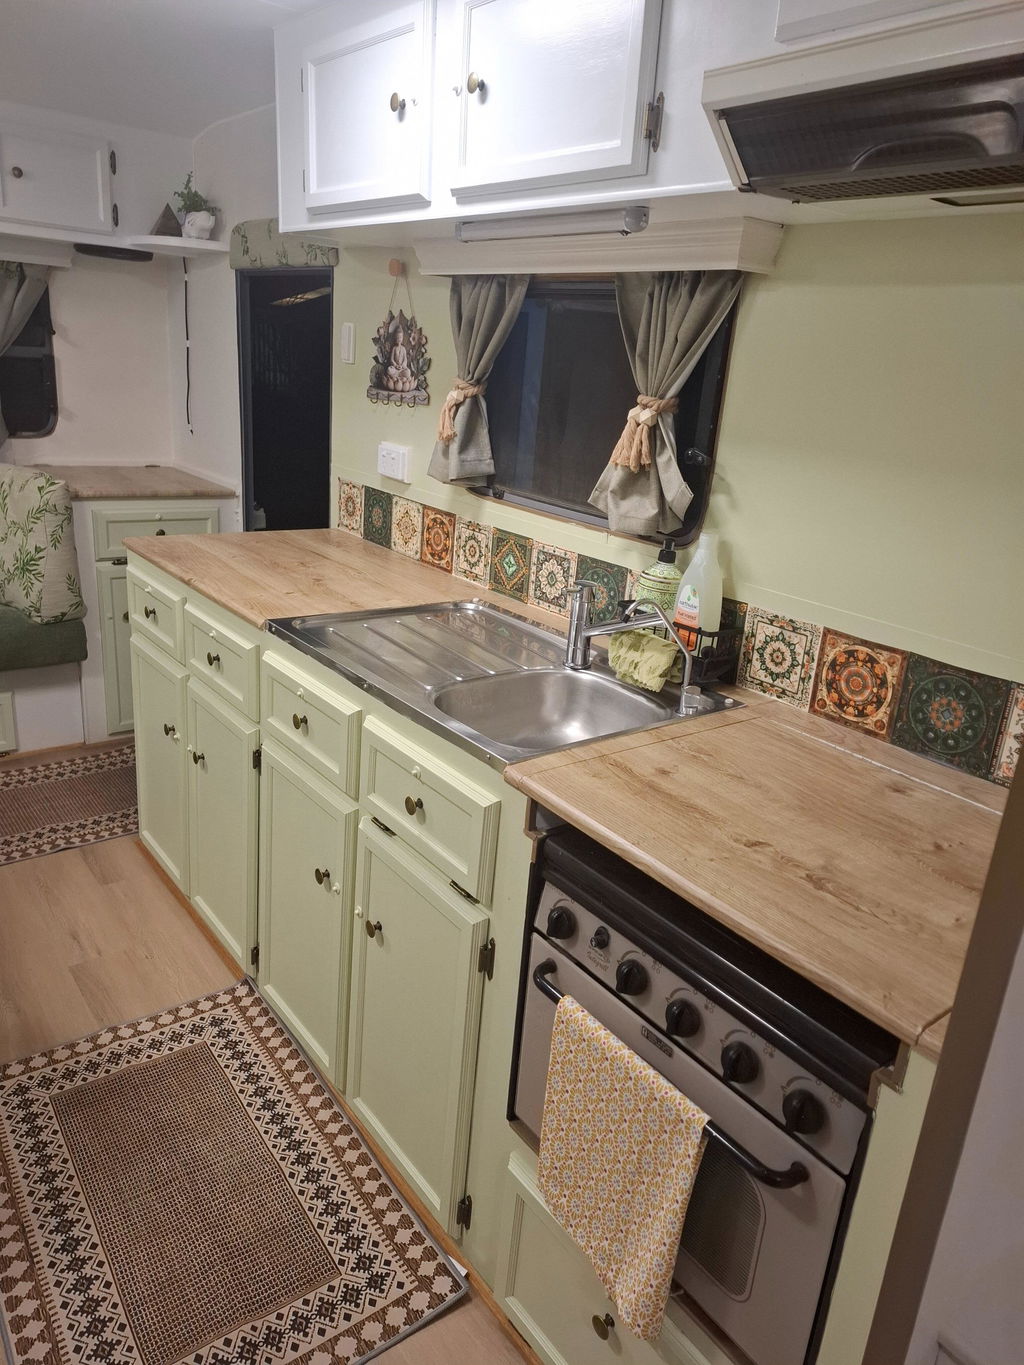
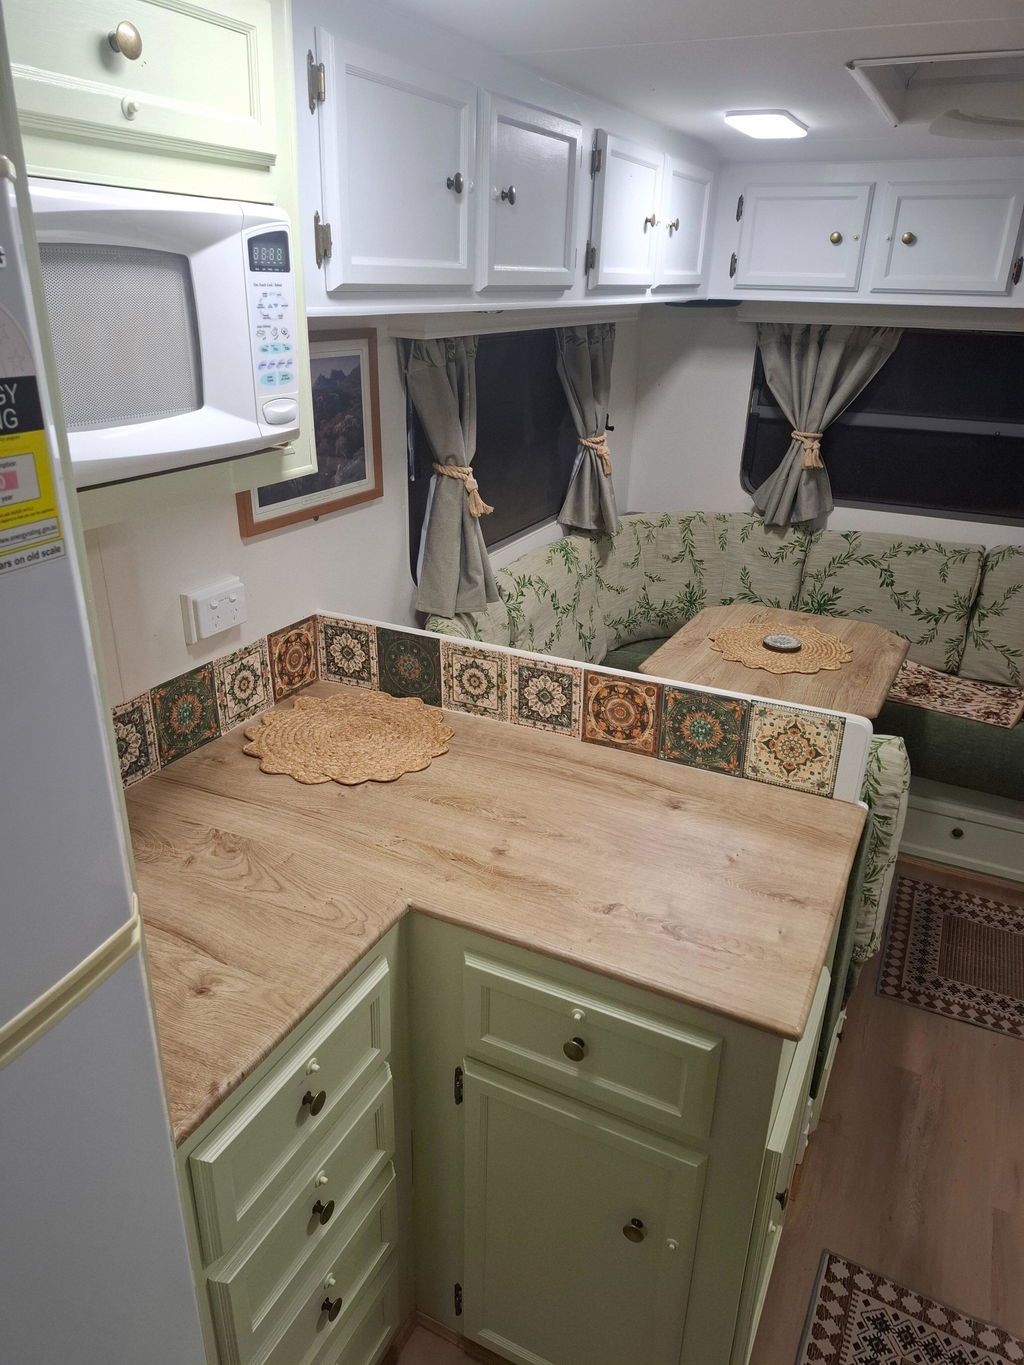
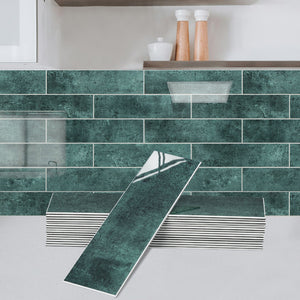
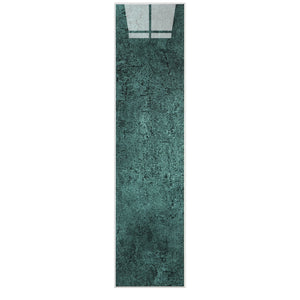
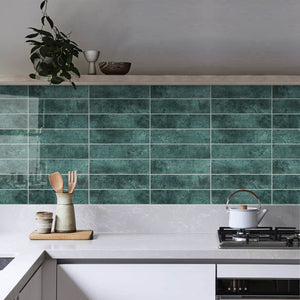
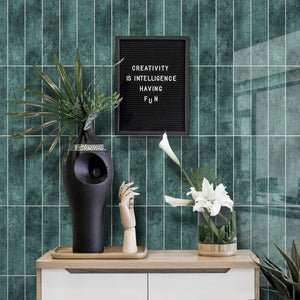
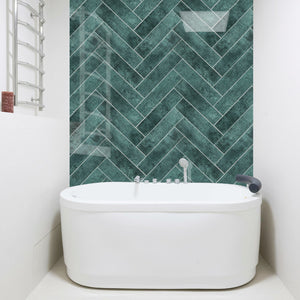
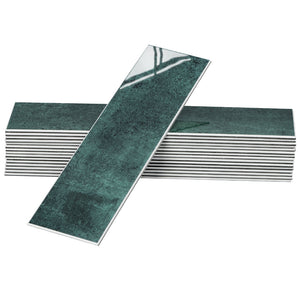
These premium self-adhesive 3D wall tiles are designed to be used as a splash back. They are of high quality and ideal for renovating the kitchen, bathroom, laundry room and even the camper van or the bach.

You don't need to worry about special tools, grout and mess. This is a quick and cost effective way to DIY your own splash back or give your existing one a makeover.

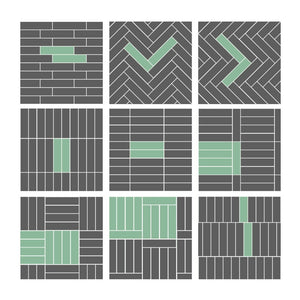
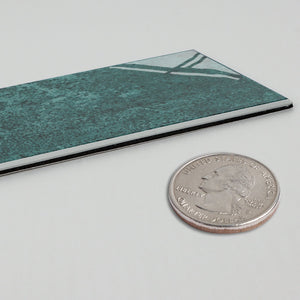
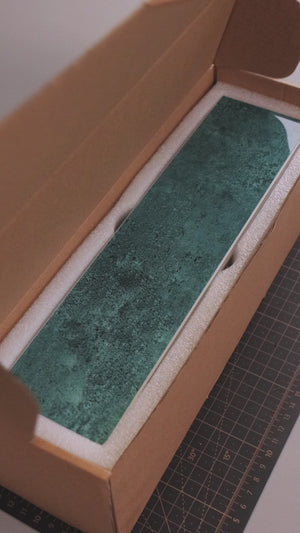
If you are unsure of what design is most suitable for your project, we recommend that you order a single sheet first.

Important:If your installation surface is not listed below, please contact us for advice before you purchase.

Recommended surfaces

Self-adhesive premium composite tiles can be installed on smooth and undamaged surfaces like:

  • Wall tiles
  • Painted walls (after 4-6 weeks curing time for fresh paint)
  • Melamine
  • Stainless steel
  • Glass
  • Acrylic

Not suitable surfaces

It is not recommended to install self-adhesive premium composite tiles on the following surfaces:

  • porous wood
  • relief ceramic tiles
  • textured wallpaper
  • unpainted gib
  • untreated wood
  • inside shower
  • floors
  • bench tops
  • ceilings
  • brick
  • stone

For a successful installation you will need:

  • Grease remover (e.g. sugar soap)
  • Utility knife
  • Metal ruler
  • Craft mat
  • Pen
  • Level
  • Tape measure
  • Sponge
  • Spray bottle
  • Dish Soap

Save time and order from our carefully selected tools.

This is how you install the self-adhesive premium composite tiles. Make sure that you follow all the instructions carefully:

  1. Clean: To ensure the tile adhesive sticks, clean the surface with a gentle cleaner to remove dirt, dust, or debris, and wait until it's touch dry before proceeding.
  2. Measure: Use a level/ruler to draw a straight line on the wall at the height of the first row of tiles, marking where the top edge of the tiles will align.
  3. Cut: For the first tile, trim the excess on the left using a box cutter. Score the tile by running the blade over it multiple times to create a visible groove. For designs interlinking from all sides (e.g., hexagon), also cut the lower part.
  4. Snap: Once a groove is formed, the tile can be snapped along the score for a straight, smooth cut. Finish by using fine-grit sandpaper to smooth the edge. Keep the off cuts for the right hand side (and top side).
  5. Peel: Peel back the backing paper to reveal the adhesive side.
  6. Spray (optional): Lightly spray a soap-and-water mixture (10 mL dish soap per 500 mL water) onto the adhesive and spread it evenly with a sponge. This allows the tile to be repositioned within a few seconds of installation.
  7. Stick:Apply the tile to the wall along the marked horizontal line, ensuring the bottom and side of the sheet align neatly with the corners for a clean finish. Once in place, press the sheet firmly with your hand to ensure optimal adhesion.
  8. Interlink:The tiles are designed to interlock, so ensure you push them tightly together, leaving no gaps for a seamless finish.

After 48 hours, your DIY wall tiles are permanently secured to the wall.

Scroll down for a full video tutorial.

These self-adhesive composite wall tiles are designed as a permanent solution. Featuring extra-strong adhesive, they securely hold the thicker tile profile in place. As a result, removing the tiles may cause damage to the underlying wall surface.

For a less permanent option, consider applying an adhesive vinyl layer to the wall first. This acts as a protective barrier, making tile removal easier and reducing potential damage.

Self-adhesive premium composite wall tiles will stick on your walls for as long as you wish them to.

  • Wait a period of 4-6 weeks before affixing the tiles on a freshly painted wall to allow the paint to penetrate and dry thoroughly.
  • The surface must be smooth and undamaged.
  • The surface must be clean and dry.
  • You should clean the surface with a degreaser such as sugar soap.
  • During installation, the ambient temperature must be at least 18°C and should not exceed 35°C.
  • The tiles should not be exposed to direct steam, or be in direct contact with a heat source and should not be submerged in water (do not install in the shower).
  • To install behind a gas range without a protective rear panel, allow a height of 20 centimetres above the surface to prevent the tiles from coming in contact with open flame and we recommend installing rear panel.
  • Keep a distance of at least six centimetres between an oven toaster grill and wall covered with premium composite tiles.
  • If you decide to remove the composite tiles once they have been firmly applied, they cannot be reused.
  • Premium composite tiles are not designed to cover floors, countertops or work surfaces, or to serve as a trivet.
  • For maintenance, you should only use a mild non-abrasive product.

Avoid cleaning products containing bleach. Avoid food with strong colouring like turmeric and curry spices, grinded coffee, food colouring and tomato sauce as they may stain the surface

composite wall tiles material

Installation ideas for FLEXI tiles

Installation ideas for FLEXI tiles

Craft timeless interiors with our single FLEXI tiles—designed to be arranged in refined patterns like subway, stacked subway, chevron, and more.

Craft timeless interiors with our single FLEXI tiles—designed to be arranged in refined patterns like subway, stacked subway, chevron, and more.

FLEXI Rectangular Composite tiles positioning

FAQs about Self-adhesive Premium Composite Wall Tiles

What prep work is required before installing composite tiles?

You only need to clean the surface.

Will the grout lines from existing tiles shine through?

No, the grout lines won't show.

Are composite tiles easy to remove?

Composite tiles are considered as a permanent solution.

Customer Reviews

Be the first to write a review
0%
(0)
0%
(0)
0%
(0)
0%
(0)
0%
(0)

Search

FREE SHIPPING over $199 in NZ
PROUDLY NZ owned & operated
ORDERS SHIP in 1 business day
EASY RETURNS within 30 days
Read full policy: * conditions apply
EASY INSTALLATION FREE tutorials
PROUDLY NZ owned & operated
ORDERS SHIP in 1 business day
EASY RETURNS within 30 days
PREMIUM TILES
EASY INSTALLATION
NO GROUT NEEDED
EASY TO CLEAN
HEAT & HUMIDITY RESISTANT
APPLY OVER EXISTING TILES
GUARANTEED TO STICK
AFFORDABLE AND HASSLE-FREE
EASY INSTALLATION
REPOSITION-ABLE
EASY TO CLEAN
RESISTANT TO MOISTURE & HEAT
CUT WITH CRAFT KNIFE
Premium trusted brand
Easy installation
Reposition-able
No grout needed
Easy to clean
Heat & humidity resistant
Apply over existing tiles
Cut with craft knife
Guaranteed to stick
Affordable & Hassle-free Solution
Easy installation
Reposition-able
Easy to clean
Resistant to moisture & heat
Cut with craft knife
Easy installation
95% UV protection
Privacy film
Remove & Reuse
Easy installation
99% UV protection
45% protection against direct heat radiation
Remove & Reuse
Easy installation
99% UV protection
60% protection against direct heat radiation
Privacy & Glare protection
Remove & Reuse
Easy installation
Apply over existing tiles
Easy to clean
3D design
Suitable for wet areas when sealed
Easy installation
Waterproof
Skidproof
Strong Viscosity
Easy installation
Waterproof
Skidproof
Food safe
Dishwasher safe
Easy installation
Waterproof
Skidproof
Laundry safe
Premium thickness
Easy installation
Cut with craft knife
No grout or mortar needed
Apply over existing tiles
Hides old grout lines
Heat & humidity resistant
Easy to clean
Extra strong glue