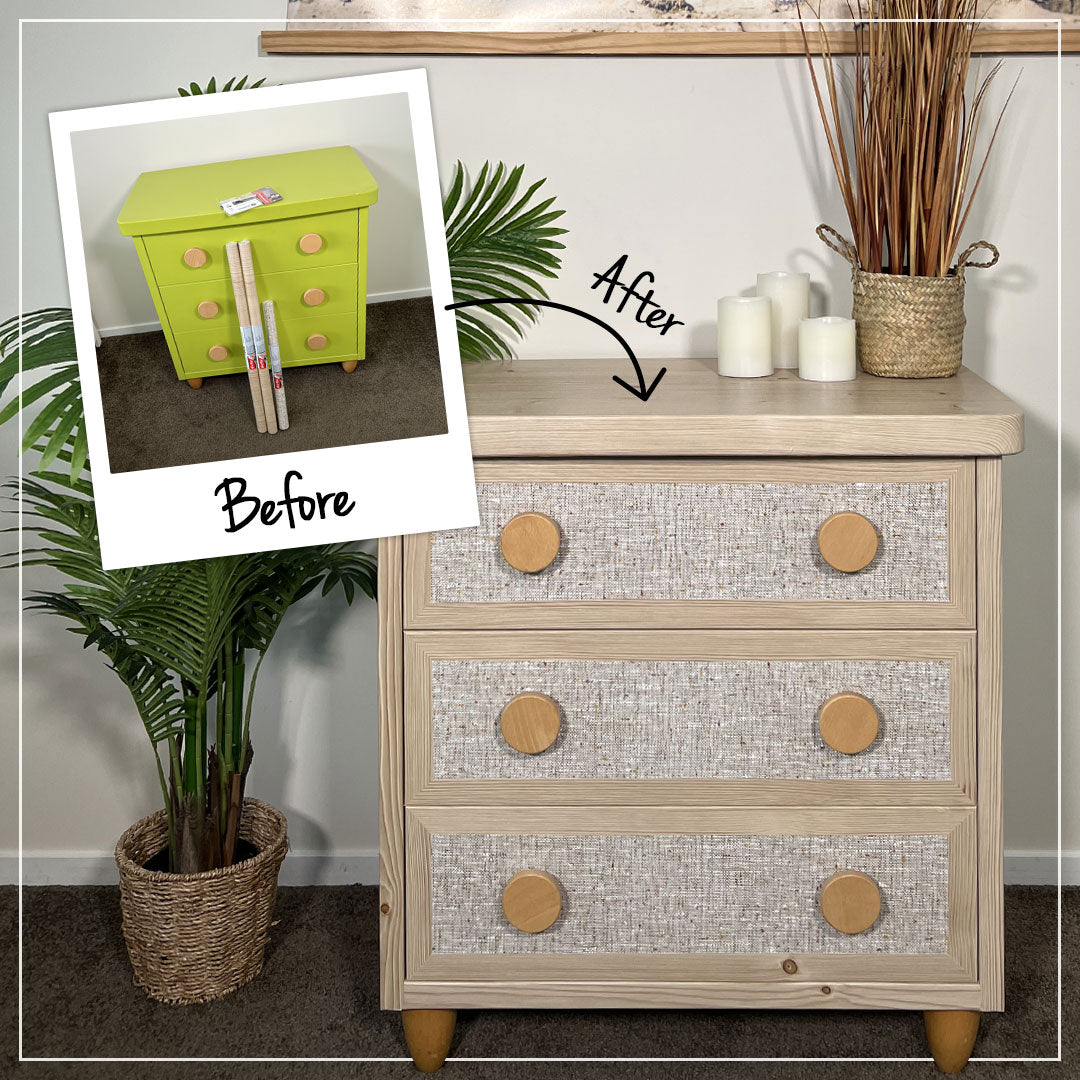


Have you ever wondered how to upcycle a chest of drawers by giving it not only a new amazing look but also by increasing the number of drawers displayed? I'm going to show you how to transform 4 drawers into 9 and give it an eye catching appeal.
This is the old boring drawer that was hidden in a dark corner:

Prep work
With any makeover it pays off to spend some extra time on the prep work. The key to success when it comes to sticky back plastic is a dust and grease free surface. In this case, I needed to remove all the stickers. I used a hair dryer on the coolest setting and once I discovered that the material could handle it, I increased the heat. After heat was applied it was easy to peal off the stickers. I removed the glue residue with a cloth and soapy water.

I was aiming for a total transformation so the knobs had to come off. The unit had been covered in some kind of lacquer, which left circles behind the removed knobs. I gently sanded them down to the surface and filled the holes with a gap filler.

The last but important thing to do of the prep work was to clean the entire unit and make sure it was completely dry (including the gap filler) before moving on to the next step.
Unit transformation
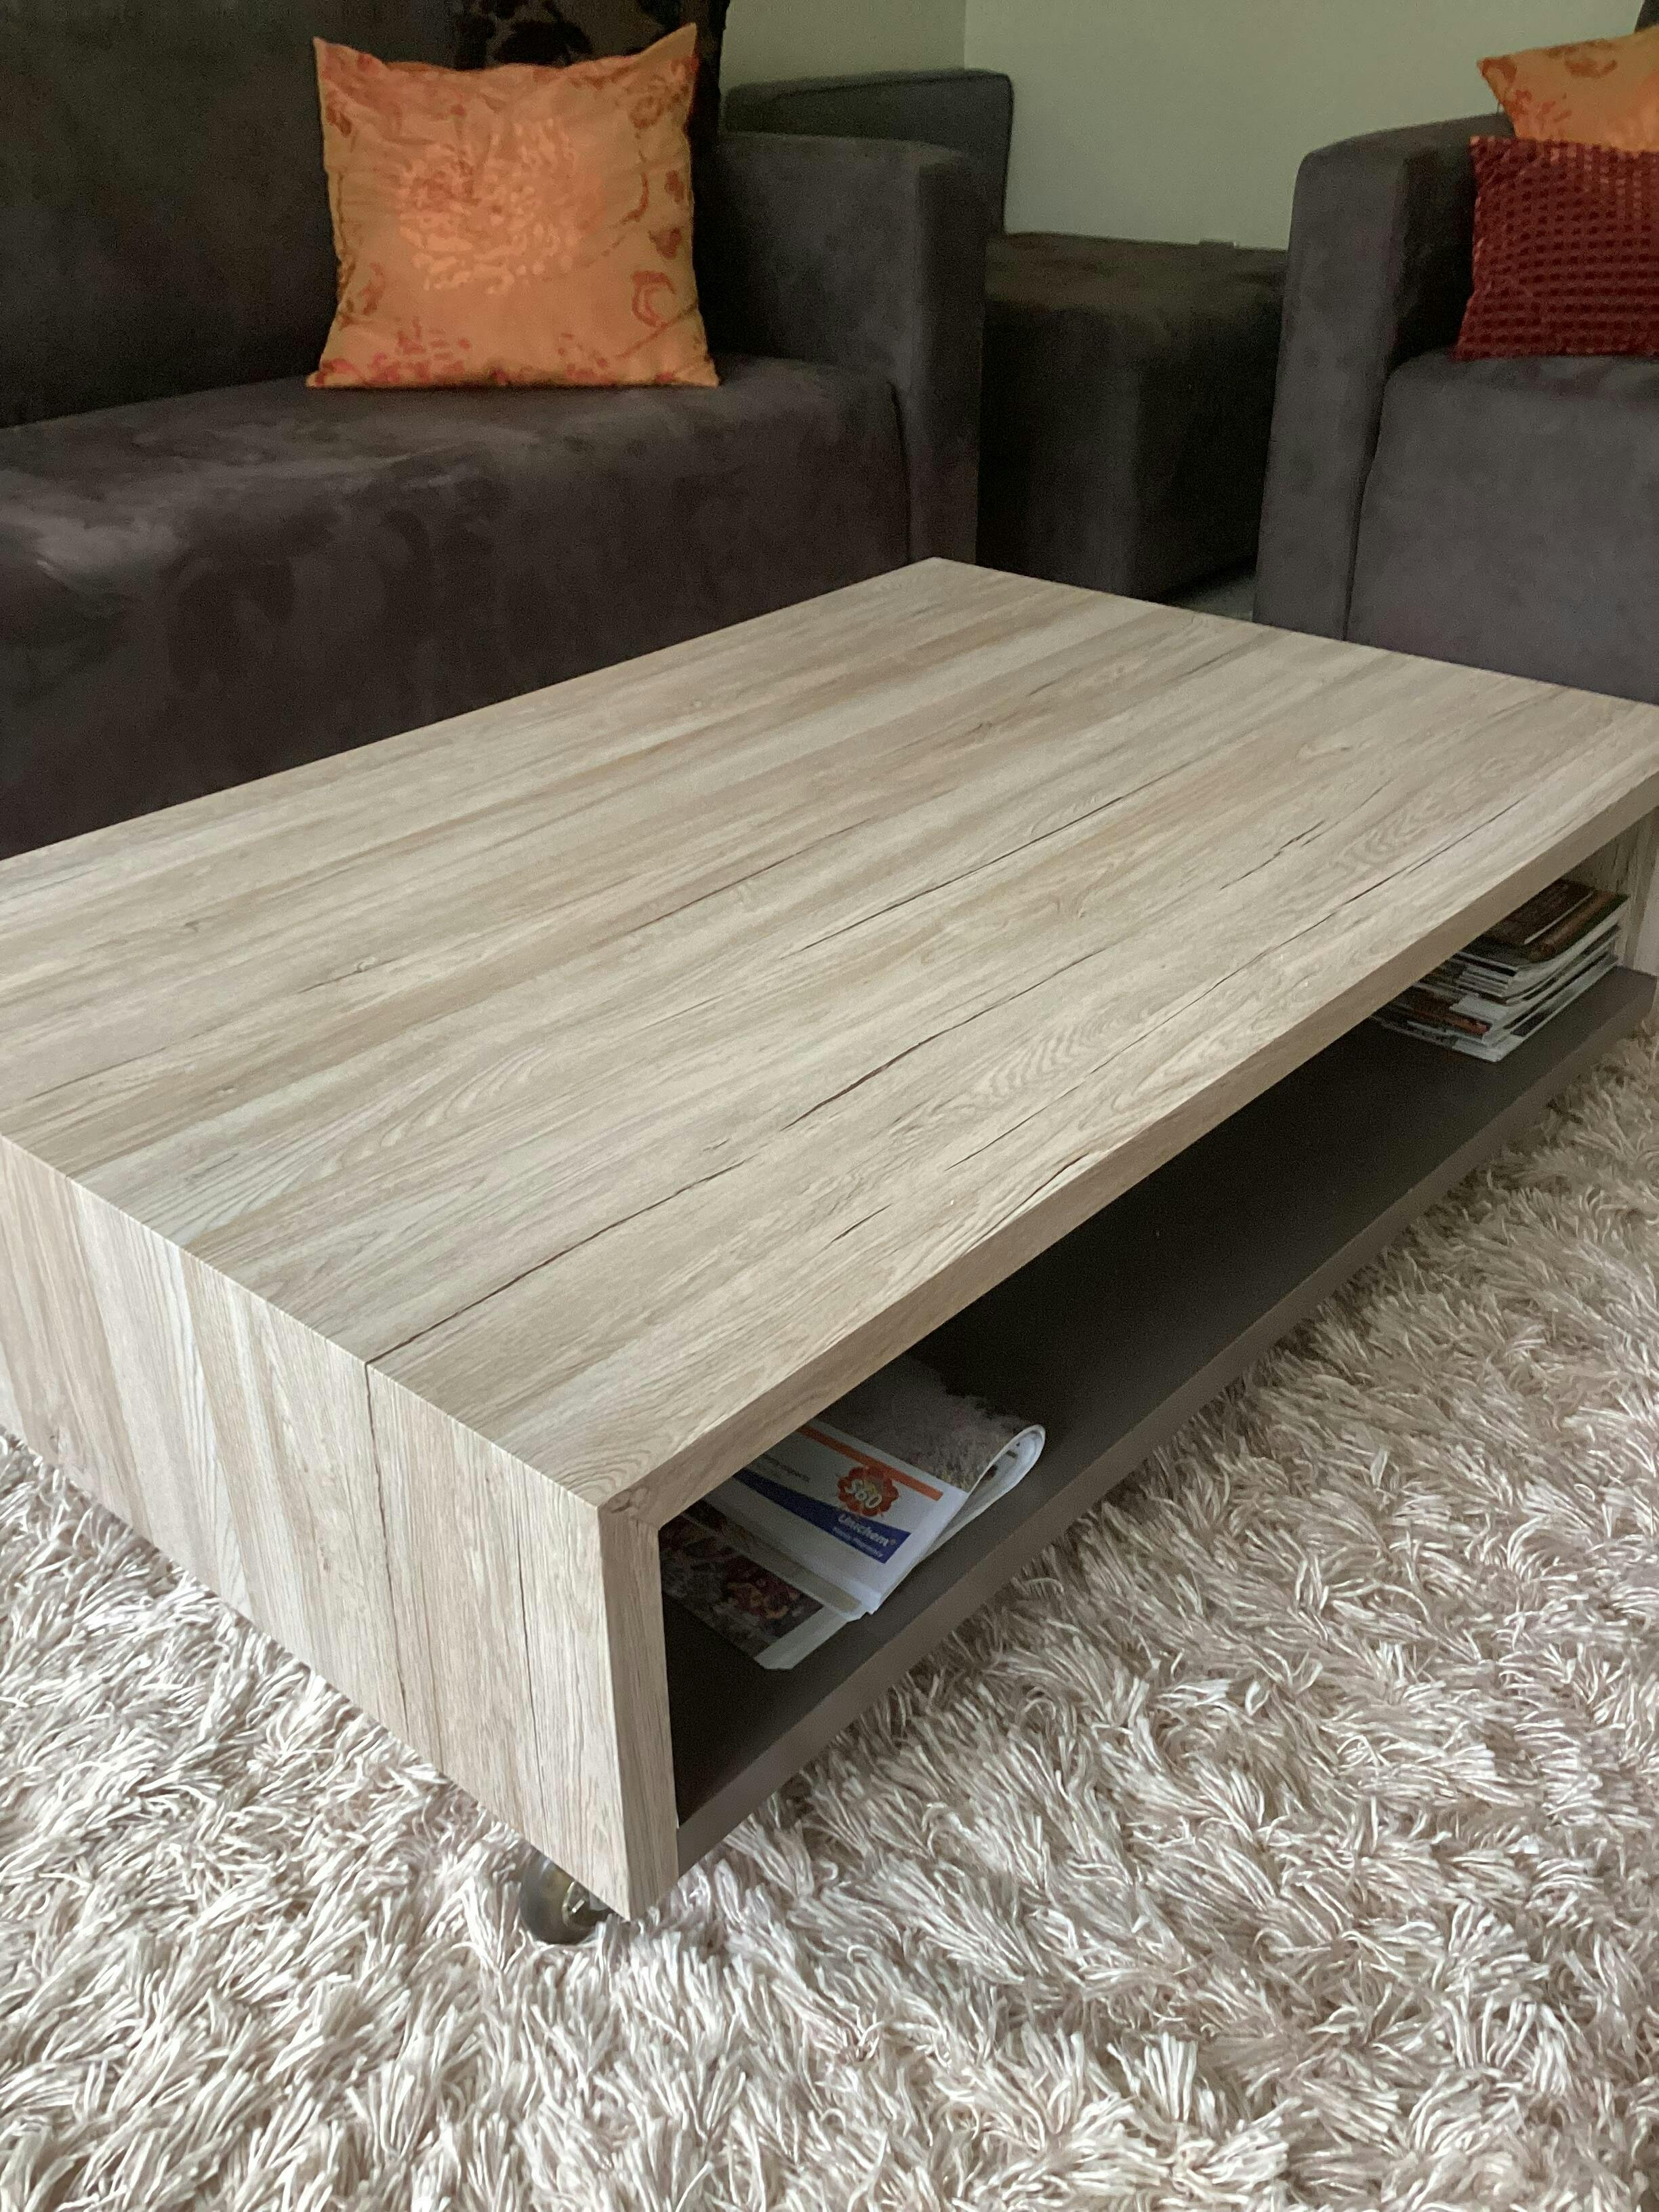
Now the fun began. For this unit I had chosen the Sheffield Oak in a pearl grey colour. I started by inspecting the furniture so that I could:
- divide it into manageable pieces to wrap
- make most use of the sticky back plastic film without too much waste.

For each piece I wrapped I took the following steps:
- measured the surface
- marked the right size (plus allowed for a few mm overhang) on the backing paper and cut it out
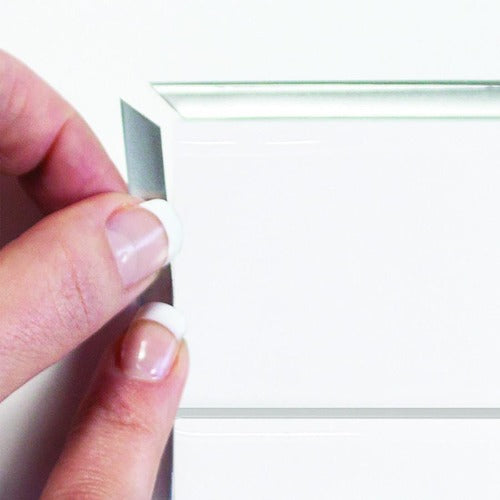
- applied one corner of the film to the surface and slowly pulled off the backing paper with one hand while smoothing out the film with the other. For this I used a window scrape which worked perfectly on this type of furniture
- Pulled the rest of the film around the edges and carefully cut the excess film with a sharp knife.

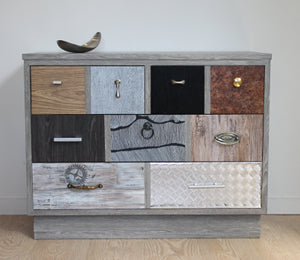
I also used the pearl grey colour to mark out fake dividers for the new drawers.
Drawer transformation
For the drawers I had chosen a mix of wood grain and metallic patterns. For each individual drawer I followed the same steps as with the unit. I started applying the film at the fake drawer divider. Since the drawers are small I could easily apply the film parallel with the divider with a minor overlap of just 1-2 mm.

When I was done with the drawers I measured, drilled new holes and attached the new knobs.

Lessons learned from this project
-
pay extra attention to the prep work
-
make the application of the sticky back plastic slowly to avoid bubbles
-
make a small overlap (of approximately 1 cm) when cutting around corners as the finished result looks better than when the film is cut side by side
-
pull excess film at least 1 cm over the edges to make sure it sticks better
- the chequer plate is a bit thicker than the other films and and may be tricky to fasten to a small surface or pull around a corner. It may help to slowly heat the film with a hair dryer on its coolest setting.

Skill Level
Even if this project may seem like a huge challenge I would classify it as an intermediate level. It is fairly easy since there are no round corners. The challenge is to measure and get all the drawers right. If you haven't done much DIY before I would suggest you start with just one pattern.
Overall I'm very happy with the result. Please leave a comment and let me know what you think.