How to select the correct tile for your space or purpose
How to select the correct tile for your space or purpose
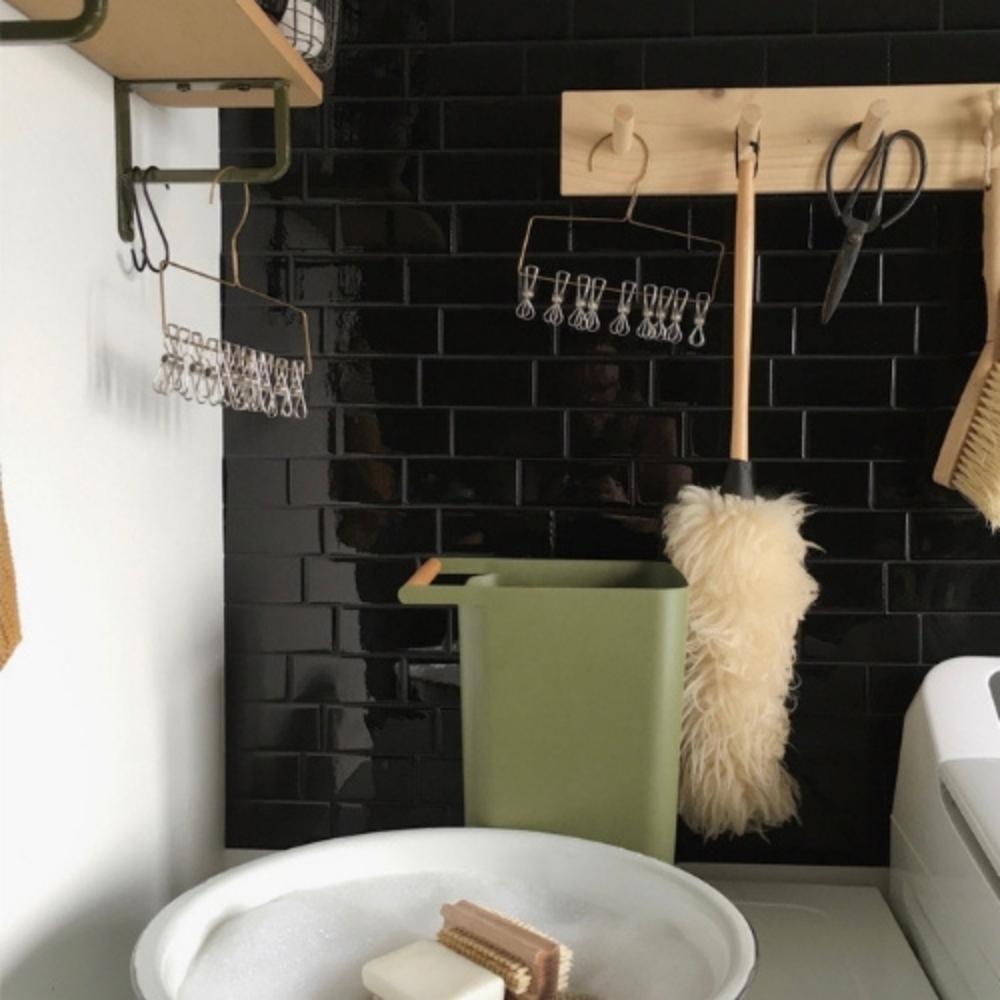
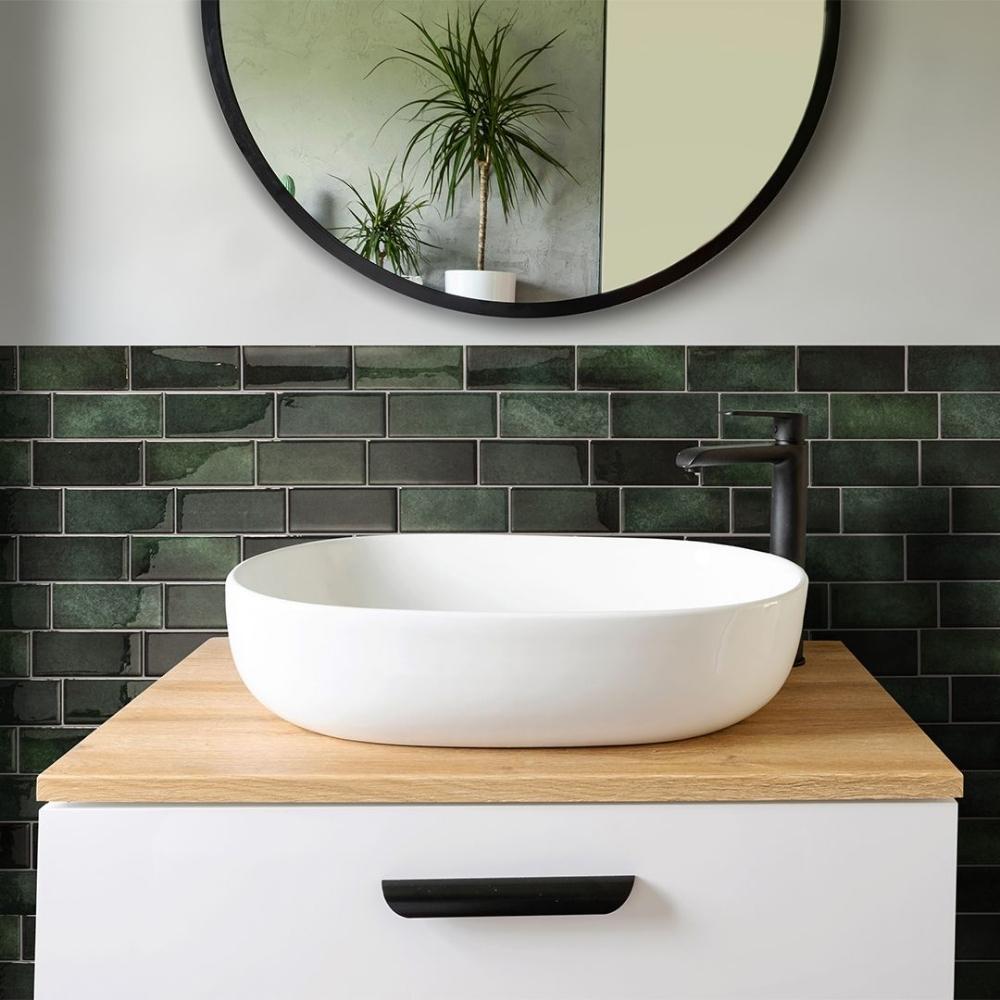
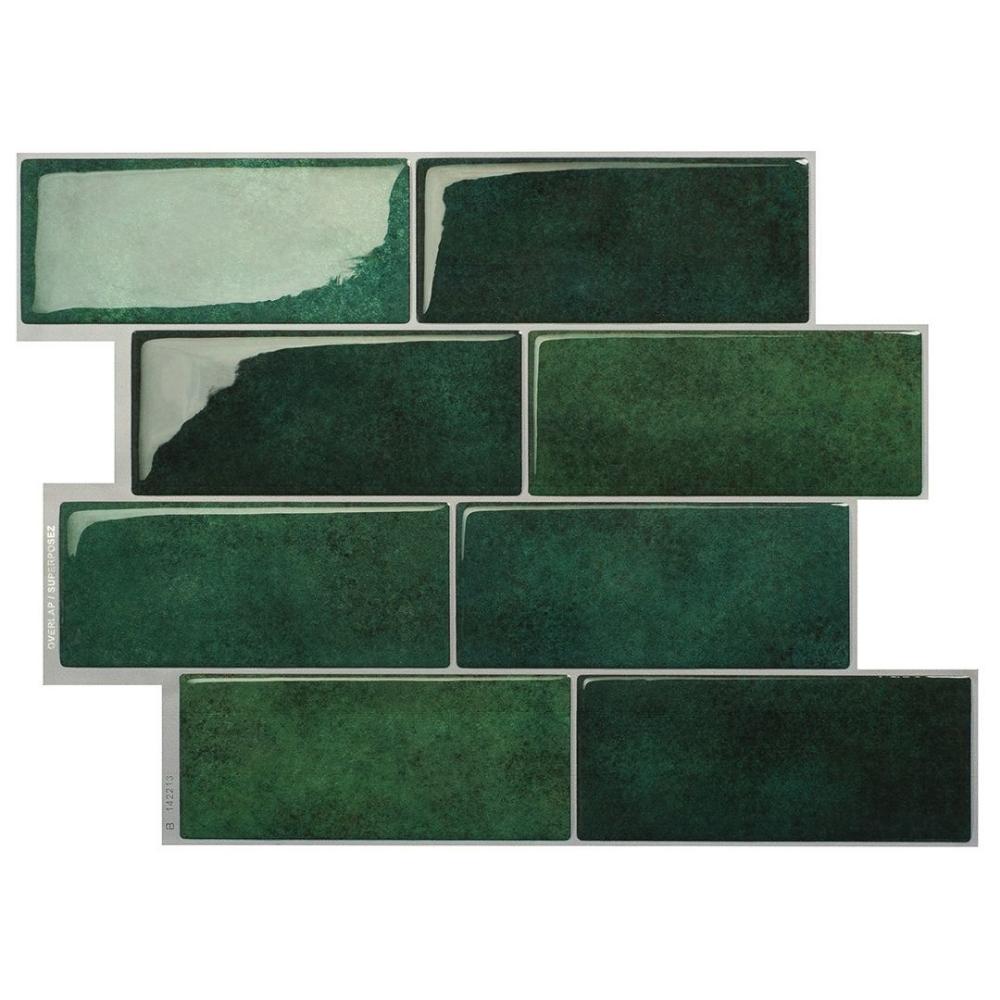
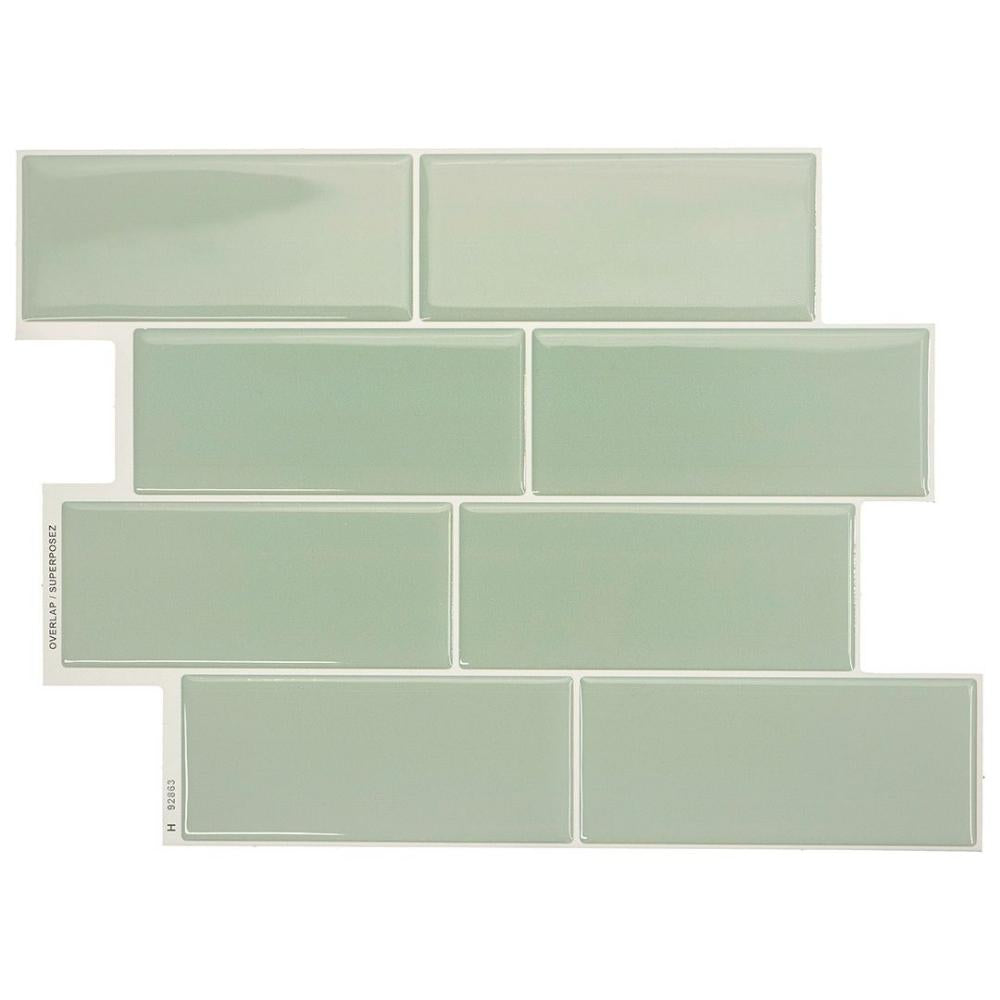
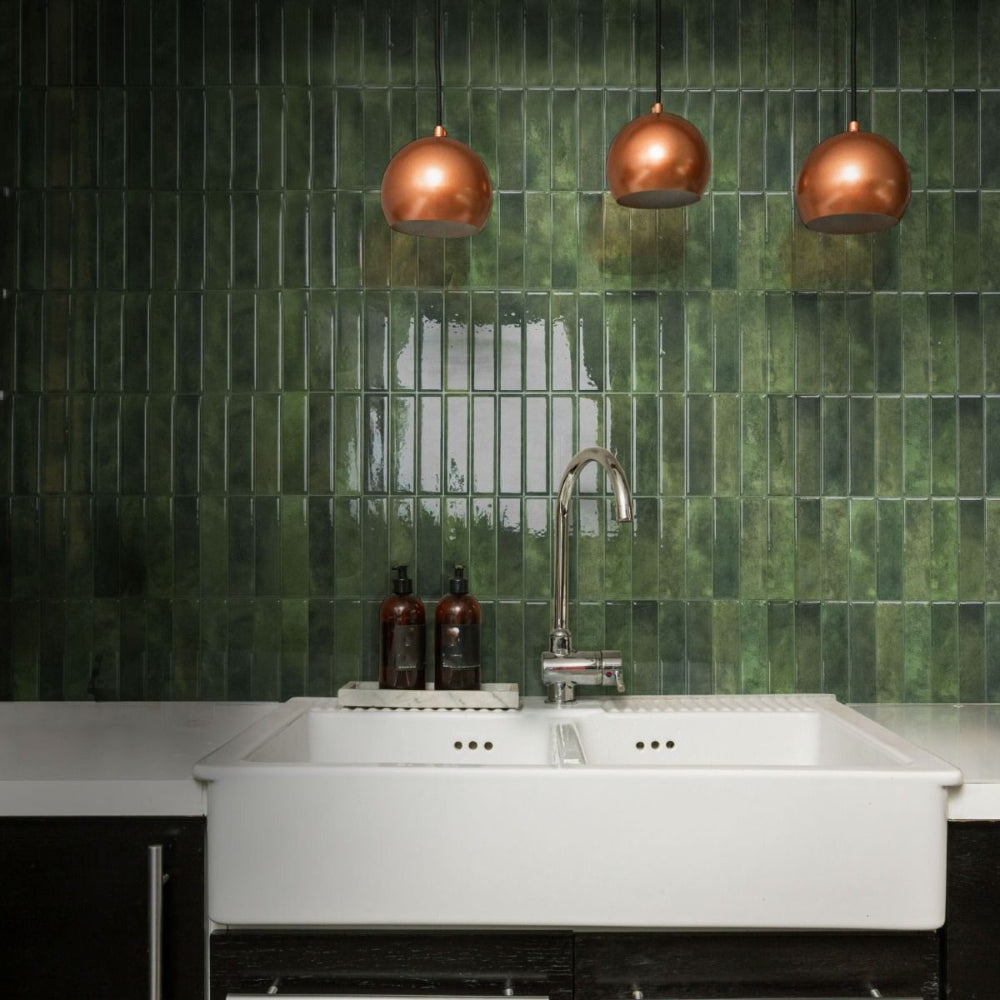
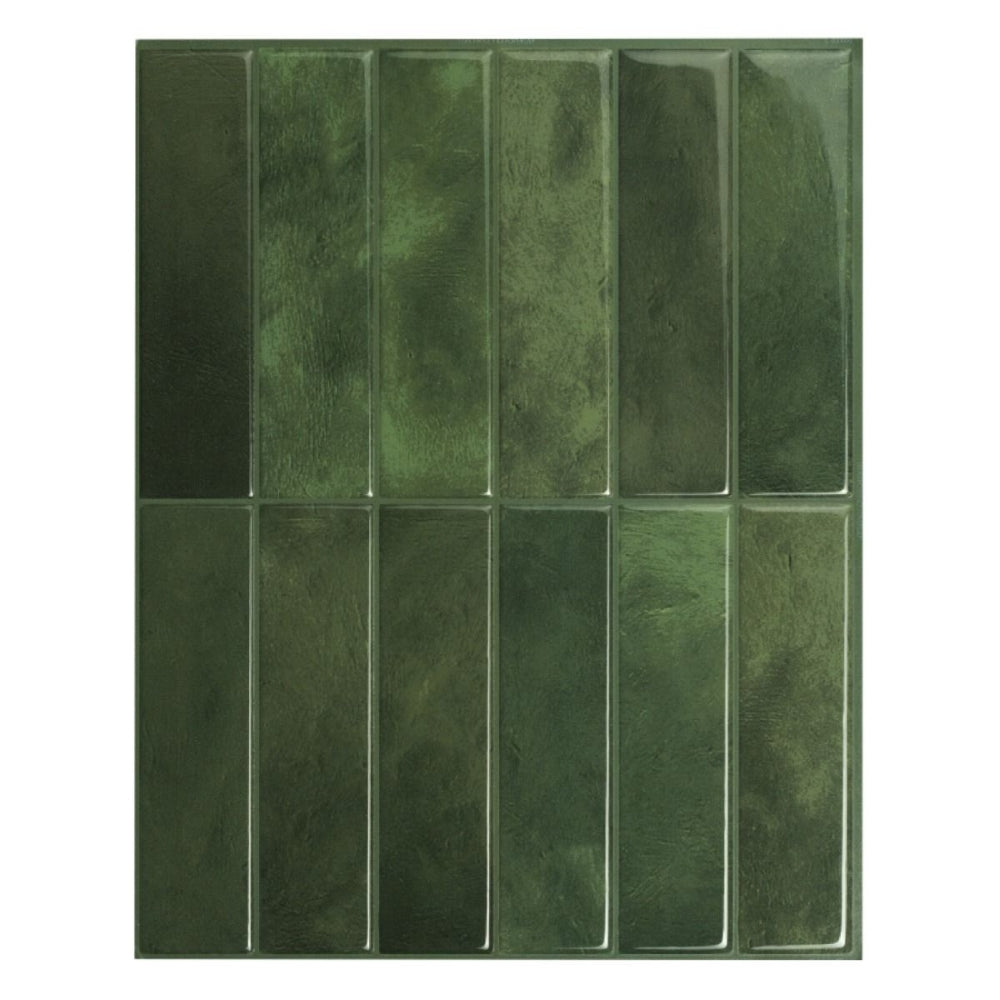
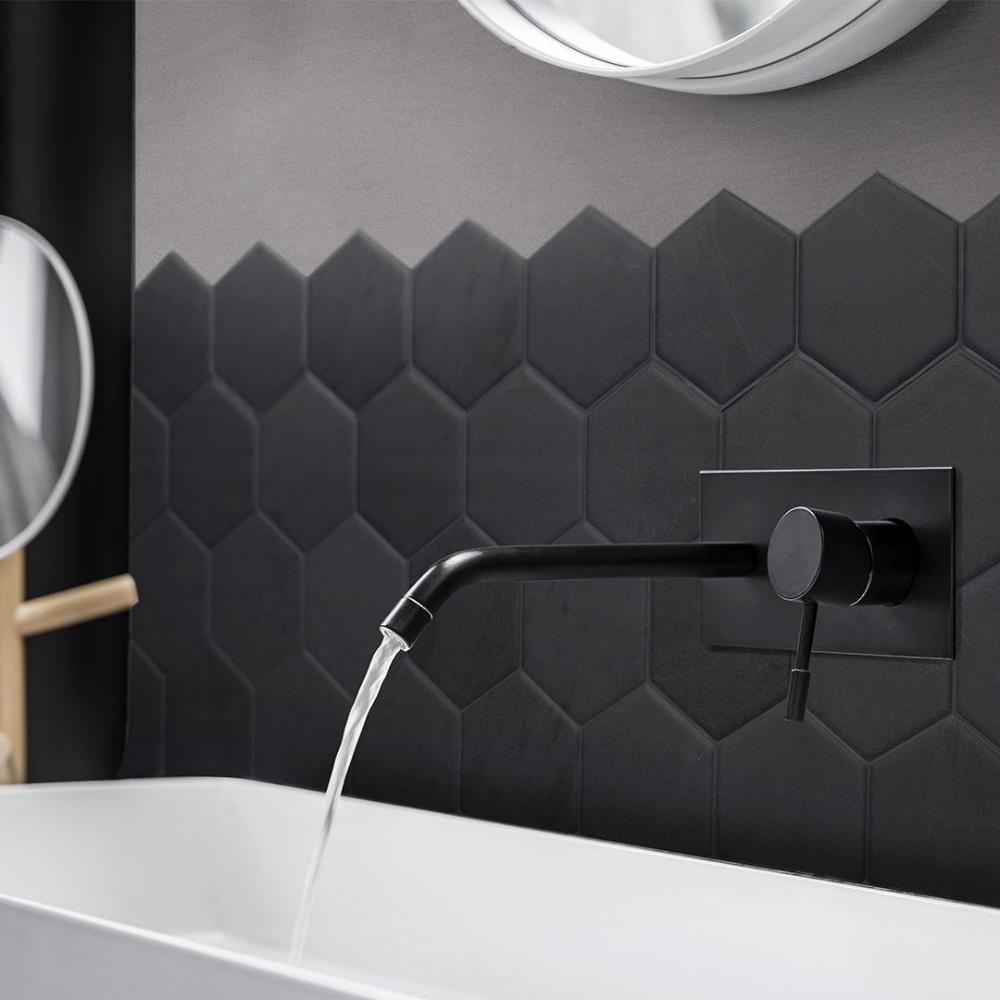
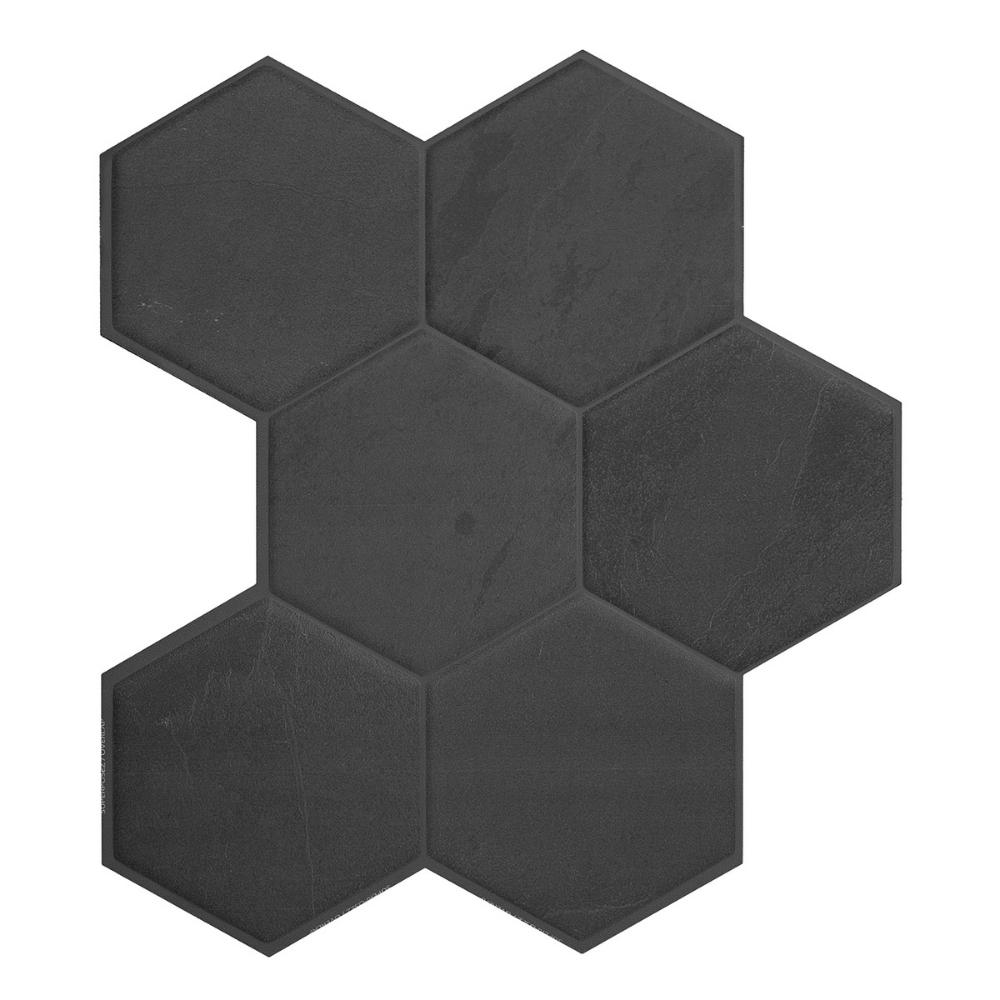
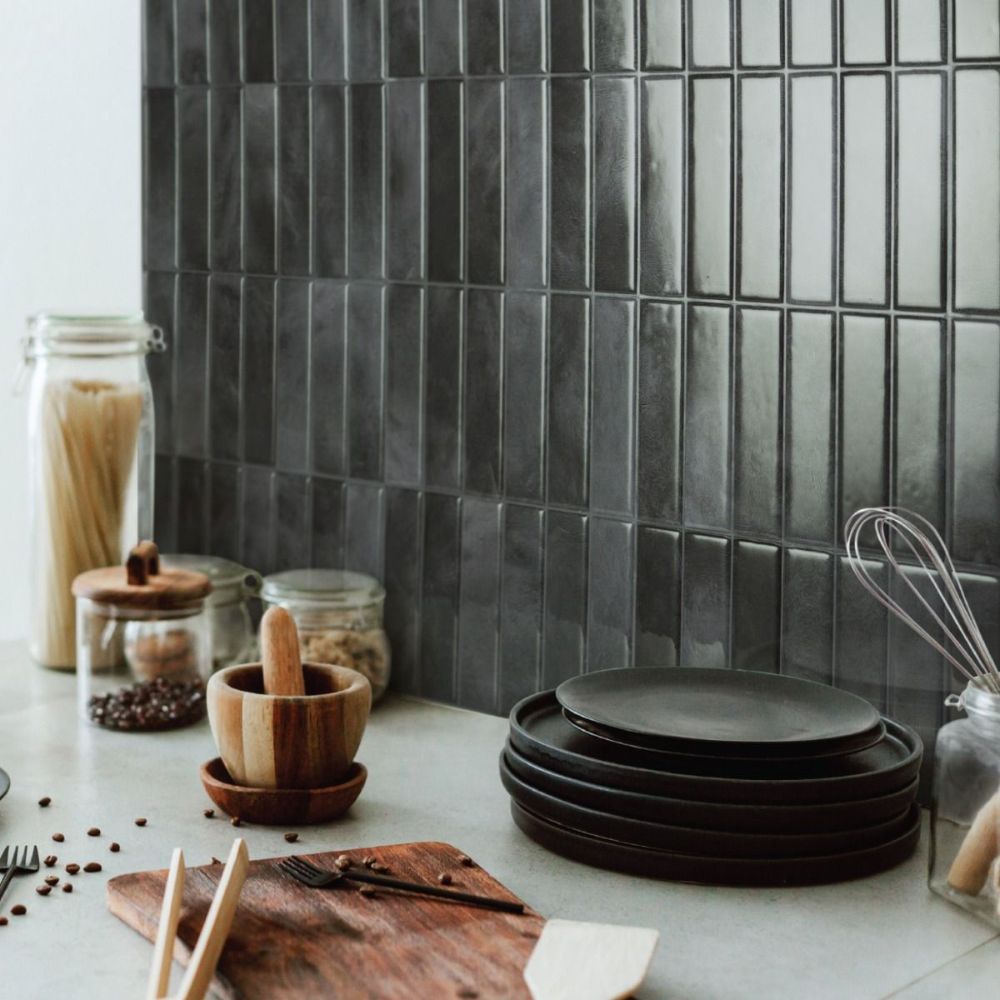
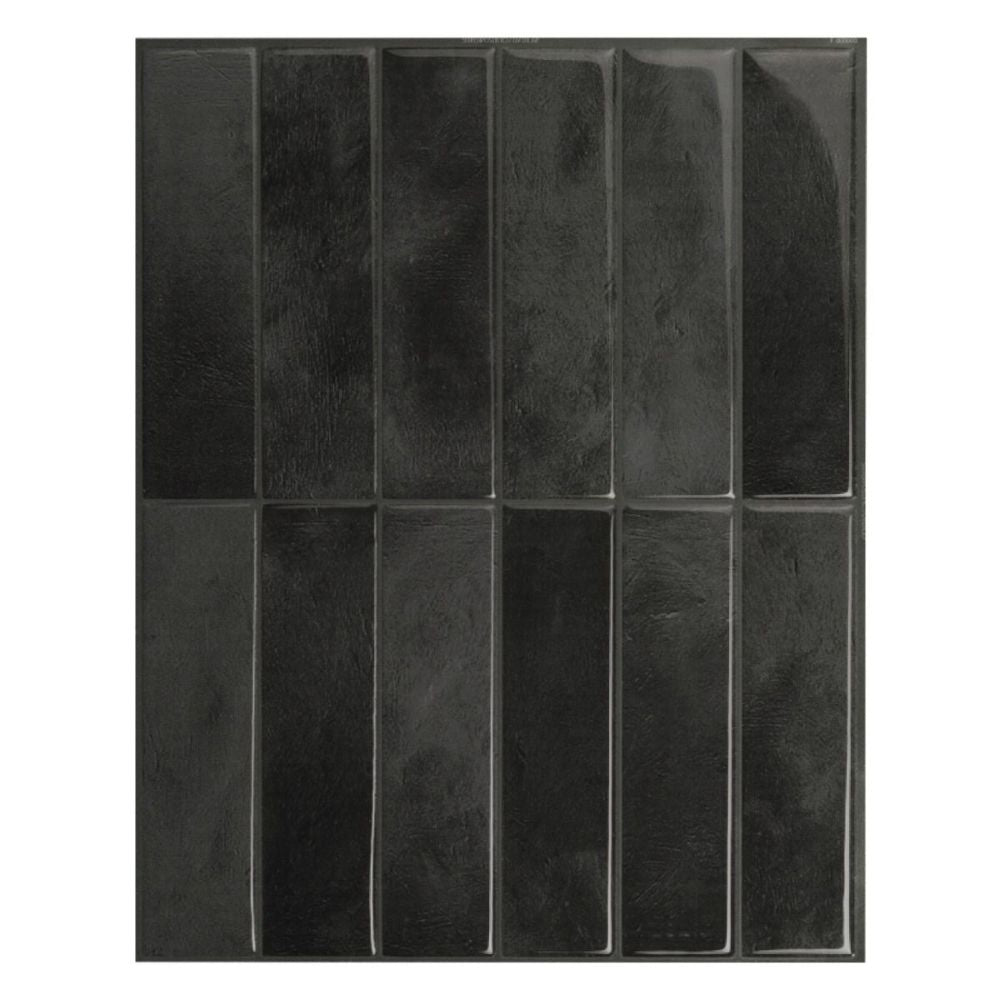
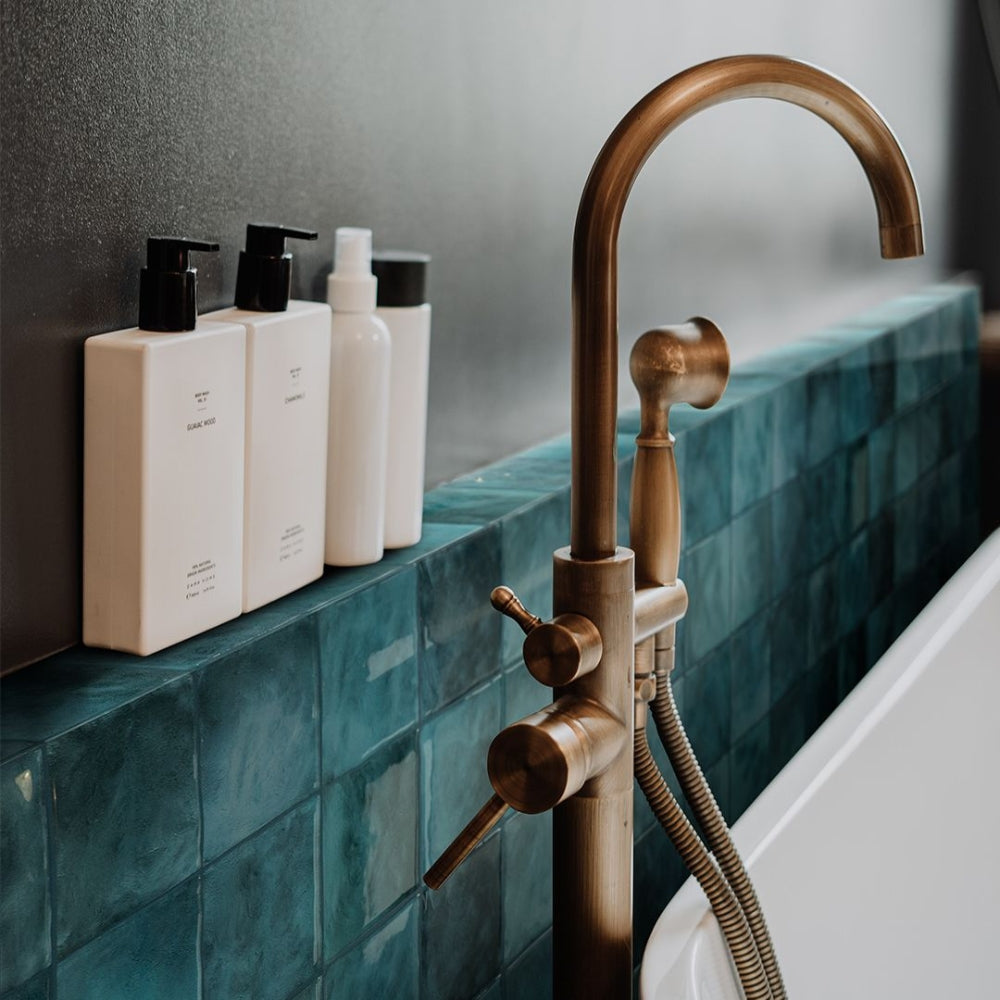
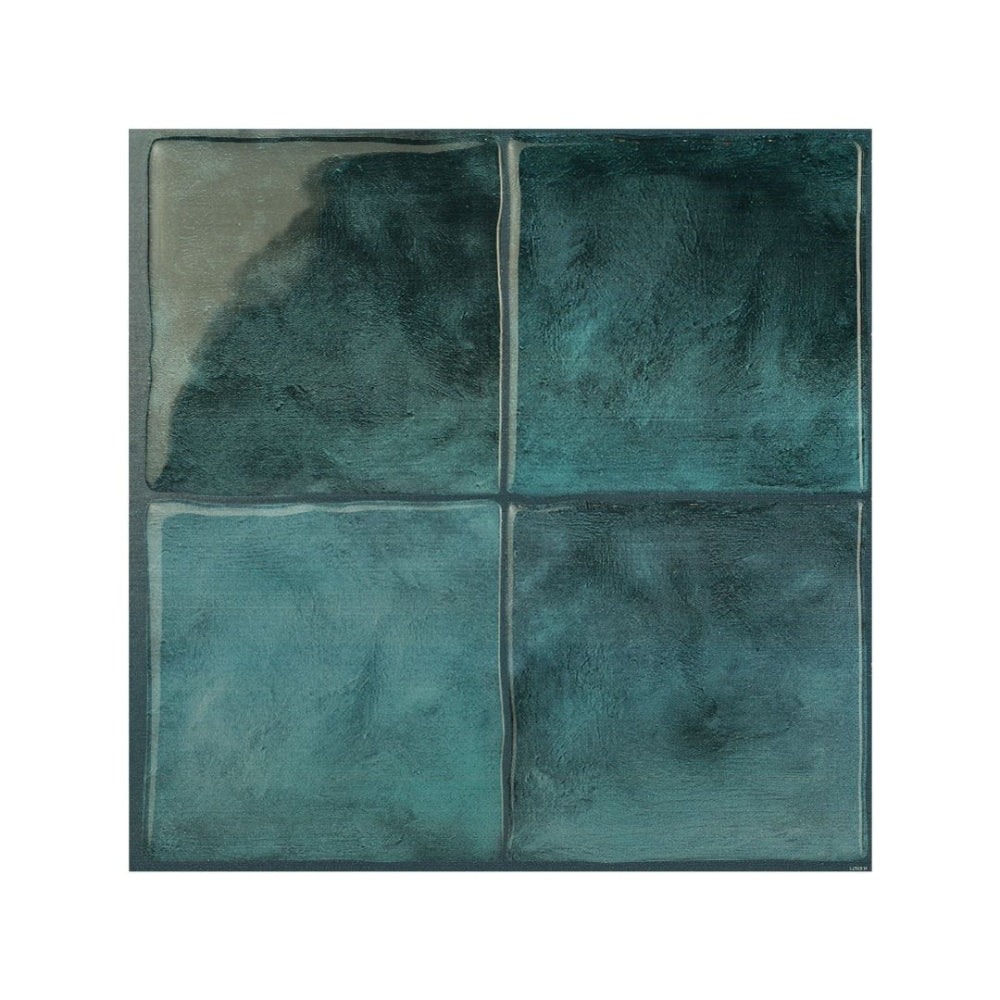
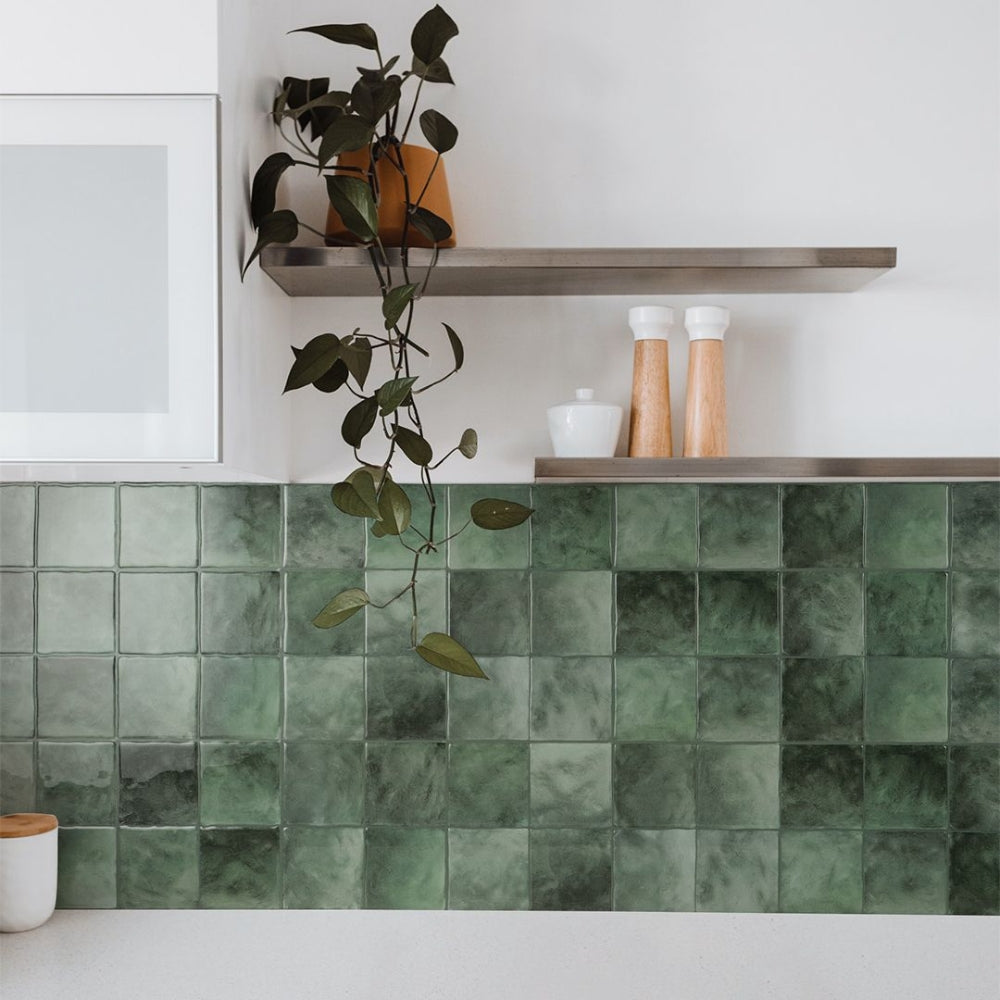
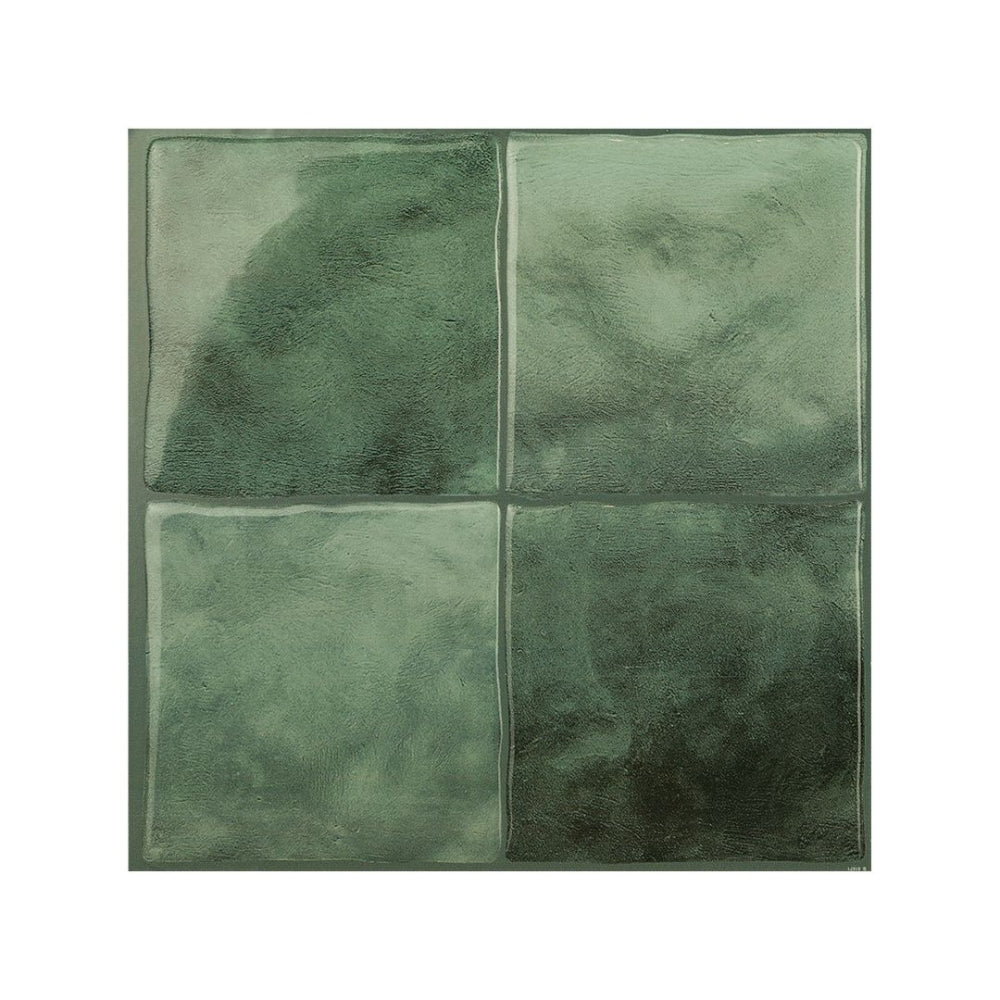
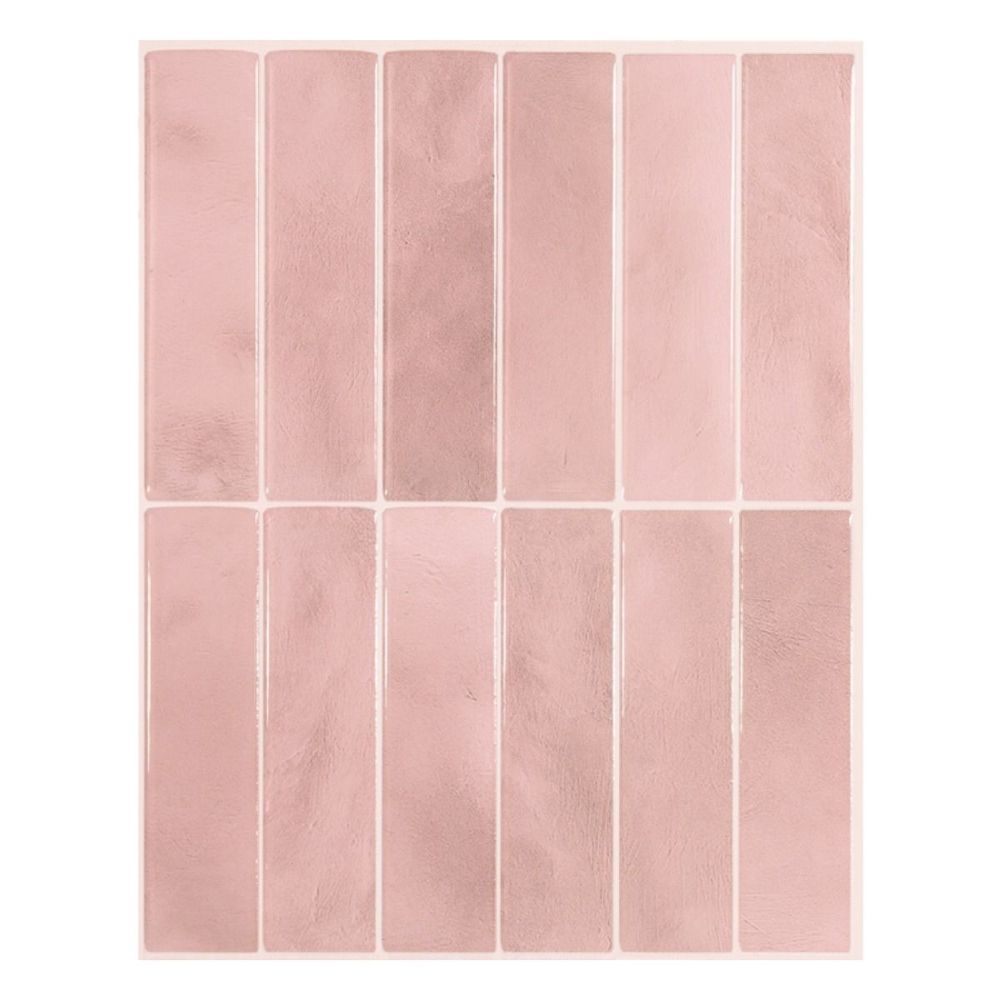
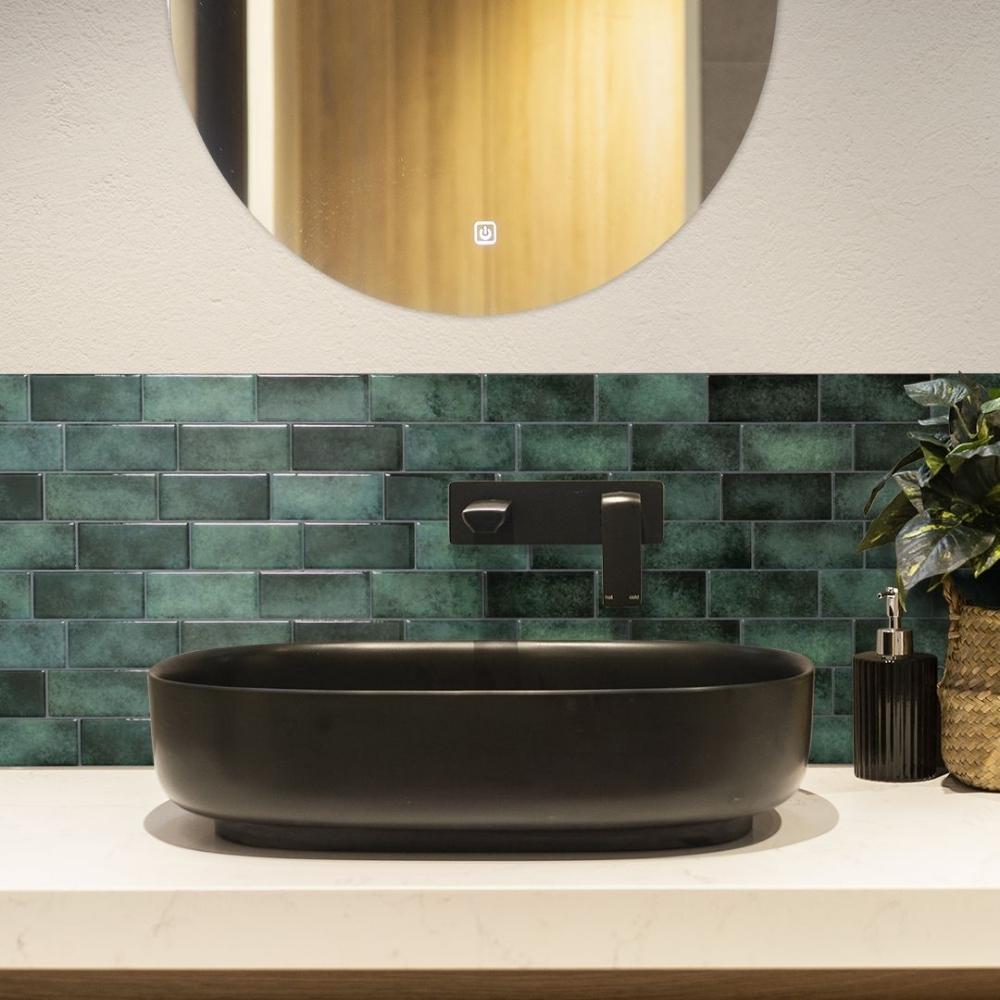
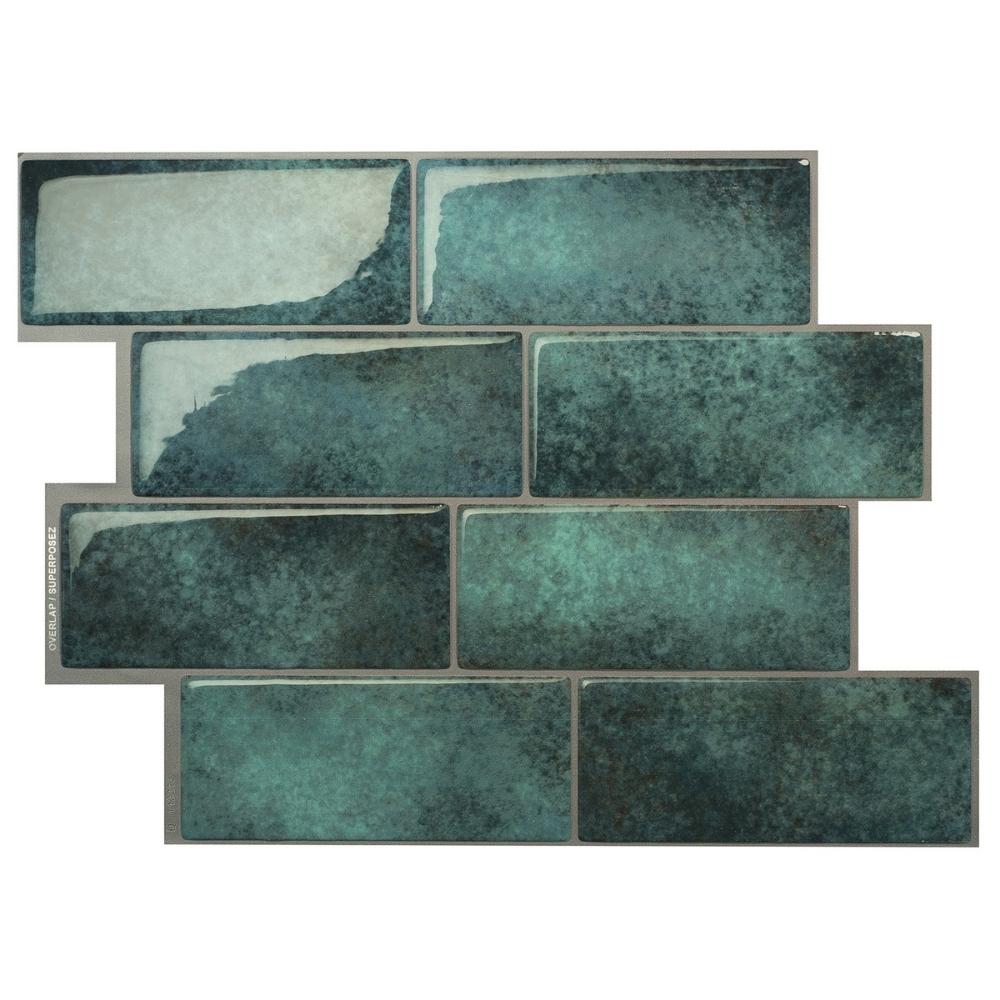
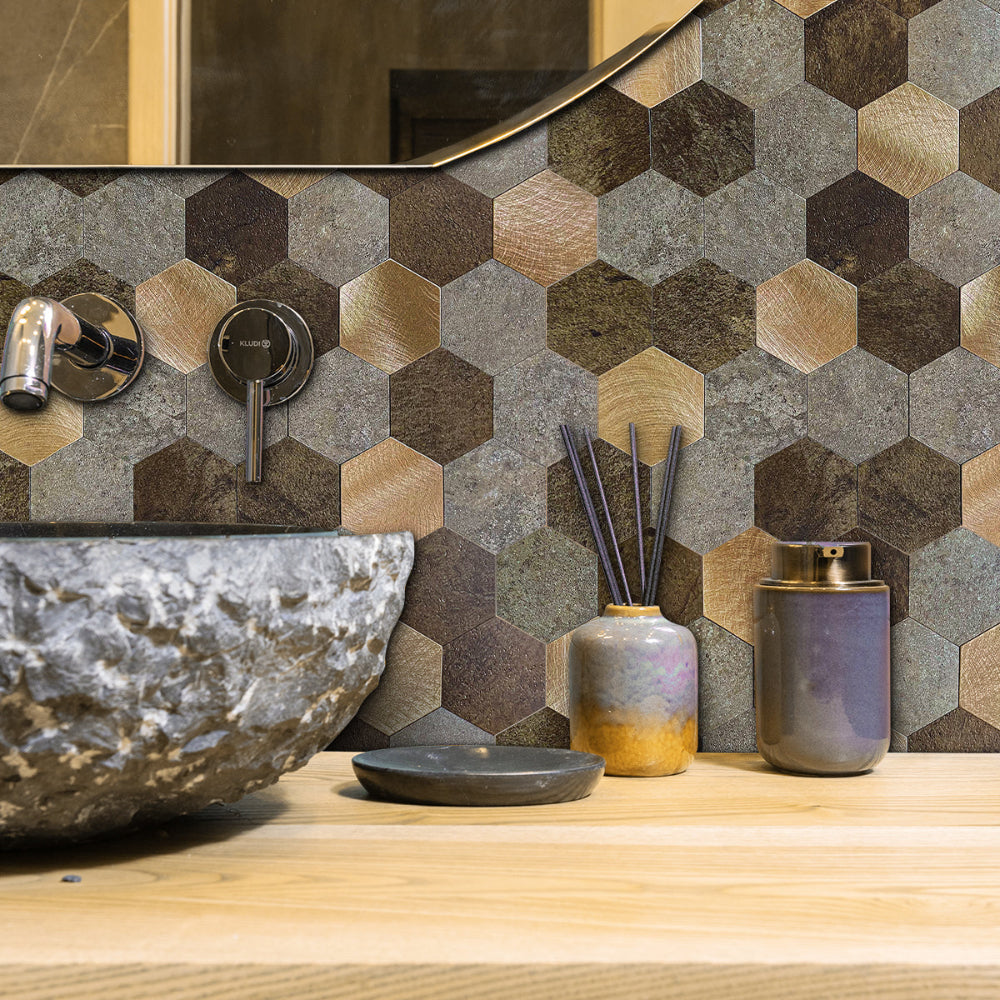
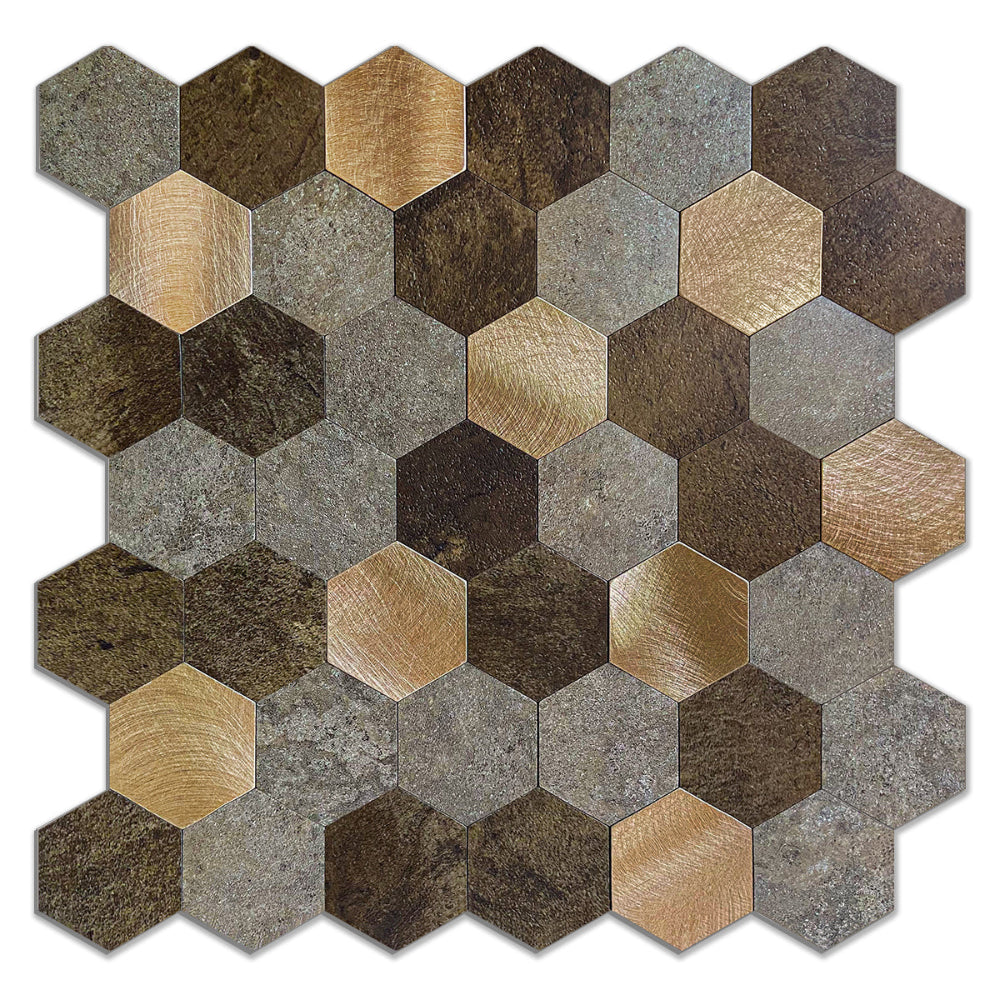
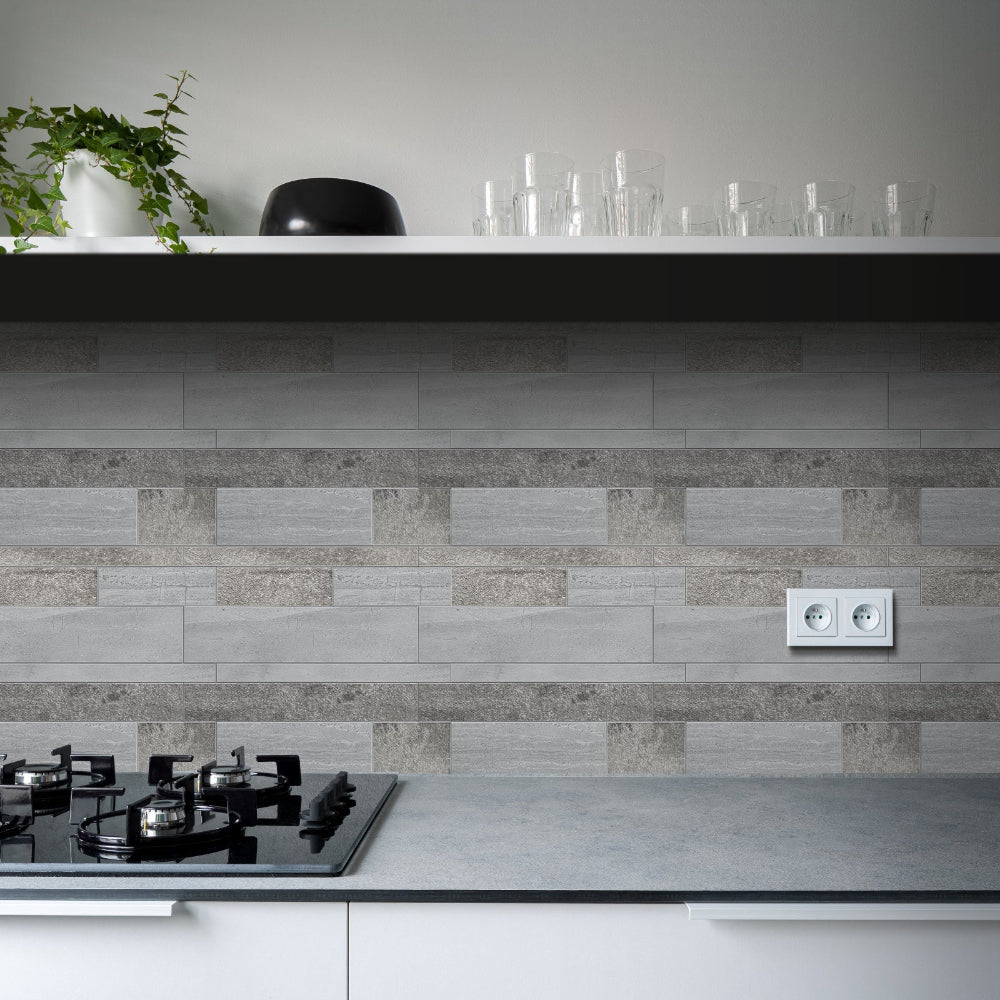
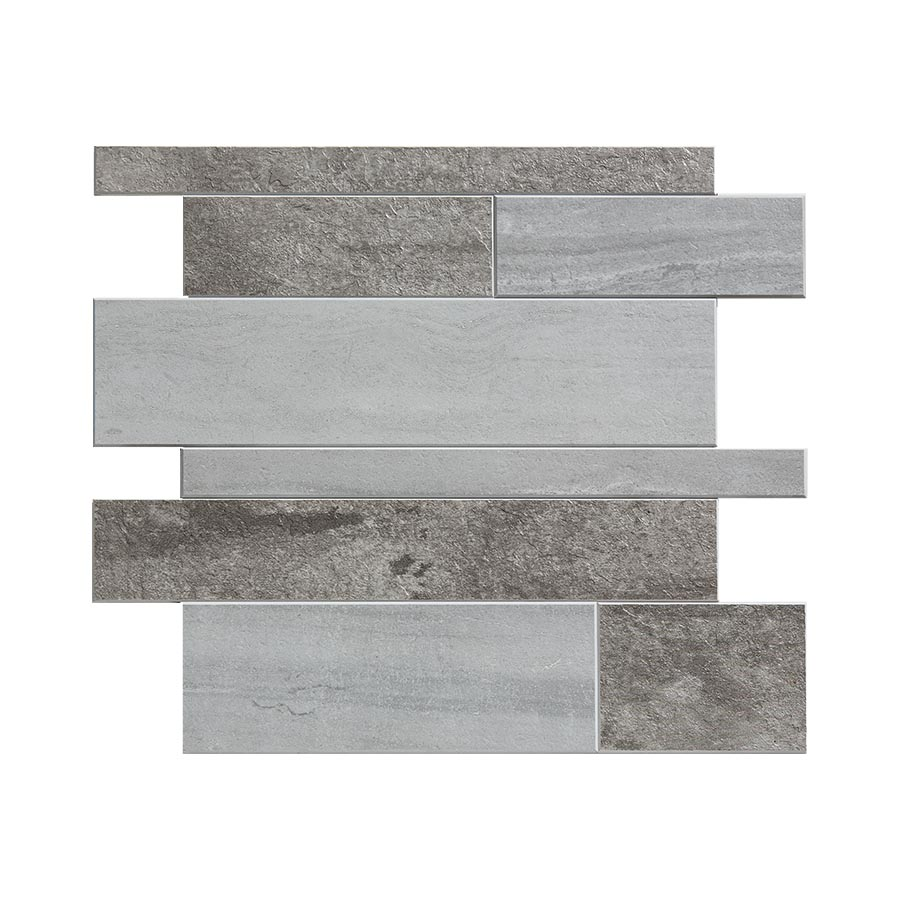
Making a Statement
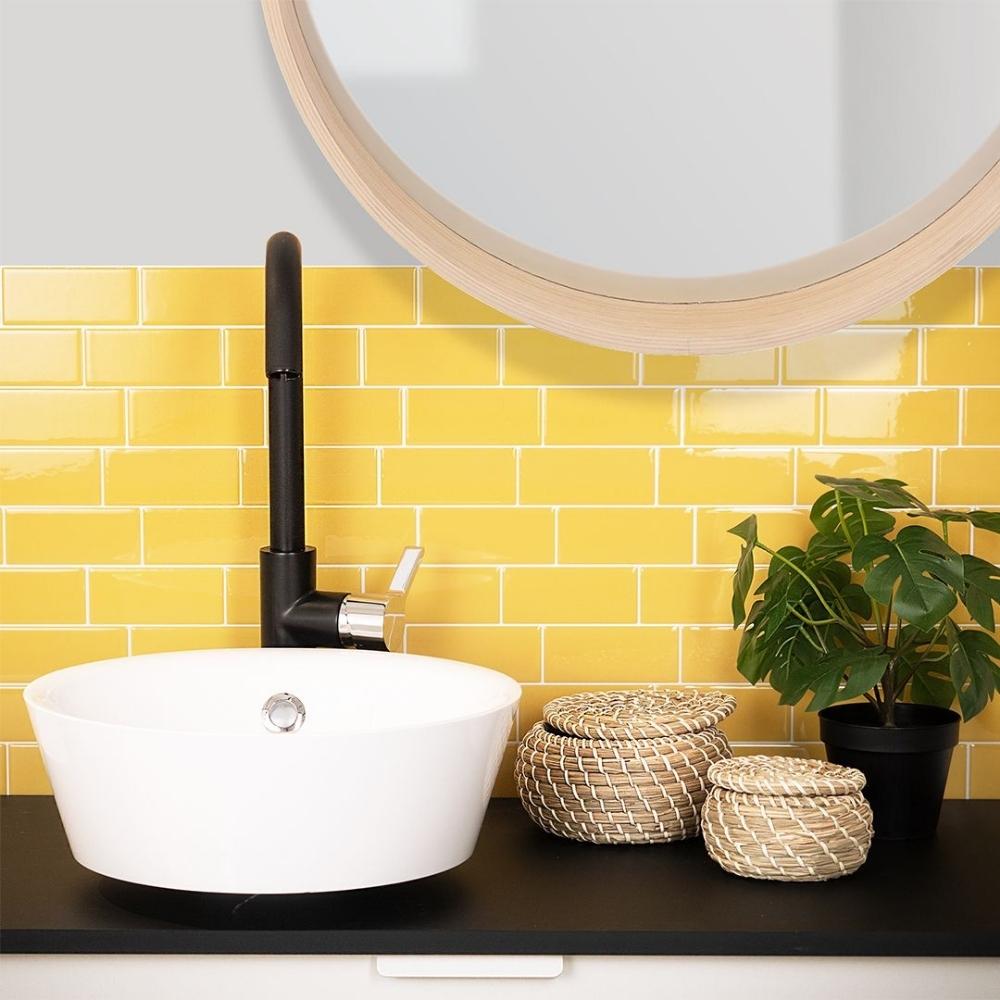
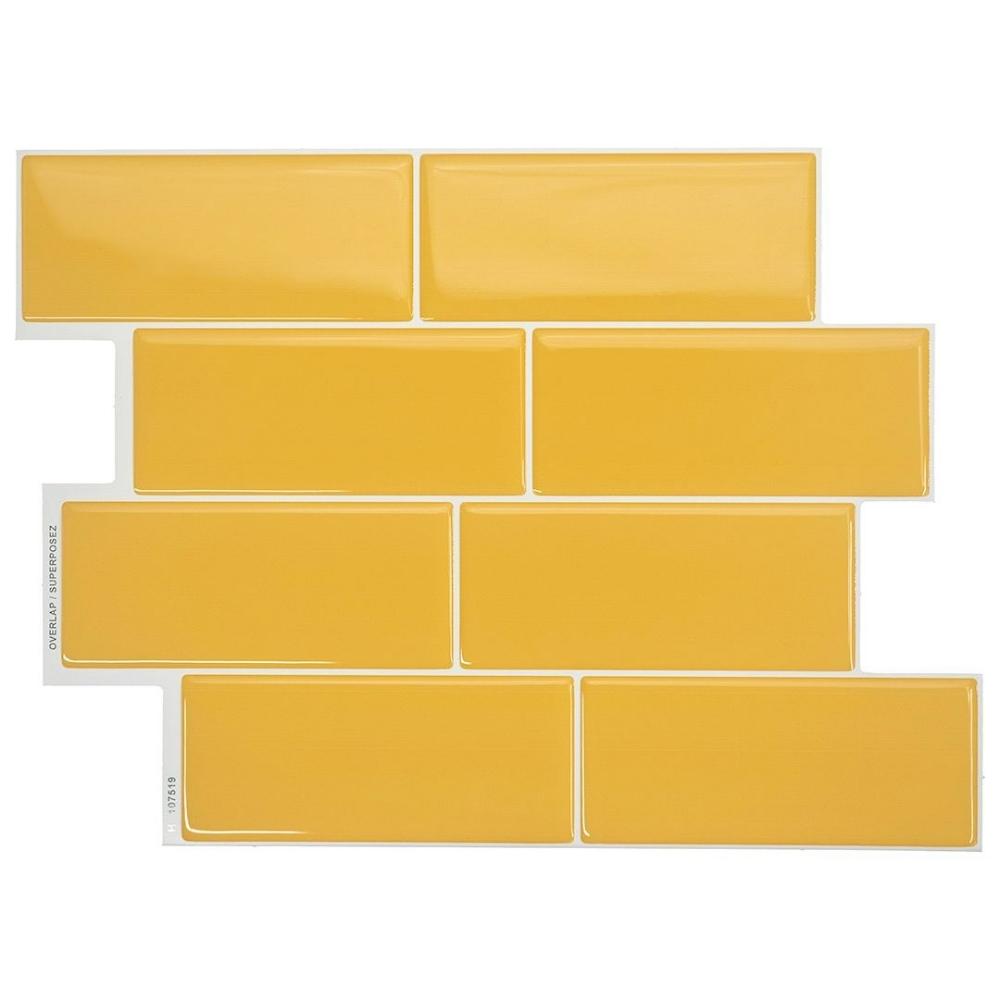
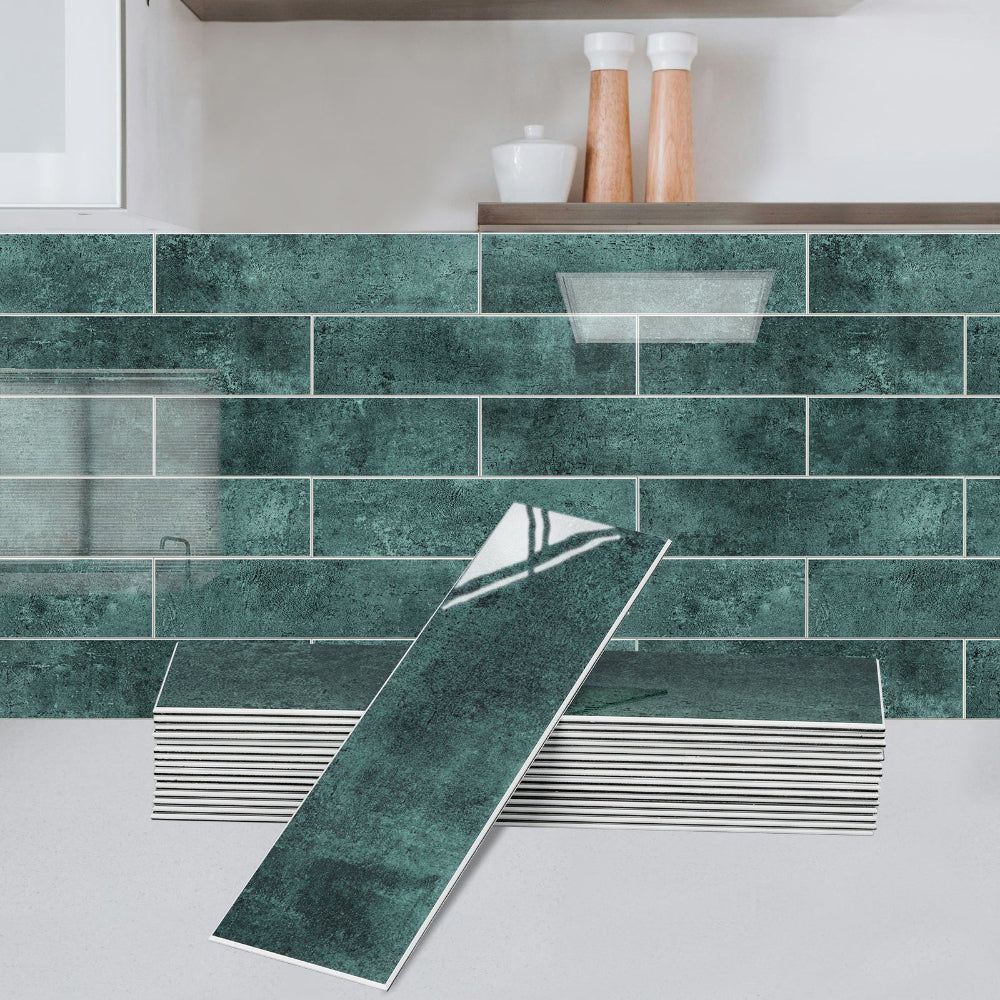
If you have a space in your home that needs that extra oomph, don't be afraid to choose a tile that will be the focal point of the room. Opt for bold colours, interesting shapes, or unique designs that draw attention and make a statement. Consider options like intricate patterns, vibrant hues, or tiles with a textured finish to create a visually stunning effect.
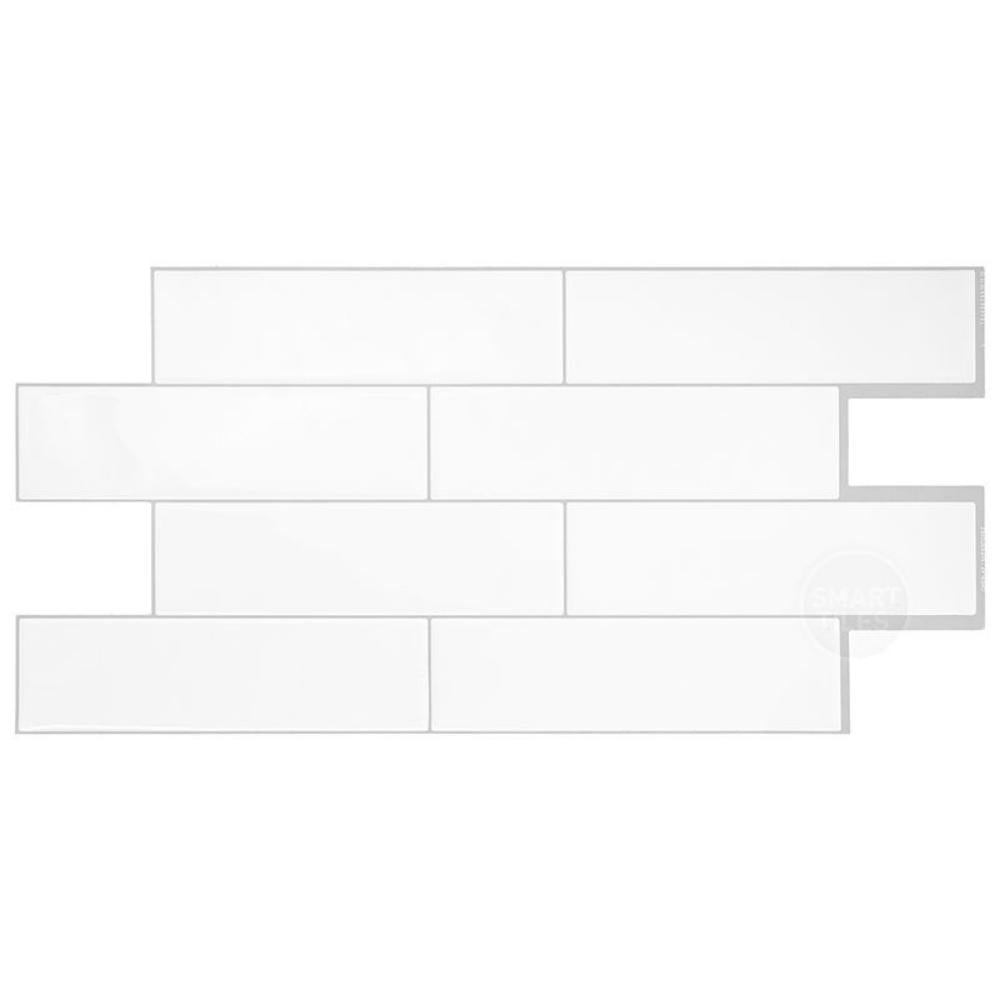
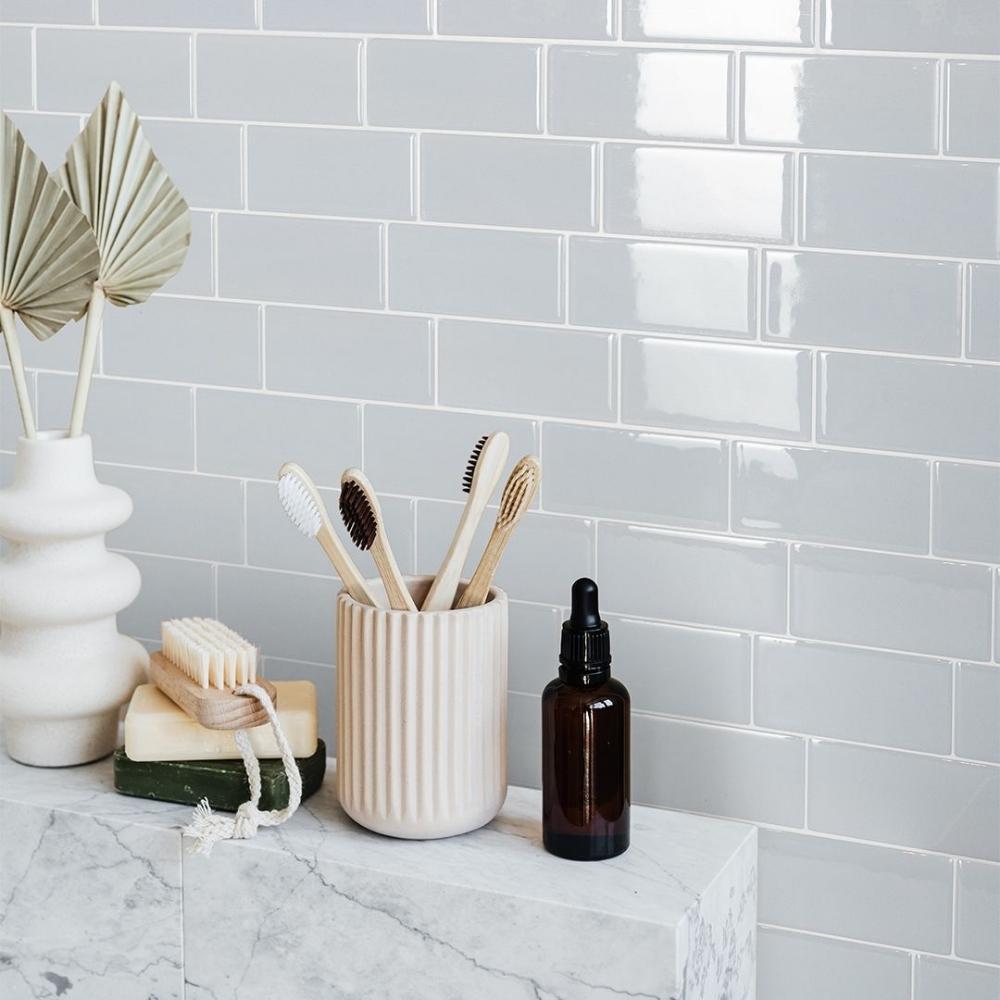
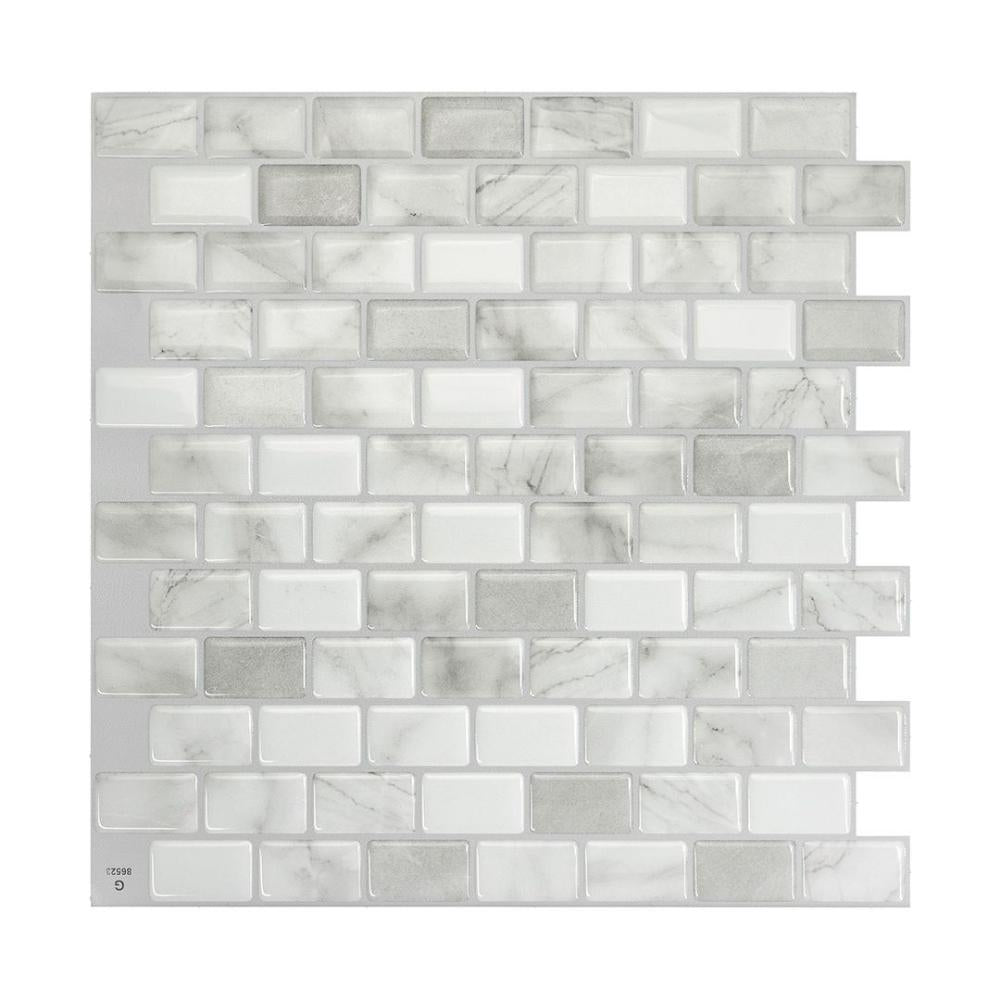
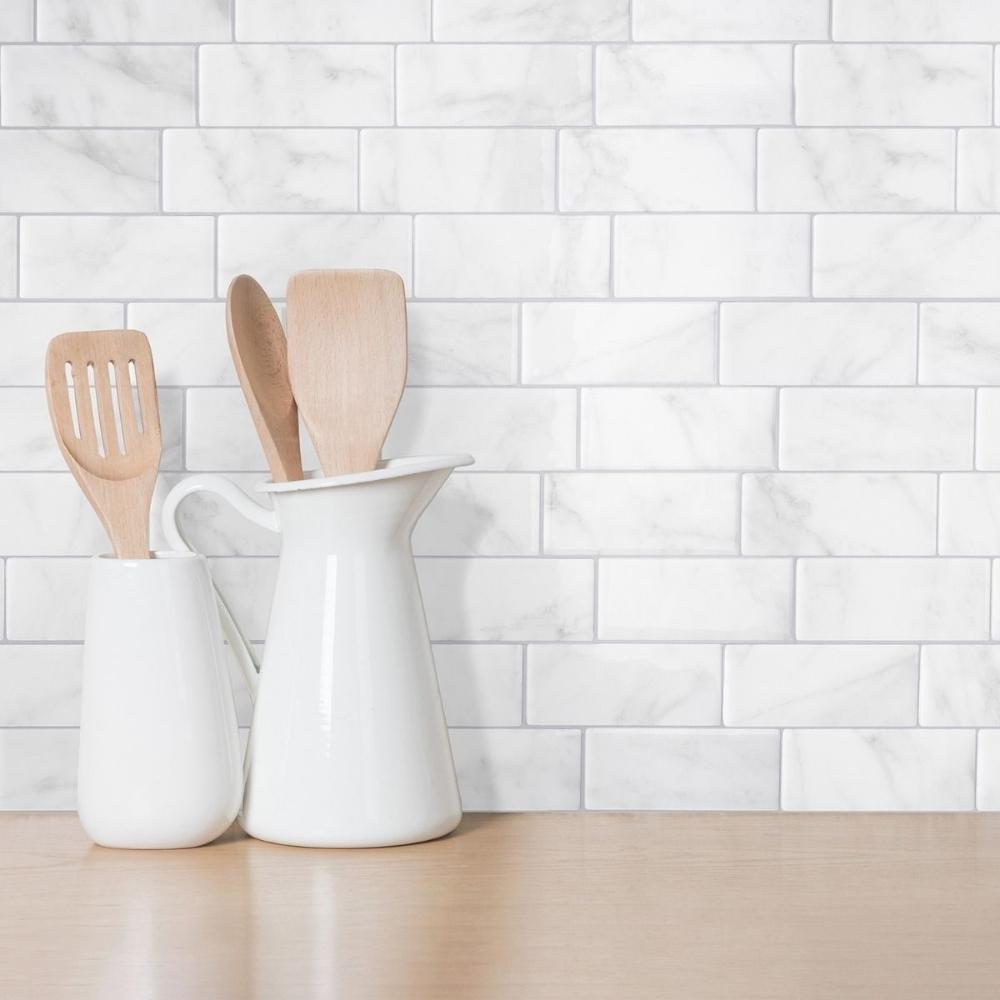
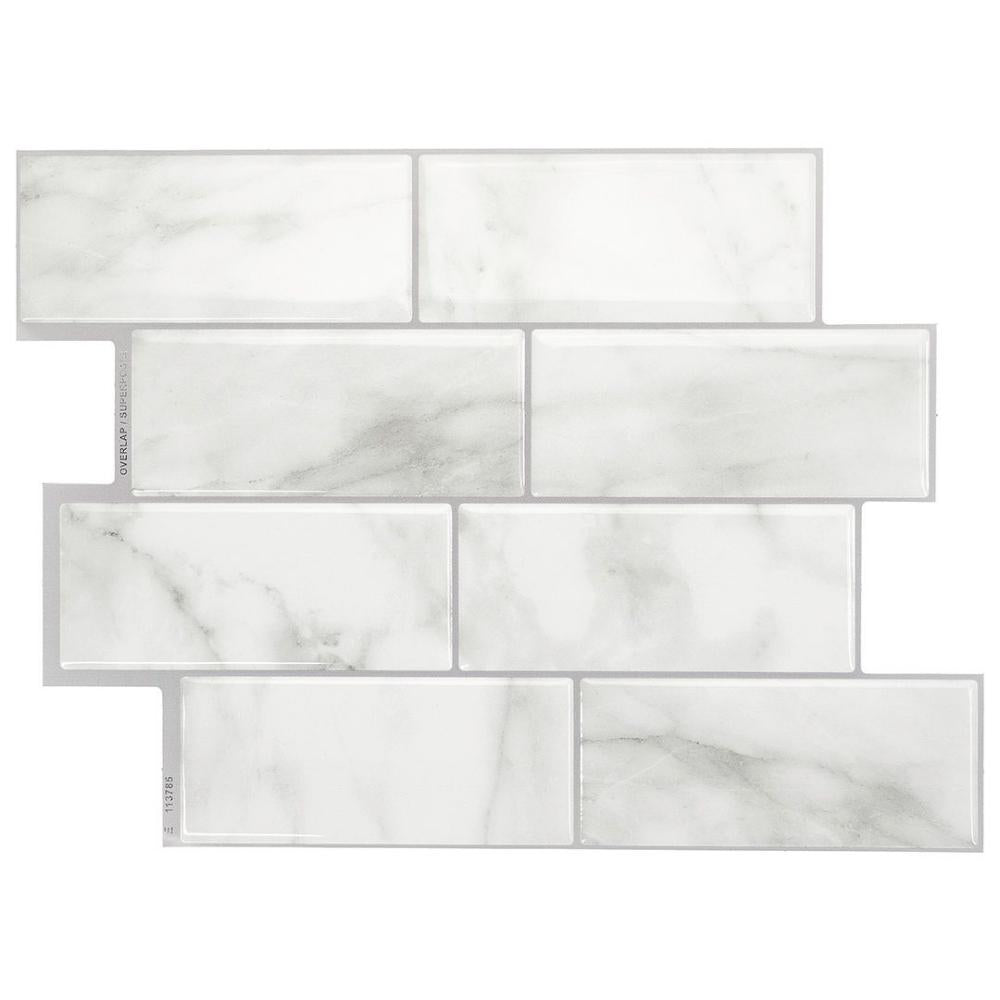
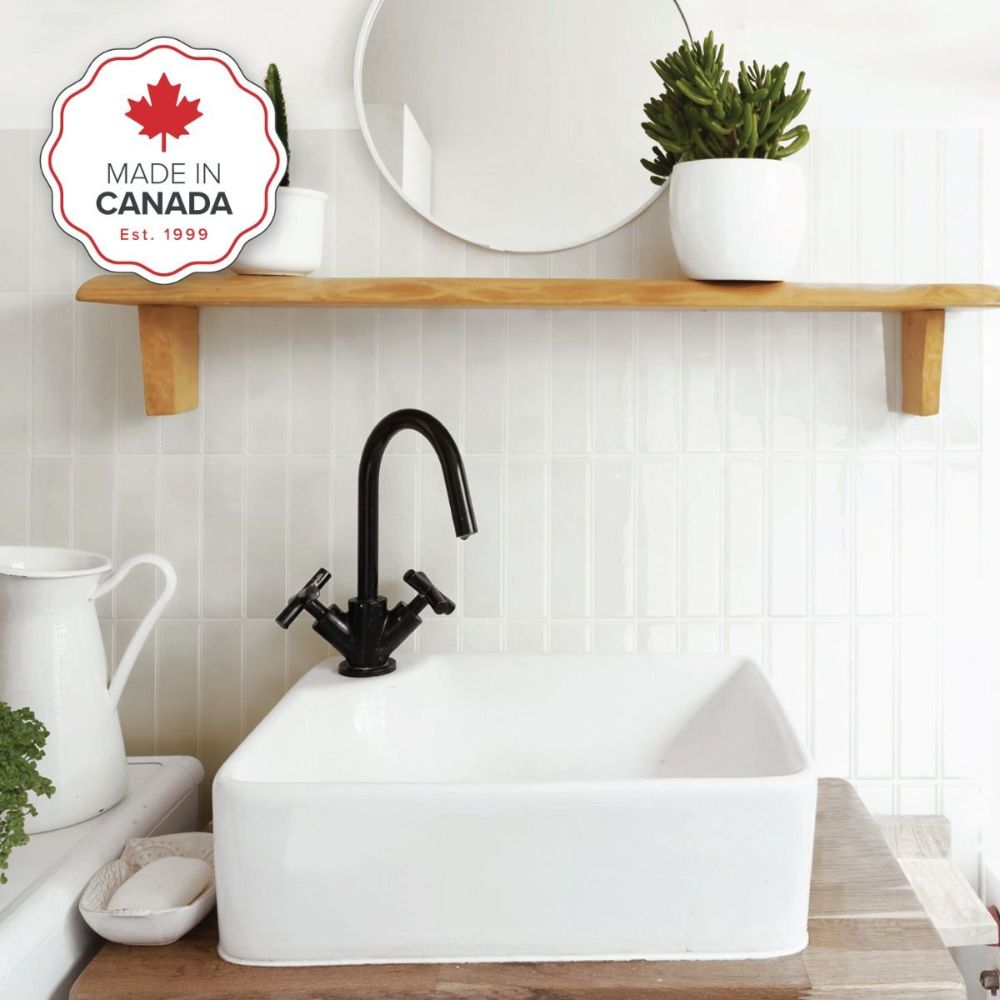
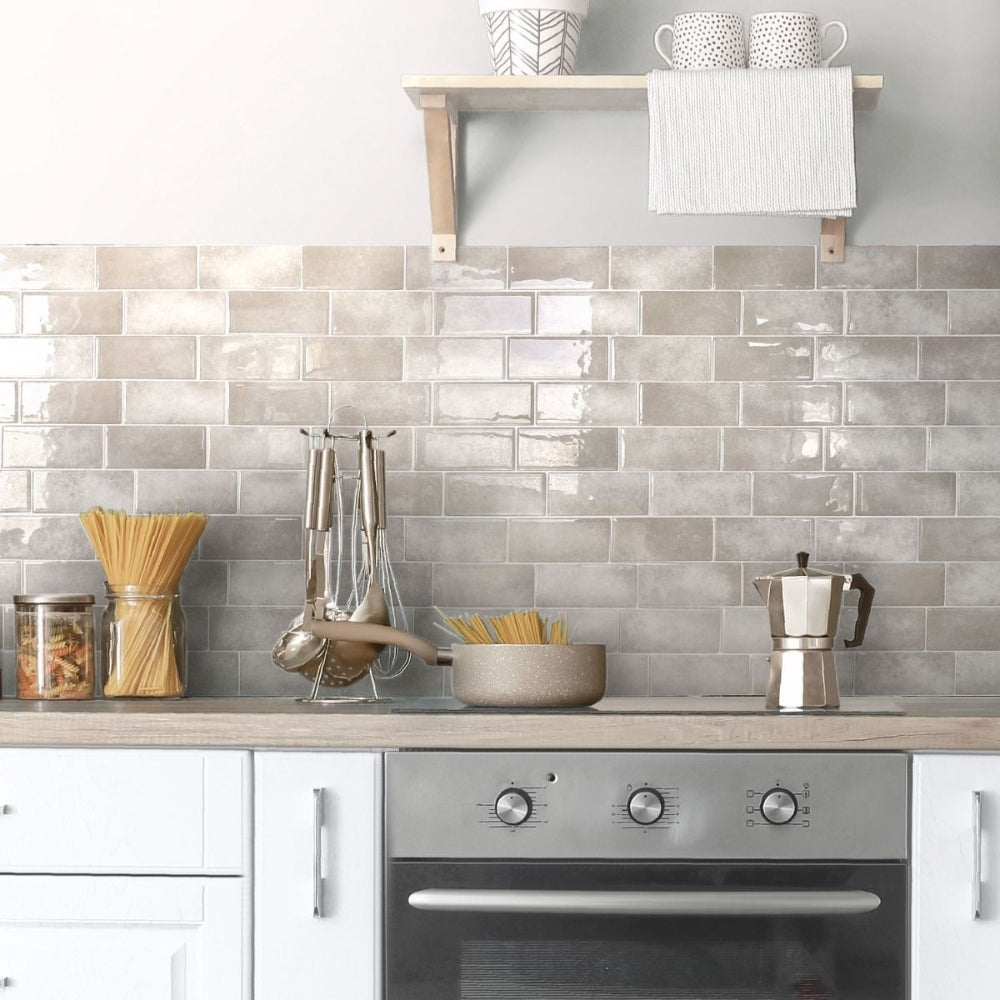
Selling Your Home
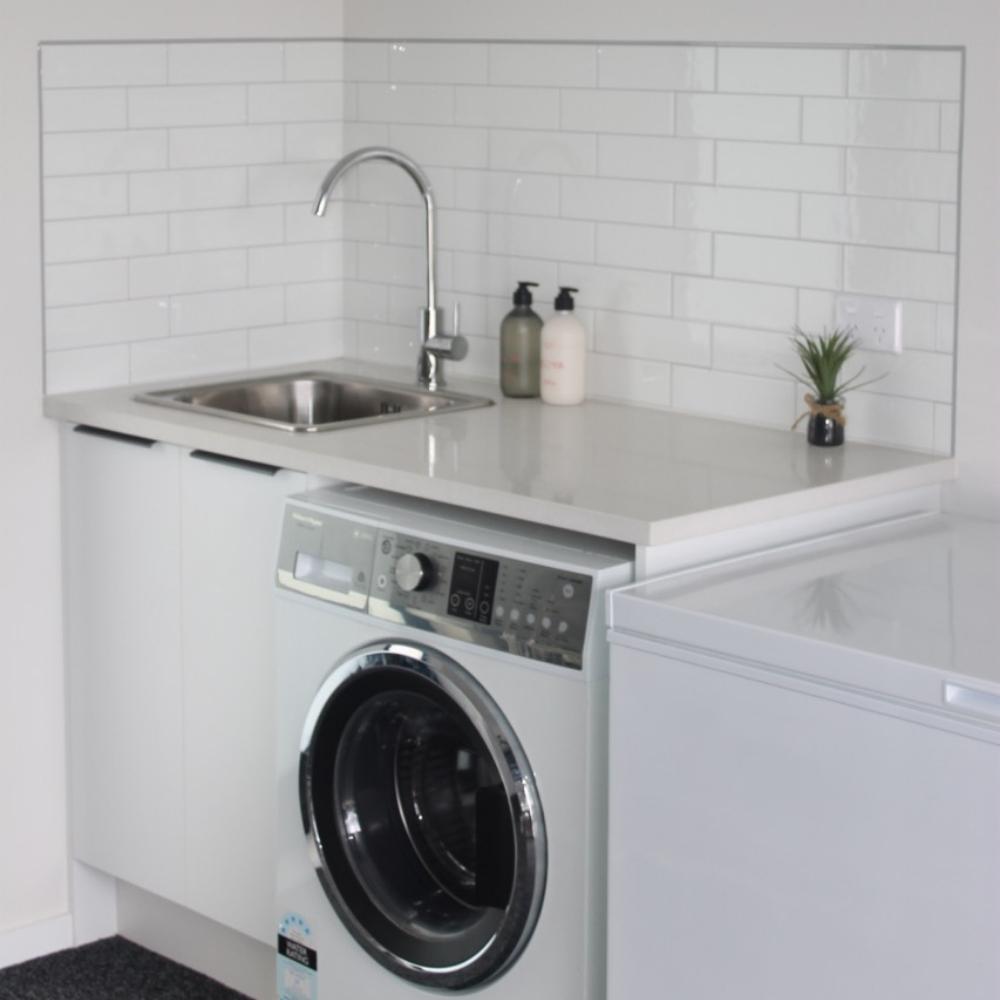
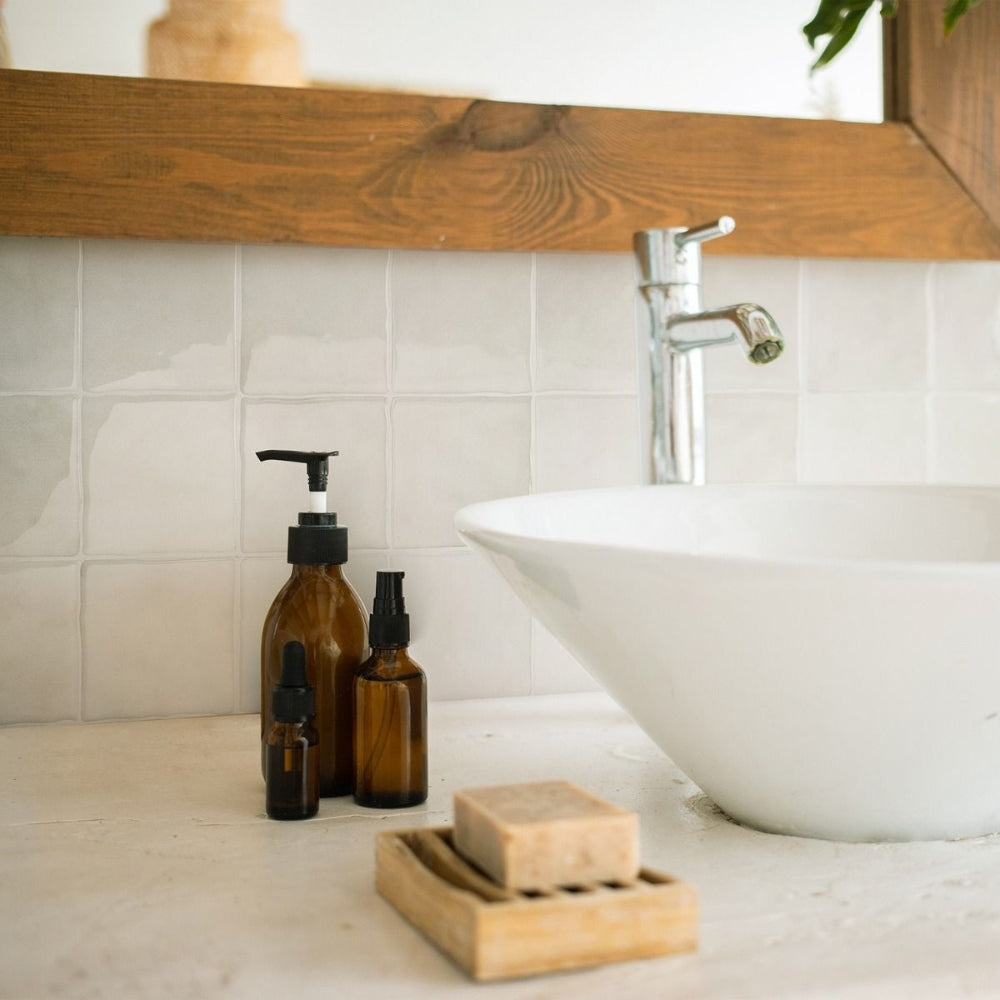
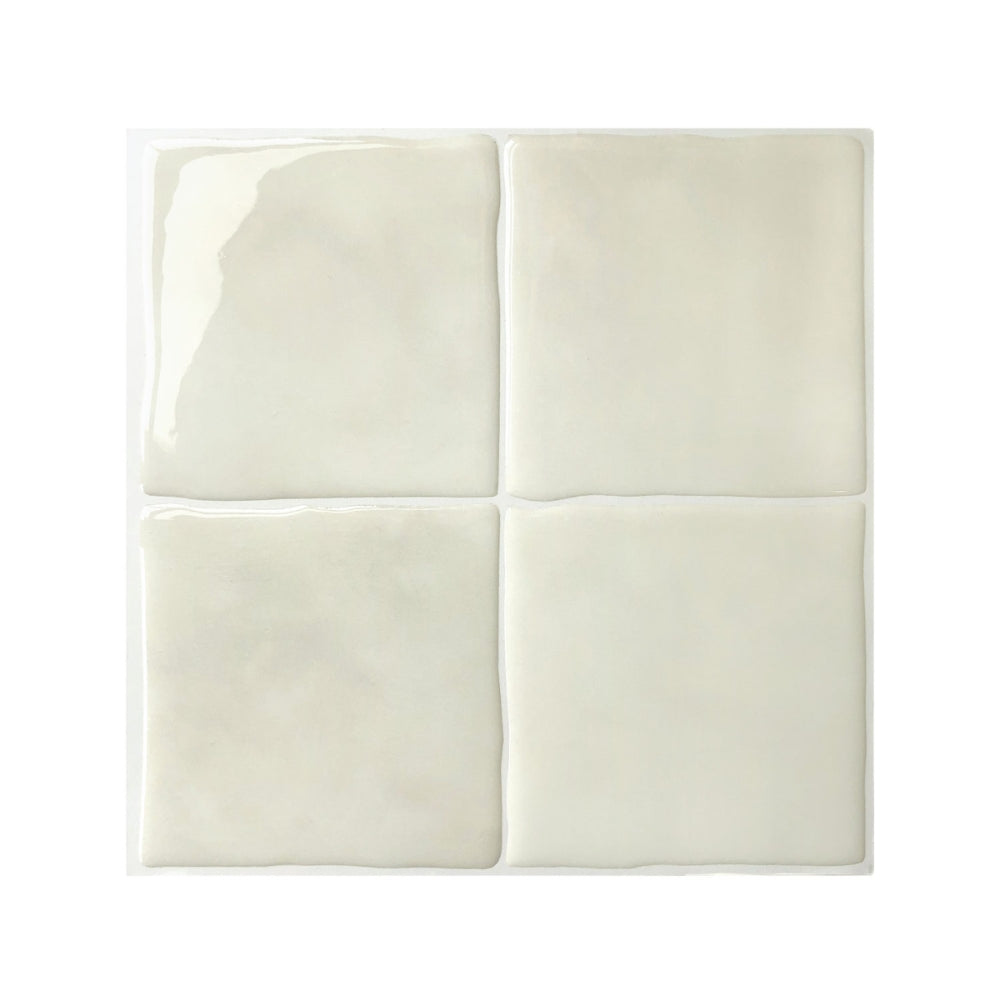
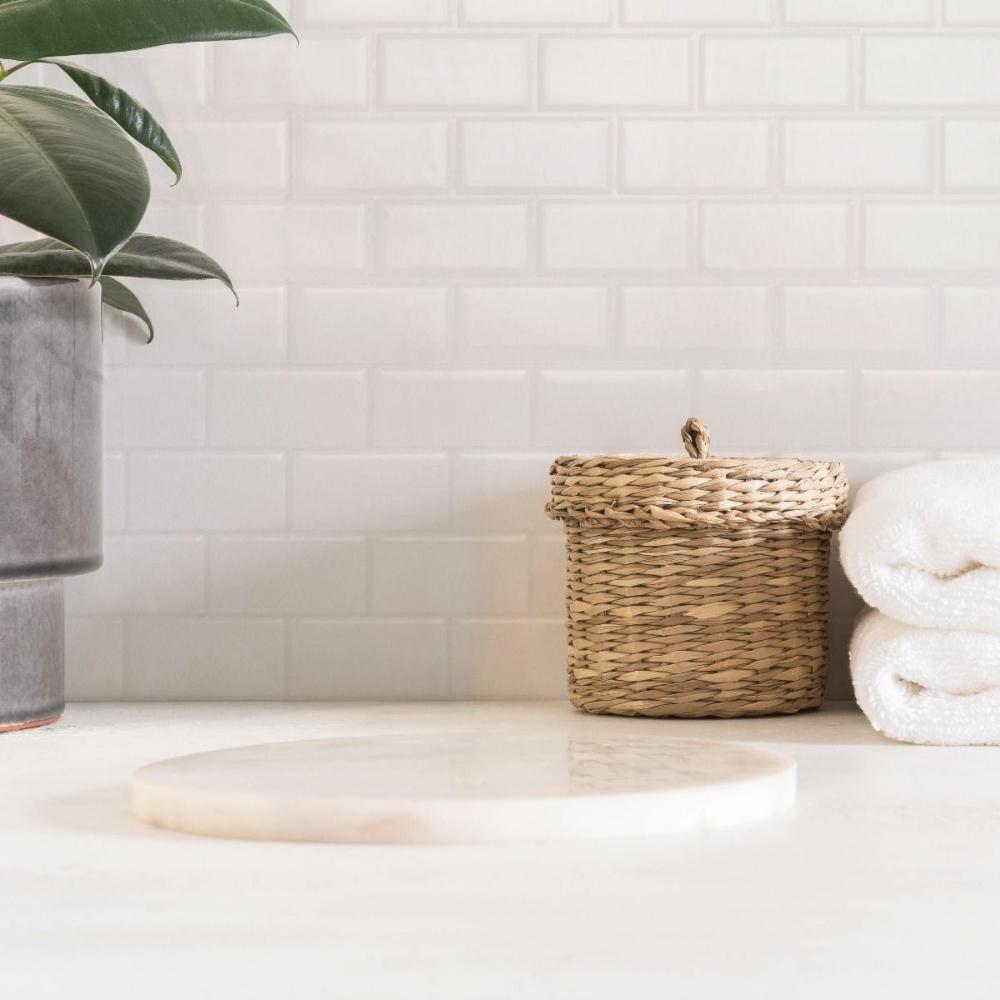
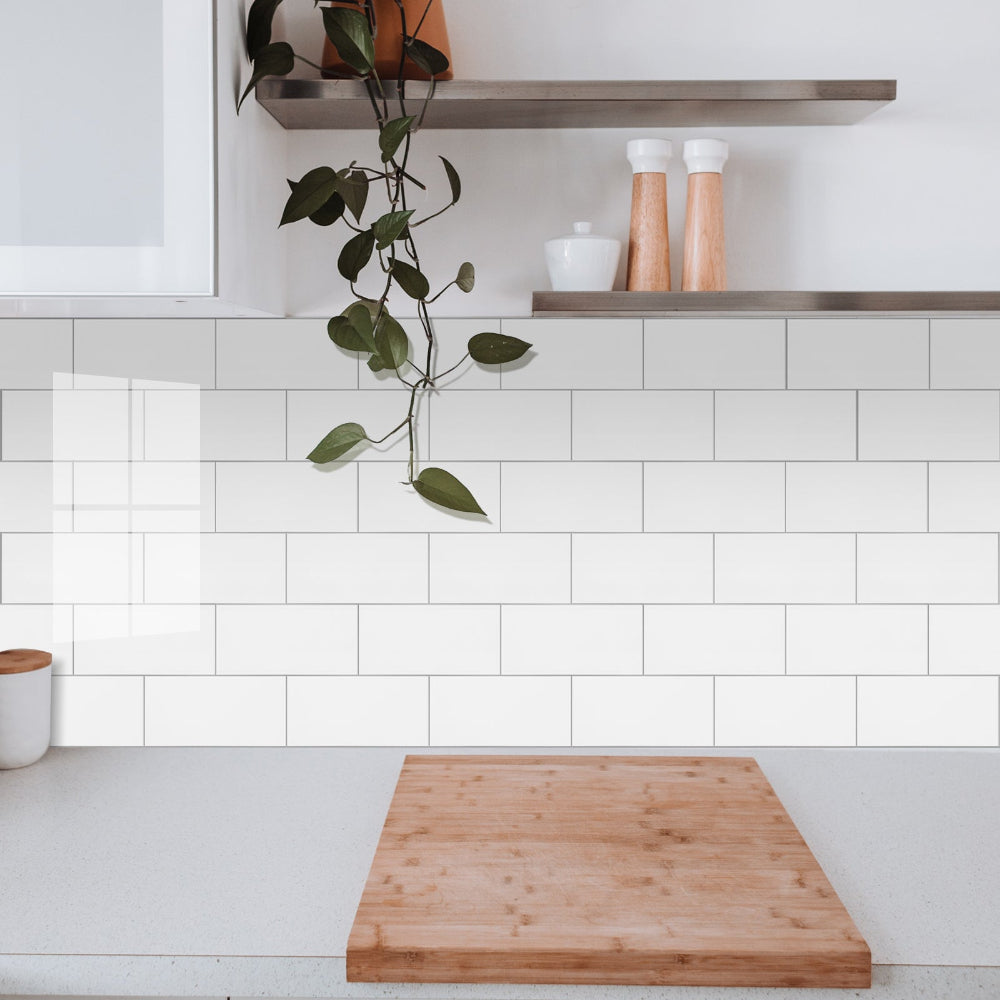
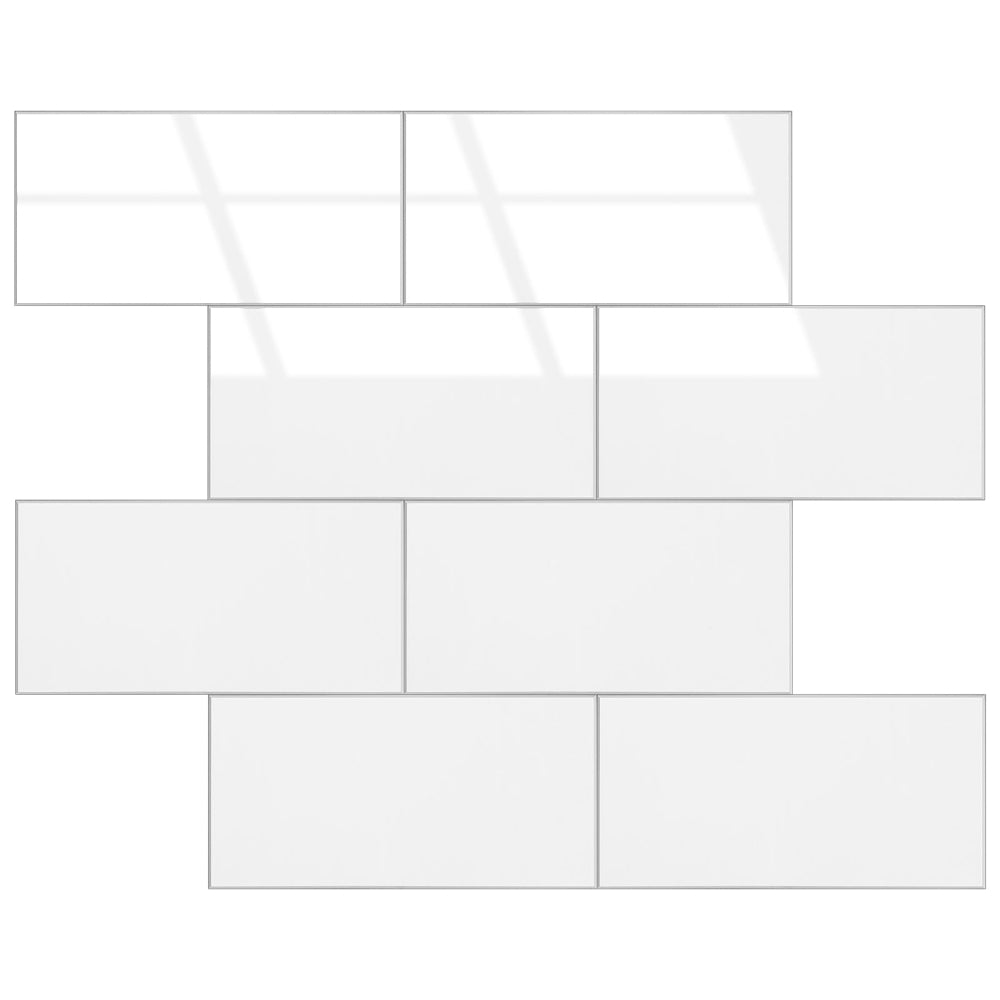
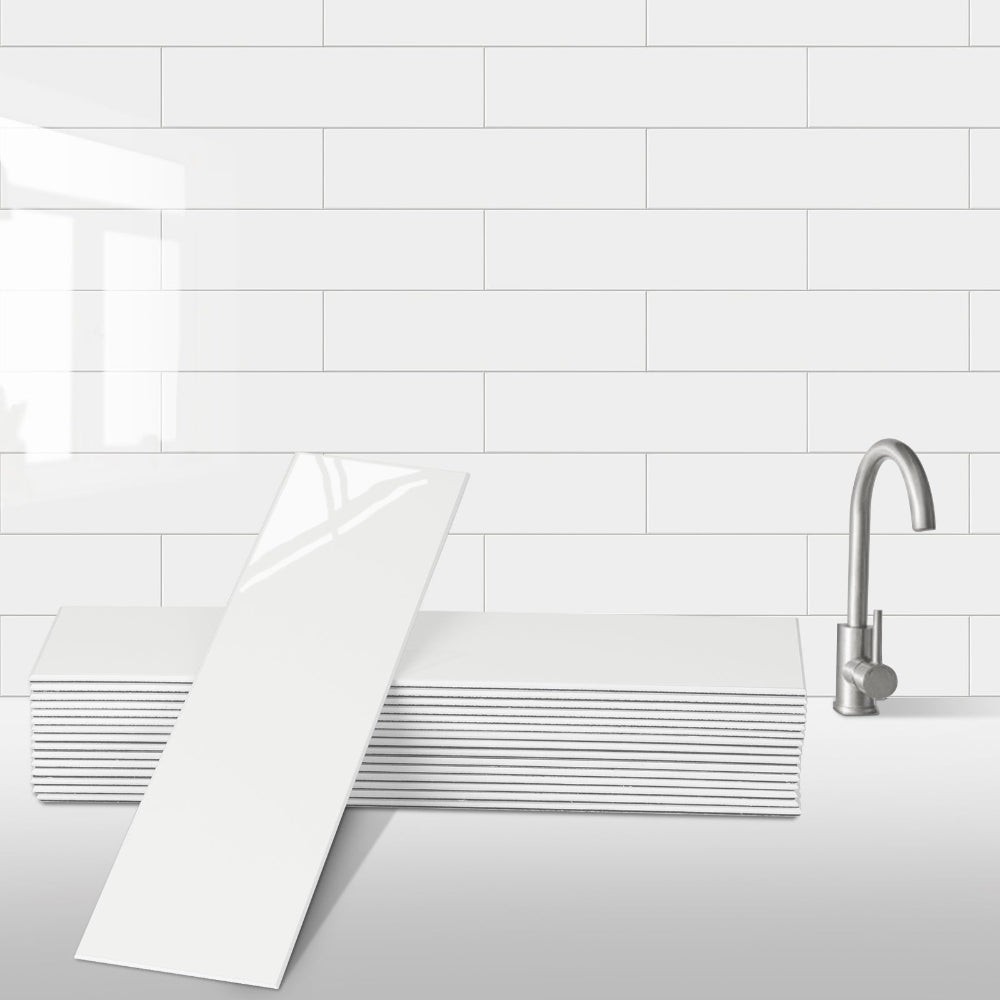
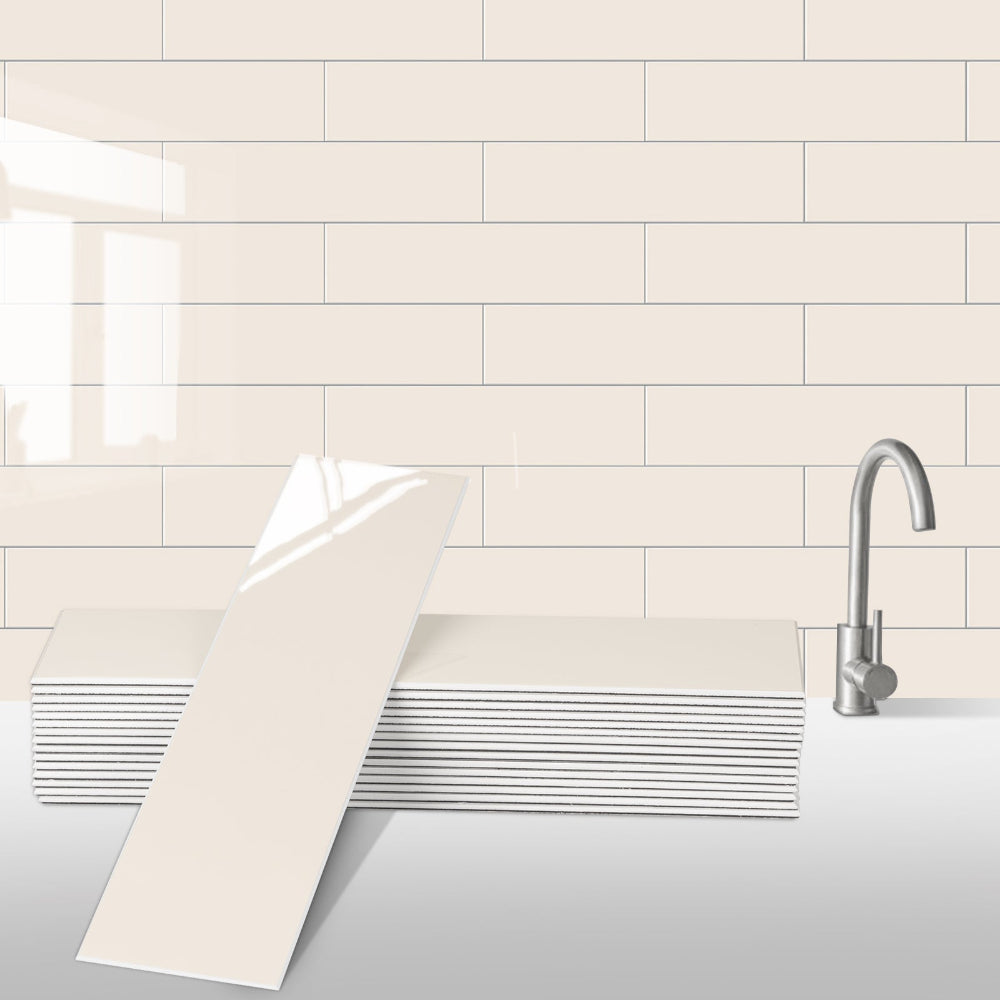
When preparing your home for sale, it's best to select tiles that appeal to a wide audience. Playing it safe with classic, neutral choices can increase your home's marketability. A timeless option is the classic white subway tile, either with white or grey grout. This style is both neutral and elegant, ensuring it won't deter potential buyers who might have different tastes. Kitchens and bathrooms are critical areas for home buyers, so sticking to a neutral palette can help ensure these spaces appeal to the majority.
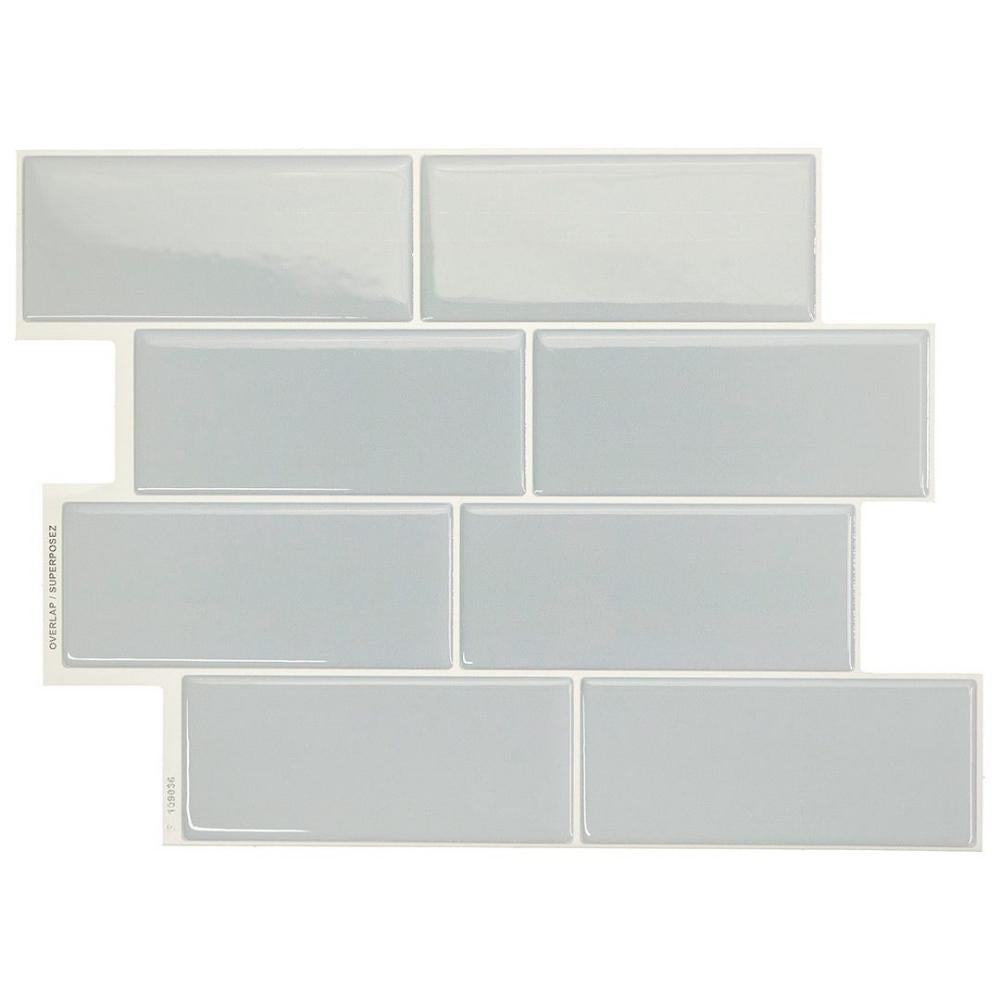
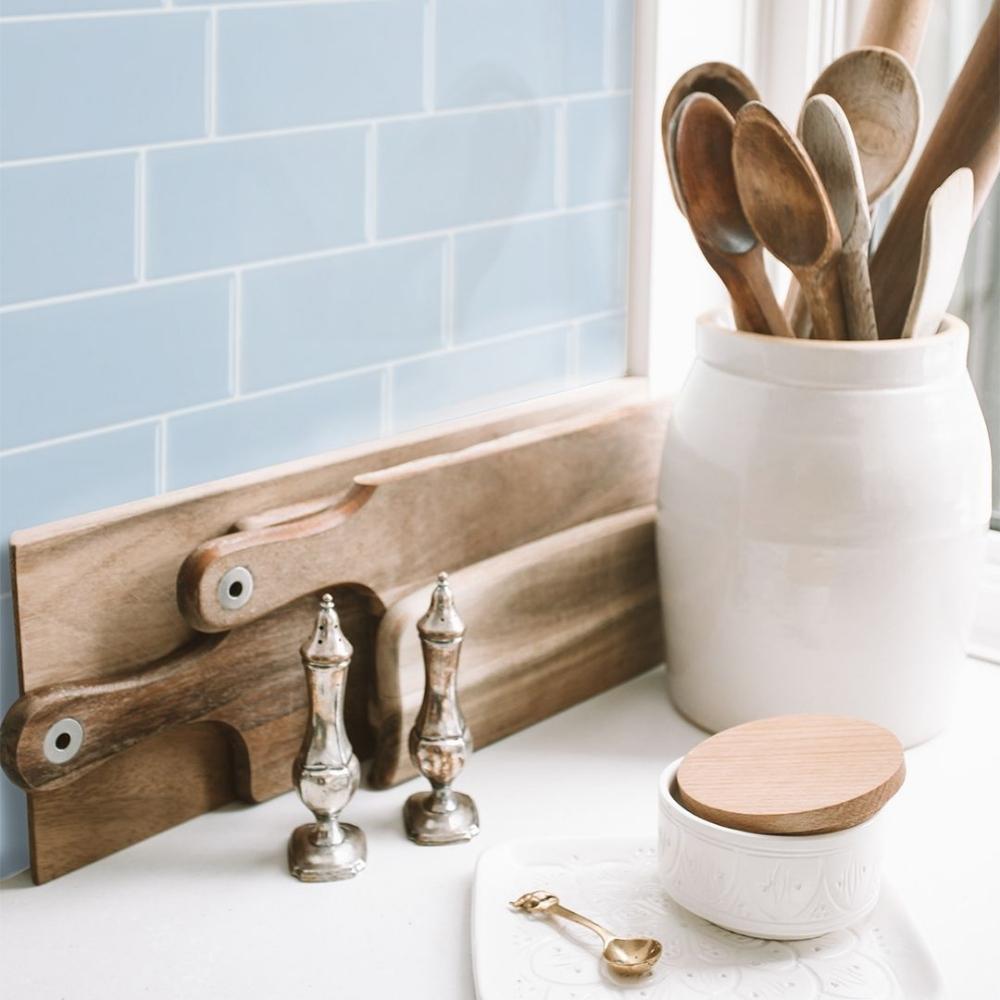
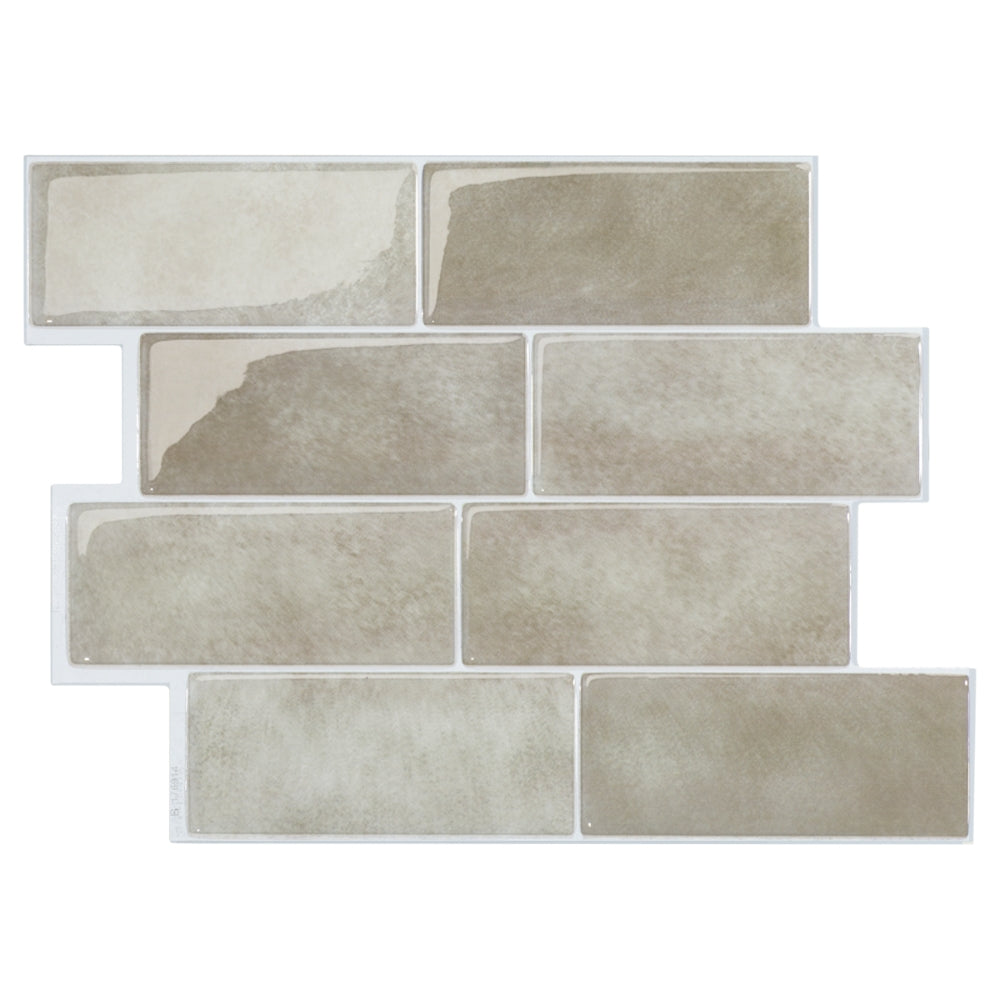
Renting
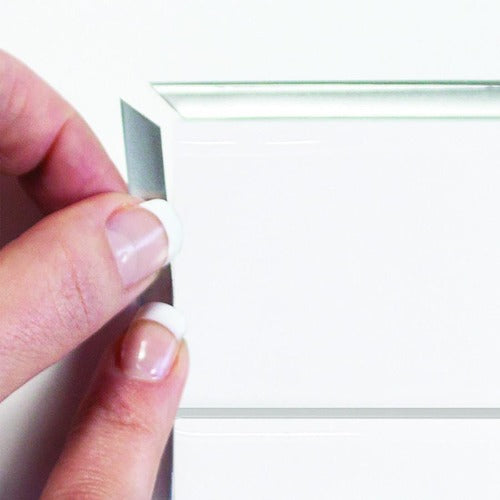
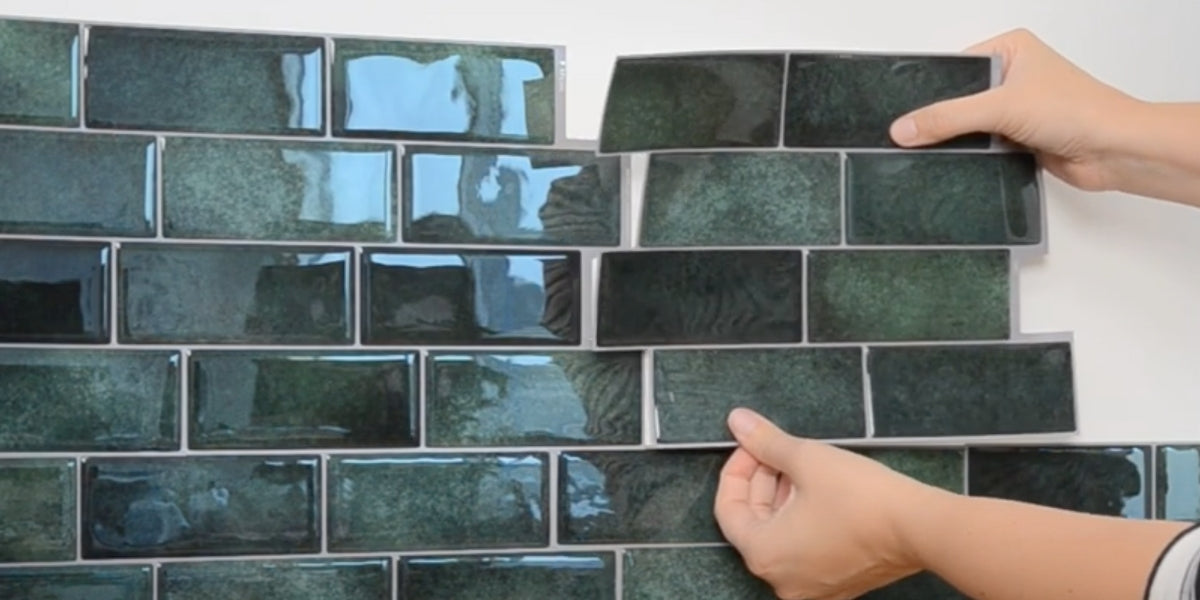
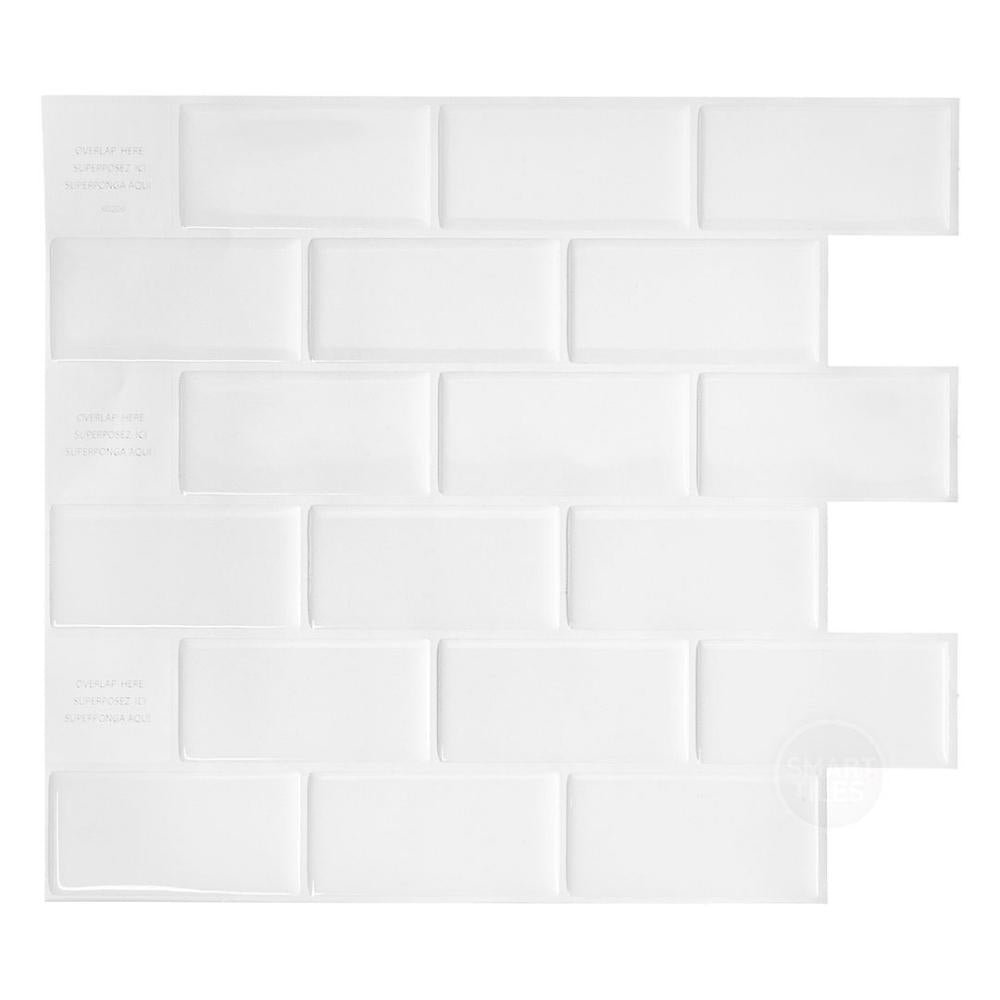
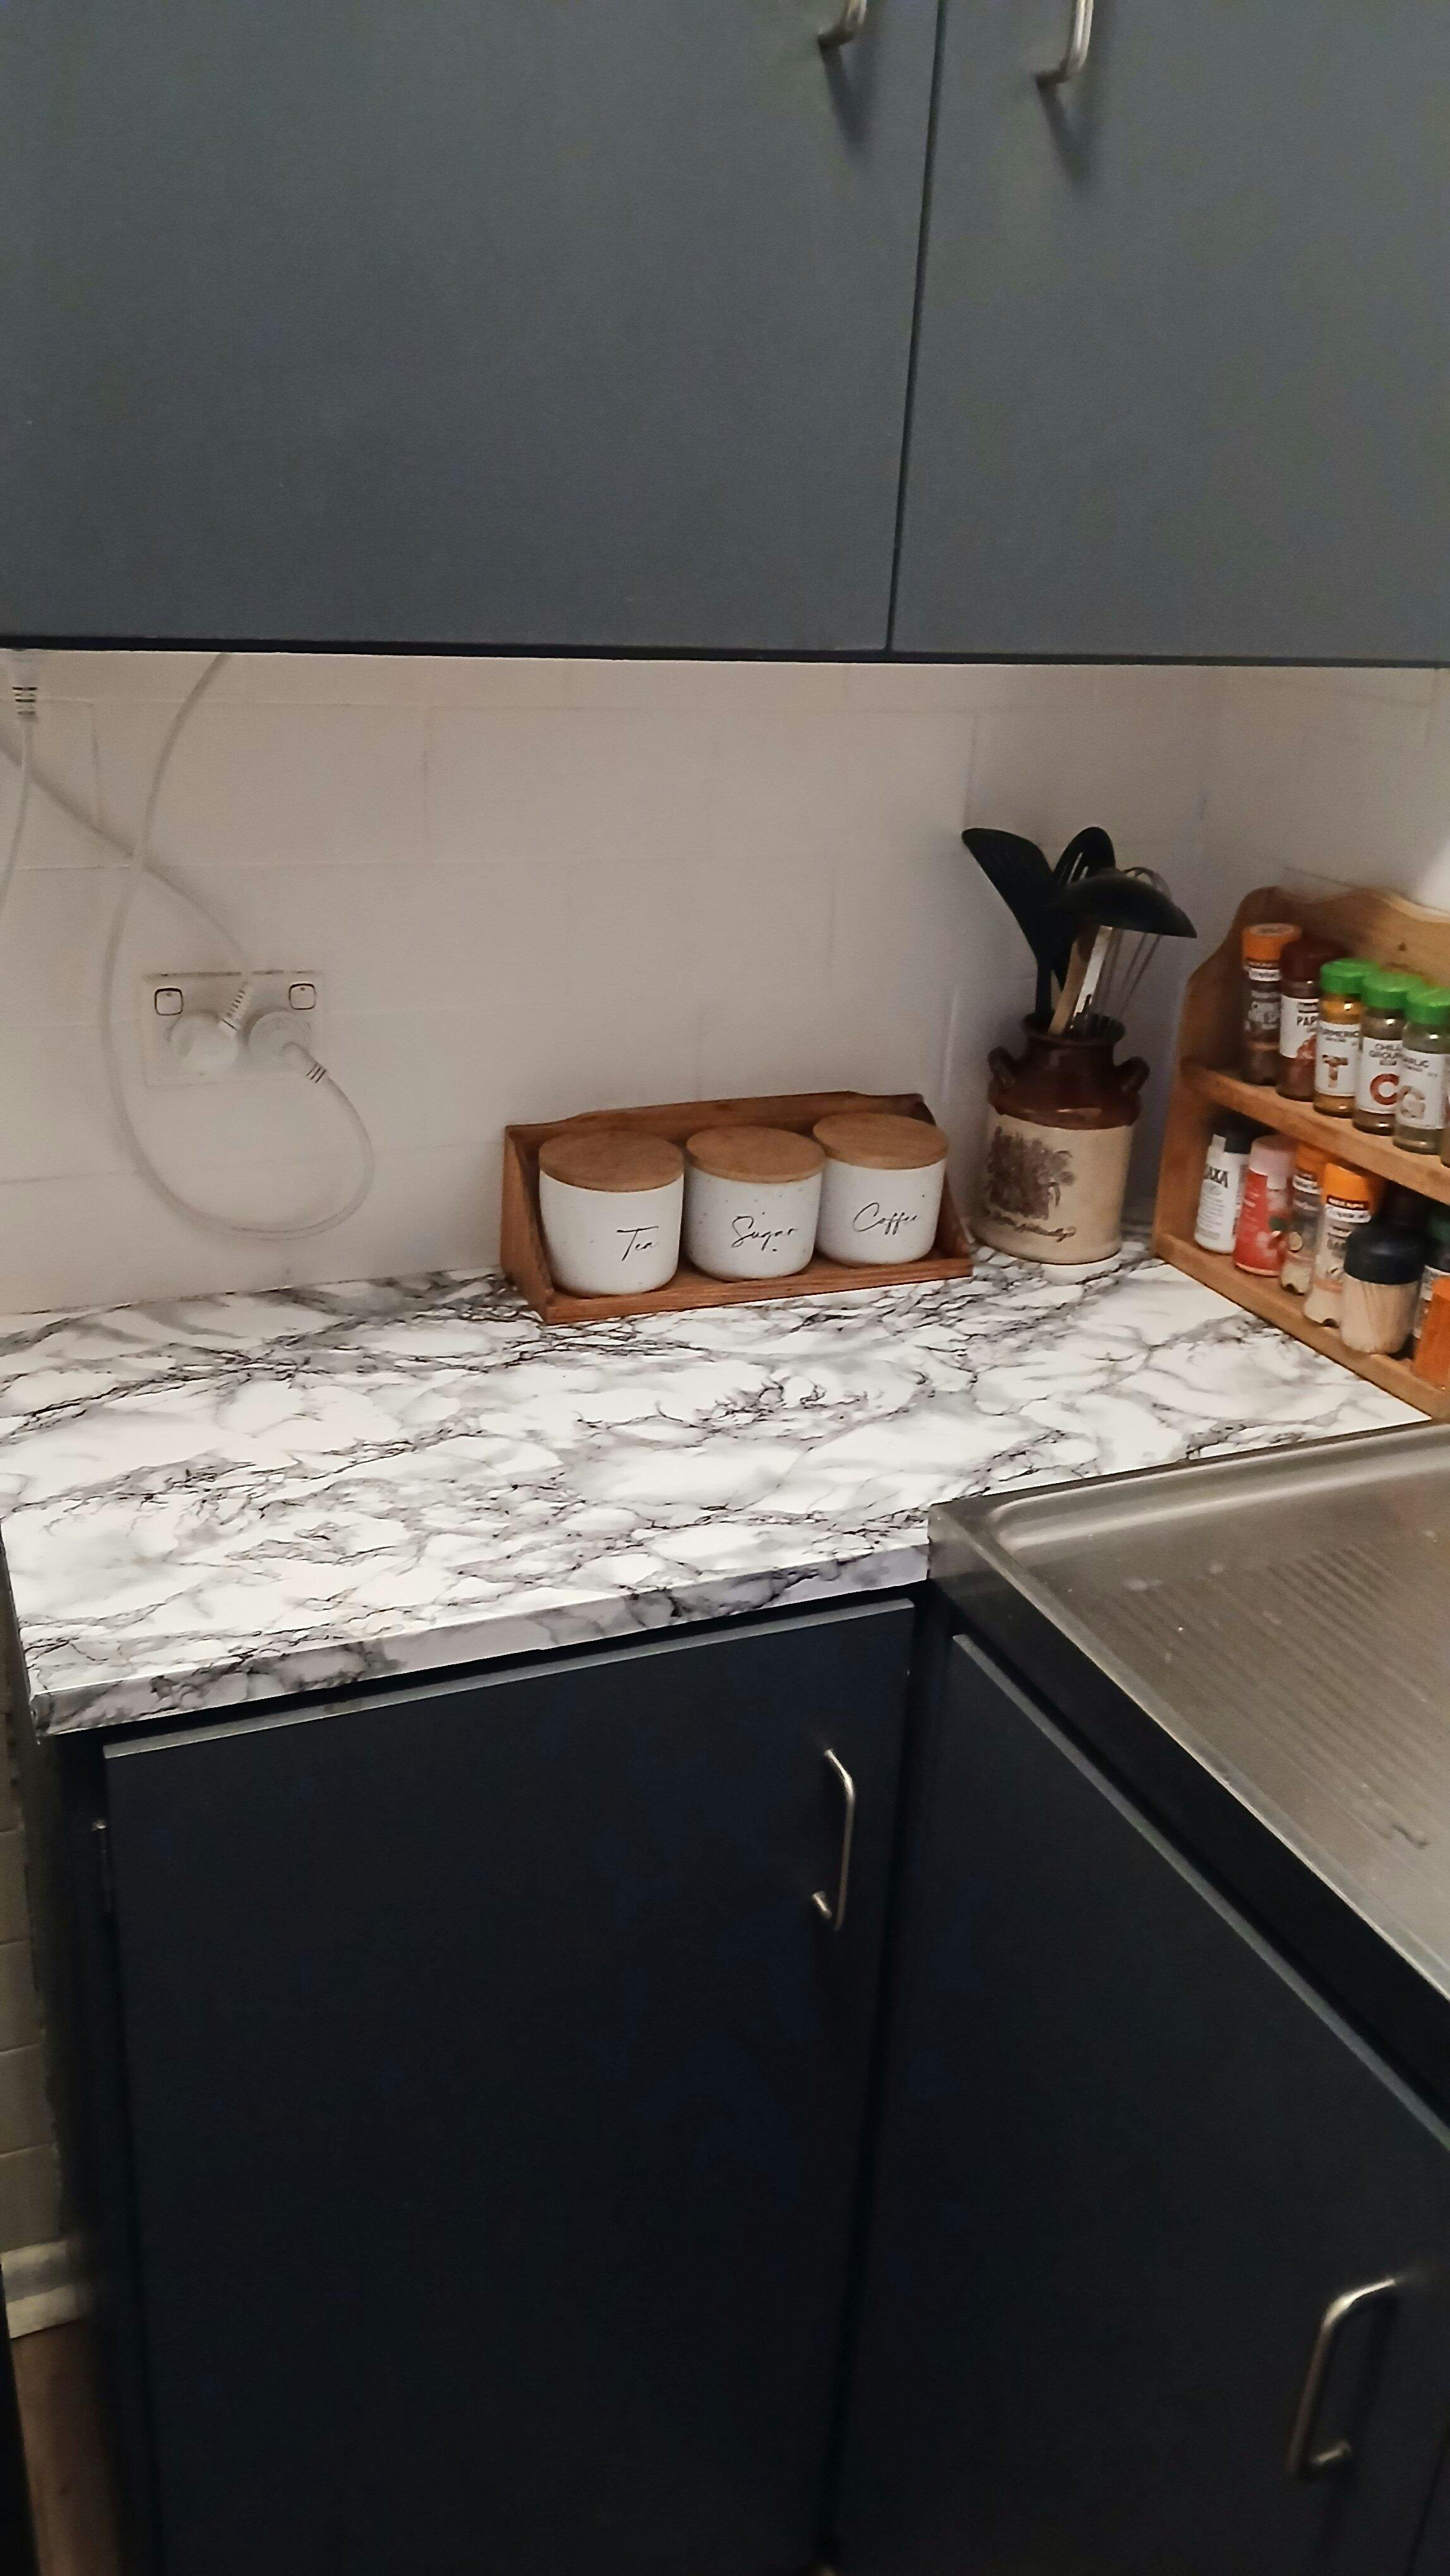
For renters, Smart Tiles provide an excellent non-permanent solution. These peel-and-stick tiles allow you to personalise your space without causing permanent damage. However, always consult with your landlord before making any modifications. Although Smart Tiles are designed to be easily removable, there is still a risk of surface damage, especially on older or poorly maintained walls. To mitigate this risk, consider applying the tiles to a thin board first, which can then be mounted on the wall. This method protects the landlord’s property while allowing you to enjoy a customised space.
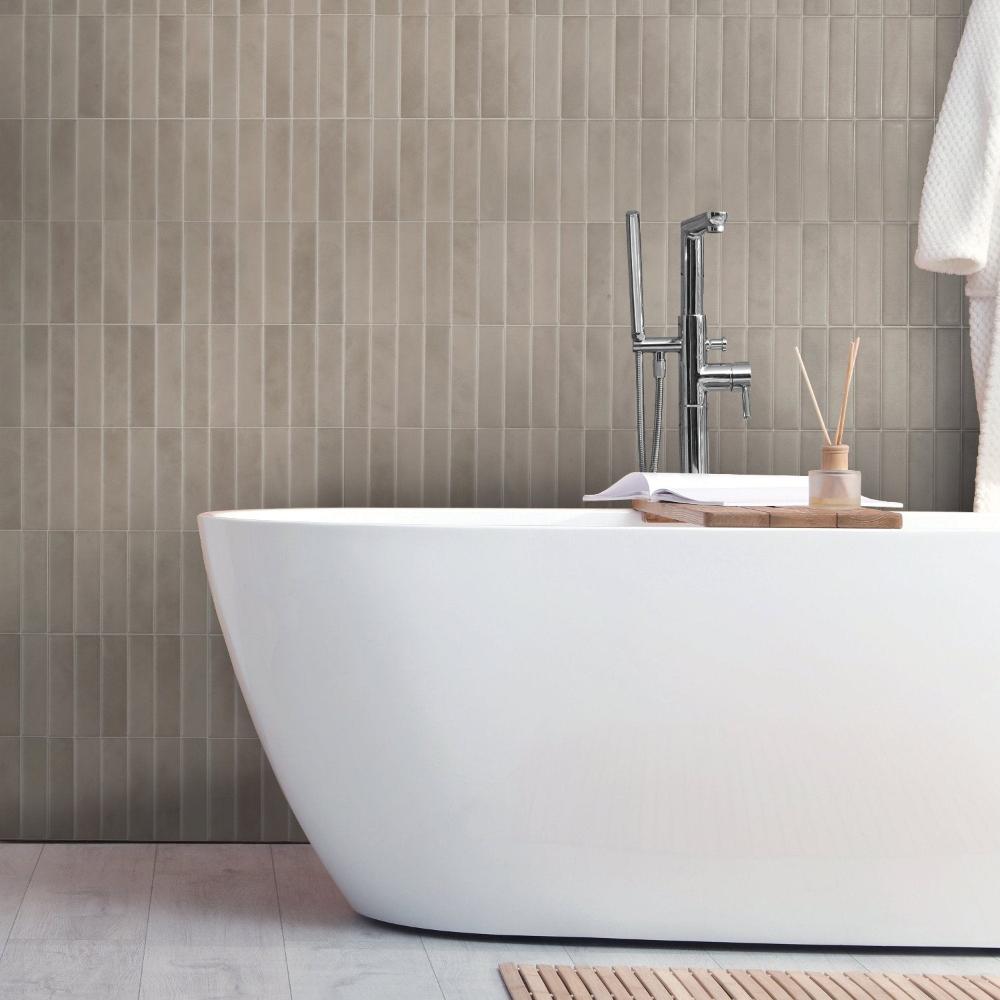
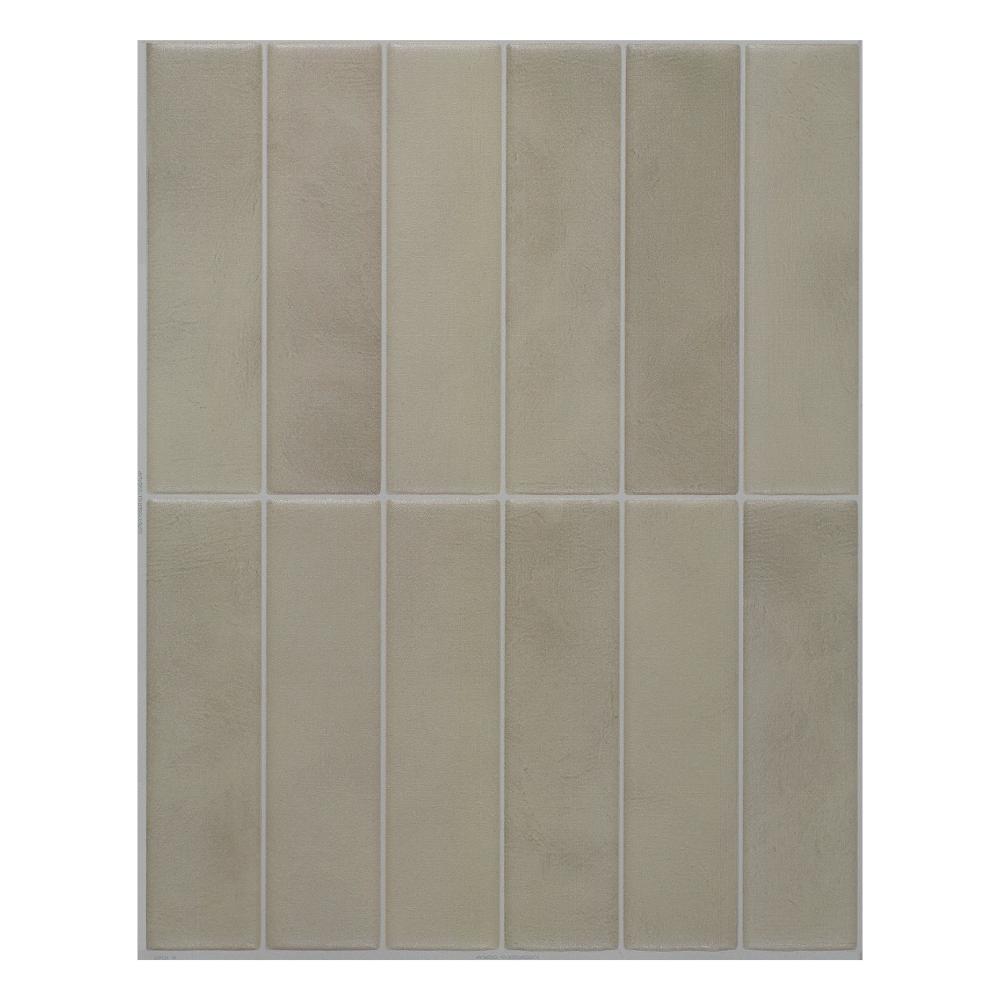
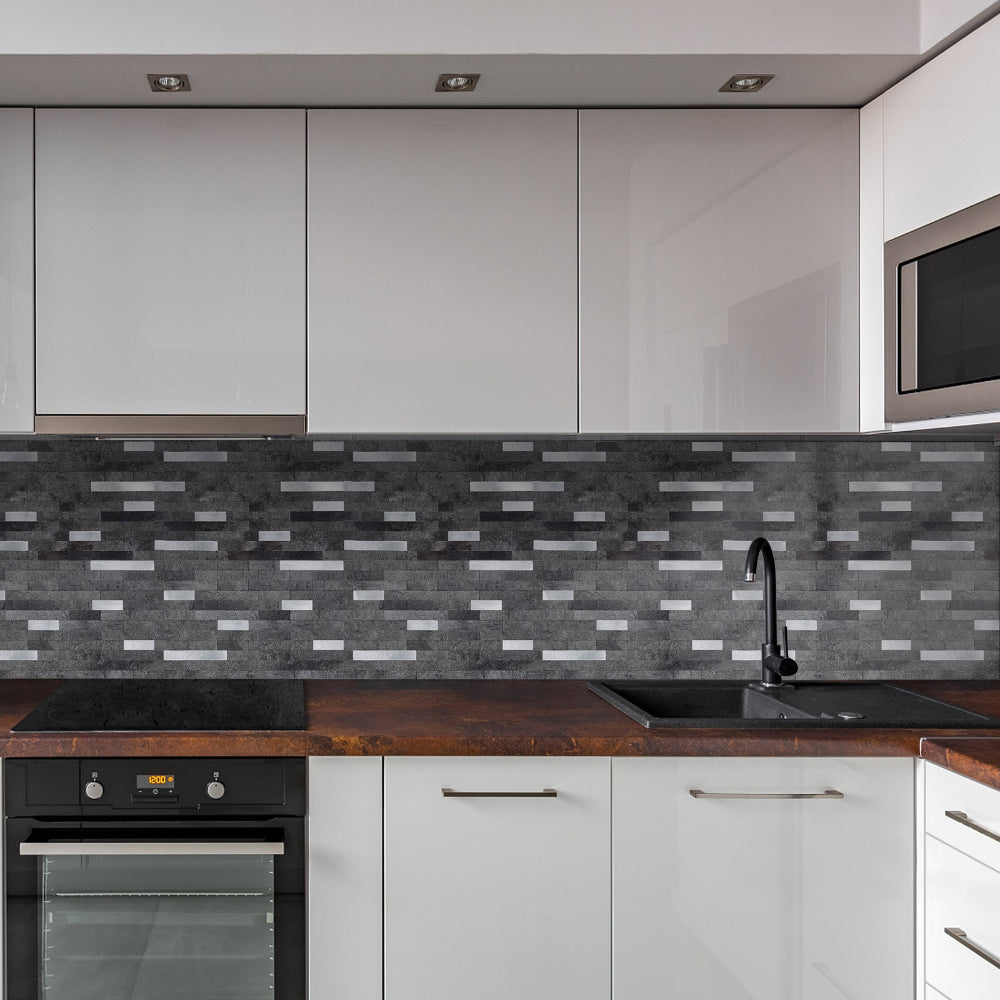
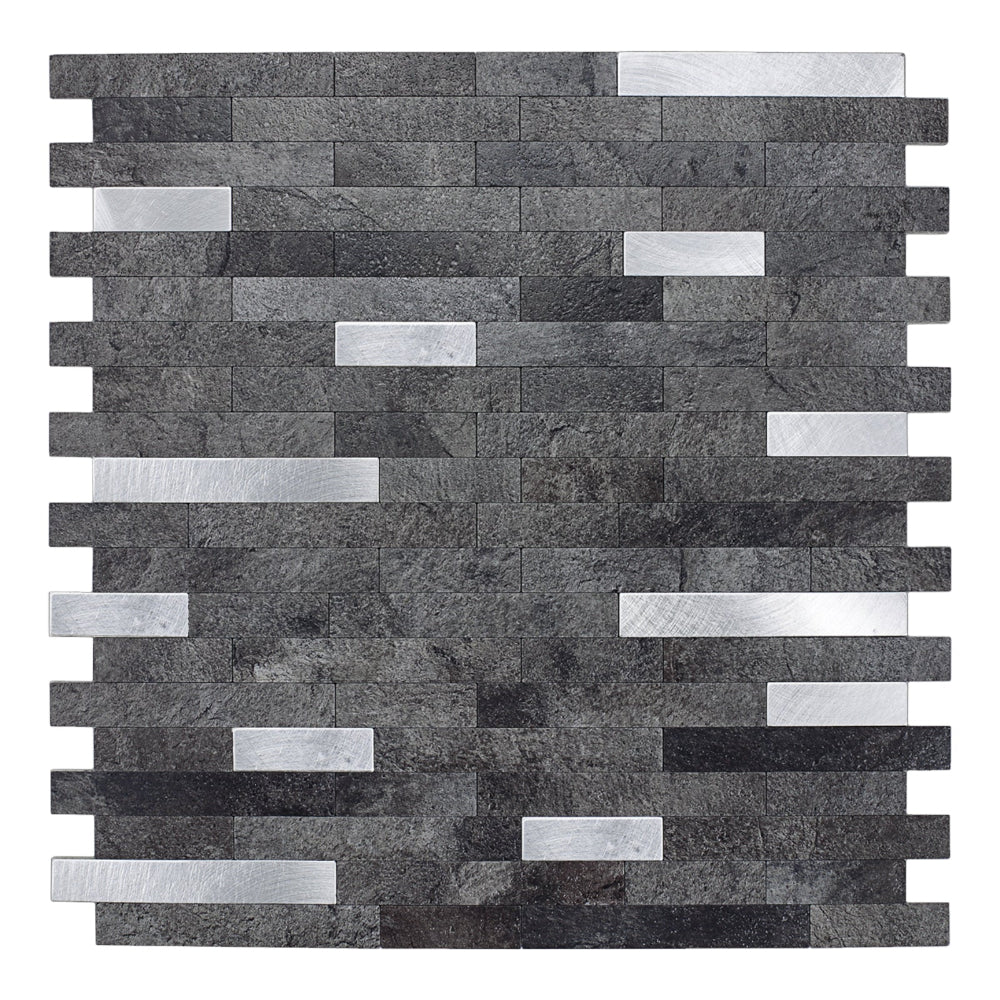
Large Spaces
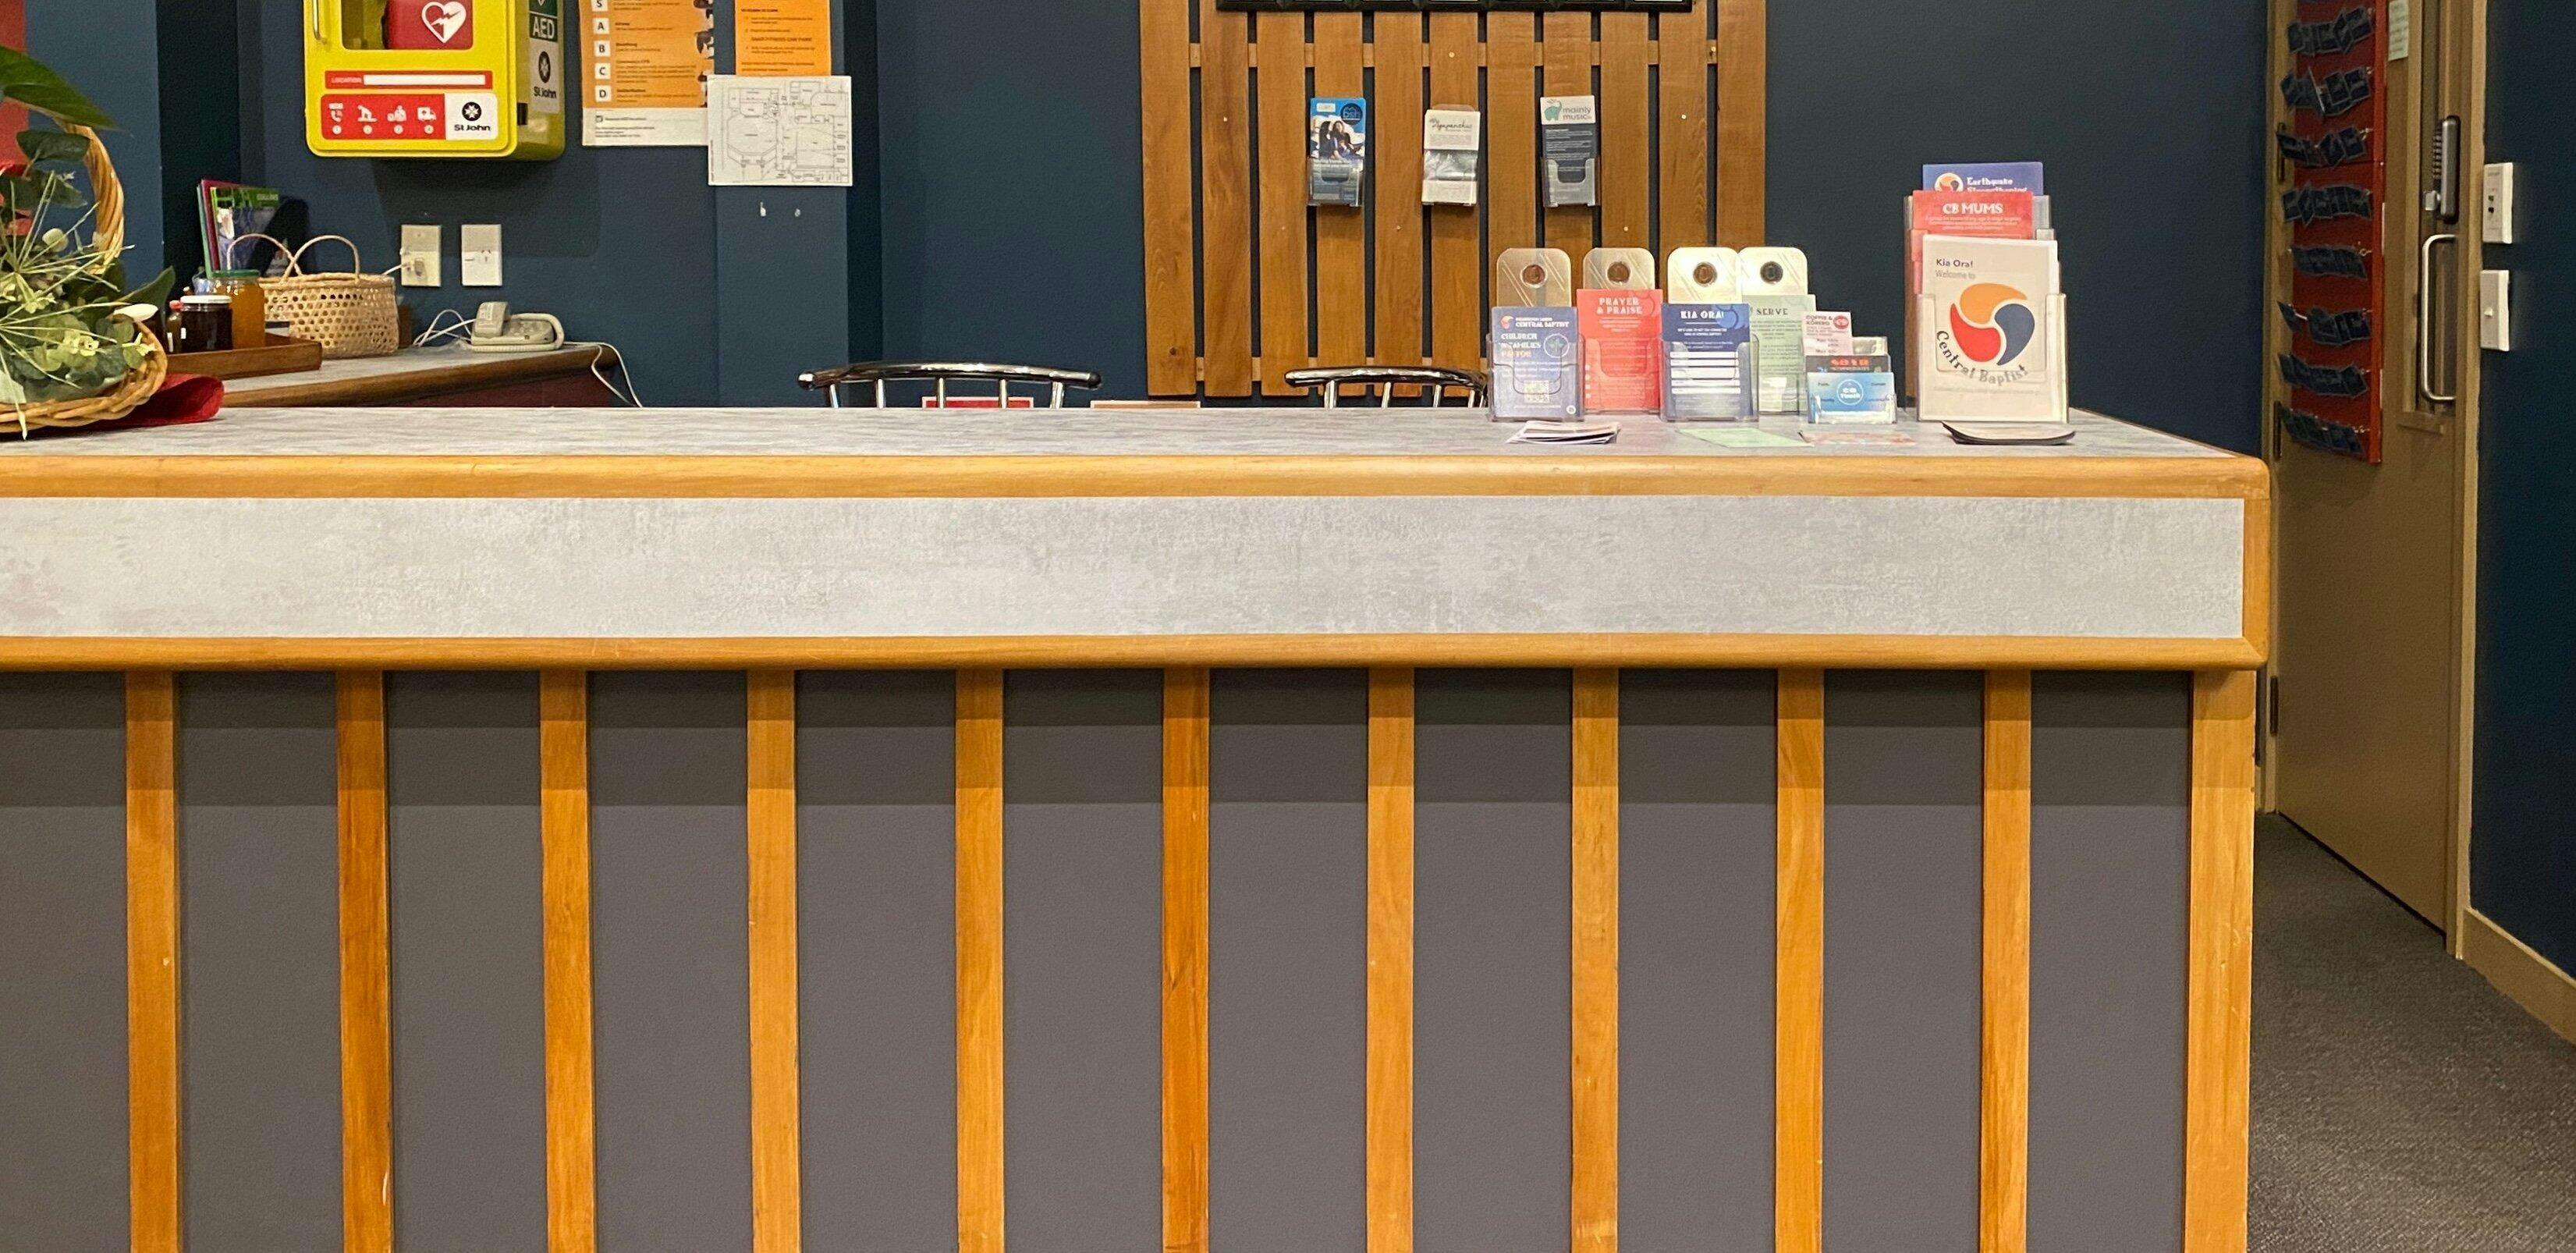
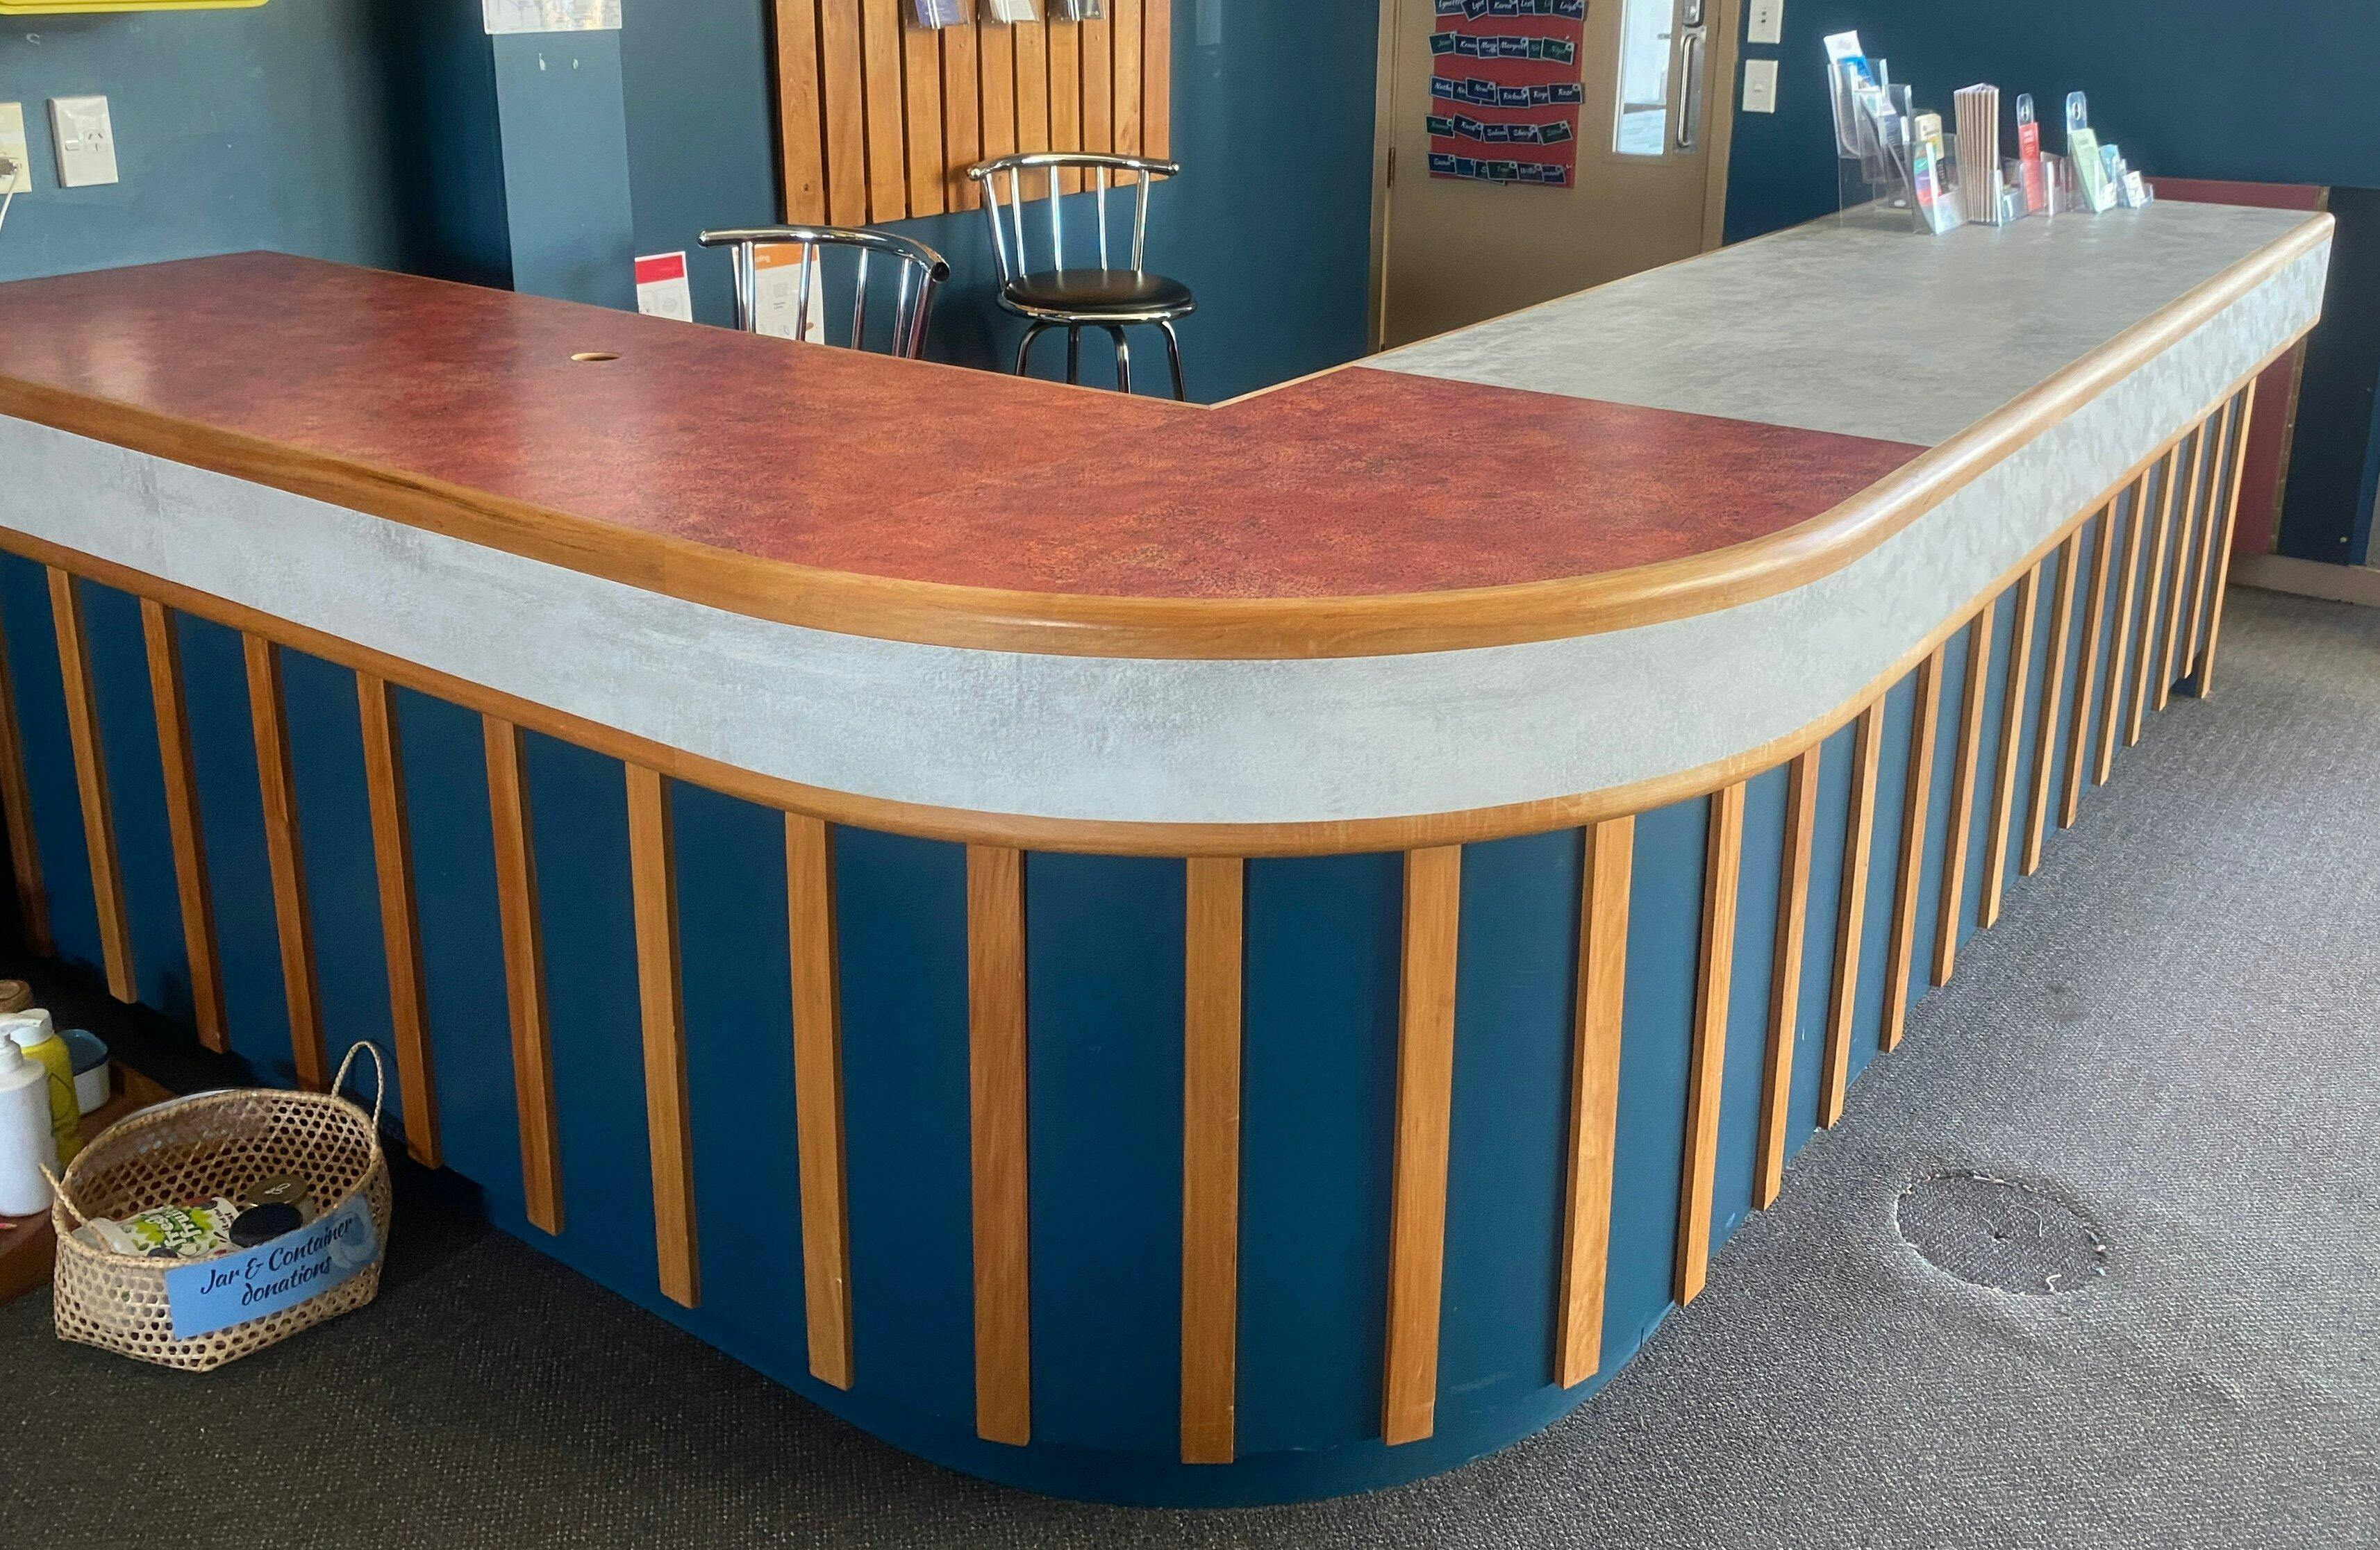
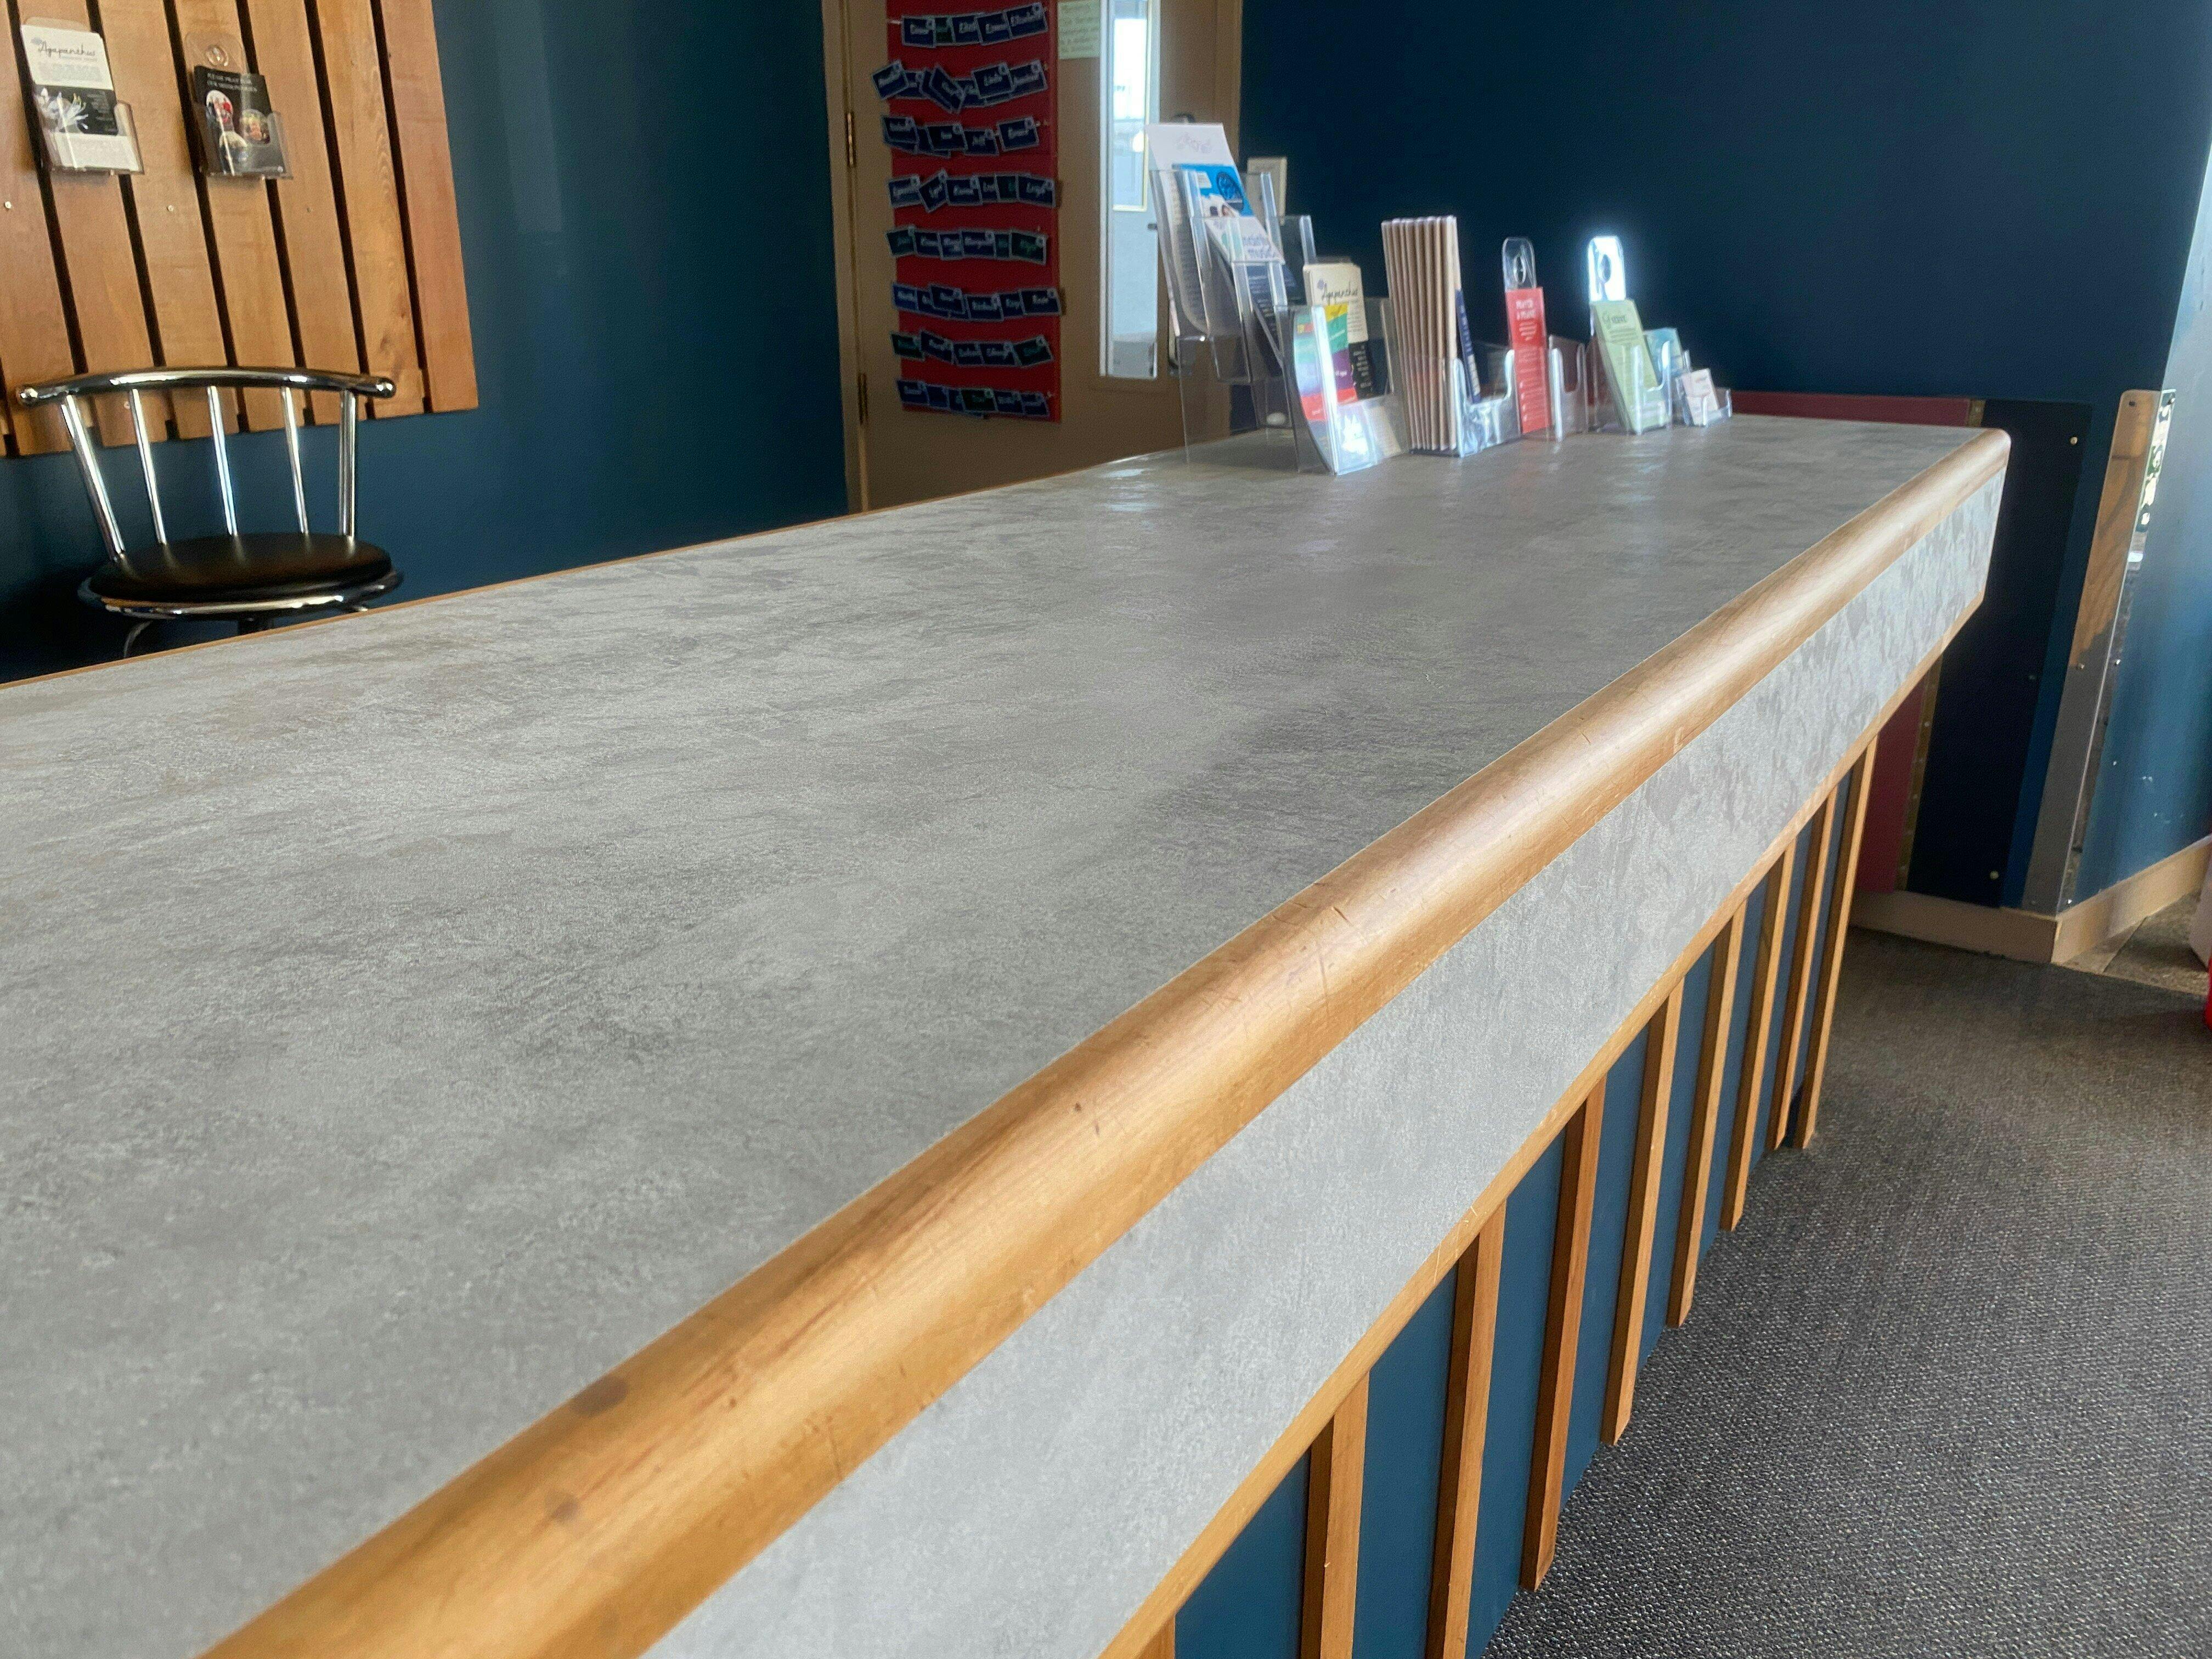
In larger spaces, you have the flexibility to experiment with various tile sizes and patterns. Large tiles can create a clean, modern look and minimize grout lines, which can be easier to maintain. For a more dynamic and interesting effect, consider using tiles with contrasting colors or textures.
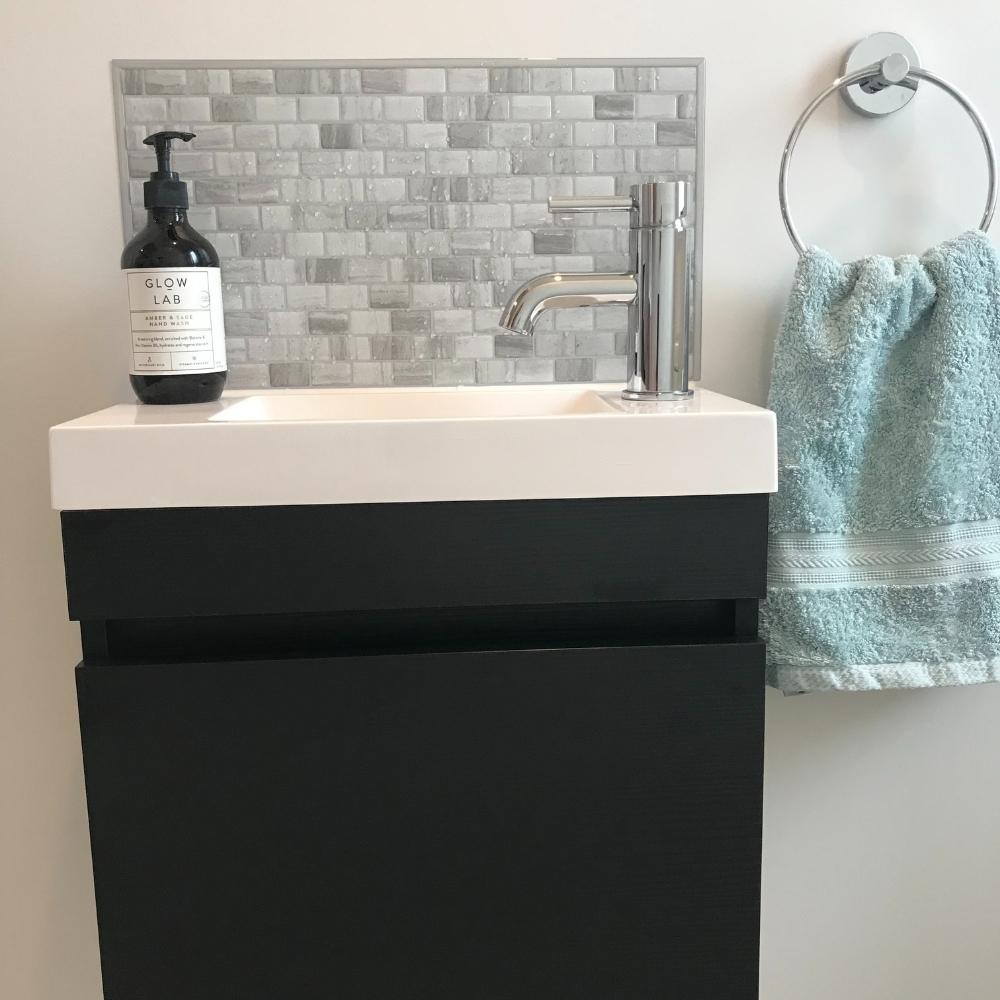
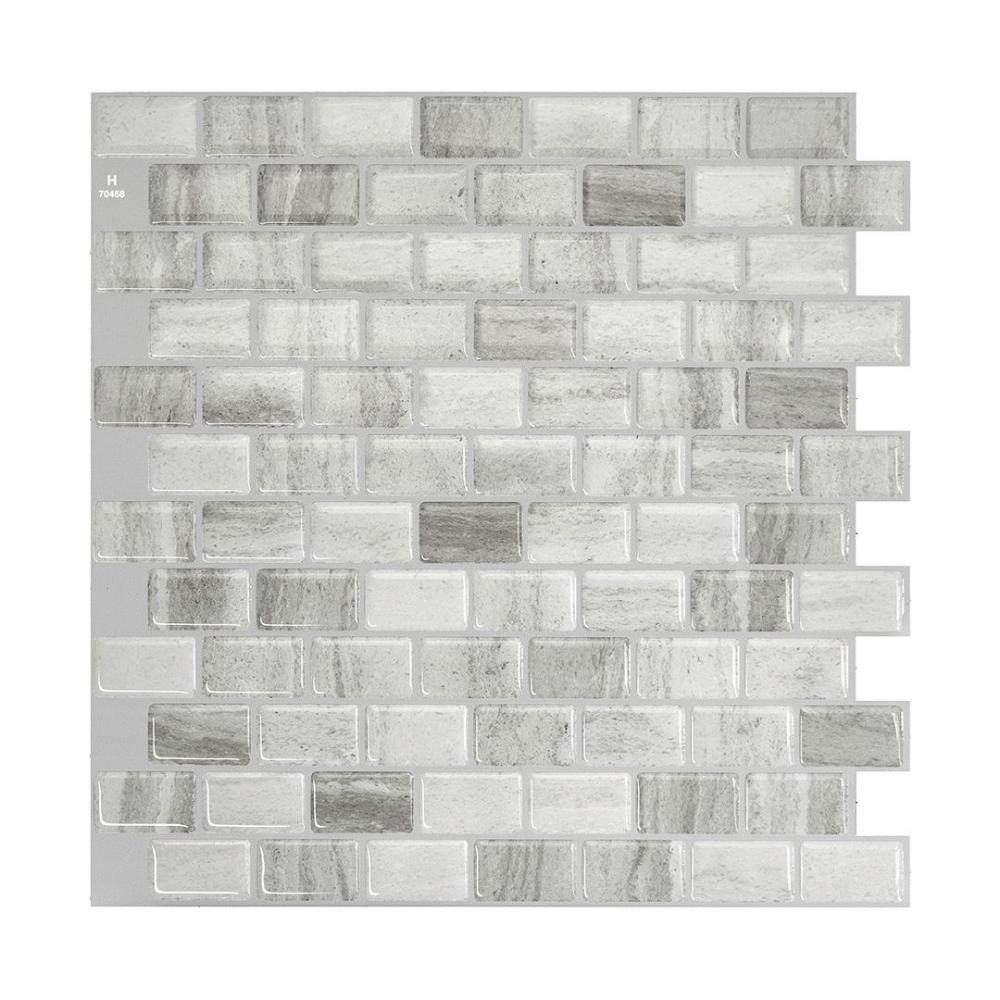
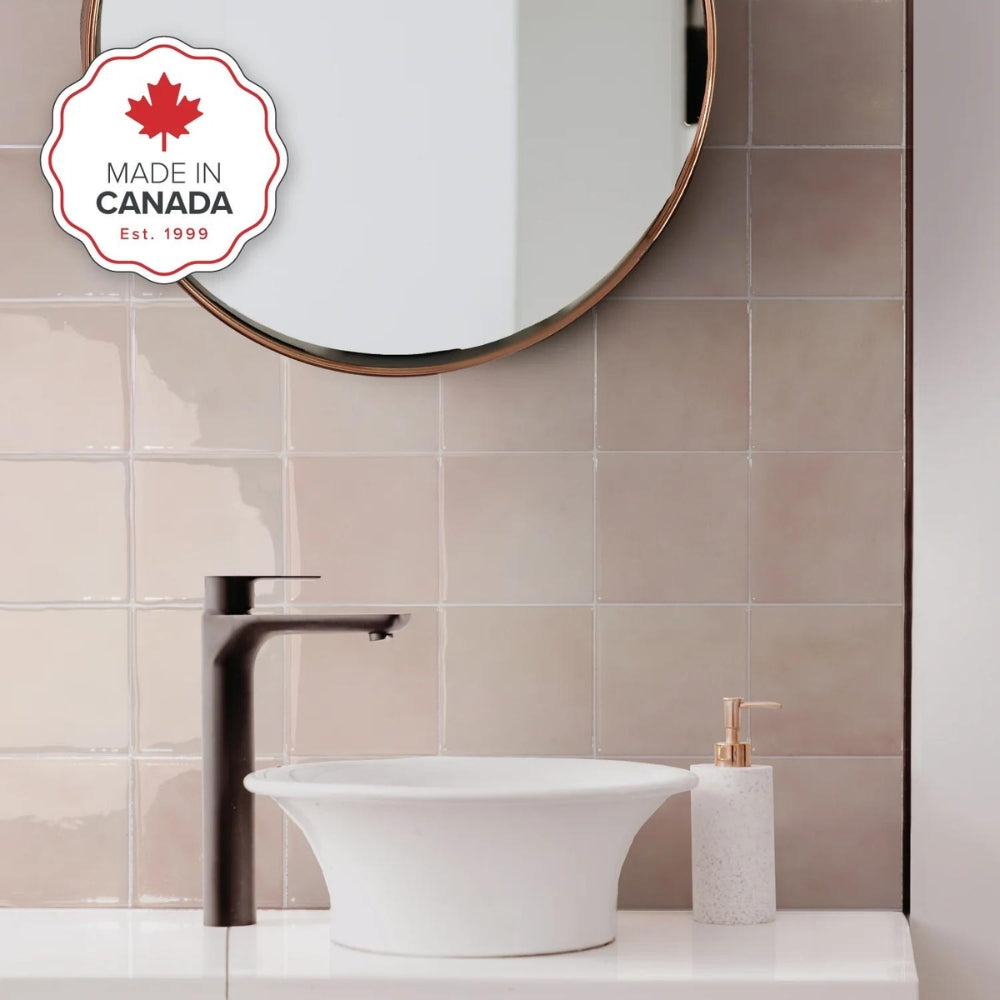
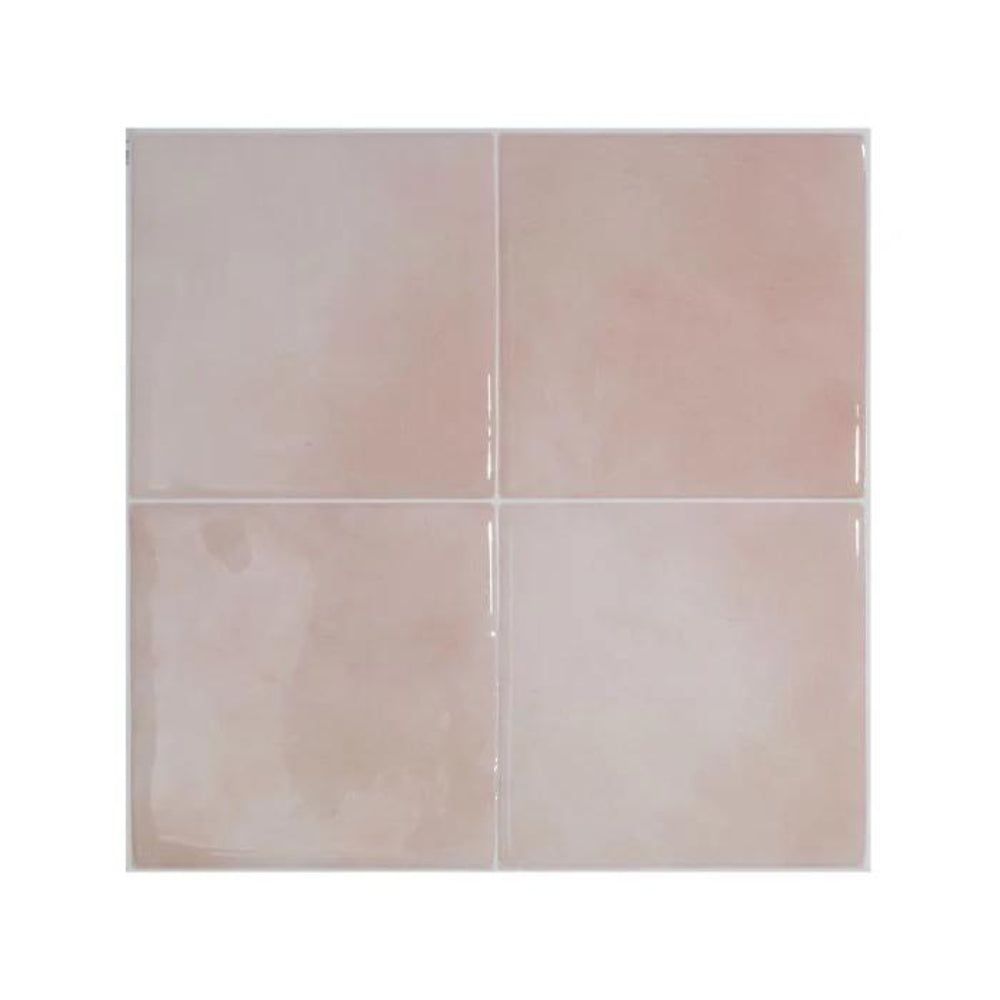
Small Spaces
Smaller spaces can be quickly and easily transformed with the right tile choices. To make a small room appear larger, opt for smaller tiles or mosaic patterns. These can create the illusion of a more expansive area. Additionally, using lighter colors and reflective surfaces can help to brighten the space and make it feel more open.
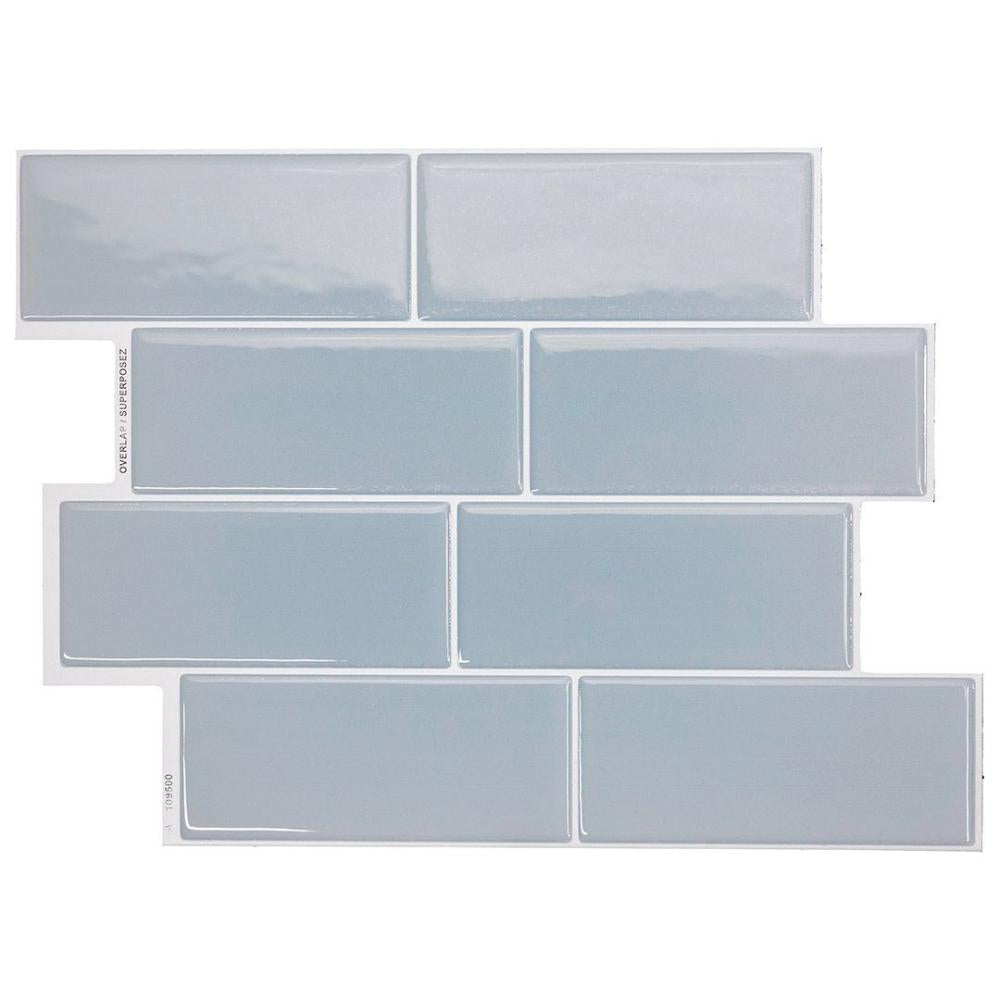
On the Move
For homes on wheels, such as caravans and campervans, vinyl tiles are an ideal choice. Smart Tiles are lightweight, flexible, and resistant to cracking, making them perfect for mobile environments. They are durable enough to withstand the rigours of travel. In these compact spaces, soft tones can help to brighten the area, while a strategically placed pop of colour can add character without overwhelming the space.
Making a Statement
If you have a space in your home that needs that extra oomph, don't be afraid to choose a tile that will be the focal point of the room. Opt for bold colours, interesting shapes, or unique designs that draw attention and make a statement. Consider options like intricate patterns, vibrant hues, or tiles with a textured finish to create a visually stunning effect.
Selling Your Home
When preparing your home for sale, it's best to select tiles that appeal to a wide audience. Playing it safe with classic, neutral choices can increase your home's marketability. A timeless option is the classic white subway tile, either with white or grey grout. This style is both neutral and elegant, ensuring it won't deter potential buyers who might have different tastes. Kitchens and bathrooms are critical areas for home buyers, so sticking to a neutral palette can help ensure these spaces appeal to the majority.
Renting
For renters, Smart Tiles provide an excellent non-permanent solution. These peel-and-stick tiles allow you to personalise your space without causing permanent damage. However, always consult with your landlord before making any modifications. Although Smart Tiles are designed to be easily removable, there is still a risk of surface damage, especially on older or poorly maintained walls. To mitigate this risk, consider applying the tiles to a thin board first, which can then be mounted on the wall. This method protects the landlord’s property while allowing you to enjoy a customised space.
Large Spaces
In larger spaces, you have the flexibility to experiment with various tile sizes and patterns. Large tiles can create a clean, modern look and minimize grout lines, which can be easier to maintain. For a more dynamic and interesting effect, consider using tiles with contrasting colors or textures.
Small Spaces
Smaller spaces can be quickly and easily transformed with the right tile choices. To make a small room appear larger, opt for smaller tiles or mosaic patterns. These can create the illusion of a more expansive area. Additionally, using lighter colors and reflective surfaces can help to brighten the space and make it feel more open.
On the Move
For homes on wheels, such as caravans and campervans, vinyl tiles are an ideal choice. Smart Tiles are lightweight, flexible, and resistant to cracking, making them perfect for mobile environments. They are durable enough to withstand the rigours of travel. In these compact spaces, soft tones can help to brighten the area, while a strategically placed pop of colour can add character without overwhelming the space.